
You know how you take an almost perfect video sometimes? But the keyword here is almost. If only it didn’t have certain parts, it’d be perfect. It’s a tale as old as time (or the invention of videography) – a few extra seconds here and there ruin the entire video.
If only it was easy to edit it! But wait, isn’t it? It’s 2022. It’s time to let go of these antique misconceptions. Shortening or trimming a video on your iPhone is child’s play. And you don’t even need a fancy app for some basic trimming. The native Photos app on your iPhone is more than enough for this feat. And if you want to dip your toes in some advanced trimming, iPhone offers another app for that too – iMovie. Let’s see how you can use both.
Trimming a Video using the Photos app
If your goal is to simply trim the beginning or end of a video to cut down some extra seconds, you don’t need to look any further. The Photos app would suffice. Whether your goal is to share only a small portion of a video or the video is too big to share as it is, trimming the ends in the Photos app is a walk in the park.
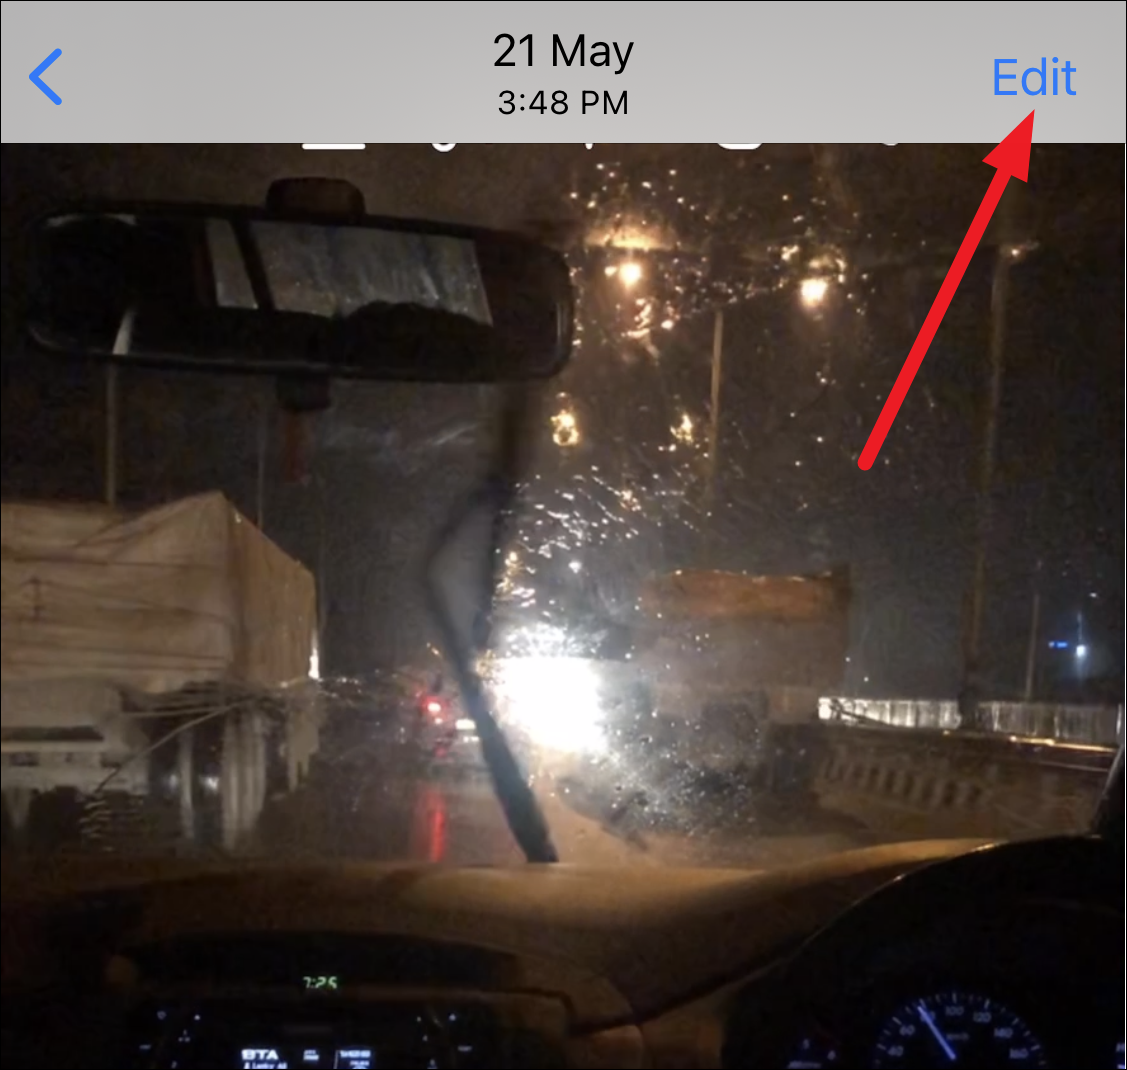
Open the Photos app on your iPhone and go to the video you want to trim. Once the video is open, tap the ‘Edit’ option in the upper-right corner of the screen.
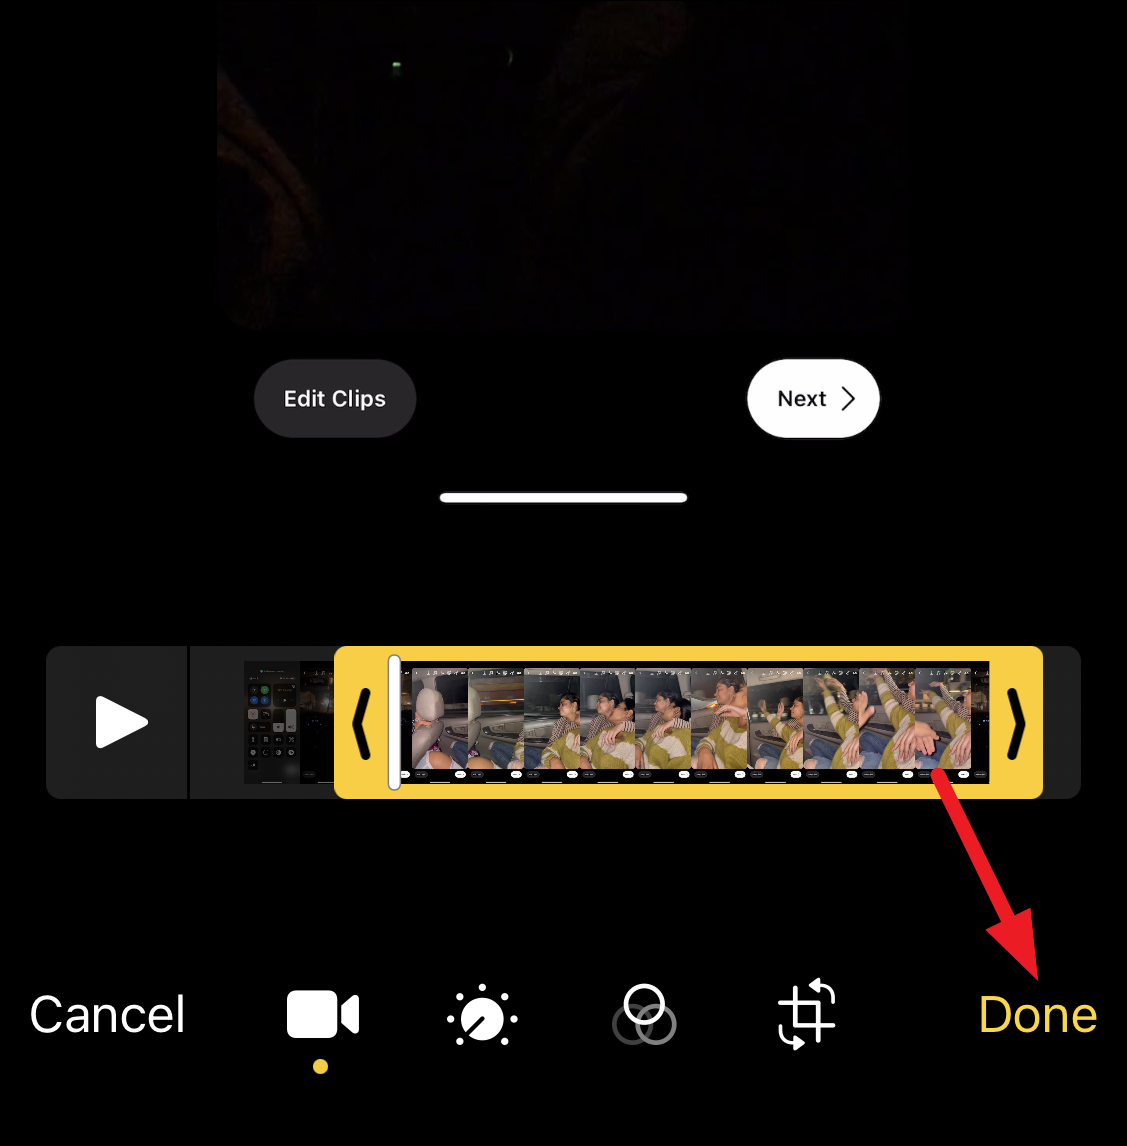
The editing screen will open. Make sure you’re on the video tools (video camera icon) from the bottom toolbar.

There will be a timeline underneath the video on the screen. Move the arrows on either end of the video to trim the video from the beginning or end. While you’re moving the arrows, the part of the video that’s left after trimming will be highlighted in a yellow box.

You can move the seeker (small white bar) to quickly skim through the video or tap the ‘Play’ button to watch it at a normal rate to make sure you’ve got it right. But if not and you end up trimming more than you intended, you can move the arrows outside until you get to the right point.
Once you’re happy with the edits, tap ‘Done’.
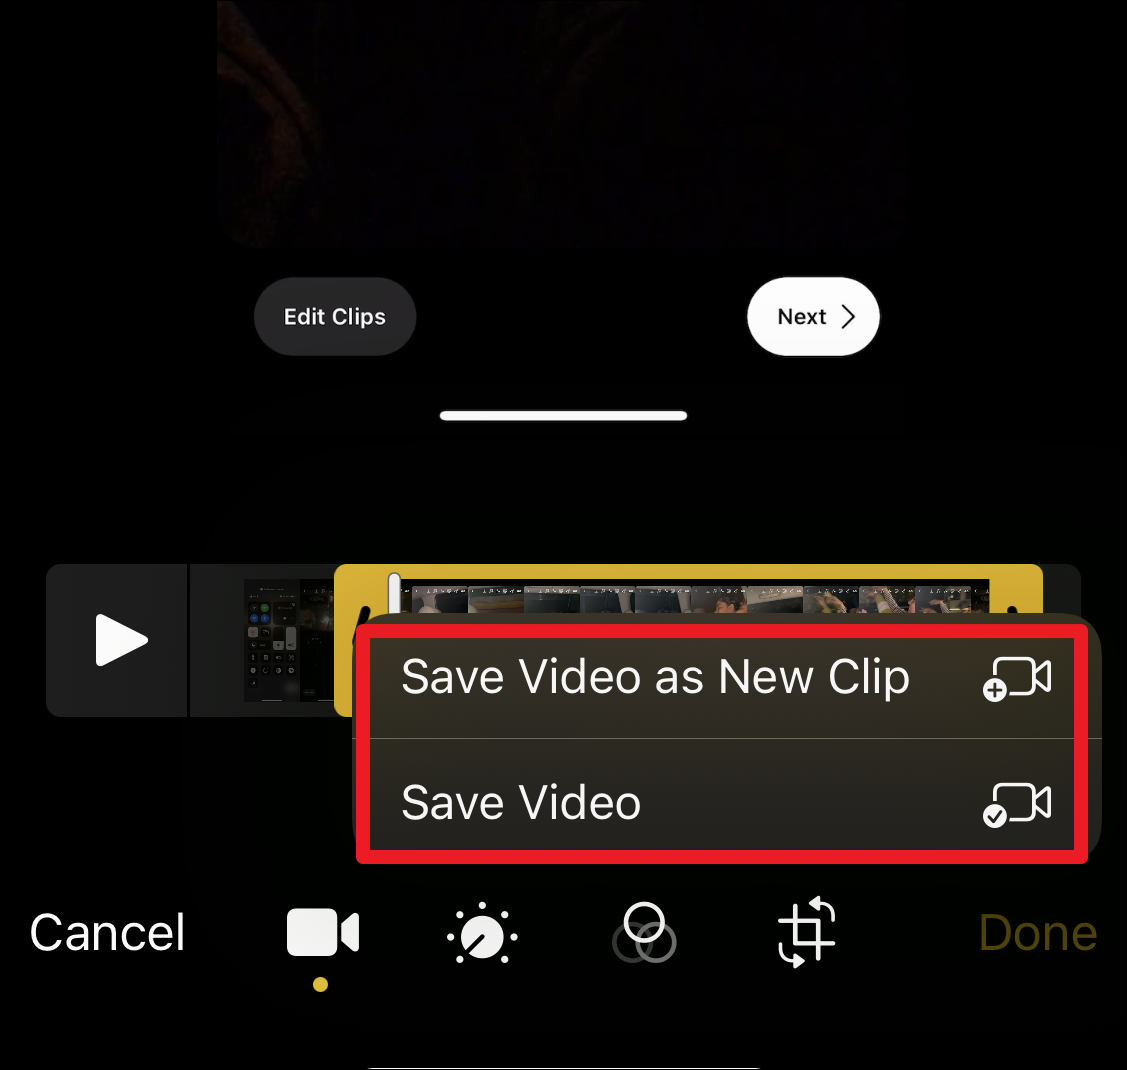
You’ll get two options: ‘Save video’ or ‘Save video as a new clip’. Tap the option depending on your preference. If you choose Save video, the original video will be saved as a trimmed video only. But if you choose Save video as a new clip, the original video will remain untouched, while the trimmed video will be saved as a separate video in your camera roll.
Even if you save the changes to the original clip, you can get the original video back at any time. Tap ‘Edit’ again on the video. Then, tap ‘Revert’ in the bottom-right corner of the screen.
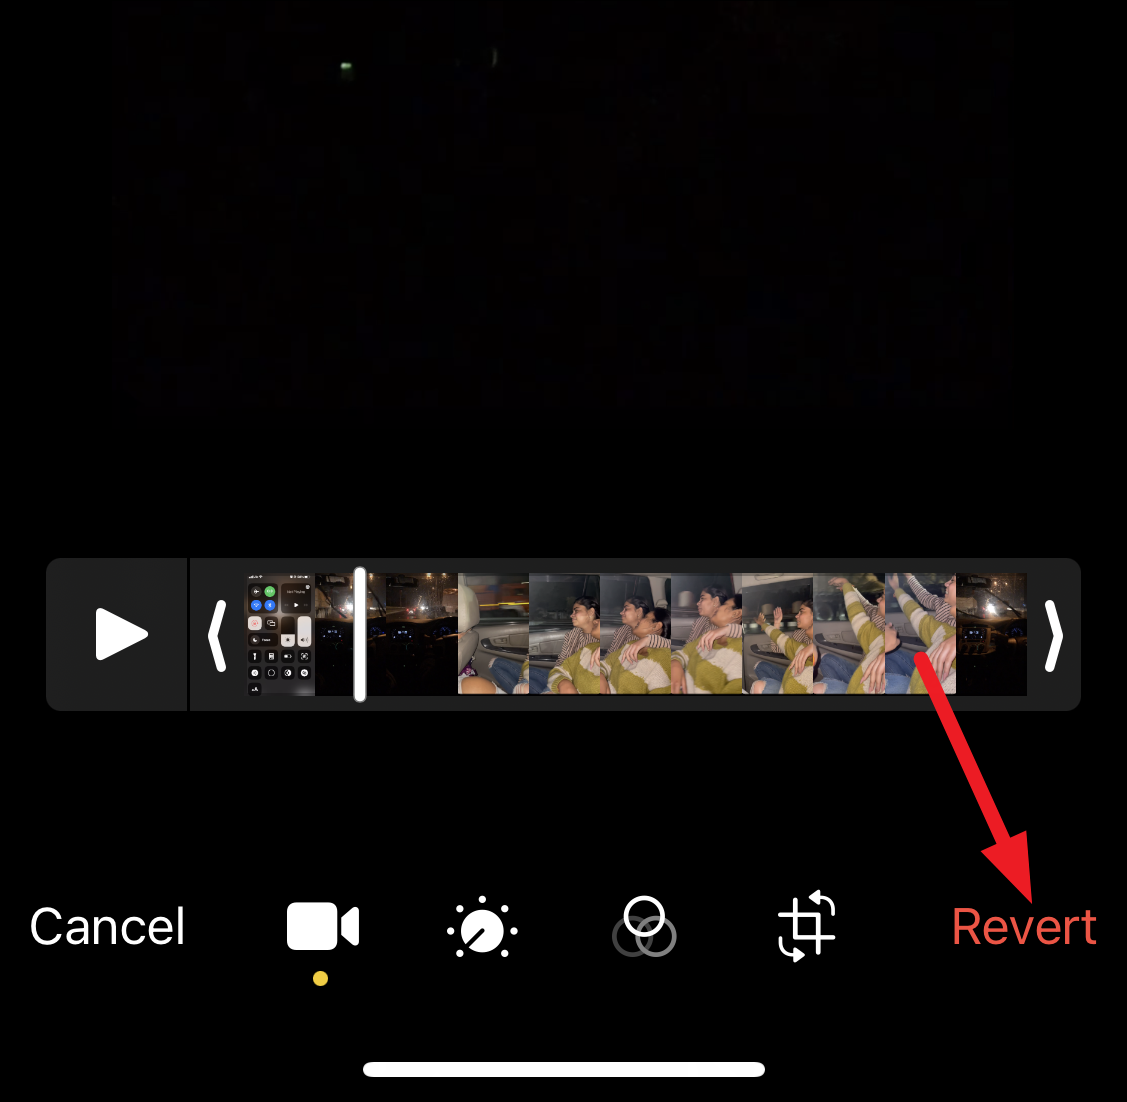
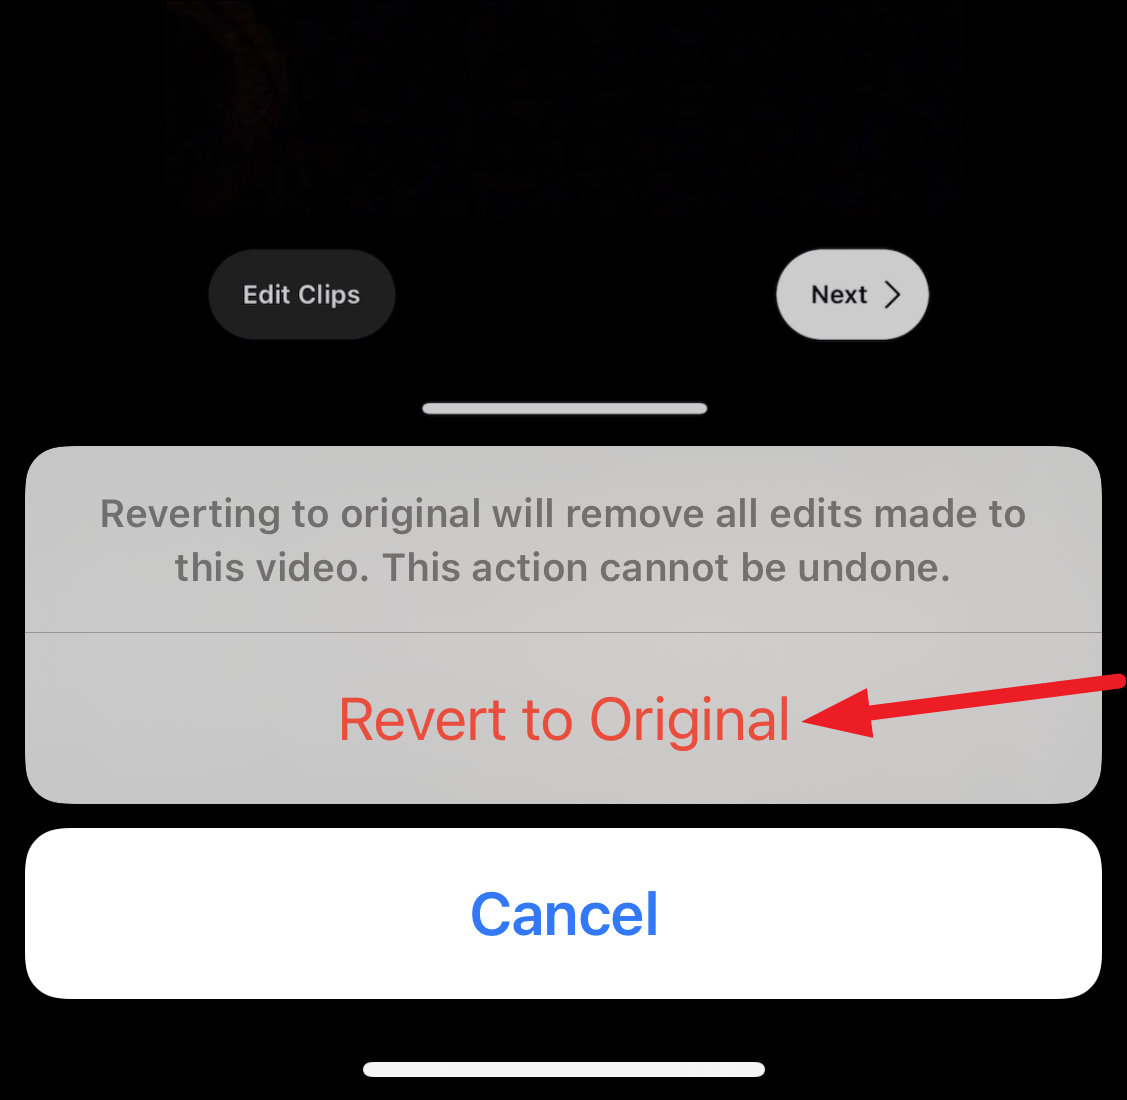
A confirmation prompt will appear; tap ‘Revert to Original’ to undo the changes. You’ll get the original video back, but the edits will be lost and there’s no way to get them back. You’ll have to make any edits again.
Trimming a Video using iMovie
While the Photos app is the best choice if you only want to trim the ends of a video, it doesn’t help at all if you have a part of the video that you want to cut in the middle. iMovie is easily the best choice in this case. iMovie is a video editing tool from Apple itself and there’s a good chance you might even have it on your iPhone already. But even if you don’t have it, it’s still worth it to install it from the App Store.
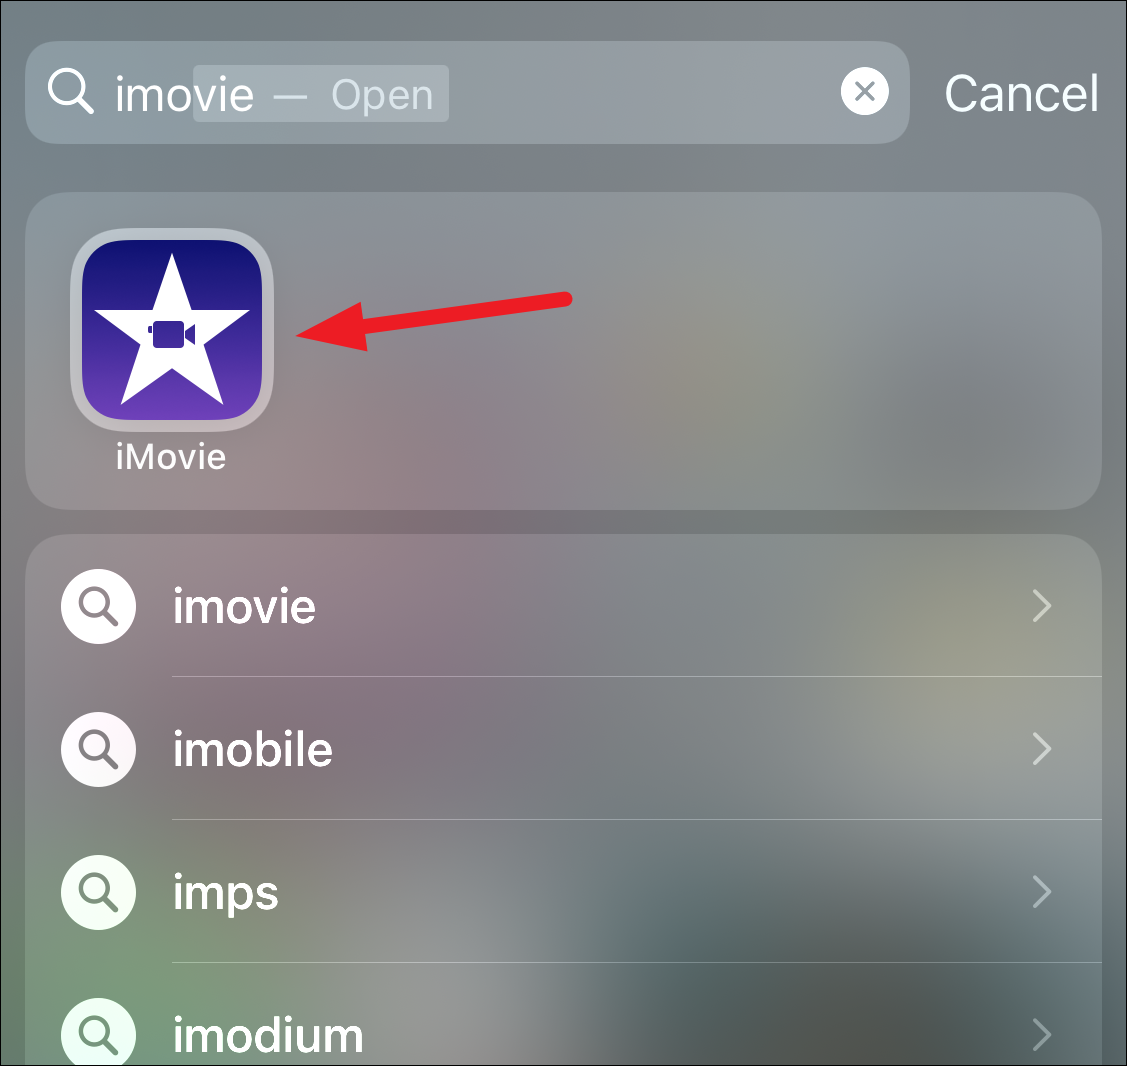
You can search for the app using Spotlight search. If you have it on your phone, it’ll appear in the results. Otherwise, an option to get it from the App Store will appear. Open the app once you’ve installed it.
An overlay menu saying ‘Start a New Project’ will appear from the bottom of your screen. iMovie is an app for making movie-like videos using templates, so you’ll see a couple of options like that. But to make simple edits, like trimming in this case, we’ll choose ‘Movie’ that lets you choose your video from the camera roll and make edits from the scratch without any hullabaloo.

Your camera roll will open so you can choose the media you want to edit. You can even choose more than one video or even choose photos and combine them. But here, we’ll select the only video we want to edit. After selecting your video, tap ‘Create Movie’ at the bottom of the screen.

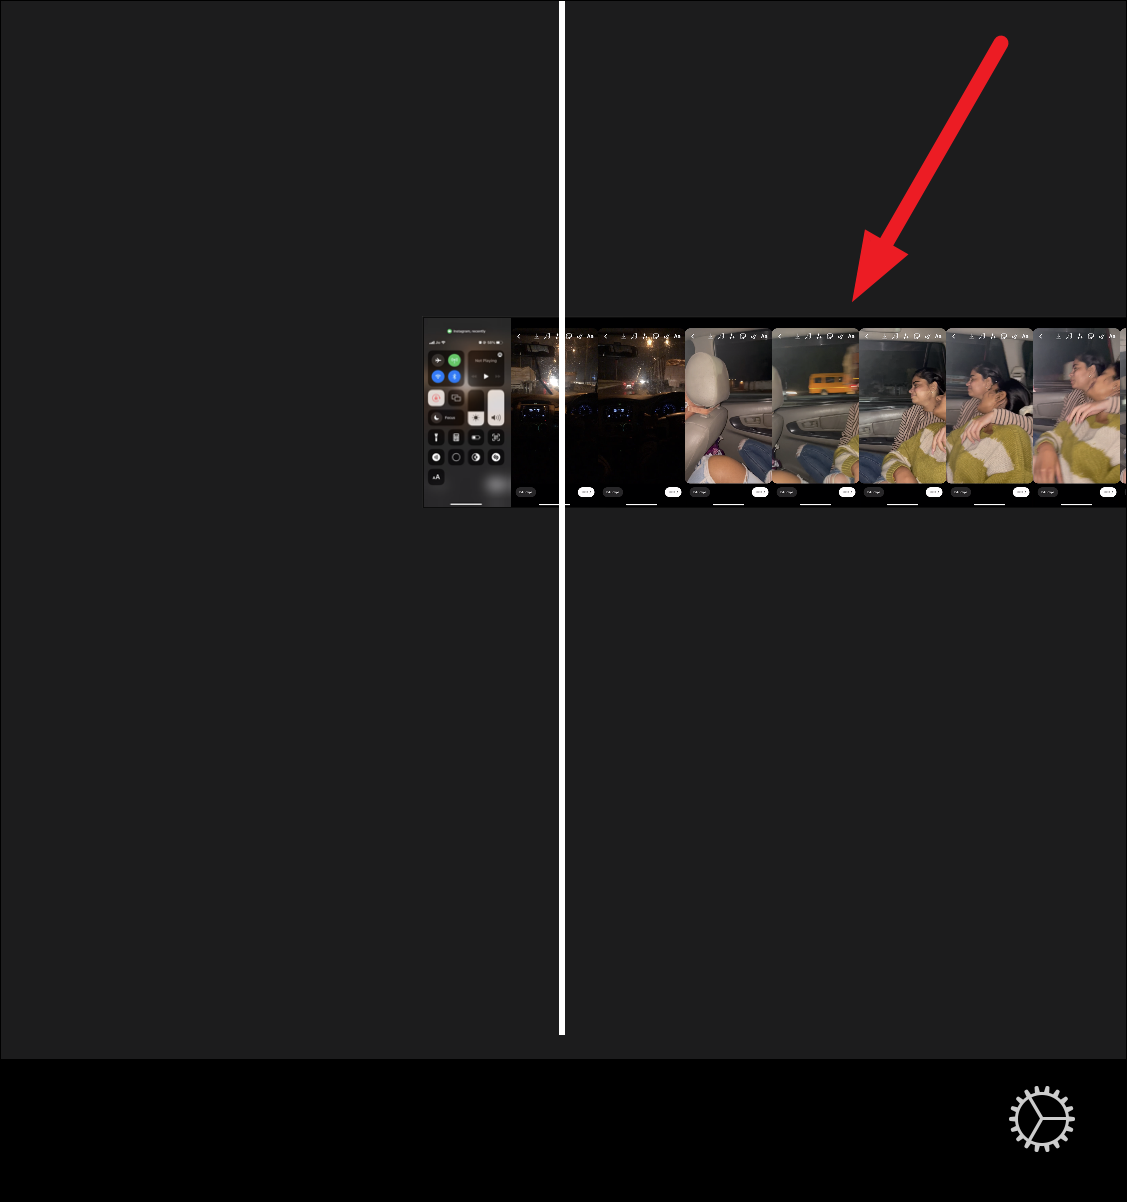
Your video will load in the editor. Tap the video timeline to select it.
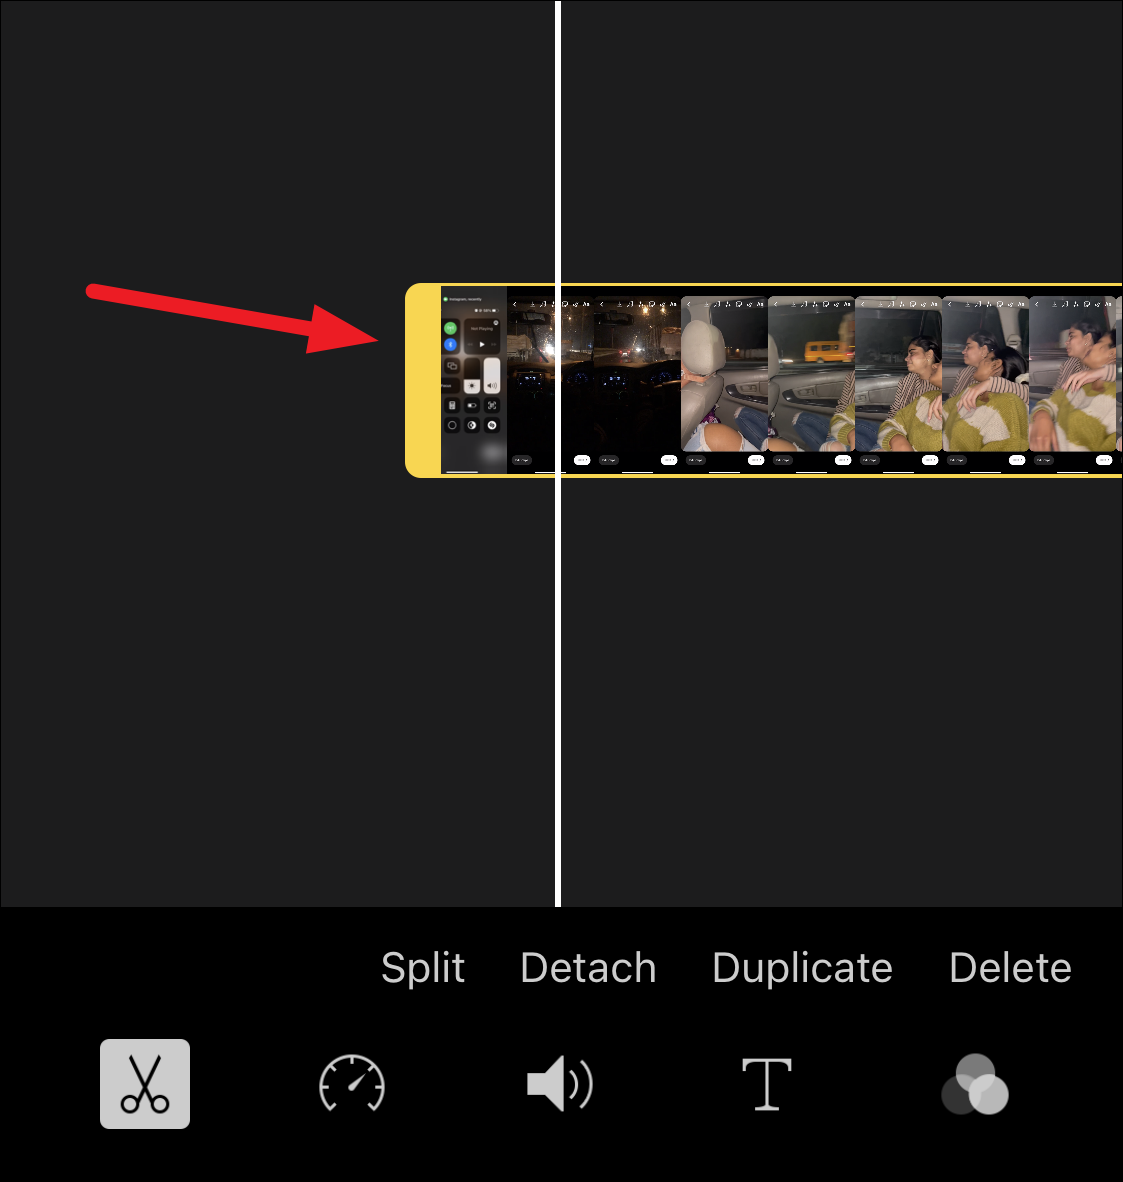
This will highlight the clip with a yellow border and bring up the toolbar at the bottom of the screen.
Just like the Photos app, you can drag the corners of the yellow box inward to trim the ends of the video.
But if you want to trim something from the middle, it’s a two-step process. First, you’ll have to split the video and then trim it. Splitting the video will essentially break the video into two parts. So, both those parts will be separate clips and you can trim their ends, just like your original video. The aim here is to make the part that you want to trim either the end of the first clip or the beginning of the second. That way, you’ll be able to trim it out. So, here goes nothing.
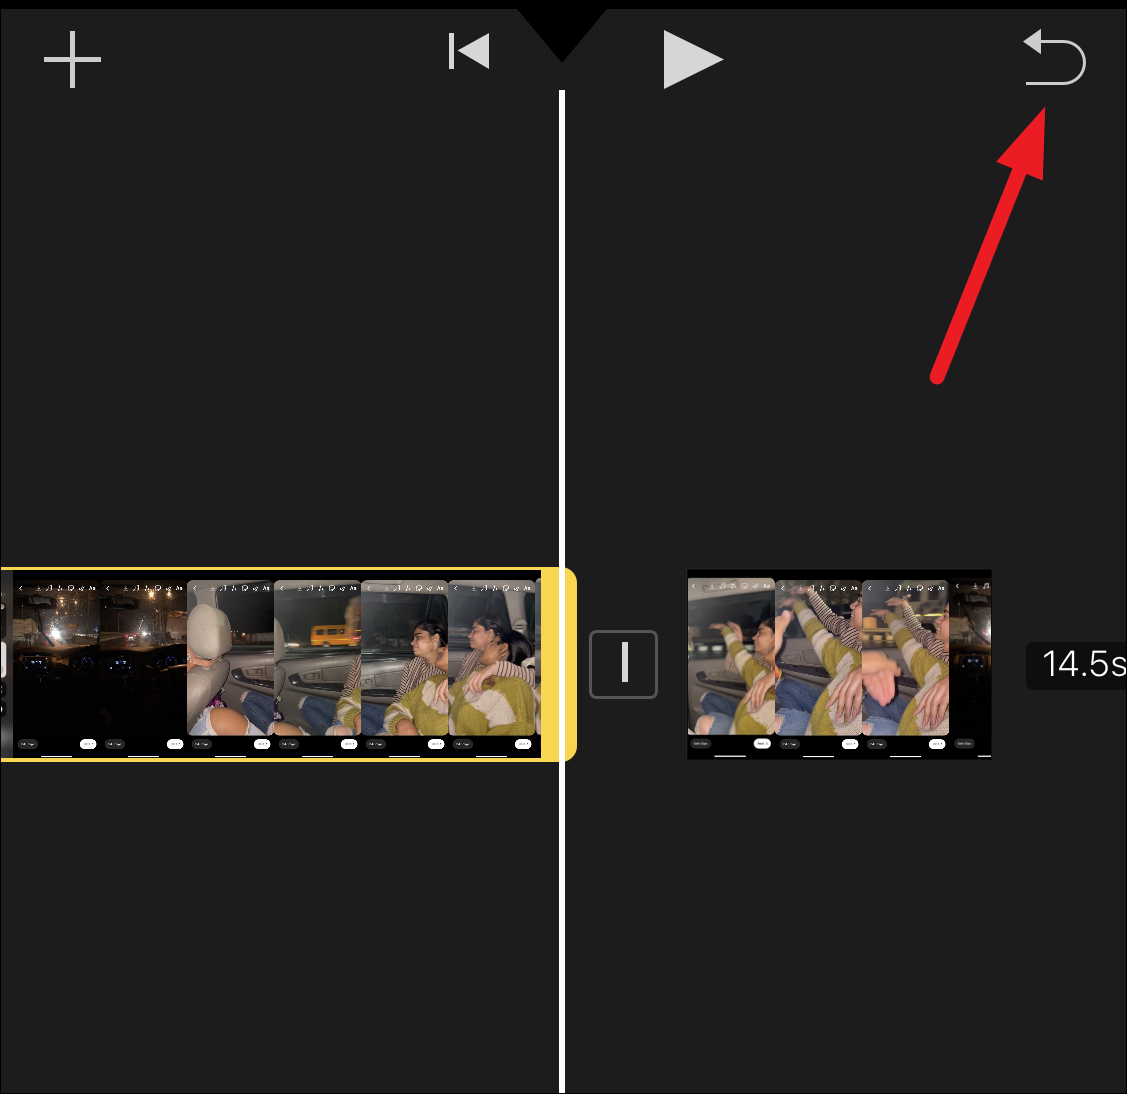
First, place the white bar where you’d like to split the video. Make sure the ‘Actions’ tool (Scissors icon) is selected from the bottom toolbar. Then, tap ‘Split’ from the secondary toolbar that’s just above the bottom toolbar.

The video will be split into two clips. Tap the clip that has the part that you want to trim to select it. Doing so will highlight it in yellow. Now, drag the border to the inside to trim it.

Unlike the Photos app, you cannot simply drag it out again if you end up trimming more than you intended. If that happens, you’ll have to tap ‘Undo’ to the top-left of the timeline and start trimming again.
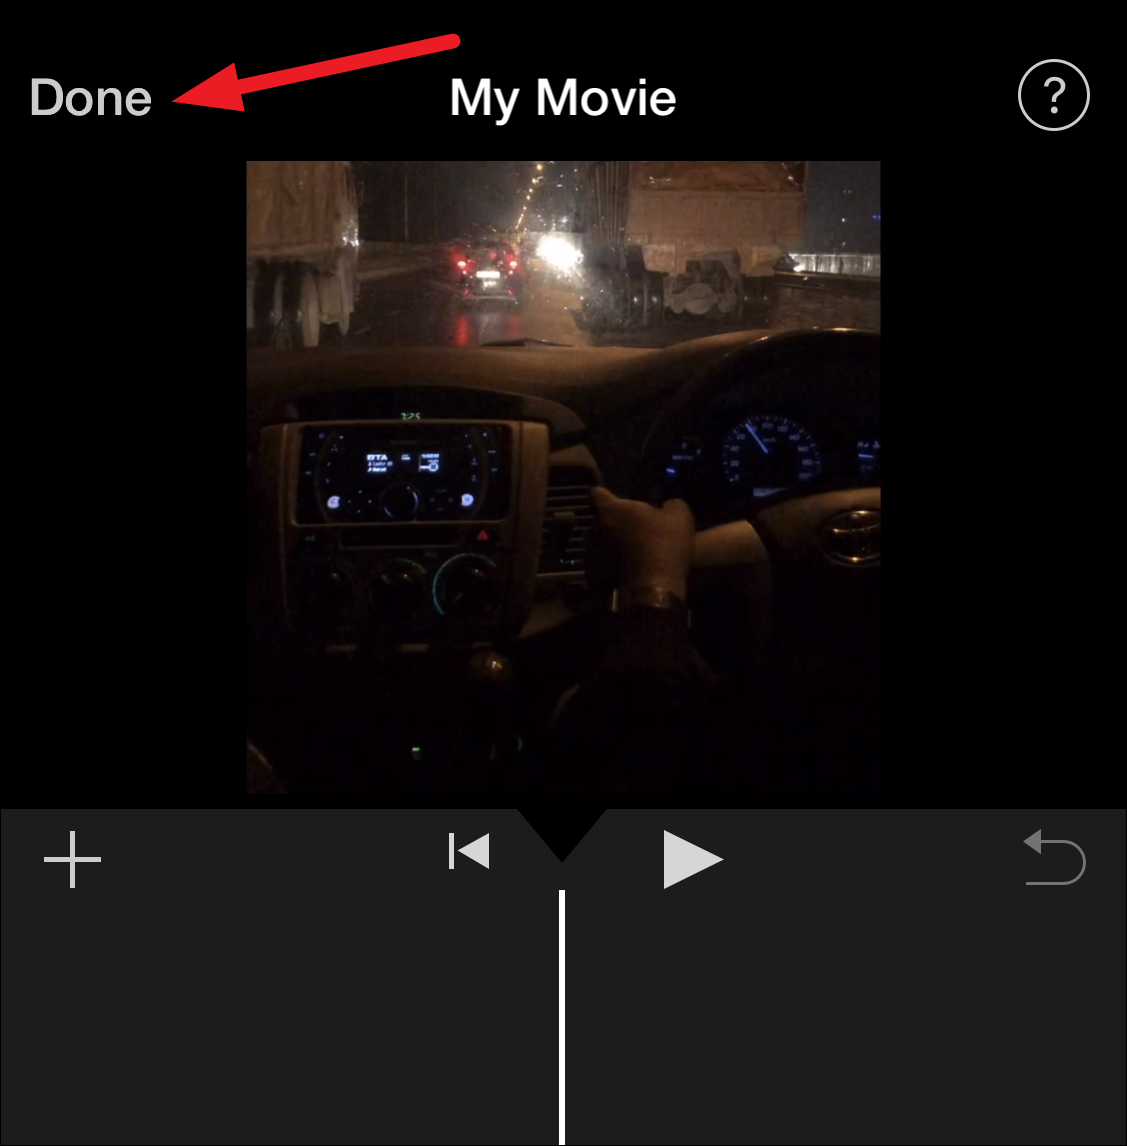
If there are more parts in the video you’d like to trim, repeat the steps for each of them. Tap ‘Done’ in the upper-left corner of the screen once there are no more edits to be made.
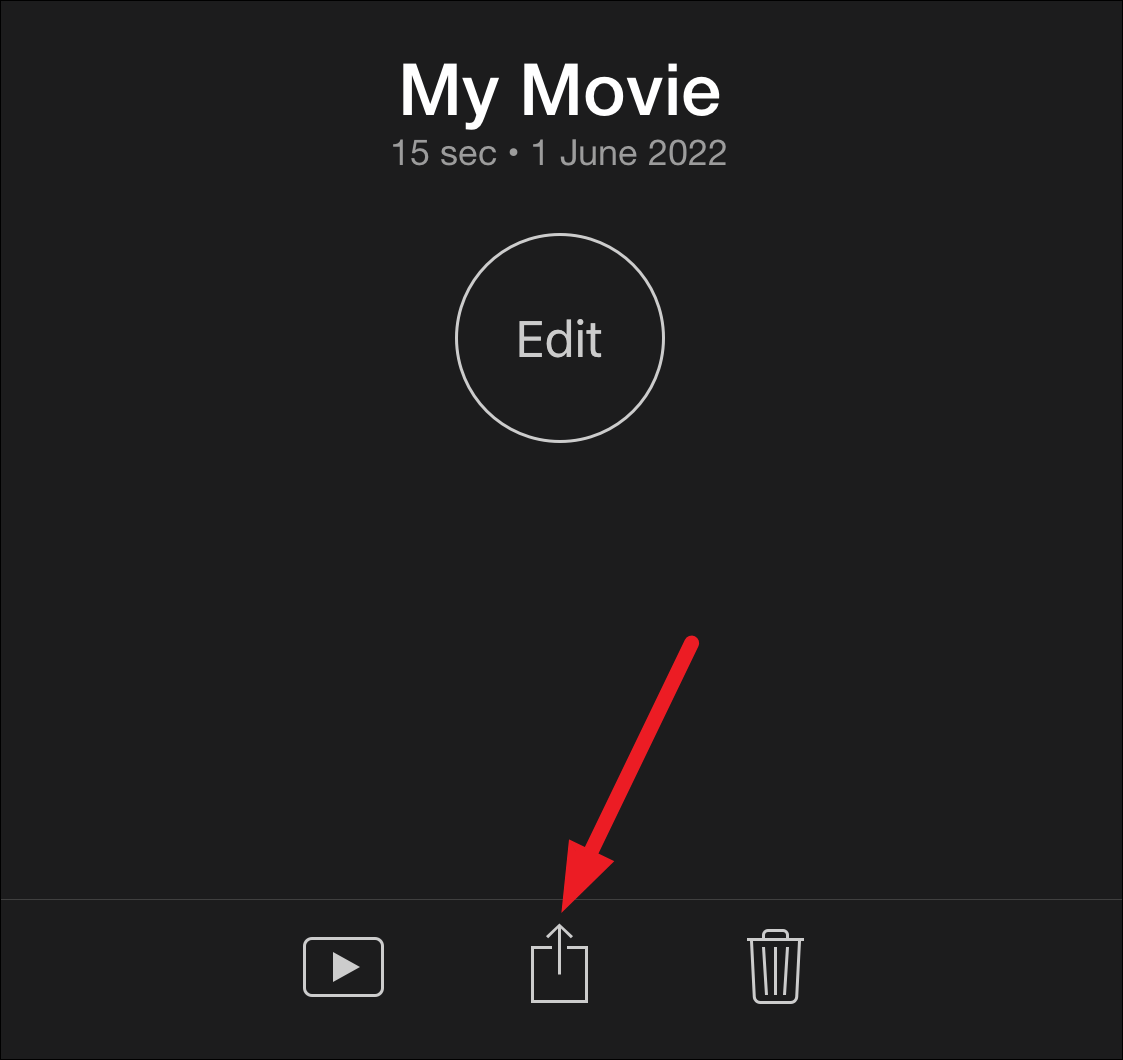
Then, tap the ‘Share’ button at the bottom to export the video from iMovie to your camera roll or share it to any other platform.
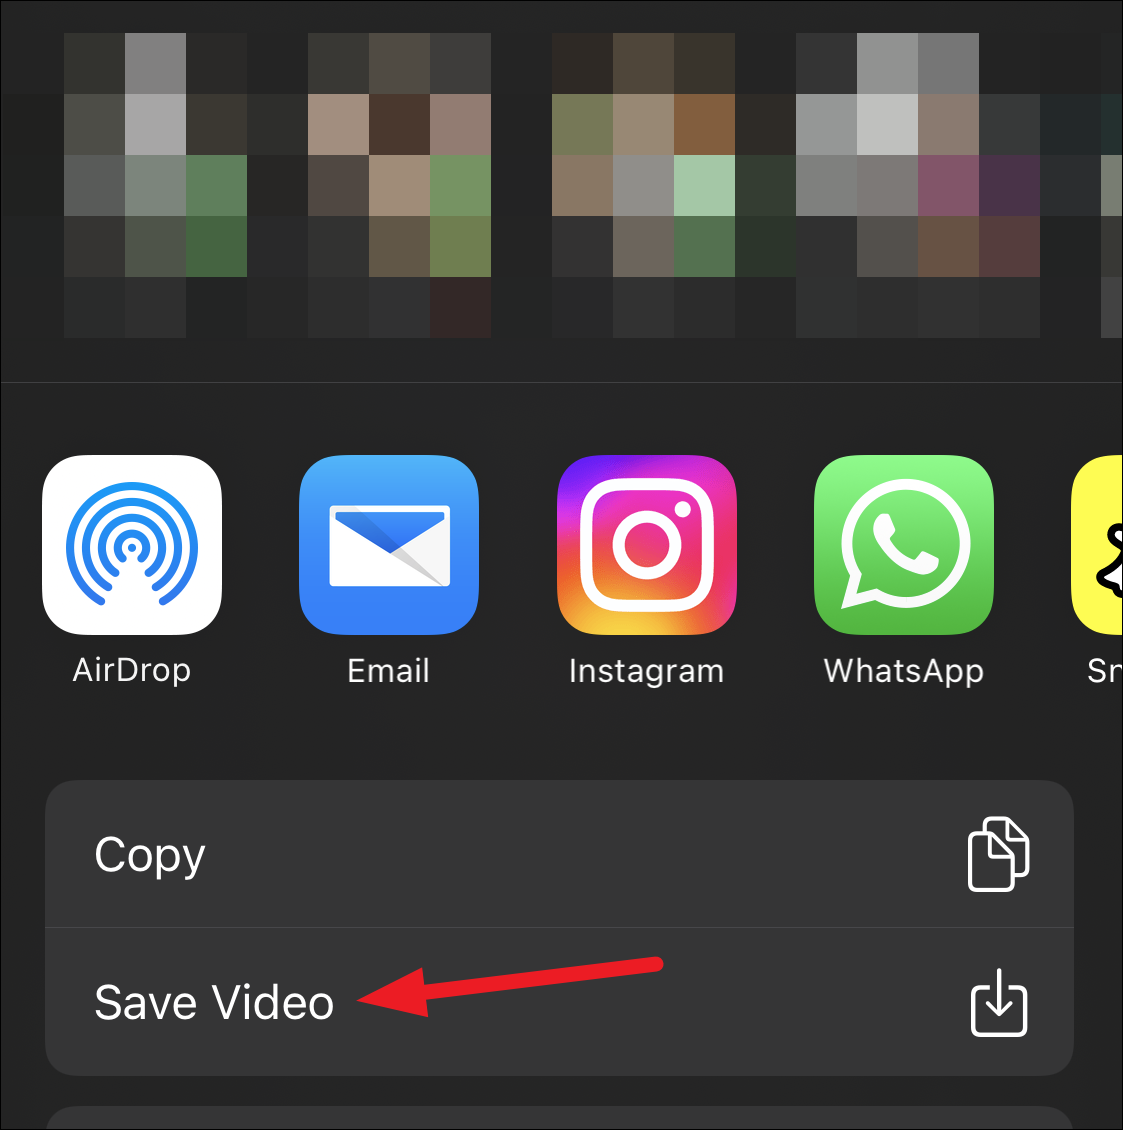
Tap ‘Save Video’ from the share sheet to save it to your camera roll.
There are many apps available in the App Store as well which you can use to trim your videos. But we find that these two apps are more than enough for any video you might want to shorten. If you want to crop your video instead, check out our guide on how to do that.


