The WHEA_UNCORRECTABLE_ERROR is a critical stop code error in Windows 11 that can cause your system to crash or restart unexpectedly. This error often indicates a hardware issue but can sometimes be resolved through software solutions. In this guide, we’ll explore several methods to help you identify and fix the problem, whether it’s hardware-related or due to software conflicts.
Why Does the WHEA_UNCORRECTABLE_ERROR Occur?
This blue screen error typically appears when Windows detects a hardware malfunction. Common causes include faulty hardware components like failing hard drives, bad memory (RAM), an incorrectly installed CPU, or overheating due to overclocking. However, outdated or incompatible drivers, incorrect BIOS settings, or software bugs can also trigger this error. It’s important to address it promptly to prevent data loss or further system damage.
Please note that if you’ve recently overclocked your CPU and started experiencing this error, reverting the overclock settings to default may resolve the issue immediately.
Check for Bad Sectors on Your Hard Drive
One of the first steps in troubleshooting is to check your hard drive for bad sectors using the CHKDSK utility. This tool scans your hard drive for errors and attempts to fix them. You can run CHKDSK through File Explorer or Command Prompt, but using File Explorer provides a straightforward approach.
This PC icon on your desktop or by pressing Windows + E on your keyboard.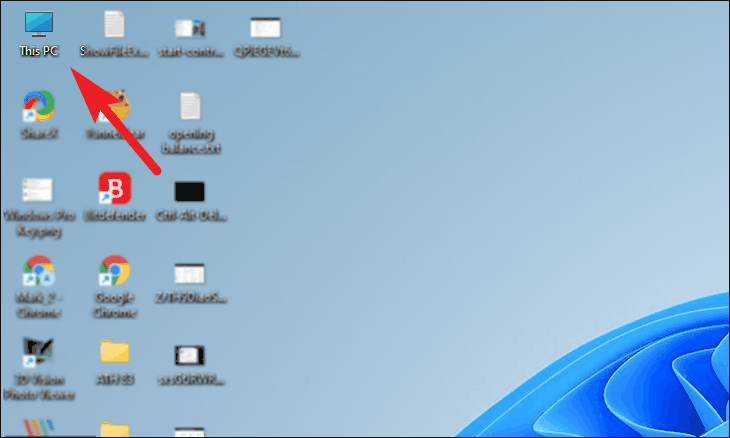
Properties from the context menu.
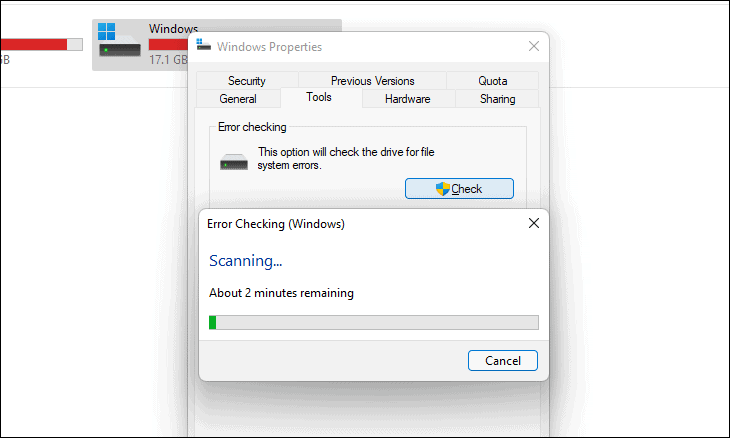
Tools tab and click on the Check button under the Error checking section.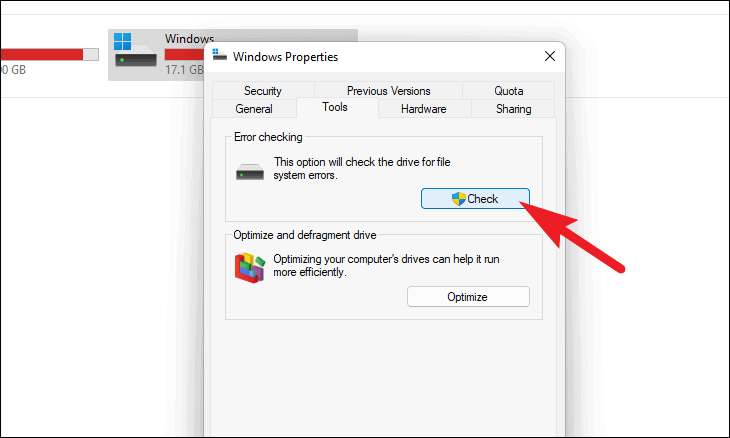
Scan drive. Otherwise, click Cancel.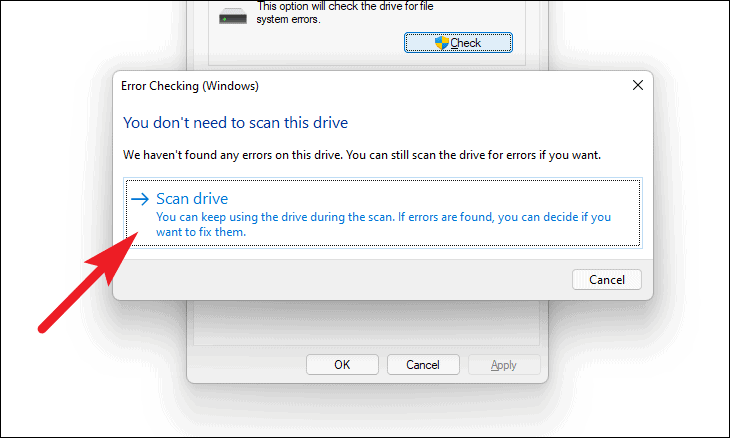
Wait for the scan to complete. If any errors are found, you will be prompted to fix them. Follow the on-screen instructions to repair the drive. If no errors are detected, proceed to the next solution.
Run Windows Memory Diagnostics
Faulty RAM can also cause the WHEA_UNCORRECTABLE_ERROR. The Windows Memory Diagnostic tool can help you check for memory problems.
Windows Memory Diagnostic, and select the application from the search results.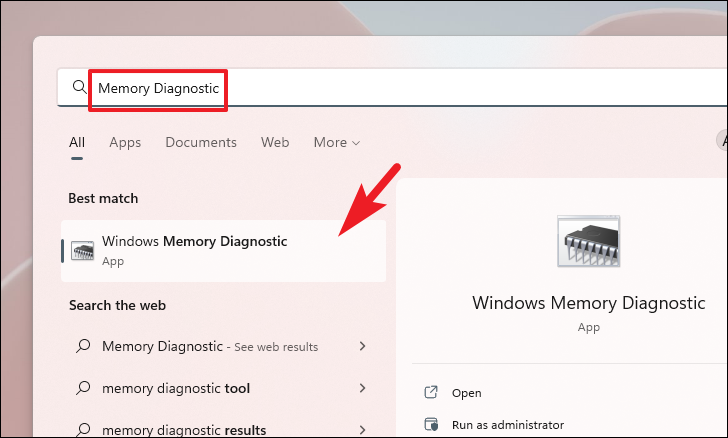
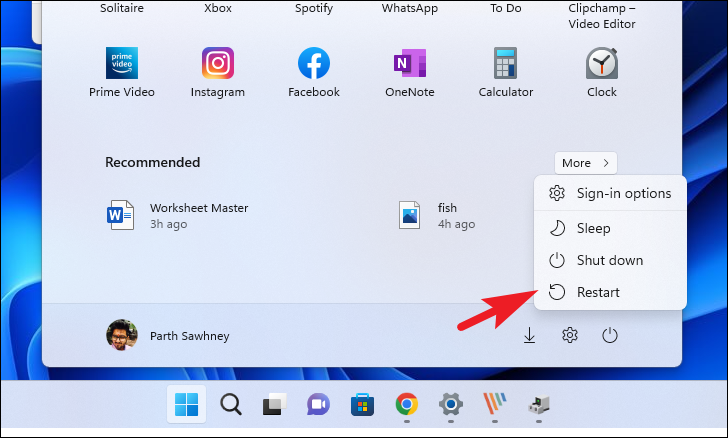
Restart now and check for problems. Your computer will restart and begin the memory test.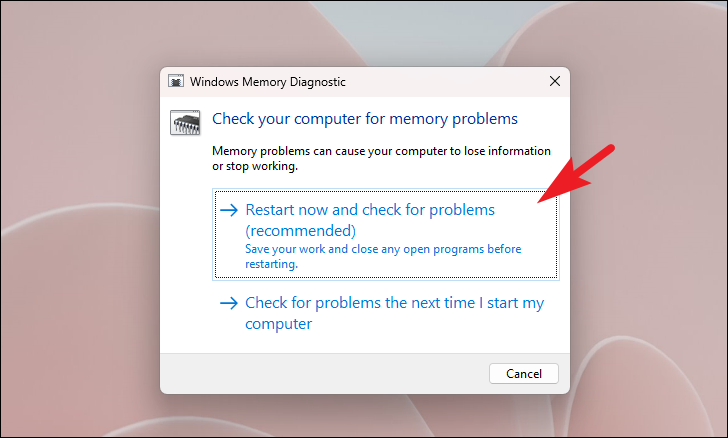
The diagnostic tool will run and automatically fix any detected memory issues. Once completed, your system will reboot and return to Windows. Check if the error persists.
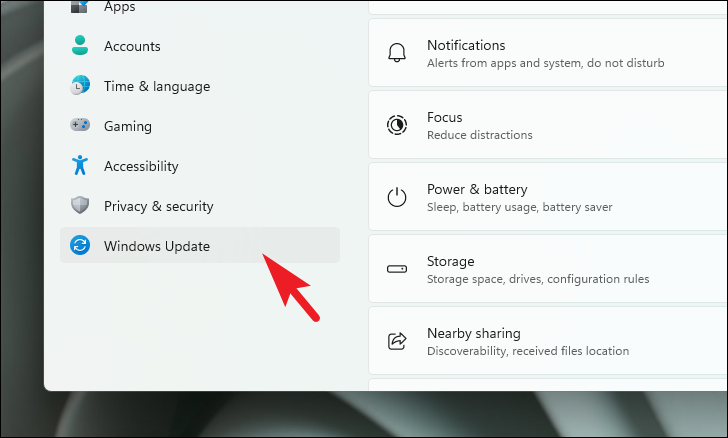
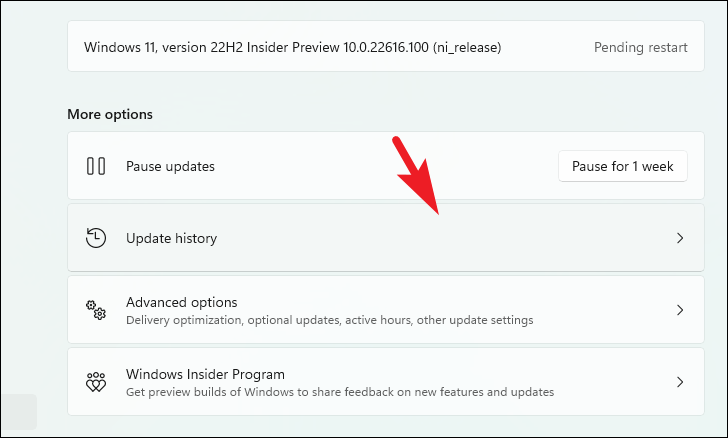
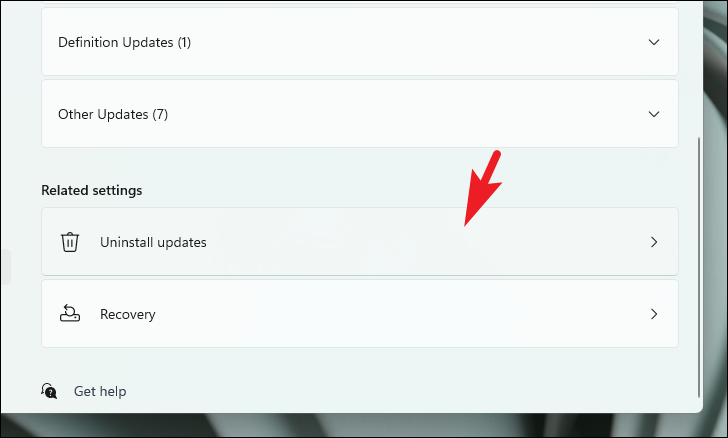
Uninstall Recently Installed Updates
If the error started appearing after a recent Windows update, uninstalling the update might resolve the issue.
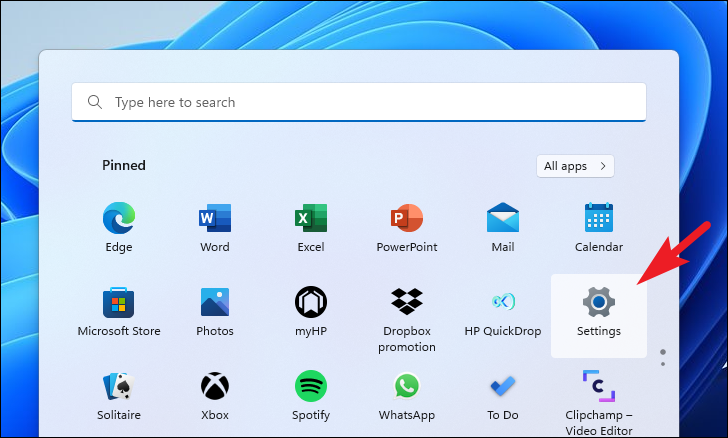
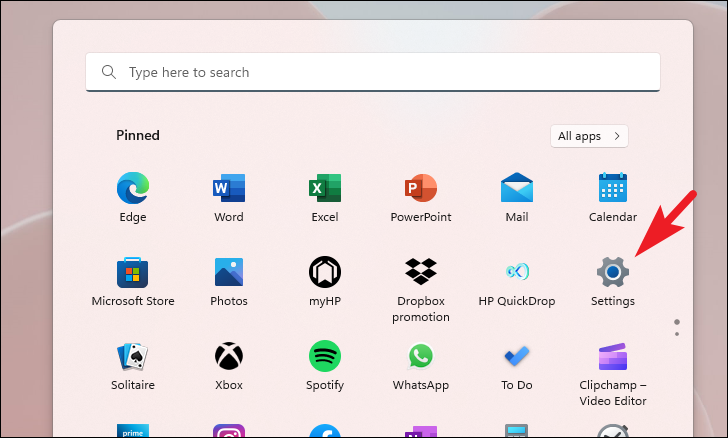
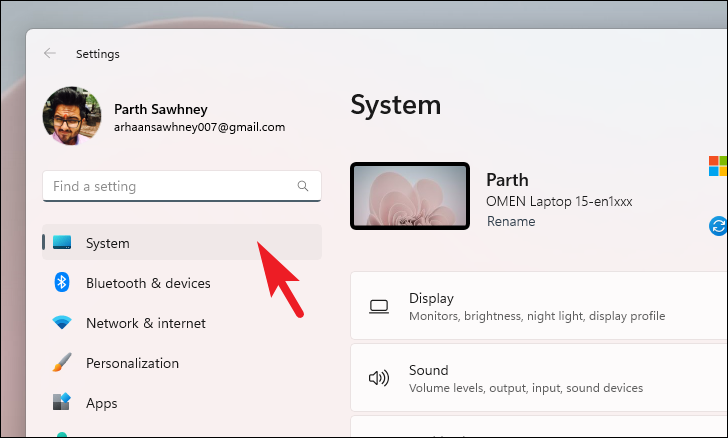
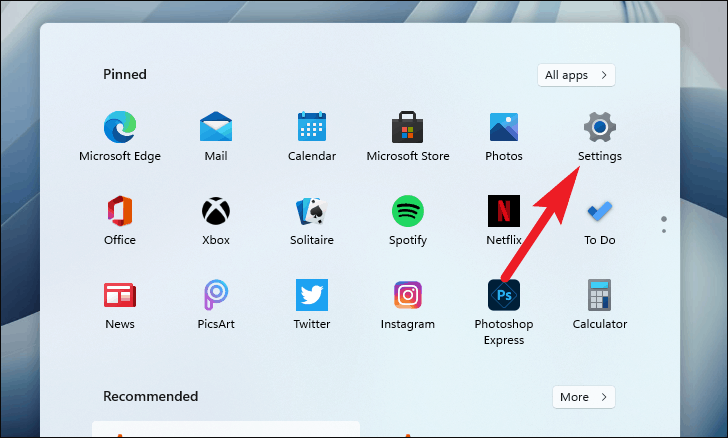
Settings icon in the Start Menu or by pressing Windows + I on your keyboard.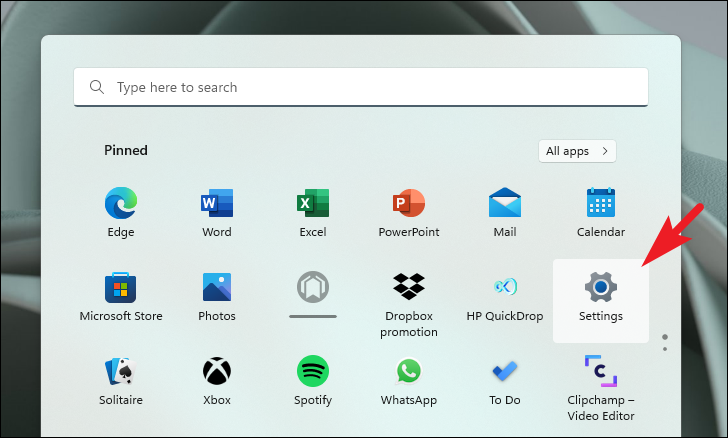
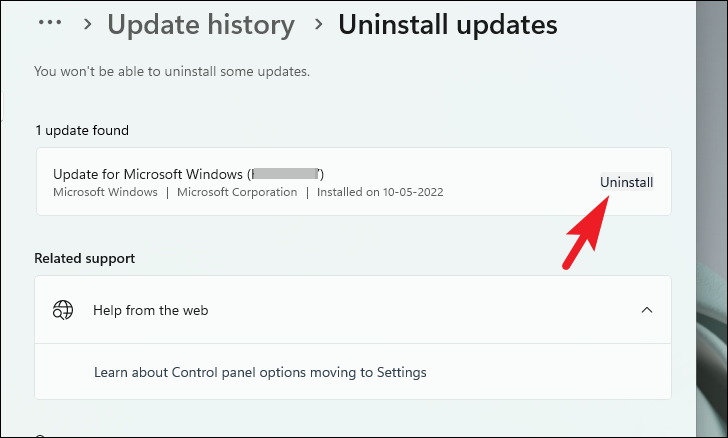
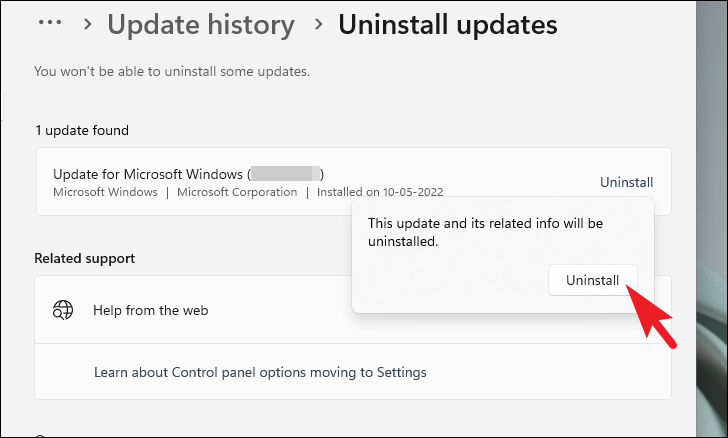
After the update is uninstalled, restart your computer and check if the error has been resolved.
Update or Install Missing Drivers
Outdated or missing drivers can lead to hardware conflicts causing the WHEA_UNCORRECTABLE_ERROR. Updating your drivers can often fix the problem.
Driver updates section. Check the boxes next to any drivers you wish to update, then click on Download & install.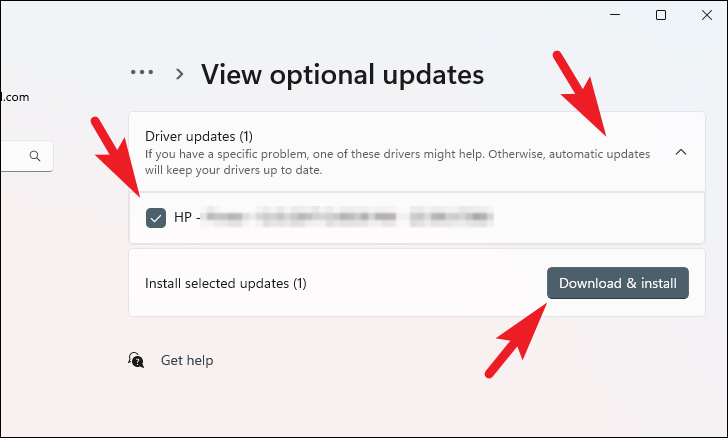
You can also update drivers through Device Manager for more control over individual devices.
Device Manager in the Start Menu search and selecting it from the results.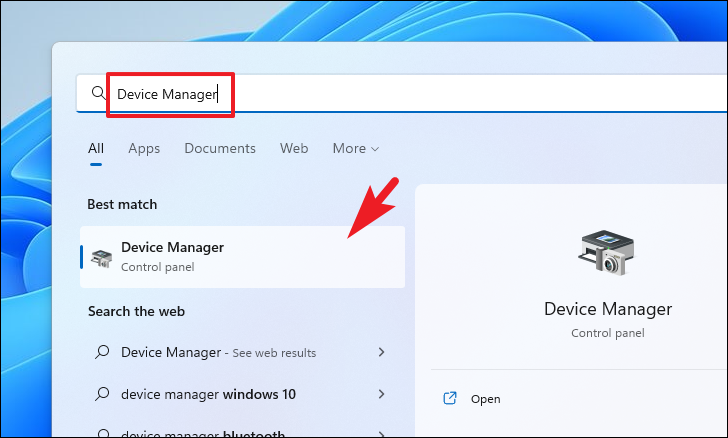
Note: The following steps demonstrate updating a driver for Bluetooth devices. You can apply similar steps to other hardware categories.
Bluetooth). Right-click on the device (e.g., Intel Wireless Bluetooth) and select Properties.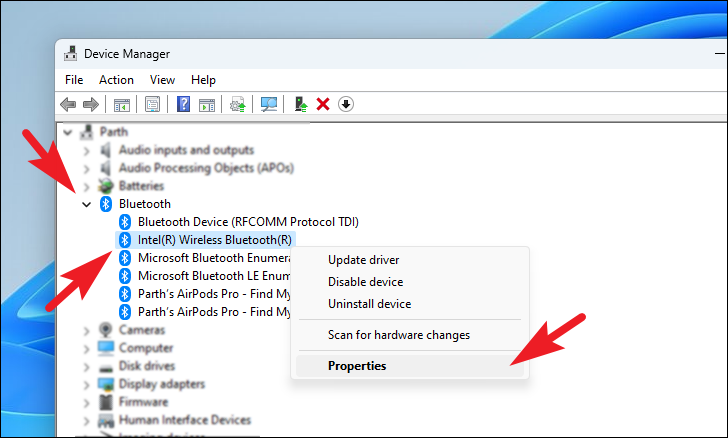
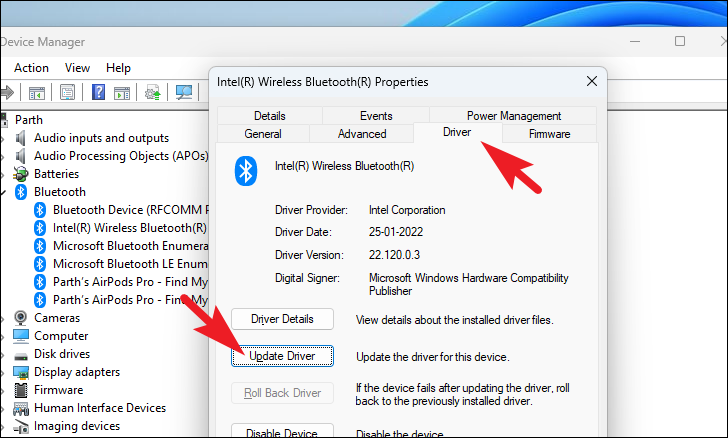
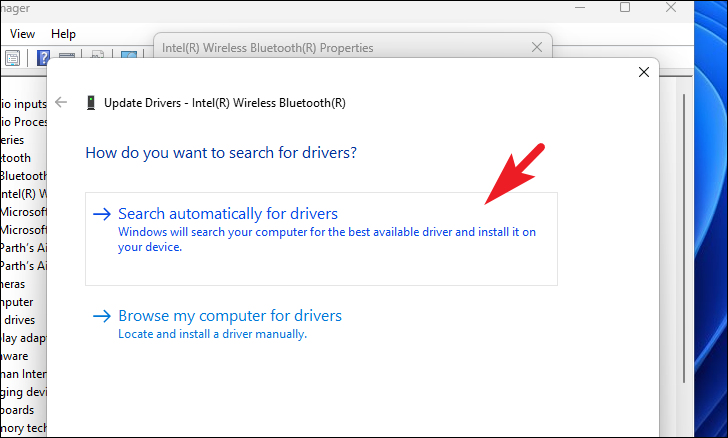
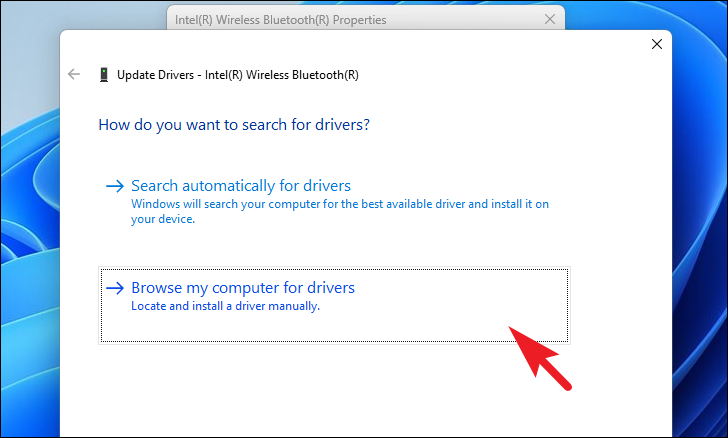
If you have downloaded the driver manually, select Browse my computer for drivers and navigate to the driver file.
After the driver is updated, restart your computer to ensure the changes take effect.
Disable External Audio Devices
Sometimes, external audio devices can cause conflicts leading to the error. Disabling them might help.
More sound settings under the Advanced section. This will open the Sound settings window.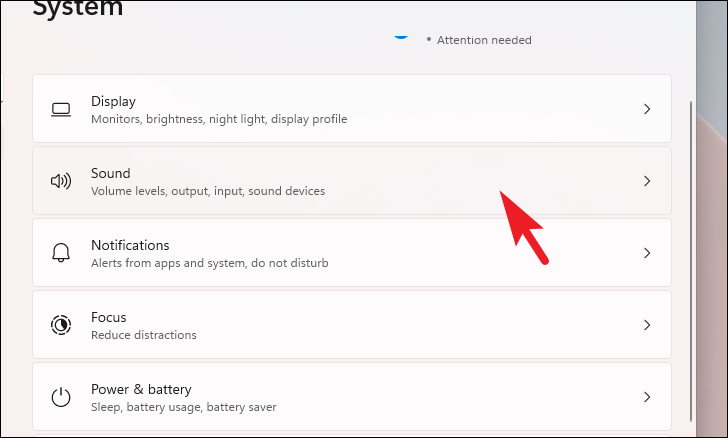
Disable. Repeat this for all external audio devices except your default device.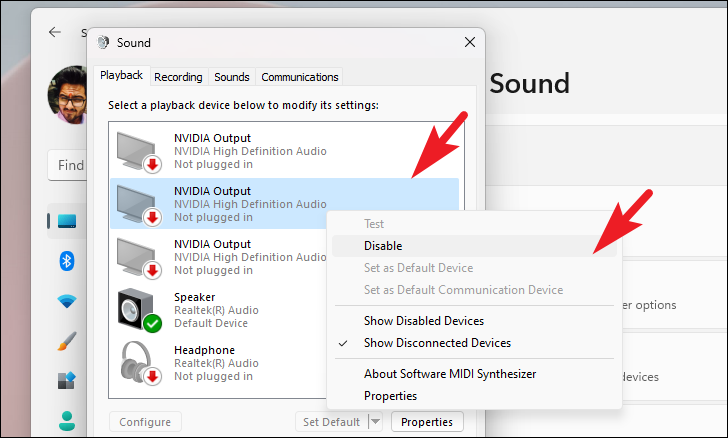
After disabling the devices, restart your computer and check if the error has been resolved.
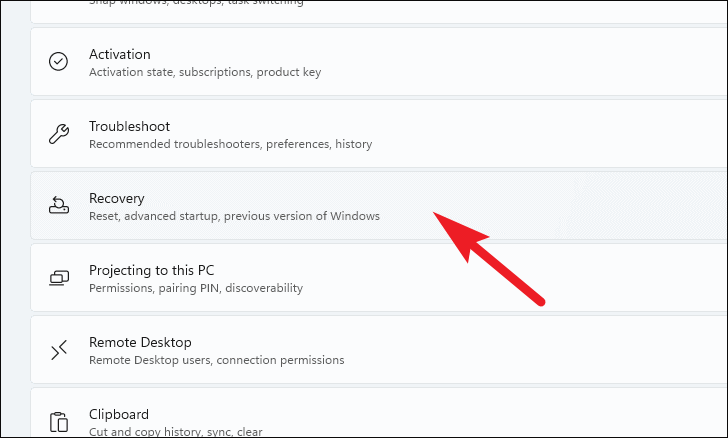
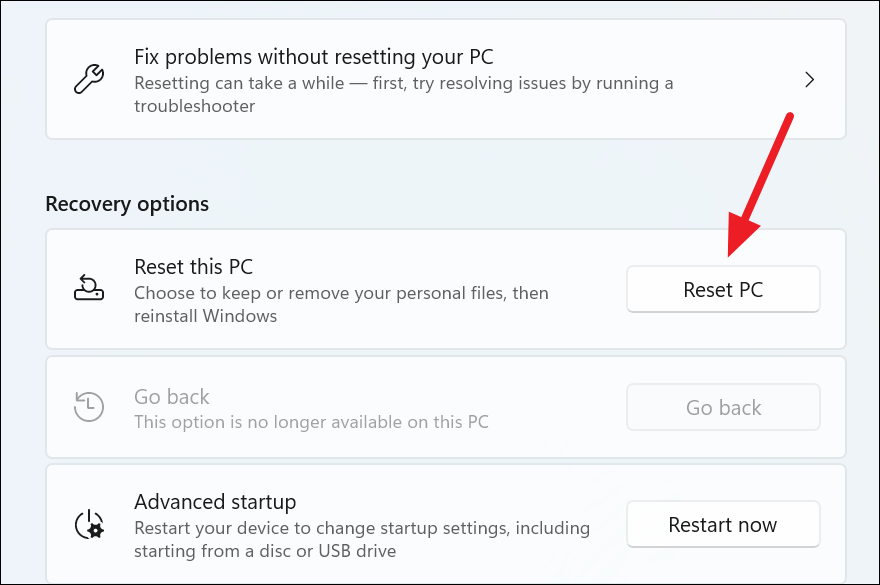
Reset Your PC
If none of the above solutions work, resetting your PC may be necessary. This process reinstalls Windows but allows you to keep your personal files. However, it will remove installed programs and reset settings to defaults.
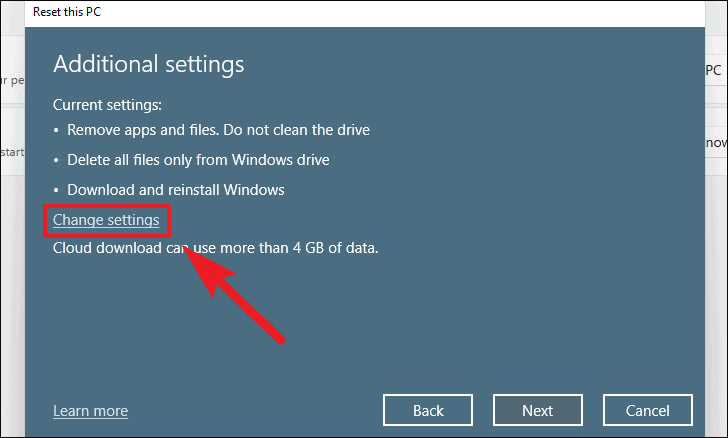
Keep my files to retain your personal data. If you want to remove everything, select Remove everything.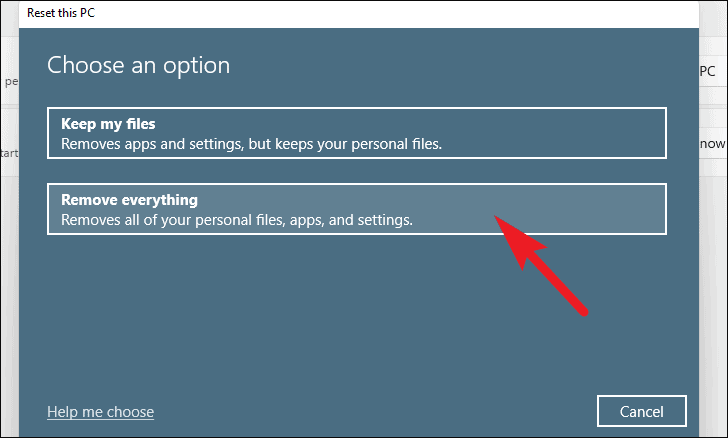
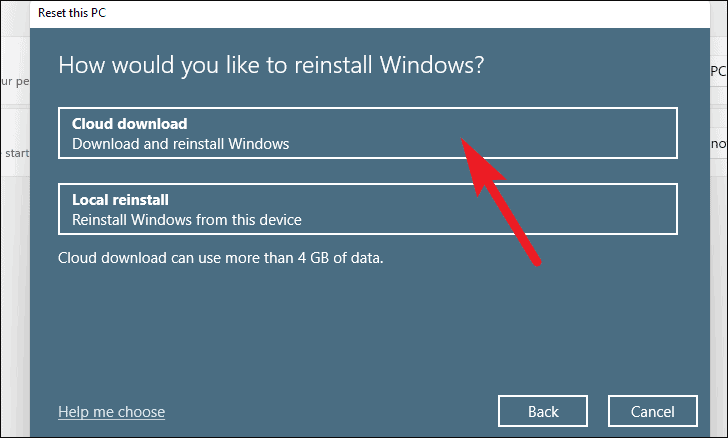
Cloud download to download a fresh copy of Windows. Note that this requires an internet connection and will use several gigabytes of data.Note: Cloud download requires an active internet connection and will use over 4 GB of data.
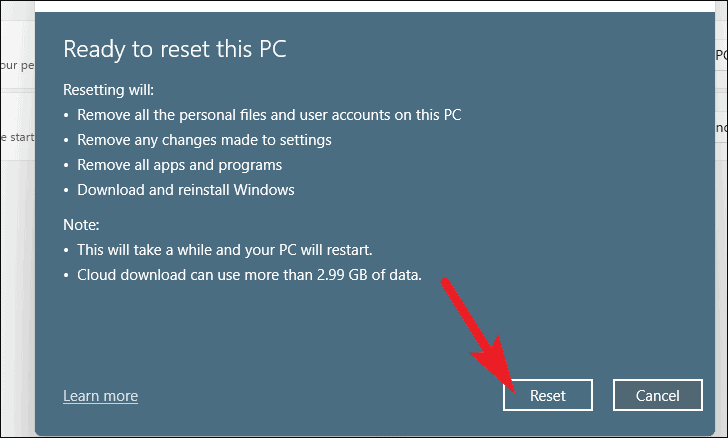
Your PC will restart several times during the reset process. Once complete, set up your PC and check if the error has been resolved.
The WHEA_UNCORRECTABLE_ERROR is a serious issue that can affect your system’s stability. By following the steps outlined above, you should be able to identify and fix the underlying problem, whether it’s hardware-related or due to software conflicts.


