
Screenshot files piling up in your OneDrive cloud folder can quickly eat up storage space and clutter your photo organization. When Windows is set to auto-save screenshots to OneDrive, every PrtScn or Snipping Tool capture gets uploaded—sometimes even when you don’t want it to. Disabling this feature keeps screenshots local, giving you more control over where your captures are stored and how they’re managed.
Turn Off Automatic Screenshot Saving in OneDrive Settings
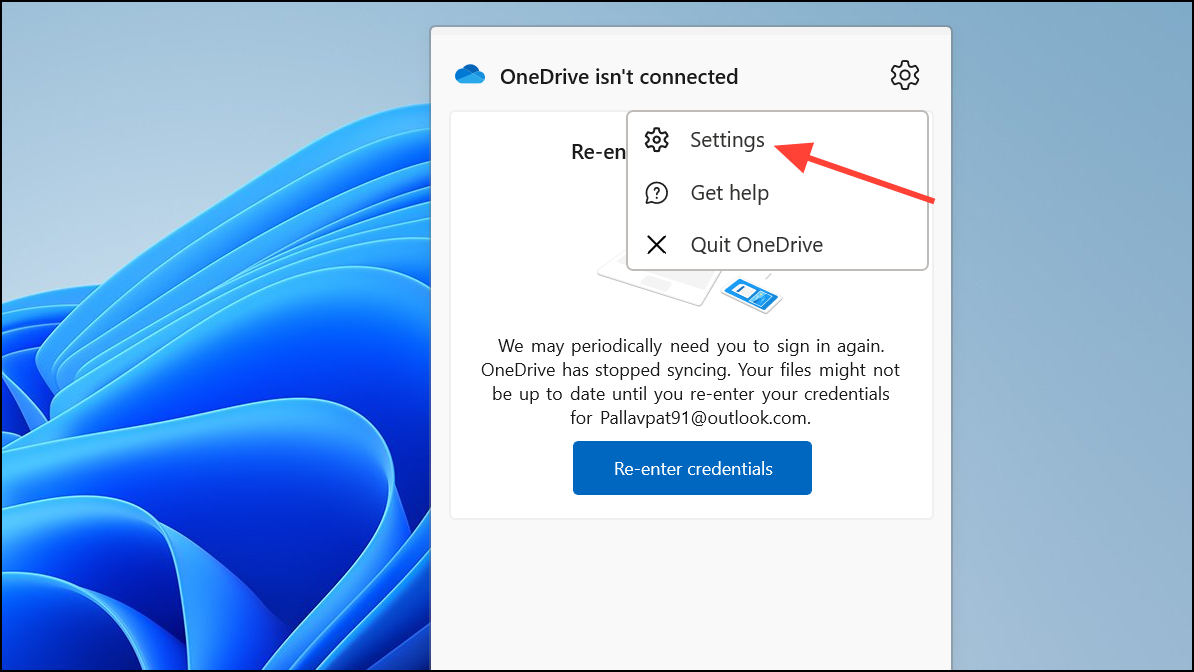
Step 1: Locate the OneDrive icon in your Windows taskbar notification area, typically near the clock. Right-click the icon to open the context menu, then select Settings. This opens OneDrive’s configuration panel, where backup and sync options are managed.
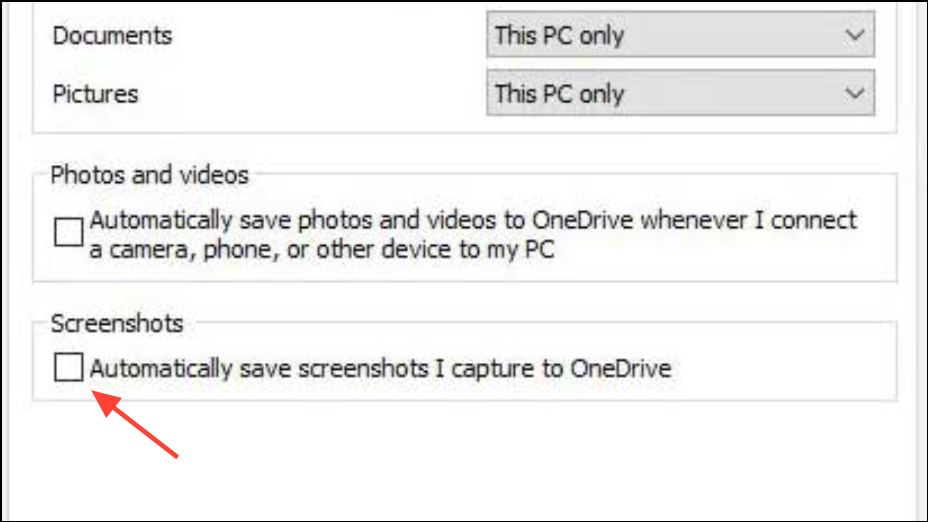
Step 2: In the Settings window, look for either the Backup tab or the Sync and backup section (the exact name may vary depending on your Windows and OneDrive version). Here, you’ll find a checkbox or toggle labeled Automatically save screenshots I capture to OneDrive or Save screenshots I capture to OneDrive.
Step 3: Uncheck the box or turn off the toggle. This disables automatic uploading of screenshots to the OneDrive/Pictures/Screenshots folder. Screenshots will now remain only on your clipboard and will not be sent to the cloud unless you manually move them.
Step 4: Click OK or Apply to save your changes. You may need to restart OneDrive or your computer for the setting to take effect.
Stop Snipping Tool from Auto-Saving to OneDrive
Recent Windows updates introduced automatic saving of snips from the Snipping Tool directly to OneDrive. If you use the Snipping Tool and notice captures are still being uploaded, you’ll need to adjust its settings as well.
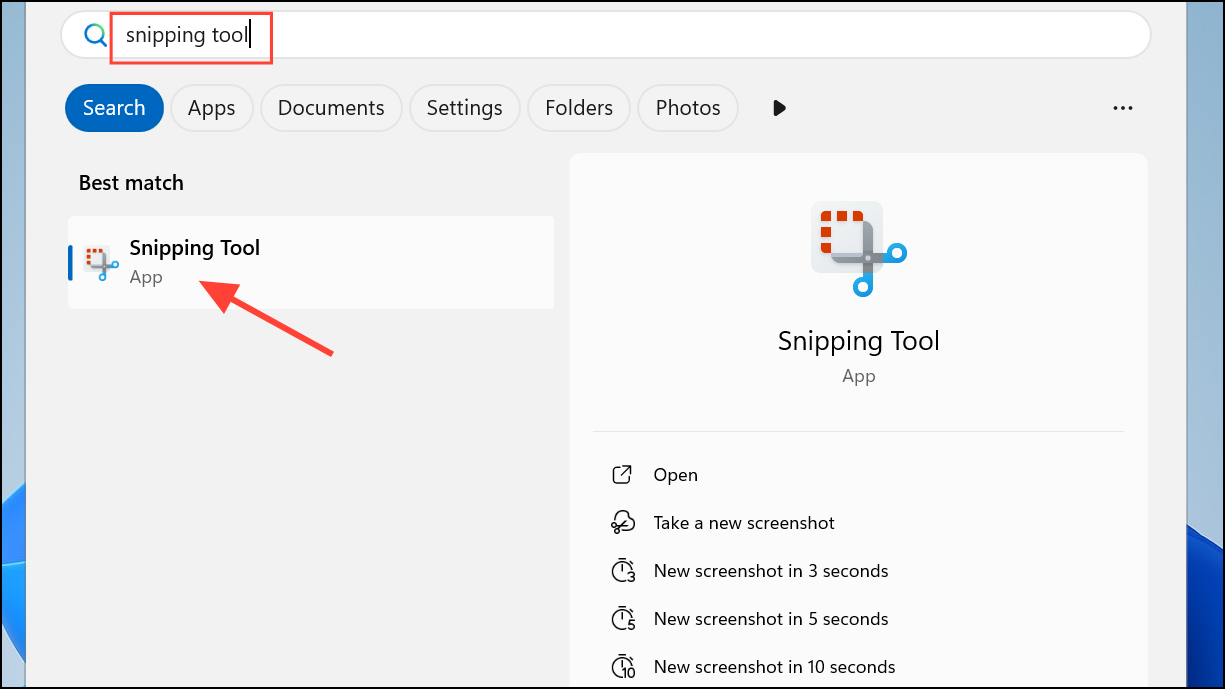
Step 1: Open the Snipping Tool application. You can find it by searching for “Snipping Tool” in the Windows Start menu.
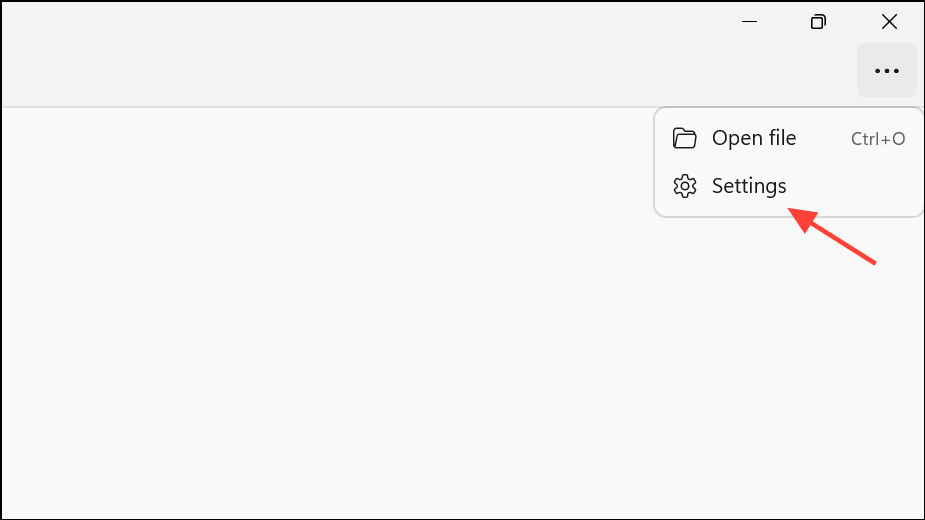
Step 2: Click the three-dot menu (…) in the upper right corner of the Snipping Tool window, then select Settings. In some versions, you may see an Options tab instead.
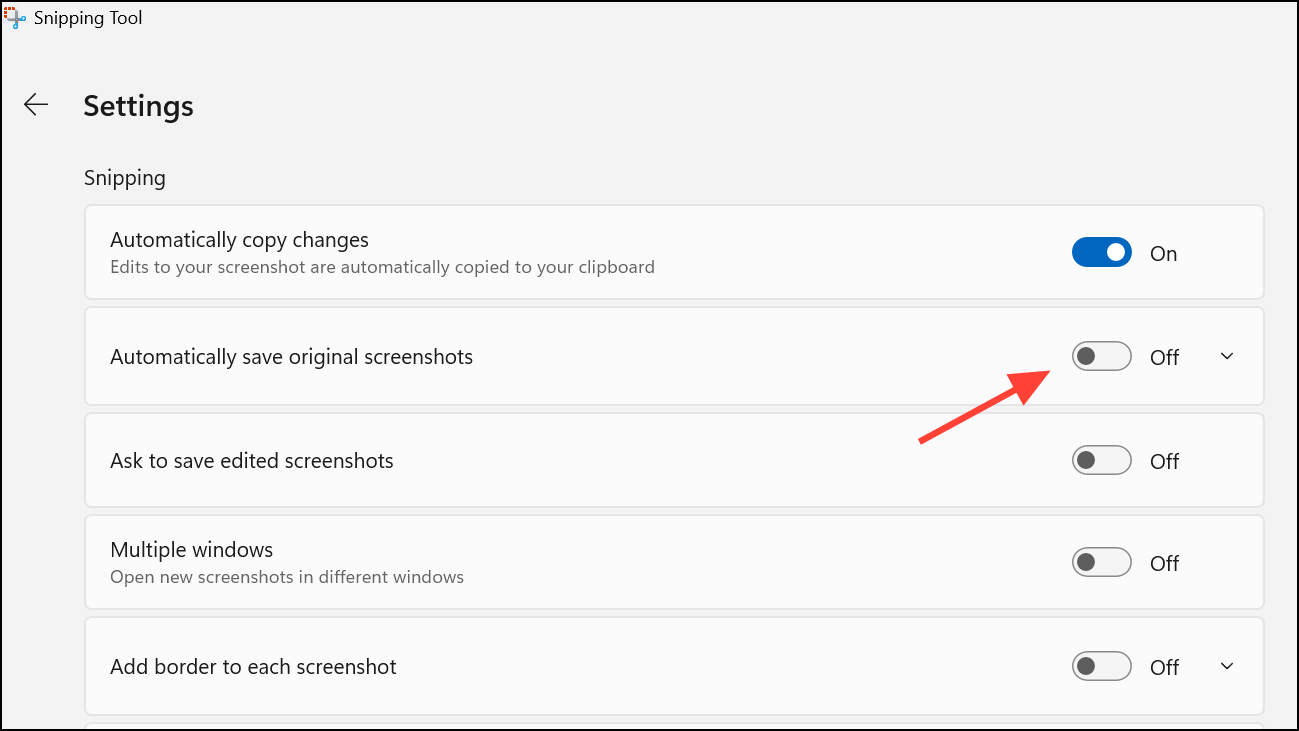
Step 3: Find the setting labeled Automatically save original screenshots or Auto save screenshots to OneDrive and turn it off. This prevents the Snipping Tool from saving each capture to your OneDrive folder by default.
Step 4: Close the Settings window. Your screenshots will now remain local unless you choose to save or upload them manually.
Unlink the Pictures Folder from OneDrive Backup
If you want screenshots to save locally but not sync to the cloud, you can adjust which folders OneDrive backs up. This method is useful if you want to keep using the Pictures\Screenshots folder on your PC but don’t want its contents uploaded.
Step 1: Right-click the OneDrive icon in the taskbar and select Settings.
Step 2: Go to the Sync and backup section and click on Manage backup.
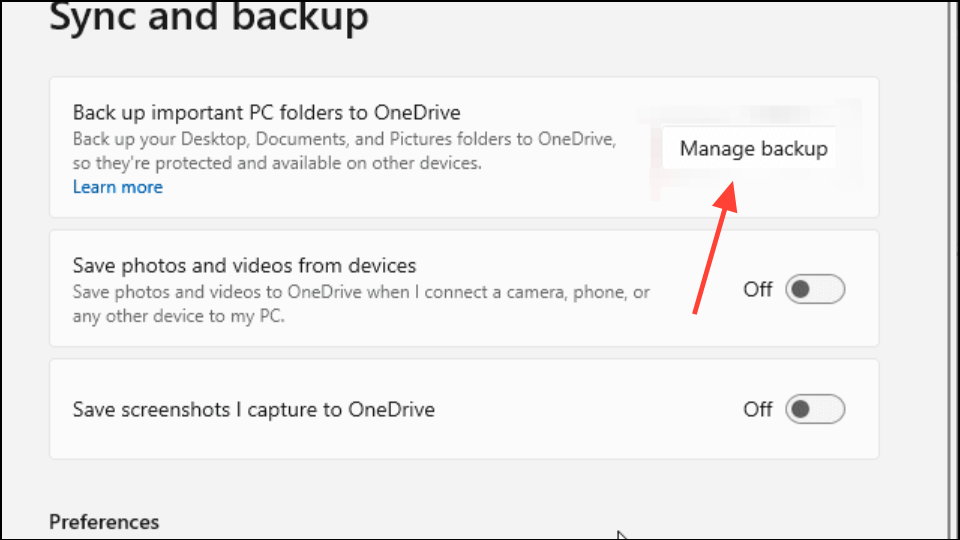
Step 3: Uncheck the Pictures folder. This removes the Pictures folder (and its subfolders, including Screenshots) from OneDrive’s automatic backup, so new screenshots will be saved locally only.
Step 4: Confirm your changes and exit the settings. Going forward, screenshots will not be uploaded to OneDrive, but will still be stored in your local Pictures folder.
Reset OneDrive Settings if the Option Is Missing or Not Working
Some users report that the option to disable screenshot syncing is missing or doesn’t work as expected, especially after Windows updates. Resetting OneDrive can restore default settings and resolve glitches.
Step 1: Press Windows + R to open the Run dialog box.
Step 2: Enter the following command and press Enter:
%localappdata%\Microsoft\OneDrive\onedrive.exe /reset
This command resets the OneDrive app. Wait for OneDrive to restart—if it doesn’t, open it manually from the Start menu.
Step 3: Once OneDrive restarts, repeat the steps above to disable screenshot saving in OneDrive’s settings.
Disabling automatic screenshot saving to OneDrive gives you direct control over your captures and keeps your cloud storage organized. If you ever want to re-enable this feature, just revisit these settings and toggle them back on.