
Typing three or more dashes, underscores, or equal signs followed by Enter in Microsoft Word instantly triggers the program to replace those characters with a horizontal line spanning the page. This automatic formatting, known as AutoFormat, speeds up document sectioning but can interfere when you need the actual characters to remain or want to avoid unwanted lines in your document. Once inserted, these lines are not simple text—they’re paragraph borders, making them difficult to remove with standard delete or backspace methods.
Turn Off Automatic Horizontal Line Creation
Disabling the AutoFormat feature responsible for automatic horizontal lines ensures Word no longer converts sequences of dashes, underscores, or similar symbols into lines. This adjustment stops the behavior entirely, so you can type those characters without interruption.
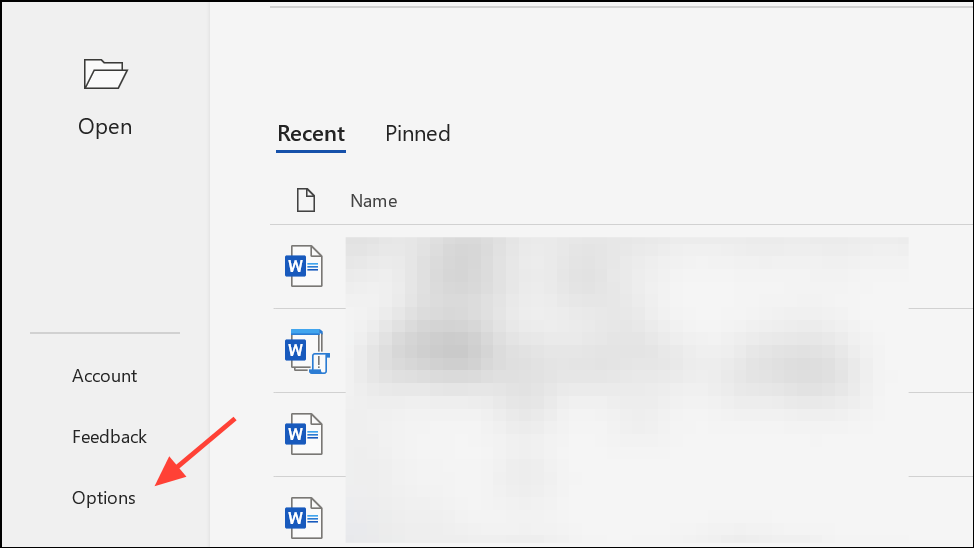
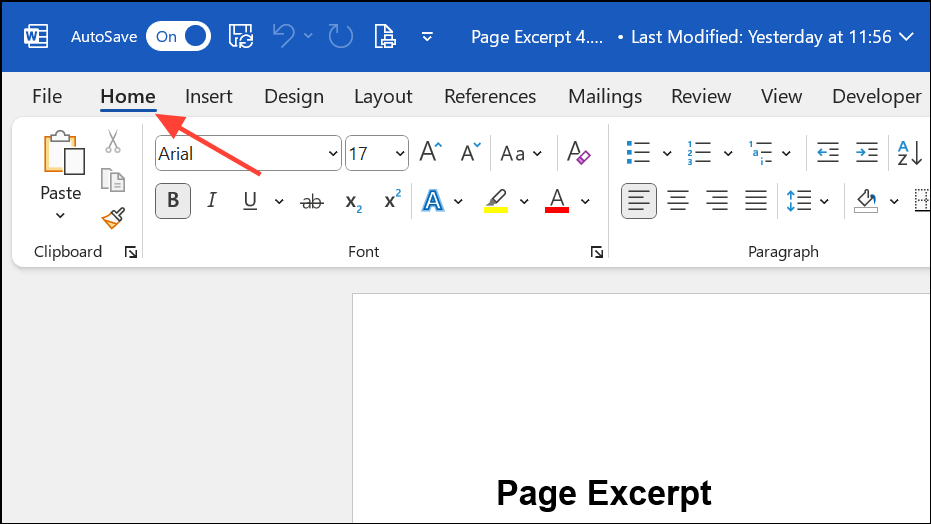
Step 1: Open the File tab in the upper left corner of the Word window to access settings and options.
Step 2: Select Options at the bottom of the left sidebar to open the Word Options dialog box.
Step 3: In the Word Options dialog, click Proofing in the left menu. This section includes settings for spelling, grammar, and AutoCorrect.
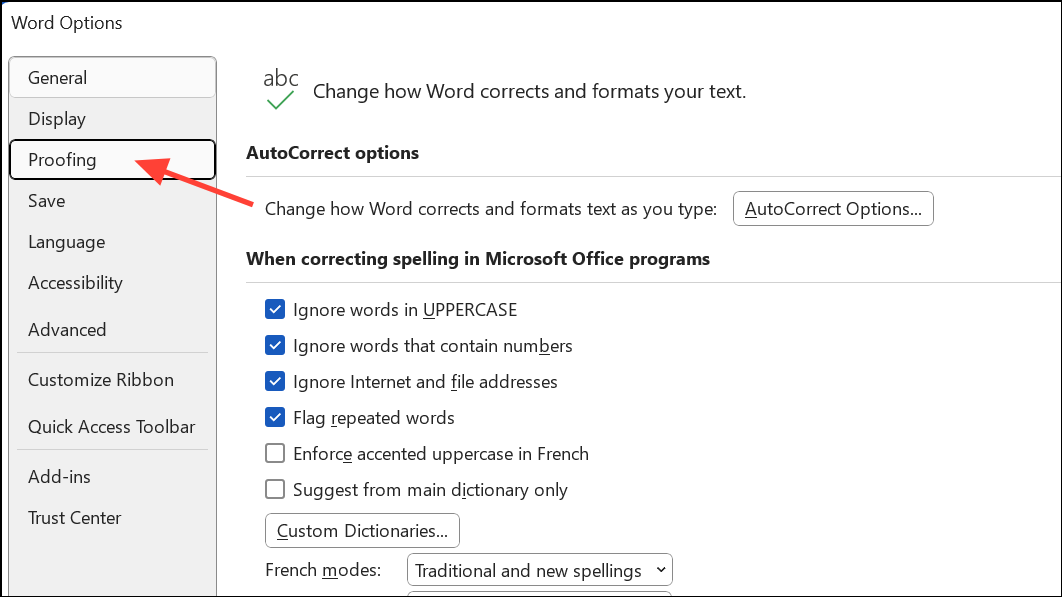
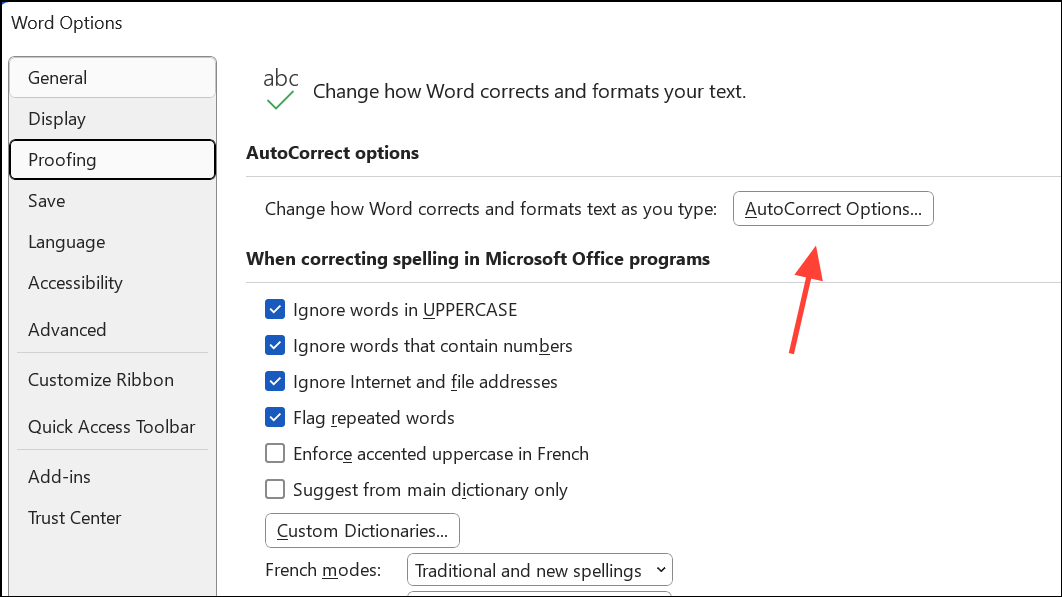
Step 4: Click the AutoCorrect Options… button to access AutoCorrect settings.
Step 5: Switch to the AutoFormat As You Type tab in the AutoCorrect dialog box. This tab manages real-time formatting behaviors.
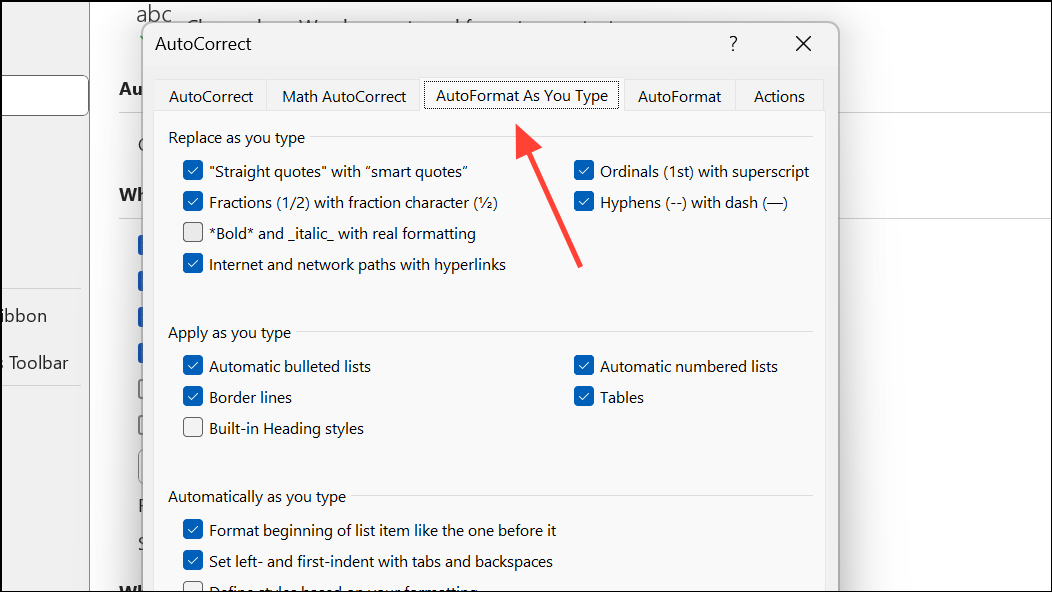
Step 6: In the “Apply as you type” section, find the checkbox labeled Border lines. Remove the checkmark by clicking the box, disabling automatic horizontal line creation.
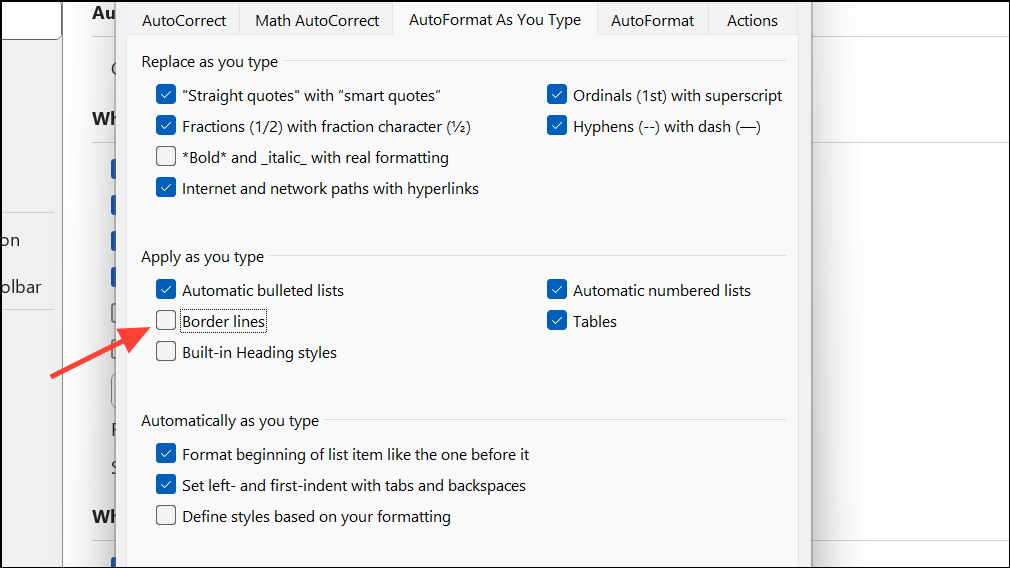
Step 7: Click OK to confirm changes and close each dialog box.
After making this change, Word will leave your dashes, underscores, or equal signs unchanged when you press Enter, and no new automatic lines will appear.
Remove Existing Automatic Horizontal Lines
When a horizontal line has already appeared, deleting it with Backspace or Delete won’t work, since Word applies a bottom border to the paragraph above the line rather than inserting a line character. Removing this border restores your document’s intended layout.
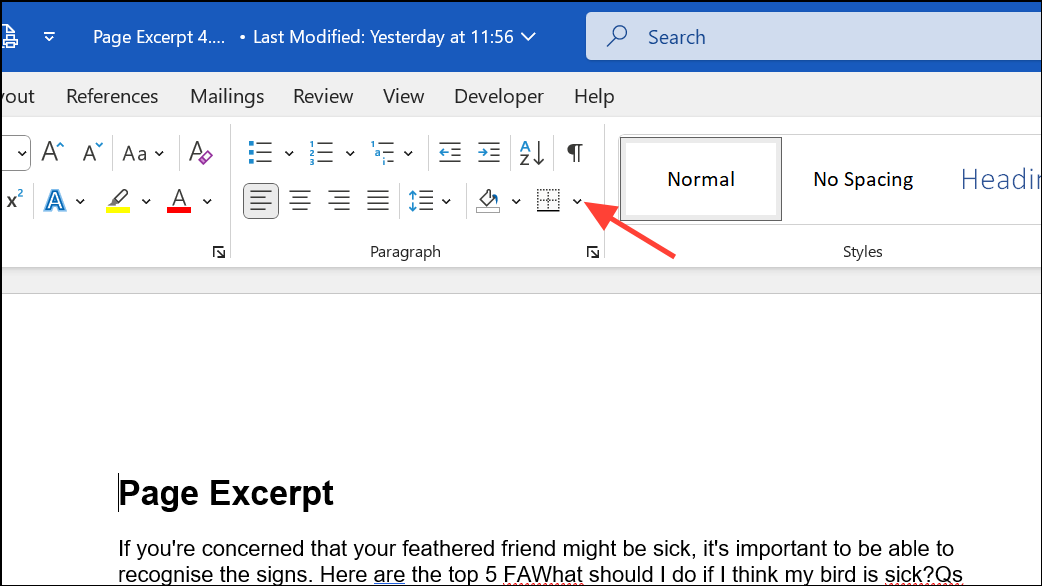
Step 1: Place your cursor in the paragraph immediately above the unwanted horizontal line. This is crucial because the border is applied to that paragraph, not the line itself.
Step 2: Go to the Home tab on the ribbon to access paragraph formatting tools.
Step 3: In the Paragraph group, click the small downward arrow next to the Borders button. This button typically shows a small rectangle with a border at the bottom.
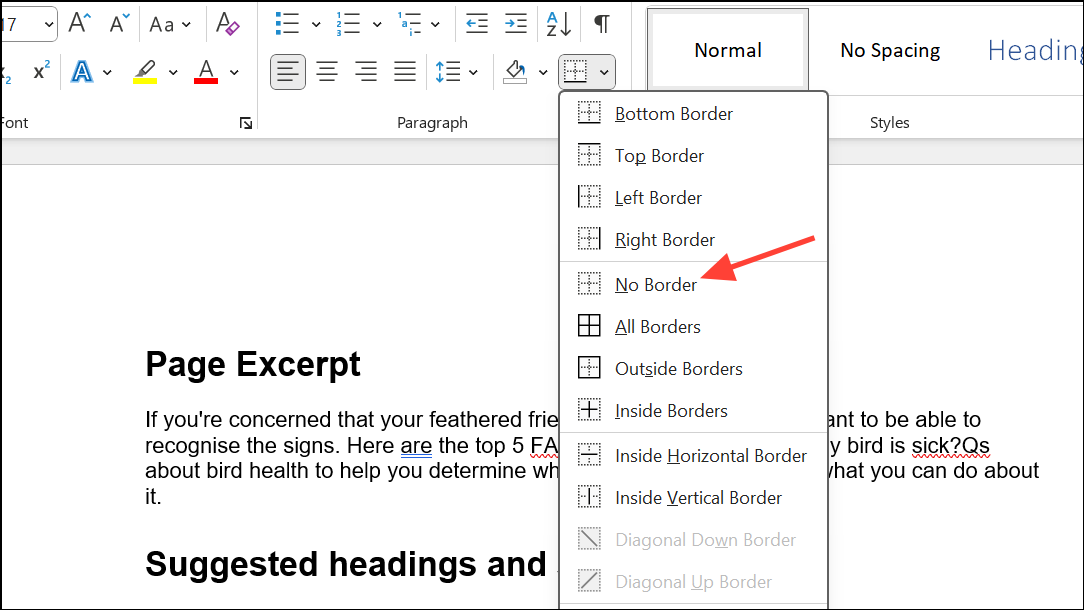
Step 4: Choose No Border from the dropdown menu. This action removes the horizontal line (bottom border) from the selected paragraph, eliminating the unwanted divider.
If you have multiple lines to remove, repeat these steps for each affected paragraph. For persistent cases, selecting the paragraph and pressing Ctrl+Q resets paragraph formatting, which can also remove the border, though it may clear other custom formatting as well.
Undo Horizontal Line Creation Immediately
If Word converts your dashes or similar characters into a horizontal line and you notice it right away, you can quickly reverse the action using the undo shortcut. This approach is only effective before you make further edits.
Step 1: As soon as the automatic horizontal line appears, press Ctrl+Z on your keyboard. This undoes the last action, restoring your original characters.
This method is quick but only practical if you catch the change immediately, since further edits will make it harder to revert just the line insertion without affecting other work.
Why Word Inserts Automatic Horizontal Lines
Word’s AutoFormat feature is designed to speed up document formatting by recognizing certain character patterns—such as three or more dashes (---), underscores (___), equal signs (===), asterisks (***), tildes (~~~), or pound signs (###)—typed on their own line. When you press Enter, Word replaces these with a formatted border, not a text character. This approach improves visual separation in documents but can cause confusion when users expect to see their original characters or need to remove the line later.
Understanding that these lines are actually paragraph borders clarifies why traditional deletion methods fail and highlights the importance of using the Borders tool for removal or disabling AutoFormat to prevent future occurrences.
Disabling automatic horizontal lines and knowing how to remove existing ones gives you full control over Word’s formatting, so your document always looks the way you want without unexpected dividers.