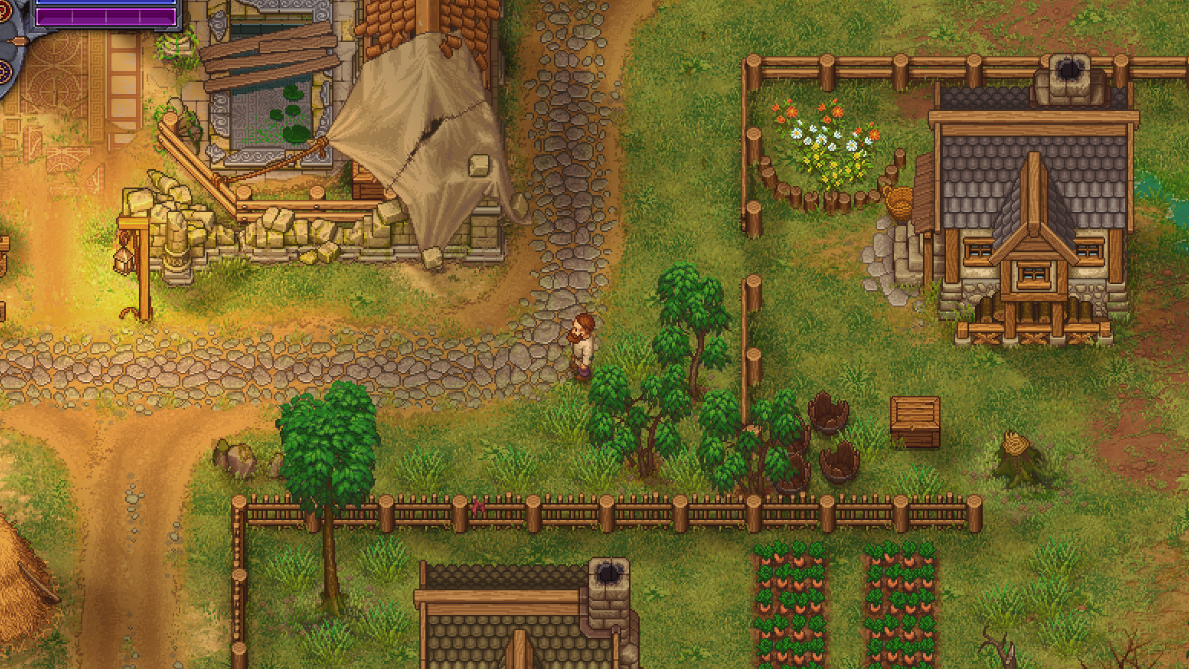
Graveyard Keeper, developed by Lazy Bear Games, drops you into a medieval cemetery management sim with almost no hand-holding. You’re expected to run a church, process corpses, farm crops, craft items, and juggle quests for six different NPCs — all while figuring out an opaque technology system and a unique weekly calendar. The learning curve is steep, and the game’s own tutorials leave out critical details.
Quick answer: There is no time limit in Graveyard Keeper. Take things slow, prioritize getting the church operational and Faith flowing, keep the donkey fed with carrots, and cremate bad corpses instead of burying them.
No time pressure — play at your own pace
Unlike Stardew Valley’s evaluation events, Graveyard Keeper has no deadline, no scoring system, and no penalty for taking extra in-game weeks. Days cycle endlessly, NPCs return on their scheduled days every week, and quest objectives never expire. This means you can safely experiment with crafting, explore the map, or grind resources without worrying about missing a window. If you feel overwhelmed by the number of spinning plates, write down your current goal, so you don’t lose track after a long crafting detour.
NPC schedule and the six-day week
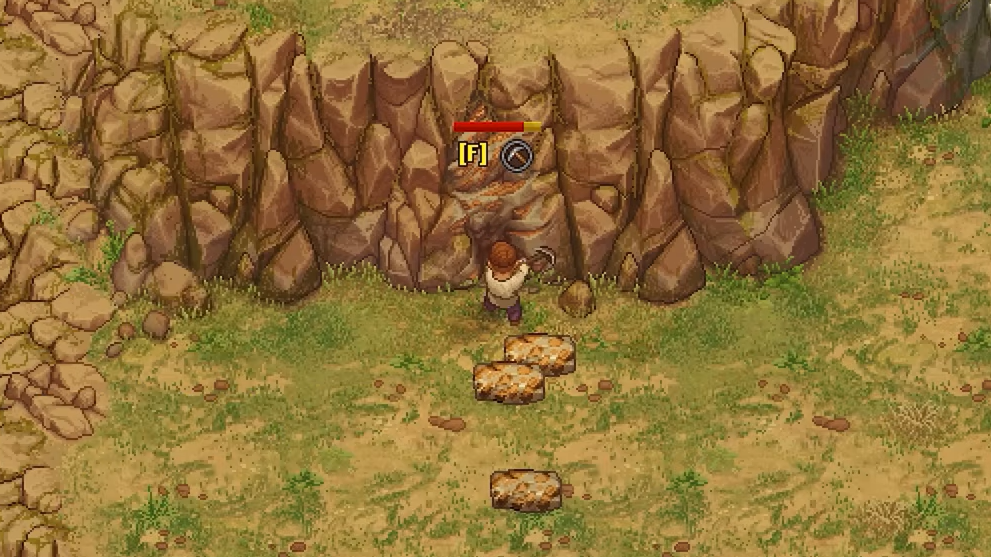
Graveyard Keeper uses a six-day week themed around the seven deadly sins (with Greed conspicuously absent — that’s you). Each day is marked by a unique symbol on the wheel in the top-left corner of the screen. Key NPCs only appear on their assigned day, and you cannot speak to them while they are arriving or leaving. Missing an NPC means waiting a full in-game week for their next visit.
| Day | NPC | Location |
|---|---|---|
| Sloth Day (crescent, light blue) | Astrologer | Lighthouse, far east of the map |
| Pride Day (sun, purple) | Bishop | Church in your graveyard |
| Lust Day (female symbol, pink) | Ms. Charm | The Dead Horse tavern stage |
| Gluttony Day | Merchant | The Village, below the tavern |
| Envy Day | Snake | Church Cellar (requires 5 Faith to speak) |
| Wrath Day | Inquisitor | Witch Hill |
The main six NPCs are split into three interconnected pairs for quest purposes. Avoid rushing too far ahead with one NPC’s questline (especially Snake’s) before progressing the paired NPC, or you may accidentally lock yourself out of certain quest steps.
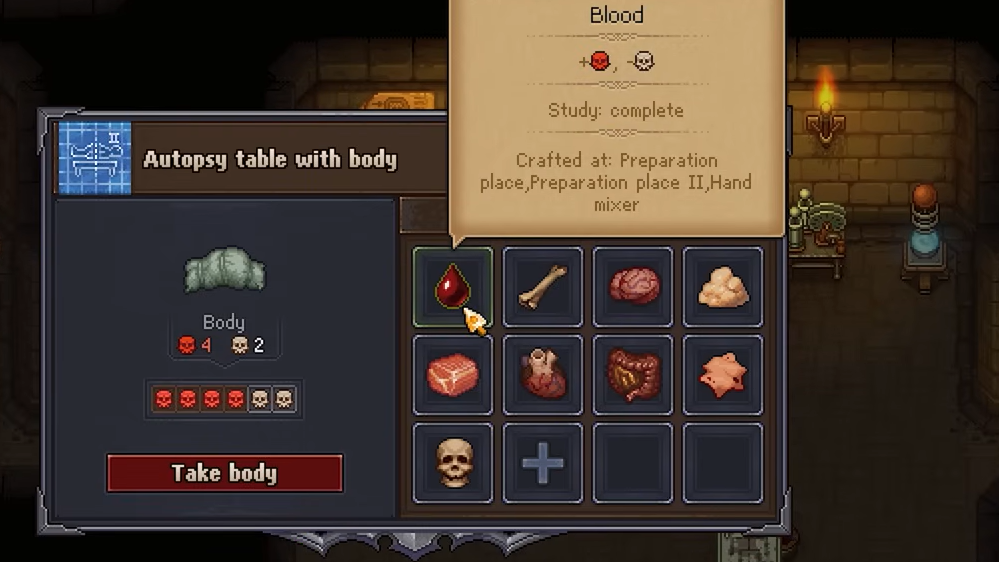
Corpse quality — white skulls, red skulls, and when to cremate
Every corpse delivered to your morgue carries a skull rating. White skulls represent positive traits and boost your graveyard’s overall score. Red skulls represent sins and drag the rating down. This system is separate from the decay percentage shown above the body. The only things you cannot change about a corpse are its existing decay level and any surgical mistakes you make during autopsy.
If a body arrives with too many red skulls or heavy decay, burying it will hurt your graveyard rating, no matter how fancy the headstone. Cremate these bodies instead. You still receive a burial certificate worth 1 silver 50 copper, plus useful crafting materials like ash, which you will need hundreds of later in the game.
To slow corpse decay, repair the body chute on both the outside and inside of your morgue. Many players miss the interior repair. Once both sides are fixed, the delivered bodies automatically go to the morgue table. Building mortuary slabs gives you additional storage spots, though you must manually place bodies onto them.
Faith is your biggest early bottleneck
Faith is the resource that gates studying items at the study table and unlocking church upgrades. Early on, it trickles in slowly. The Bishop visits on Pride Day, and holding a sermon while he’s present is the primary way to accumulate Faith. Get the church operational as soon as possible, and prioritize unlocking the copper or silver Prayer for Faith to increase your Faith income per sermon.
Faith is also spent when studying objects, which is one of the main ways to earn blue technology points. Plan your studies carefully so you don’t run dry at a critical moment.
Technology points — red, green, and blue
Nearly every action in Graveyard Keeper generates technology points in one of three colors. Red points come from physical labor like chopping trees, mining stone, and smithing. Green points come from nature-related activities such as farming and gardening. Blue points are the hardest to earn early on and require advanced tasks like studying body parts at the study table or crafting stone grave decorations.
Once you progress the Astrologer’s questline far enough, you can purchase technology books from him. These cost money, but they’re the most reliable way to stockpile red and blue points later in the game. Buy them routinely once your income allows it.
Early money strategies
Cash is tight at the start. Here are the most reliable early income methods, roughly in order of accessibility:
| Method | Details |
|---|---|
| Burial certificates | Earned from burying or cremating a body. Sell to the tavern keeper for 1s 50c each. Small but consistent. |
| Simple iron parts | Craft at the anvil and sell to the blacksmith. Decent return for minimal tech investment. |
| Church donations | Passive income from sermons once the church is running. |
| Wine (mid-game) | Push the Inquisitor’s questline to unlock the vineyard. Wine is the best “food” item in the game and the Merchant will buy it. |
| Silver bars (mid-game) | The Merchant buys these, but smelting silver requires significant tech investment first. |
Energy management and food
Sleeping saves the game and restores both health and energy. If a blue orb with “Zzz” appears at the top of the screen, stop what you’re doing and sleep immediately — your energy will drain continuously until you do, and eating food at that point is wasteful.
Food is the primary way to restore energy during the day. Different dishes restore different amounts. Early on, collect every edible mushroom you see (the ones without spots) and cook them in your kitchen oven. They’re one of the easiest and most efficient early-game meals.
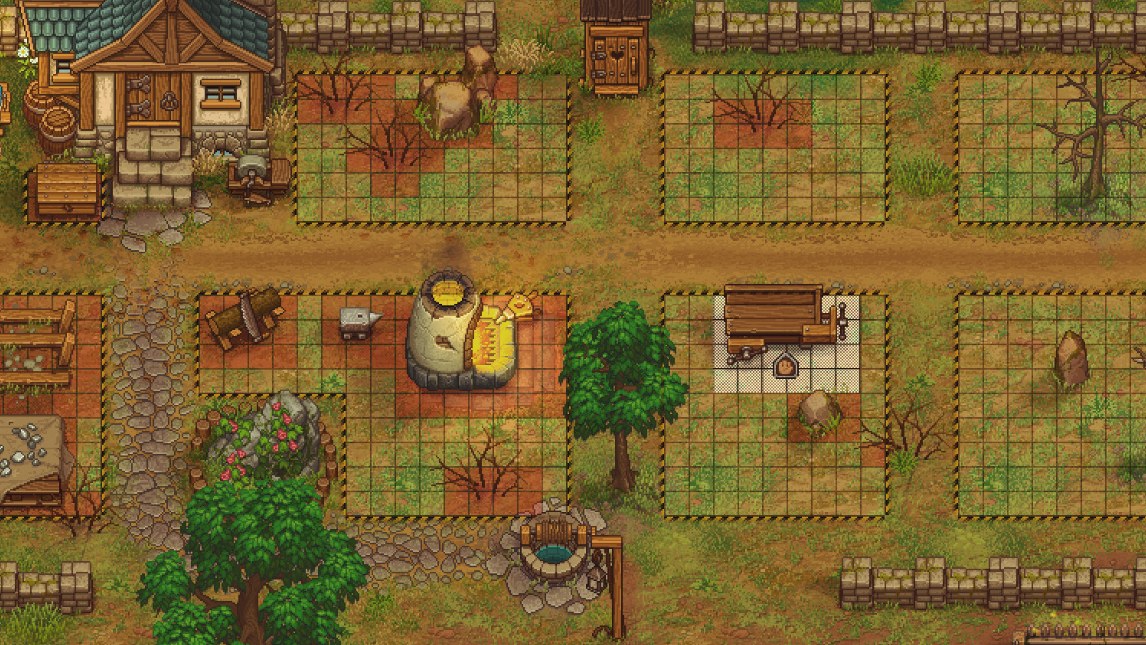
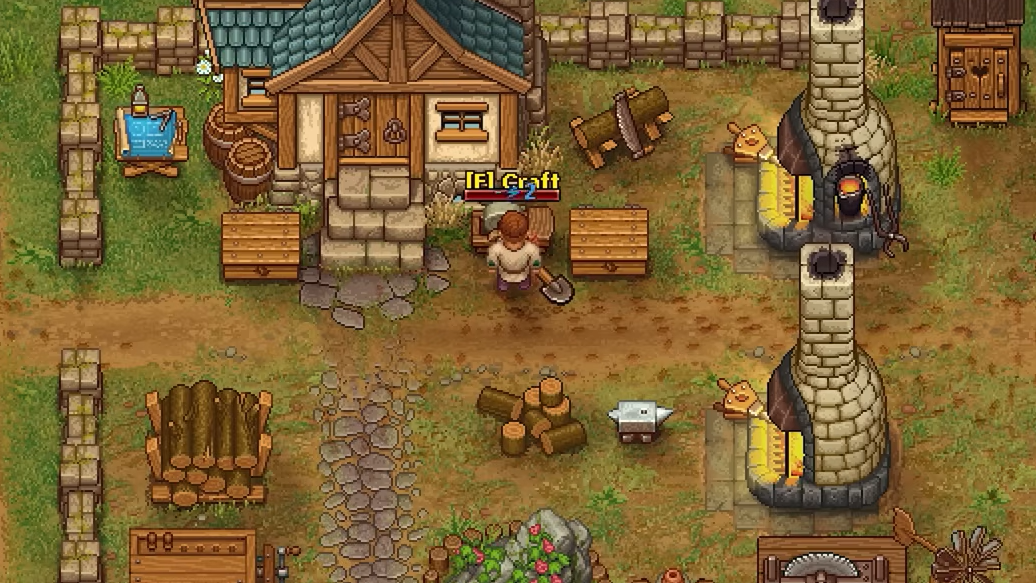
Crafting priorities and workyard setup
Crafting is complex and gated behind technology unlocks. Your first priorities should be setting up the sawhorse and stone cutter, followed by the furnace and wooden anvil. The furnace is especially critical because it smelts iron ore into iron bars, which you need for nails and simple parts — two of the most-used crafting components in the game.
Flitches, nails, and simple parts feed into almost every construction recipe. Keep a healthy stock of all three. You’ll also need wooden planks and advanced wood materials to build bridges and clear blocked paths across the map. Unlocking the cellar shortcut between the village and your home is worth the heavy red-point investment.
Place trunks in your basement rather than your workyard to save space for crafting stations. However, trunks placed near crafting stations in the workyard do let you craft directly from their contents, so fitting a few into gaps between stations can be worthwhile.
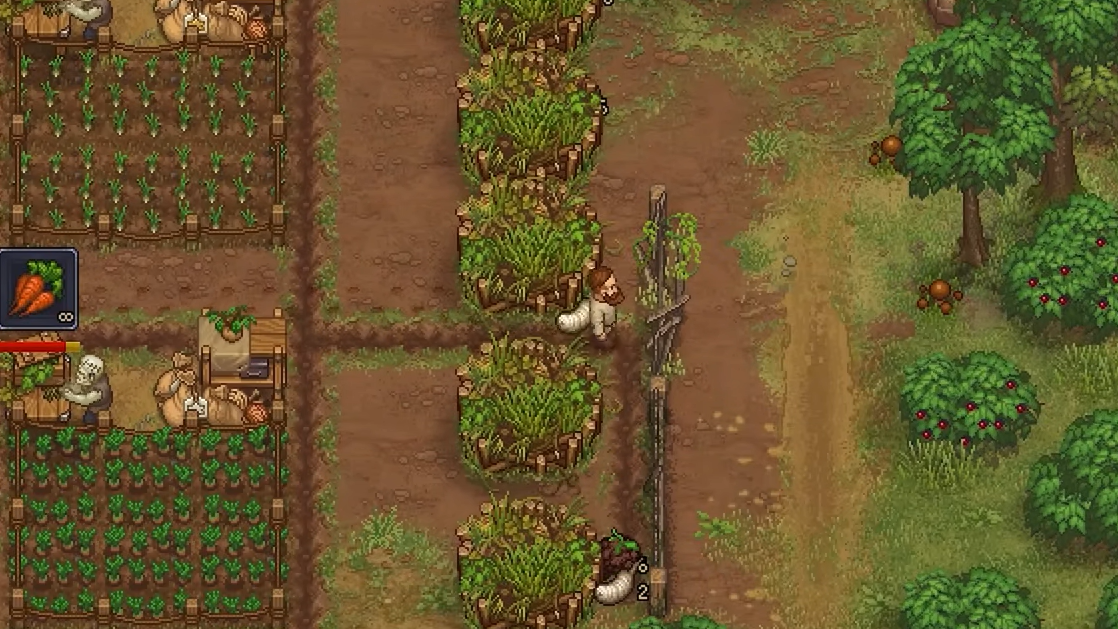
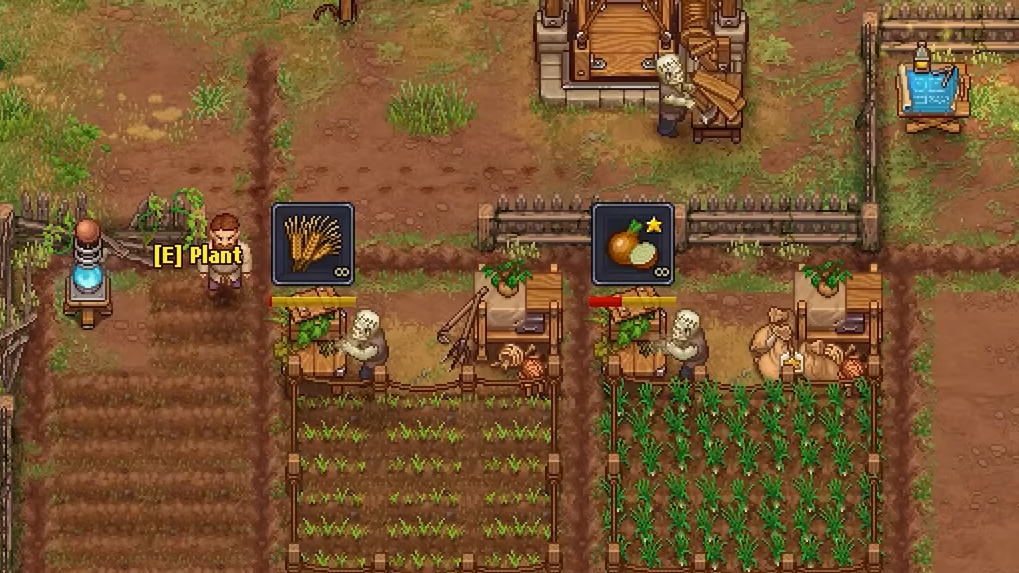
Farming essentials — what to grow first
Talk to the Merchant to unlock farming permission, then visit the farmer (south of the Wheat Field, available every day) to buy seeds. You need four seeds per crop plot.
| Crop | Priority | Why |
|---|---|---|
| Wheat | High | Base ingredient for the majority of cooked food recipes. Always keep it growing. |
| Carrots | High | Required to keep the donkey delivering corpses. Always keep them growing. |
| Hemp | High | Used in multiple crafting recipes and potion ingredients. |
| Onions | Medium | Needed for quest-related cooking recipes. Requires improved crop access from the farmer. |
| Pumpkins | Low (quest) | One gold-quality pumpkin is needed for a specific quest. |
| Cabbage / Beets | Low | Used in various recipes but not urgent. |
Raise your relationship with the farmer as quickly as possible to unlock improved crop seeds, which open up onions, lentils, and pumpkins.
Dungeon items are finite — leave when full
Items dropped by dungeon enemies are a finite resource. Enemies do not respawn, and any loot left on the ground disappears when you exit. Exit the dungeon as soon as your inventory is full to avoid losing rare powders or ingredients. You can always return later to clear the remaining floors.
If you need to permanently dispose of an item you can’t sell, drop it into a bookcase inside the dungeon and then leave. The item will be gone on your next visit. That said, hold onto bronze, silver, and gold-quality crafted goods until you’ve finished every questline — you never know what an NPC will ask for.
Fishing, insects, and other early unlocks
The fisherman lives at the lighthouse and is available every day. He’ll ask you to collect six moths before giving you a fishing rod. Moths are caught by picking flowers at night, but you need the relevant tech knowledge first (it’s cheap). Butterflies, caught from daytime flowers, also serve as fishing bait.
Bat wings drop from bats behind your house at night and are used to craft paper — stock up early, because you’ll need a lot of paper. Green jelly drops from green slimes that spawn behind your house during morning hours and is useful in cooking.
Zombies save time, DLC runs in parallel
Once you unlock zombie workers, assign a handful to gather basic materials like wood and stone. They work autonomously and dramatically reduce the grind. If you have DLC installed, those questlines progress alongside the main story. You can tackle DLC content in any order, though generating steady income first makes everything easier.
Graveyard Keeper rewards patience and planning over speed. Keep notes, stay organized, and don’t be afraid to let a week pass while you focus on one system at a time. The graveyard isn’t going anywhere.