Many a time, we come across a scenario where we need to take a screenshot and send it to someone, it could just be a piece of information that needs to be shared, it could an error you are facing and need help on, or it could simply be a really funny meme on your favorite social networking platform; the possibilities are endless.
Taking a screenshot should be simple, fast; no fuss, no muss. Hence, below are some cool ways to take a screenshot on your Chrome in a swish.
Take Screenshot Using a Chrome Extension
There are many extensions to take screenshots on Chrome. However, ‘Nimbus Screenshot & Screen Video Recorder’ is the most versatile one. It enables you to take a full-page screenshot, desired area screenshot, delayed screenshots, and even multiple selected fragments of a webpage. It even allows you to record your screen as well but that’s something we should table for a later time.
Moreover, it also allows you to edit a screenshot right away in a new tab if you wish to along with options to upload it to your favorite cloud storage as well. Furthermore, Nimbus also enables you to take a screenshot of a window other than Chrome as well for your convenience. Thus, without further ado, let’s get started.
Adding Nimbus Screenshot & Screen Video Recorder to Chrome
Before you can start taking screenshots on Chrome, you will need to add the extension using the Chrome Web Store.
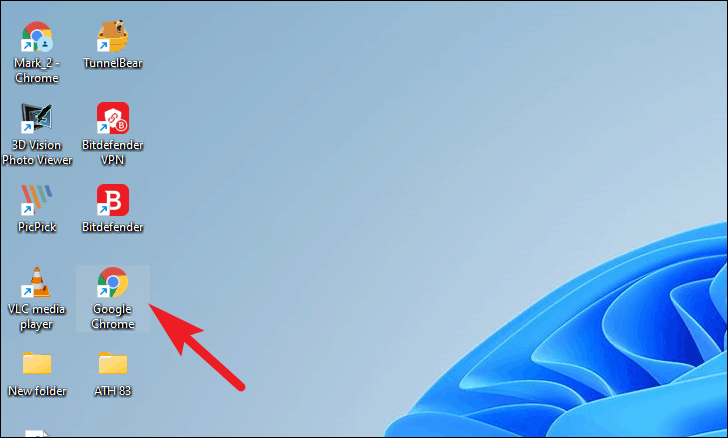
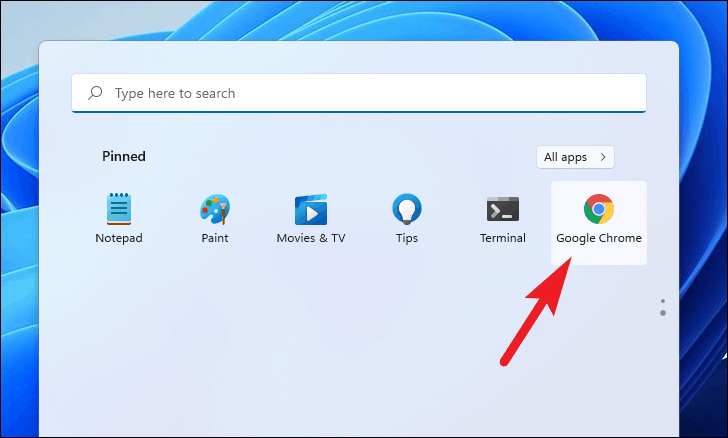
To do so, launch the Chrome browser on your Window or macOS device.
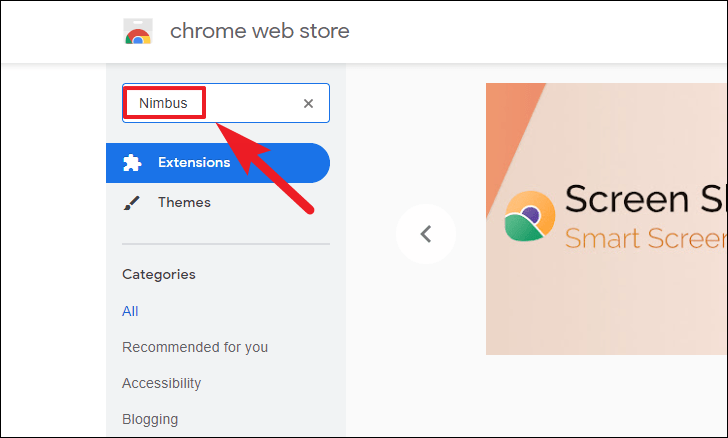
Next, go to chrome.google.com/webstore and type Nimbus in the ‘search’ box present on the left sidebar of the webpage. Then, hit Enter on your keyboard to initiate the search.
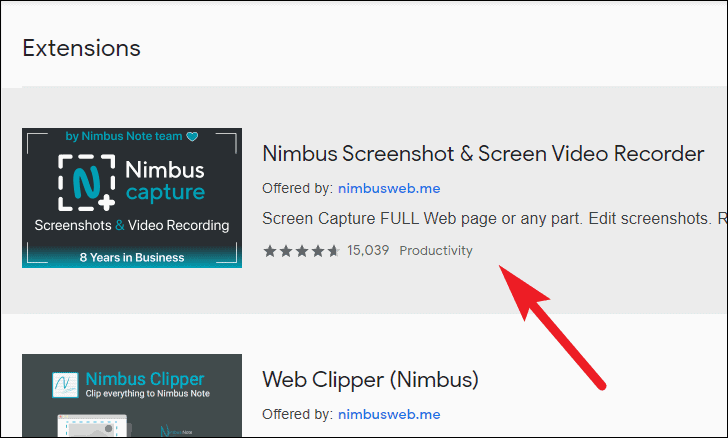
Now, click on the ‘Nimbus Screenshot & Screen Video Recorder’ tile from the search results.
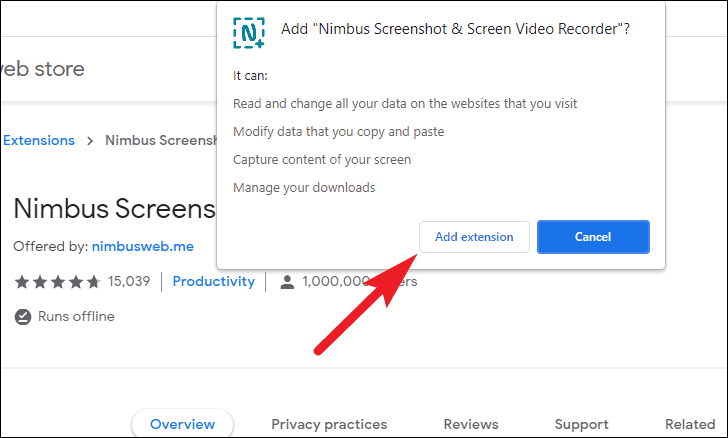
After that, click on the ‘Add to Chrome’ button present on the screen to add the extension to your browser. This will bring up an overlay alert window on your Chrome window.

Then, click on the ‘Add extension’ button from the overlay alert window.
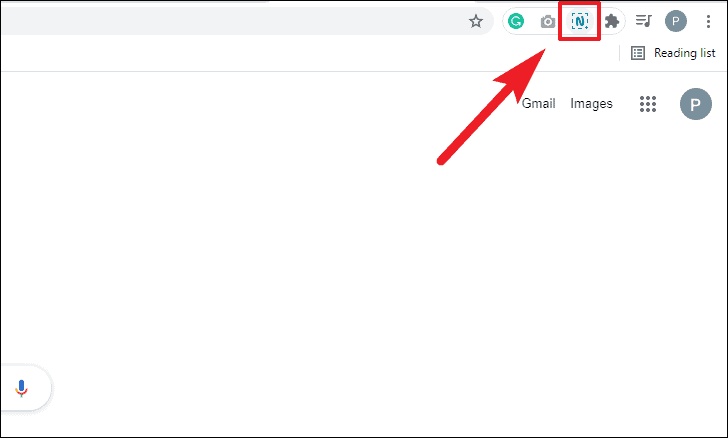
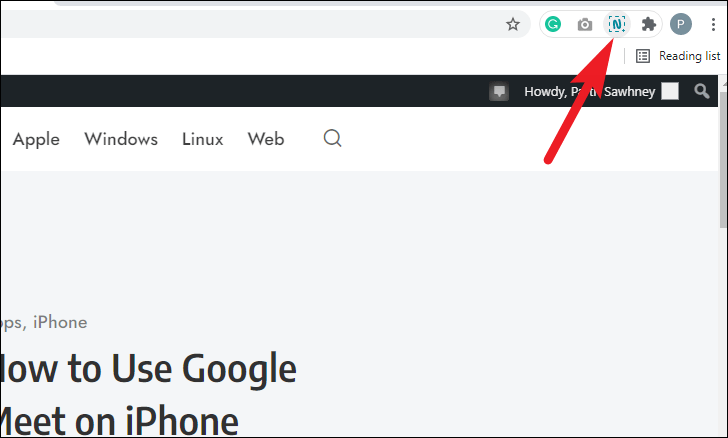
The extension will now be downloaded and added to your Chrome browser and will be visible to you on the Chrome menu bar.
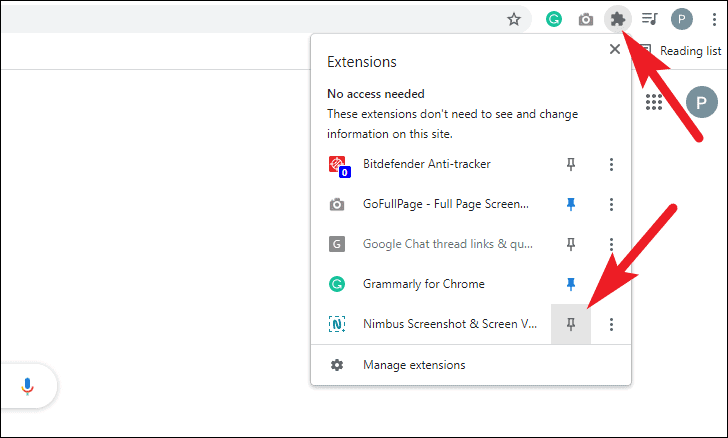
In case, the extension is not visible to you, click on the ‘Extensions’ icon present on the Chrome menu bar. Then, click on the ‘pin’ icon situated next to the ‘Nimbus Screenshot & Screen Video Recorder’ extension to make it visible on the menu bar.
Using Nimbus Screenshot & Screen Video Recorder to Chrome
Now that you have added ‘Nimbus Screenshot & Screen Video Recorder’ to Chrome. It is now time to learn how to use it efficiently.
Capturing Screenshots
Nimbus offers a plethora of ways to let you capture a screenshot, a complete window, a single fragment on the screen, a scrolling window, scrolling fragments, and lots more. Let’s start from the basics and move to more complex features of the extension.
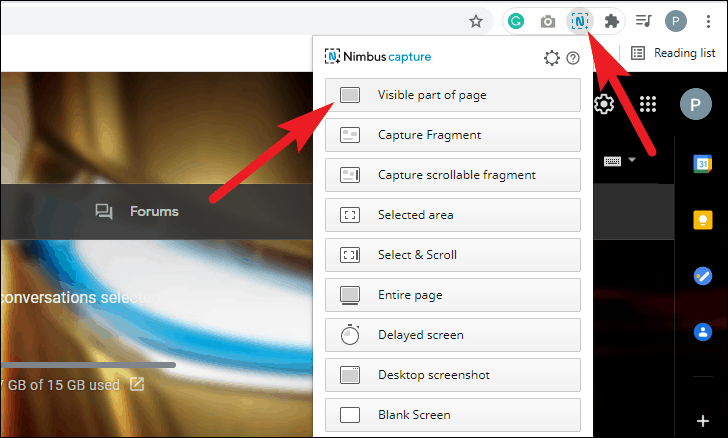
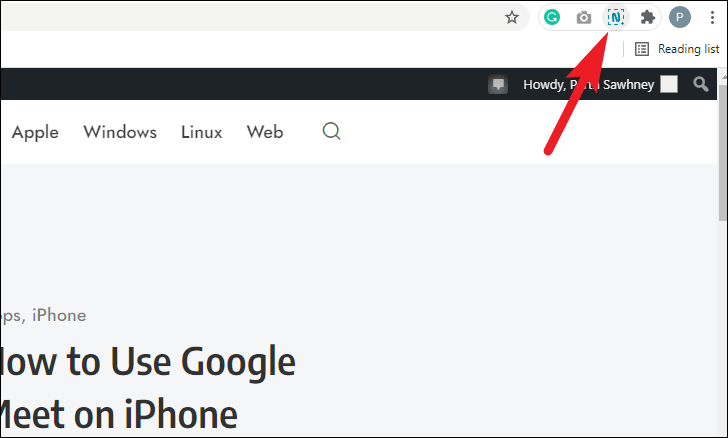
To capture the visible part of a webpage, click on the ‘Nimbus’ icon present on the menu bar and click on the ‘Visible part of page’ option. Your screenshot will be captured immediately and by default will be displayed in a separate tab of Chrome.
Now, on the screenshot displaying tab, you can either edit the screenshot using the in-built tools in Nimbus that are similar to that of Microsoft paint; hence, the majority of users would not face a problem using them.
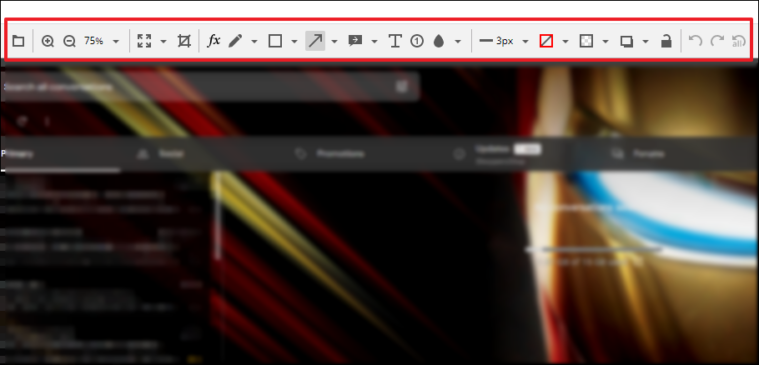
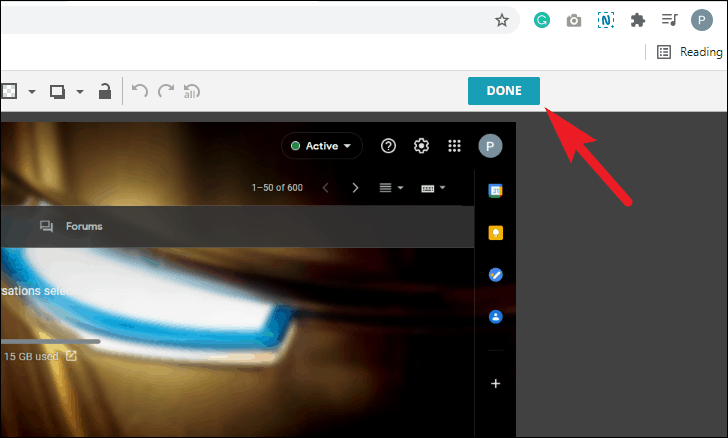
Once done, click on the ‘Done’ button from the right section of the toolbar to apply your changes.
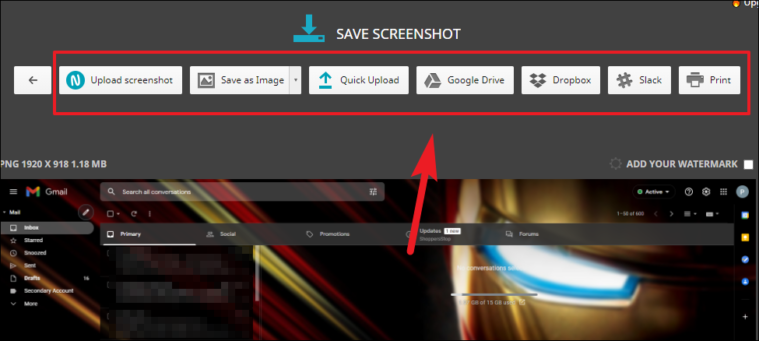
On the next screen, you can choose to either ‘Save as Image’, upload them to your preferred cloud storage, or straightaway print the image by clicking on their respective options.
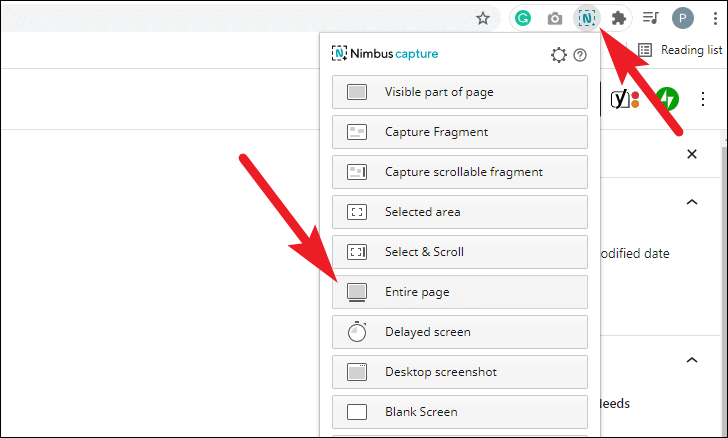
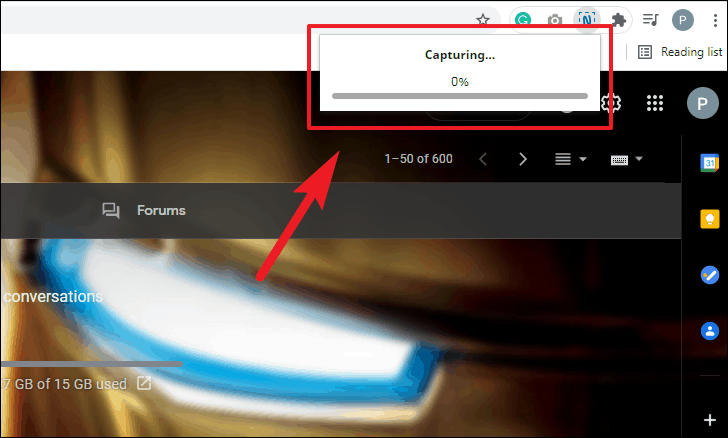
In case you would like to capture the entire scrolling webpage, click on the ‘Nimbus’ icon present on the menu bar and click on the ‘Entire page’ option from the overlay menu.
You will see a banner on the top right section displaying the status of capturing the screenshot. As the bar progresses, you will see your screen scrolling down to capture the entire web page. Once the screenshot is captured completely, it will open in a separate Chrome tab.
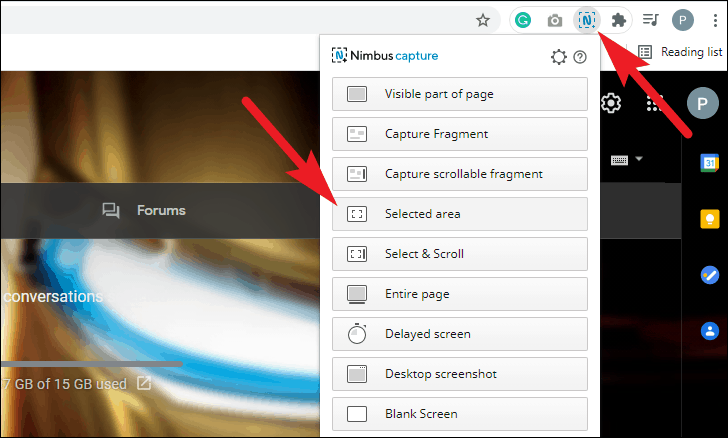
Similarly, if you want to capture only a selected area on your screen, click on the ‘Nimbus’ icon on the menu bar and select the ‘Selected area’ option from the overlay menu. This will turn your mouse cursor into an area selection tool on your current screen.
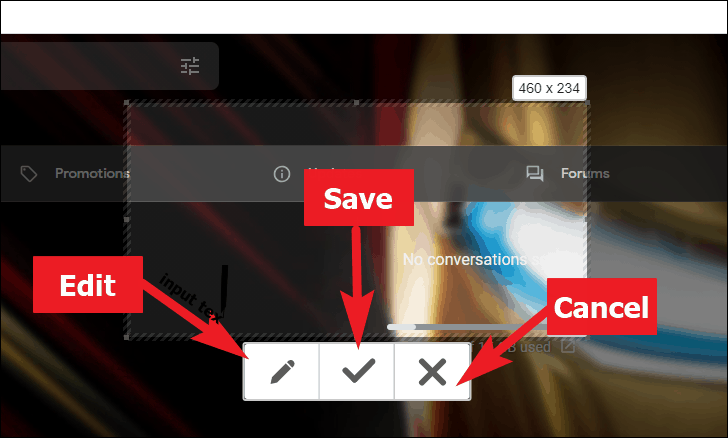
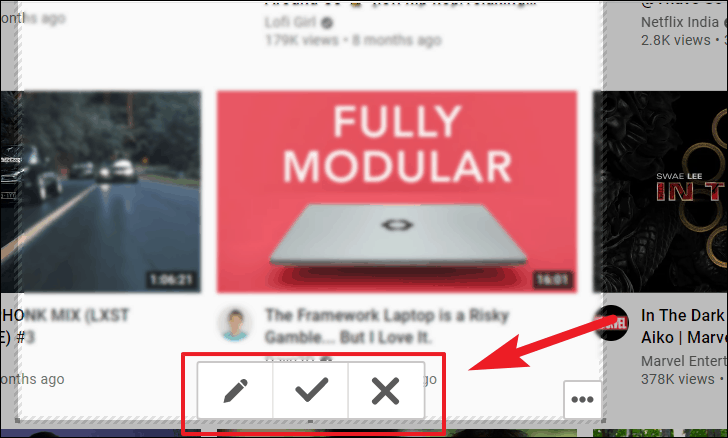
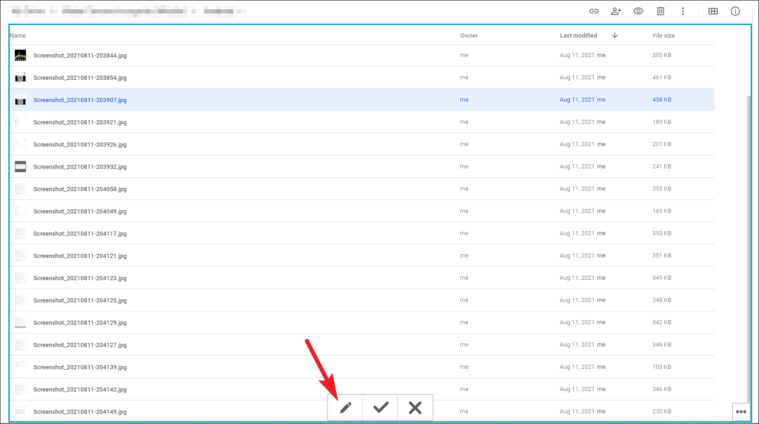
Next, click and hold your left mouse button and drag it across the area on your screen you want to capture. Then, click on the ‘Edit’ icon to edit the screenshot in a separate tab otherwise, click on the ‘tick’ icon to save the screenshot locally to your computer or else, click on the ‘Cancel’ icon to select the area again.
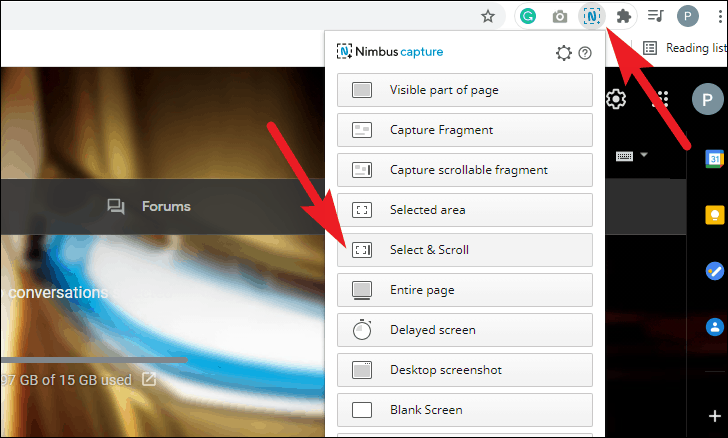
After that, if you wish to capture a scrolling selected area of your screen, click on the ‘Nimbus’ icon from the Chrome menu bar. Then, click on the ‘Select & Scroll’ option from the overlay menu.
Then, click and hold your left mouse button and drag it across the screen. As your mouse cursor will hit the lower edge of the webpage, it will scroll down further till you give a little upward nudge with your mouse to stop. Next, click on the ‘edit’ icon to edit the screenshot in a separate tab, or click on the ‘tick’ icon to save it locally on your computer.
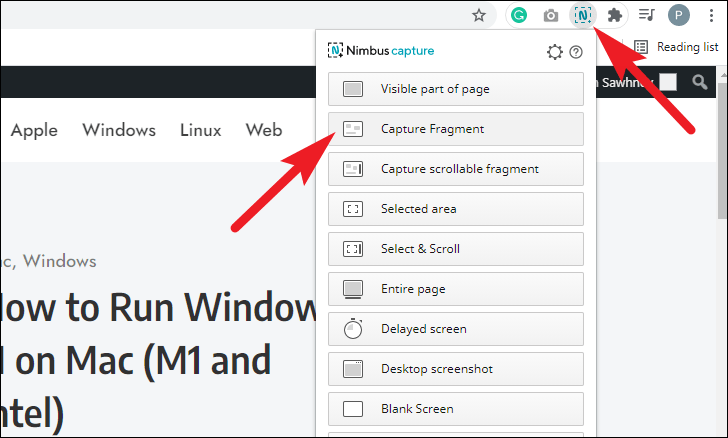
To capture only a fragment of the webpage, select the ‘Capture fragment’ option from the ‘Nimbus capture’ overlay screen.
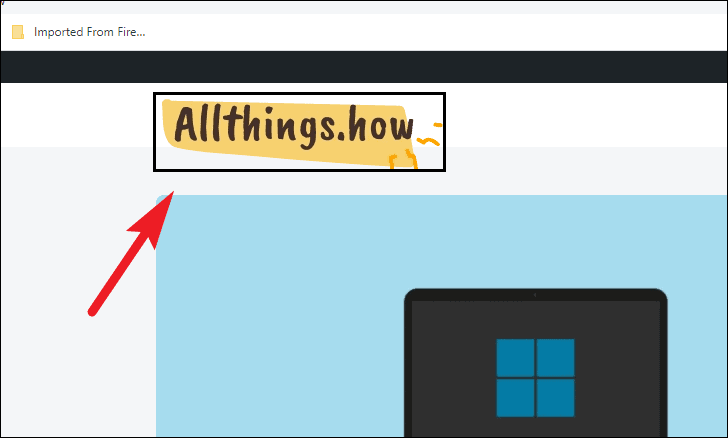
Then, hover your mouse cursor over your desired screen area and you will be able to see black borders displaying the capturing area.
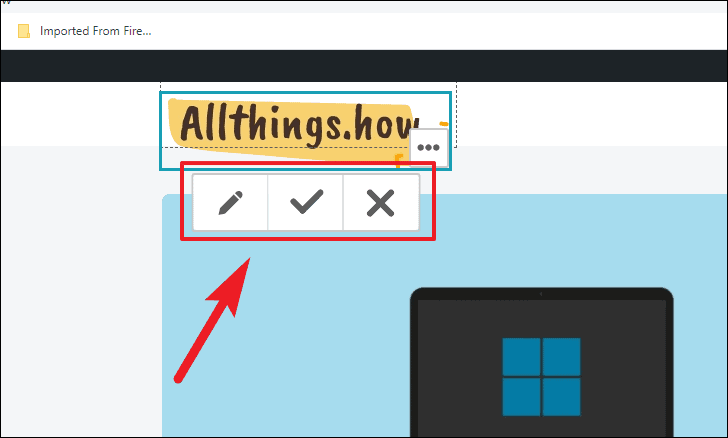
Click to capture the area; next, click on the ‘Edit’ icon to edit, otherwise click on the ‘tick’ icon to save the screenshot on your local storage. In case you wish to take the screenshot again, click on the ‘Cancel’ icon to discard the current screenshot selection.
Now, if you wish to capture a scrolling fragment present on the webpage such as a chat window, click to select the ‘Capture scrollable fragment’ option from the ‘Nimbus capture’ overlay menu.
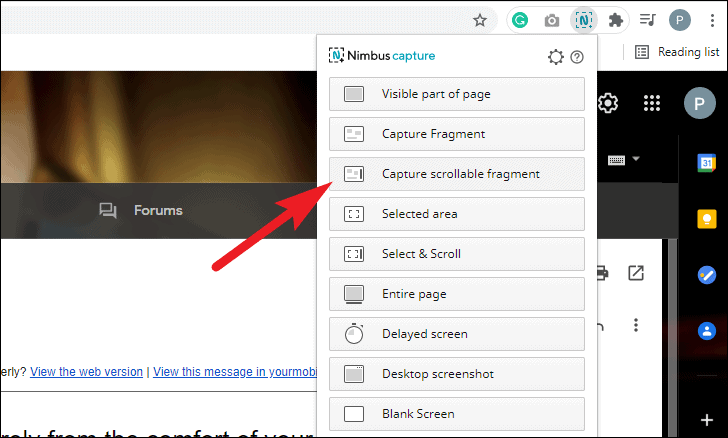
Then, hover and click on the scrollable element on the webpage to take a scrolling screenshot. ‘Nimbus’ will now scroll the window till the end and then, await your input to either ‘Edit’, ‘Save’ or ‘Cancel’ the screen capture by clicking on the buttons respectively.
After that, if you wish to capture a delayed screenshot in Chrome, click to select the ‘Delayed screen’ option present on the ‘Nimbus capture’ overlay menu.
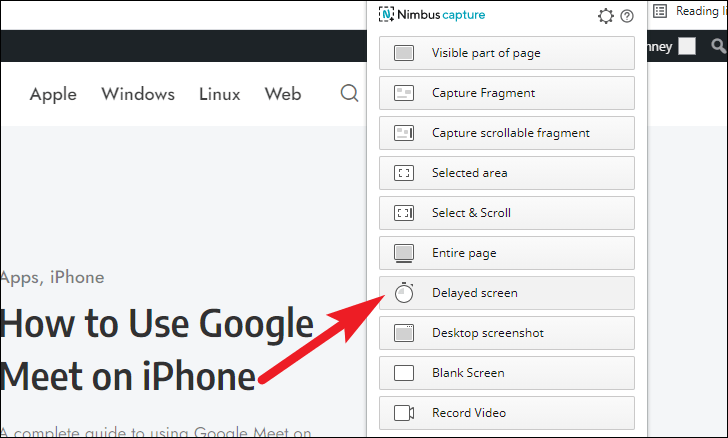
You will then see a countdown timer of three seconds on your screen and the visible part of your webpage will be captured once the timer ends, and the captured screenshot will be displayed in a separate Chrome tab. In case you wish to cancel capturing the screen, click on the ‘Cancel’ button.

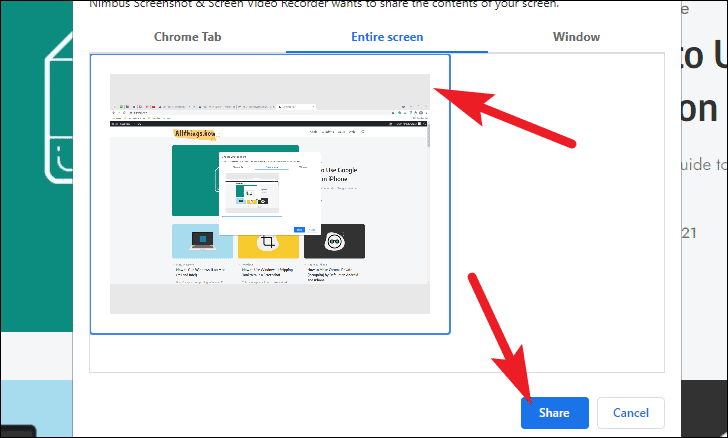
You can also capture a desktop screen by clicking on the ‘Desktop screenshot’ option from the ‘Nimbus capture’ overlay menu. This will bring up an overlay window on your screen.
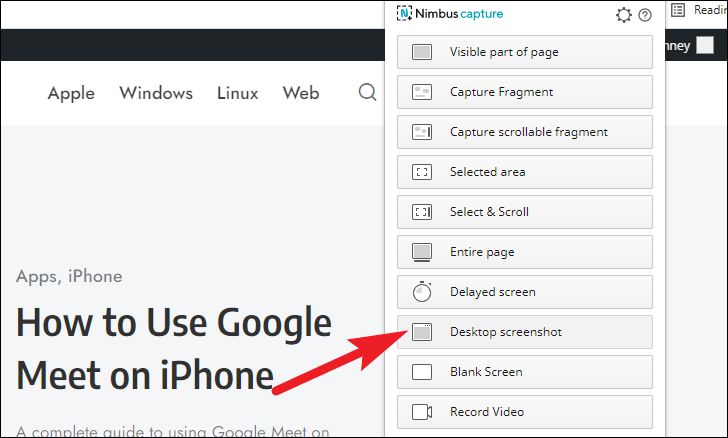
Then, select if you wish to capture a Chrome tab, window, or your complete screen by clicking on their respective tabs from the overlay window. Once selected, click on the ‘Share’ button situated on the bottom right corner to open the screenshot in a separate tab on Chrome.
Change Nimbus Behaviour After Capturing the Screenshot
By default, Nimbus is set to open a screenshot in a separate tab for you to edit. However, you can change this default behavior to either download it to your computer, upload it to your favorite cloud storage, or even send it to the Nimbus server.
To do so, click on the ‘Nimbus’ icon from the Chrome menu bar.
Then, locate the ‘Action after capture’ section on the overlay menu. Next, click on the drop-down menu present under the section. After that, click to select your preferred option from the drop-down menu. The selection will be applied immediately and will be used whenever you take the next screenshot using the ‘Nimbus’.

Tailor Nimbus According to your Preference
‘Nimbus’ allows you to really tailor and change settings options as per your requirement. You can change the screenshot saving nomenclature, change the default file format of screenshots, change hotkeys to capture screenshots, and much more.
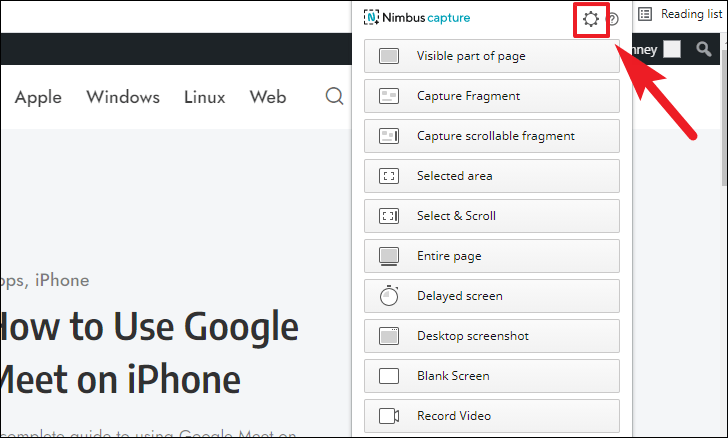
To do so, click on the ‘Nimbus’ icon present on the Chrome menu bar.
Then, click on the ‘Gear’ icon present on the top right corner of the overlay window to access the extension settings. This will open ‘Options-Nimbus Screenshot’ settings in a separate tab of Chrome.
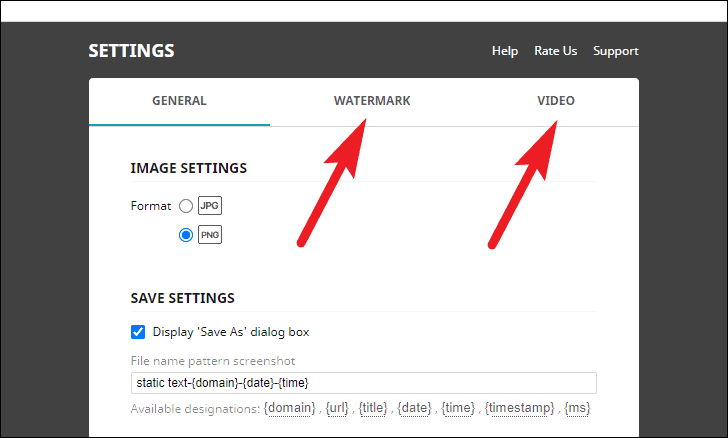
Then, head to the ‘Options-Nimbus Screenshot’ tab on Chrome. Now from the ‘General’ tab, you will be able to change the default image extension by choosing an option under the ‘Image Settings’ section. As of the time of writing this guide, Nimbus only supports .PNG and .JPG file formats for screenshots.
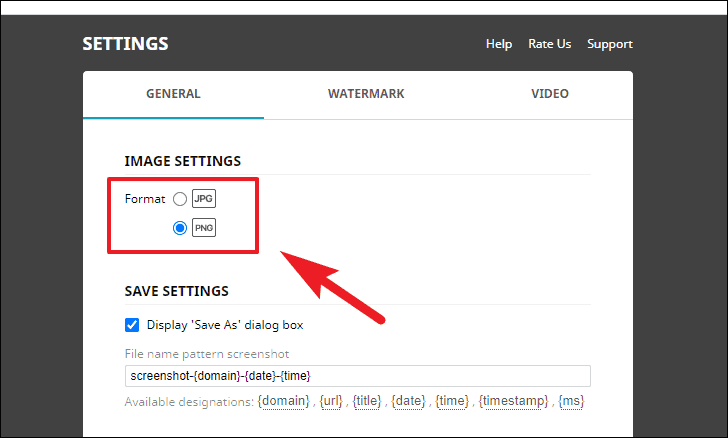
Next, from under the ‘Save Settings’ section, you can change the default pattern for the naming of a screenshot if you wish to do so by clicking on the options present adjacent to the ‘Available designations’ field. You can also have static text along with the designations for screenshot naming.

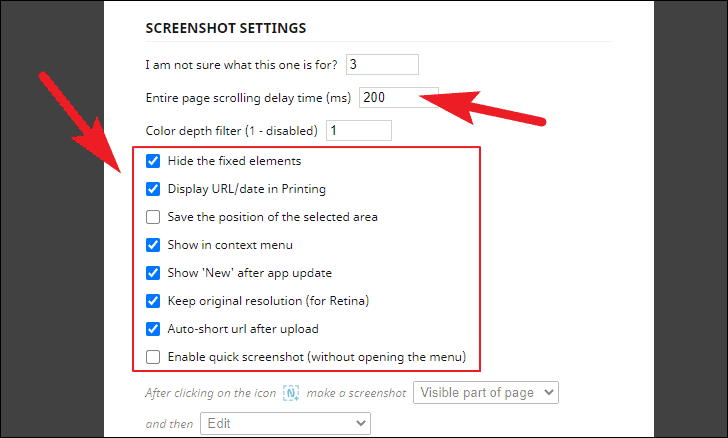
After that, under the ‘Screenshot Settings’ section, you can also set the time delay for a scrolling screenshot using the text box by entering your preferred value in the text box present right next to it. You can also toggle settings like ‘Display of URL/date in Printing of Screenshot’ by clicking on the checkbox preceding each of the options in the section.
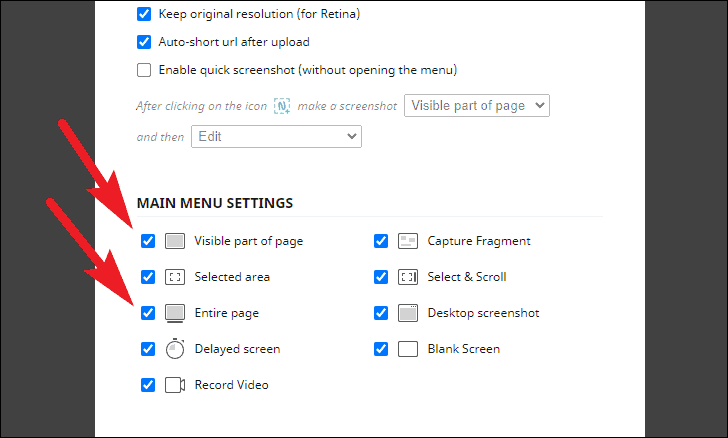
You can also alter the options visible to you in the overlay menu that is accessed through the ‘Nimbus’ shortcut on the Chrome menu bar by clicking on the checkbox preceding each option listed under the ‘Main Menu Settings’ section.
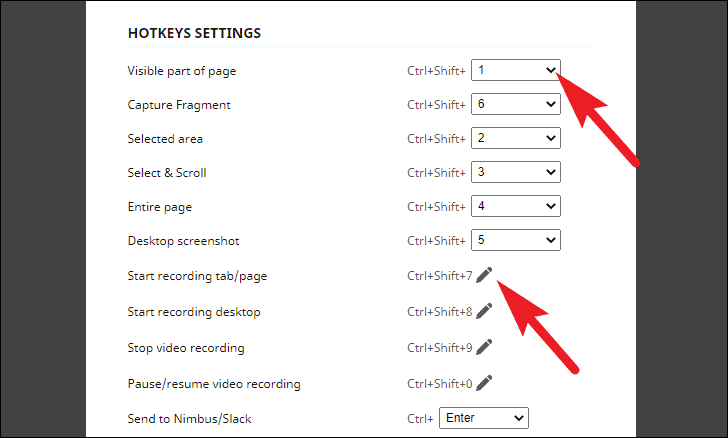
Then, if you wish to change shortcuts for capturing screenshots using the Nimbus extension. You can do so by scrolling down to the ‘Hotkeys Settings’ on the ‘General’ settings page and then clicking on each drop-down menu or by clicking on the ‘Edit’ icon followed by each option.
Similarly, you can adjust Watermark and Video (screen) recording settings by heading to their individual tabs.
Take a Screenshot on Chrome Using Developer Tools Menu
You can also take screenshots from Chrome natively, though it will require you to make use of developer tools available on Chrome. That being said, it is fairly simple once you get the hang of it.
To do so, launch the Chrome browser on your Windows or macOS device.
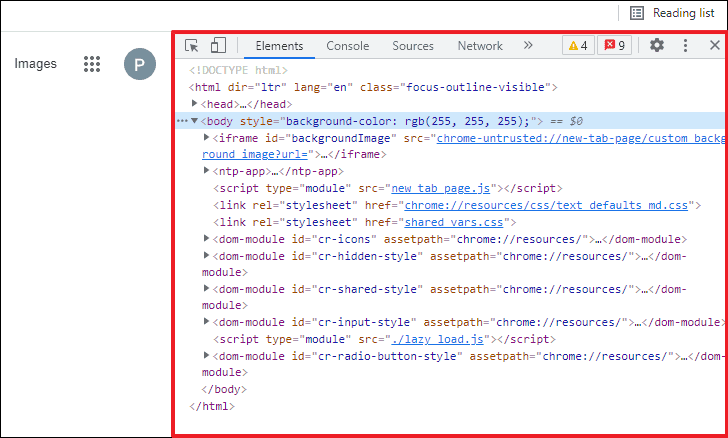
Next, head to the webpage you want to capture a screenshot from. Then, press Ctrl+Shift+I if you are on a Windows device or press Option+Command+I shortcut on your keyboard if you are on a macOS device. This will open the ‘Inspect Element’ window on your screen.
Next, press Ctrl+Shift+P if you are on a Windows device or press Command+Shift+P if you are on a macOS device to let you search through the developer tools.
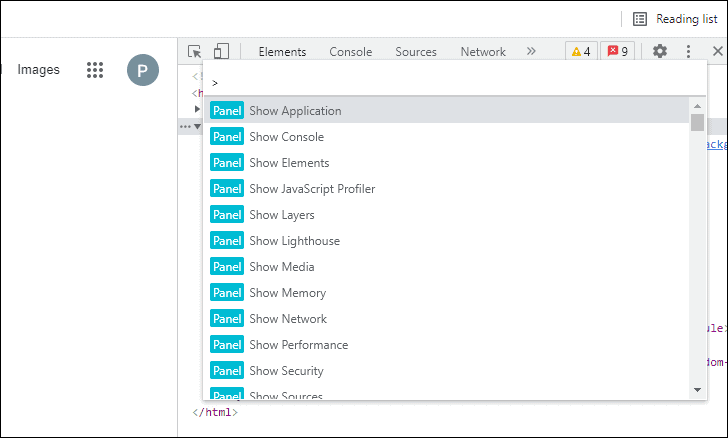
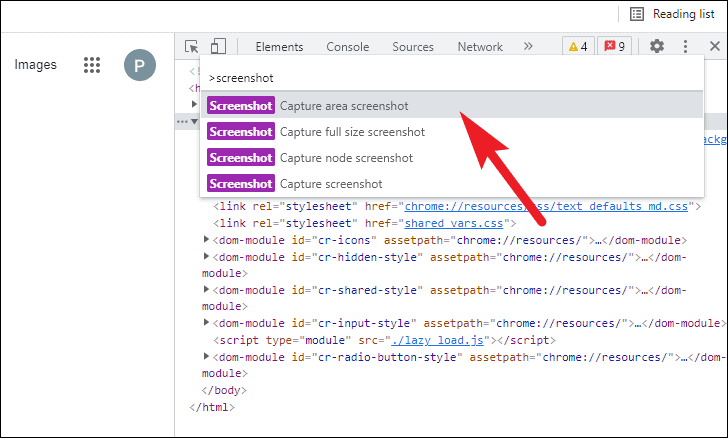
Now, type screenshot in the search box present on the overlay search box to reveal all the screenshot options supported by Chrome. To better understand what each option does, you can read the gist of them below:
- Capture Screenshot: This option captures the currently visible part of your screen.
- Capture Full Size Screenshot: This option will capture a scrolling screenshot on your current webpage on Chrome.
- Capture Area Screenshot: On selecting this option, you will be able to draw an area over your screen by clicking and holding your left mouse button to capture a selected area screenshot as soon as you leave the mouse button.
- Capture Node Screenshot: This option will allow you to capture a single element on a website by first selecting it from the Inspect element view and then invoking the shortcut.
To capture a screenshot, click on your preferred option from the list.
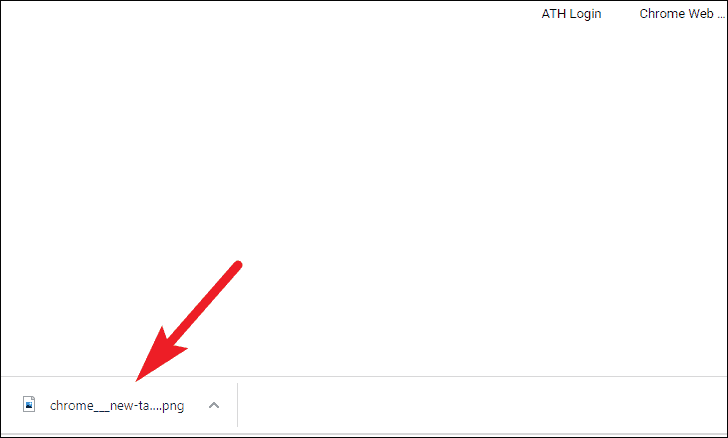
After clicking on your desired option from the list, Chrome will immediately download the screenshot for you in your default downloads directory. Click on the download tile from the left bottom section of the Chrome window to open the screenshot.
There you go folks, these are some ways you can capture multiple types of screenshots on Chrome.