Connecting your iPhone to a Windows 11 PC allows seamless syncing, data management, and backup options. Whether you’re using a cable or prefer wireless syncing, the process is straightforward with the help of iTunes. This guide will walk you through installing iTunes, setting it up, and syncing your iPhone using both wired and wireless methods. Additionally, we’ll cover how to back up your photos without relying on iTunes.
Connecting Your iPhone to Your PC
To sync your iPhone with a Windows 11 computer, you’ll need a compatible cable and the latest version of iTunes installed. Newer iPhones come with a USB-C to Lightning cable, which connects to a USB-C port on your PC. If your computer doesn’t have a USB-C port, you can use a USB-C to USB-A adapter or use an older USB-A to Lightning cable.
Directly accessing your iPhone’s apps and internal storage on a Windows PC isn’t possible without iTunes, except for importing photos. iTunes serves as the bridge between your iPhone and PC, allowing you to sync content, back up data, and even restore your device when needed.
Downloading iTunes on Windows 11
There are two ways to install iTunes on your Windows 11 PC: via the Microsoft Store or directly from Apple’s website. Choose the method that suits you best.
Method 1: Install iTunes from the Microsoft Store
Installing iTunes from the Microsoft Store is quick and straightforward, although it doesn’t allow customization of the installation directory.
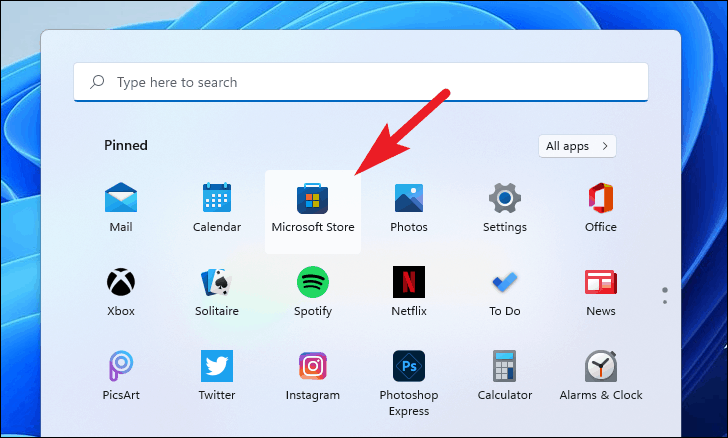
- Click the
Start Menuon your taskbar and select theMicrosoft Storeicon. - In the Microsoft Store, click on the search bar at the top and type
iTunes.
- From the search results, click on the
iTunesapp.

- Click the
Getbutton to download and install iTunes.

Alternatively, visit apple.com/itunes and click on Get it from Microsoft to be redirected to the Microsoft Store.

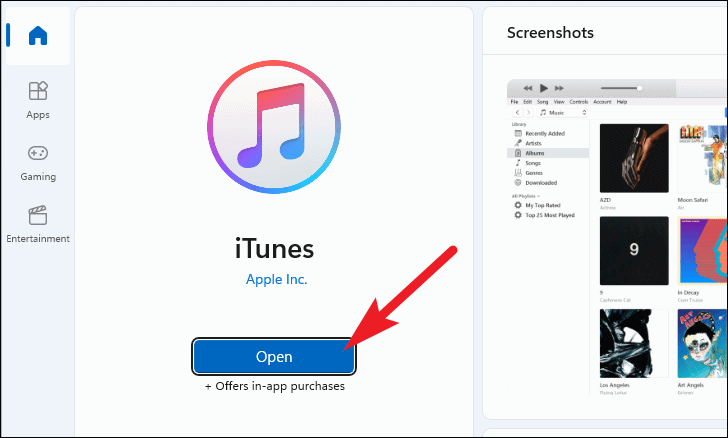
Once the installation is complete, click Open to launch iTunes.
Method 2: Download iTunes from Apple’s Website
If you prefer more control over the installation process, download the installer directly from Apple’s website.
- Go to apple.com/itunes using your web browser.
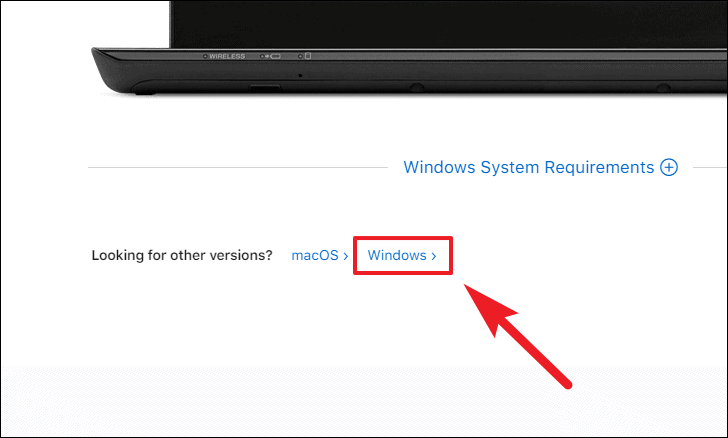
- Scroll down and click the
Windowsbutton under the Windows System Requirements section.
- Click the
Download iTunes for Windows nowbutton to start the download.

- After downloading, double-click the
iTunesSetup.exefile to run the installer.

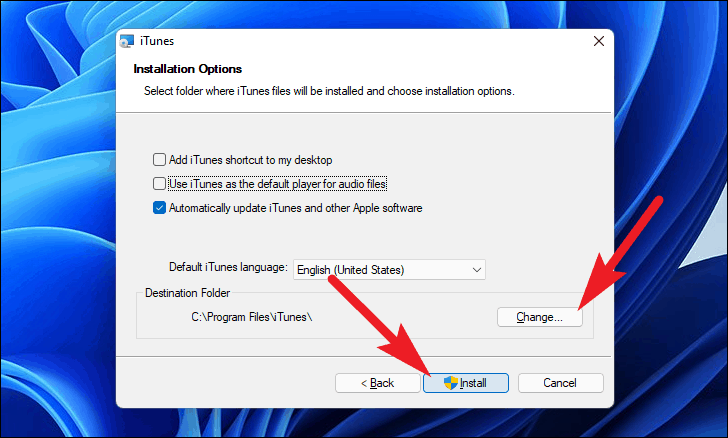
- Follow the on-screen instructions. Customize options like adding a desktop shortcut or setting iTunes as the default player.

- Click
Installto begin the installation.
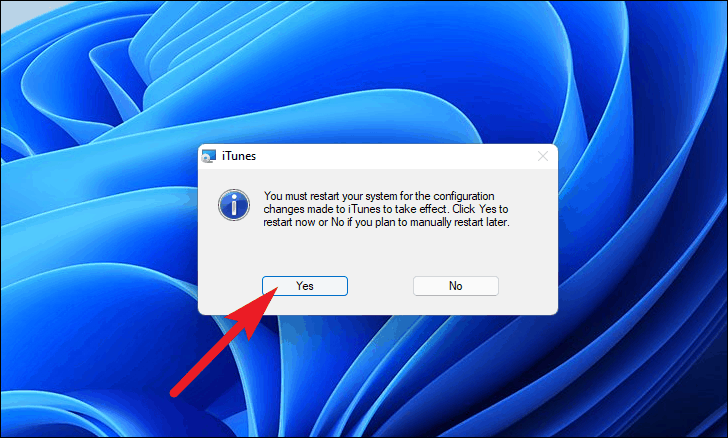
- Once installation is complete, click
Finishand restart your computer if prompted.
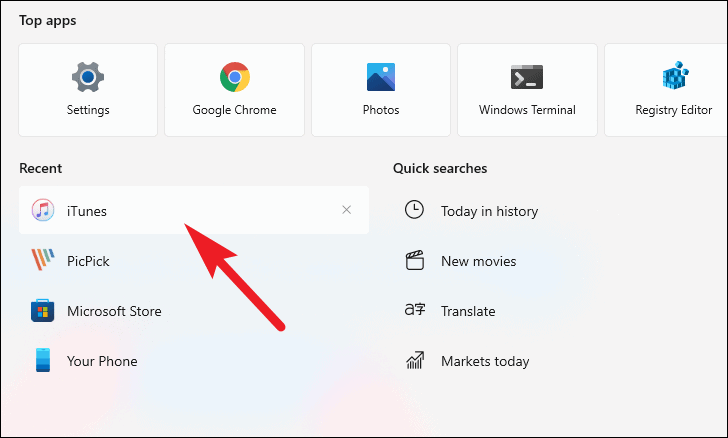
You can now find iTunes on your desktop or by searching for it in the Start Menu.

Setting Up iTunes
Before syncing, sign in to iTunes with your Apple ID.
- Open the iTunes app on your Windows 11 PC.
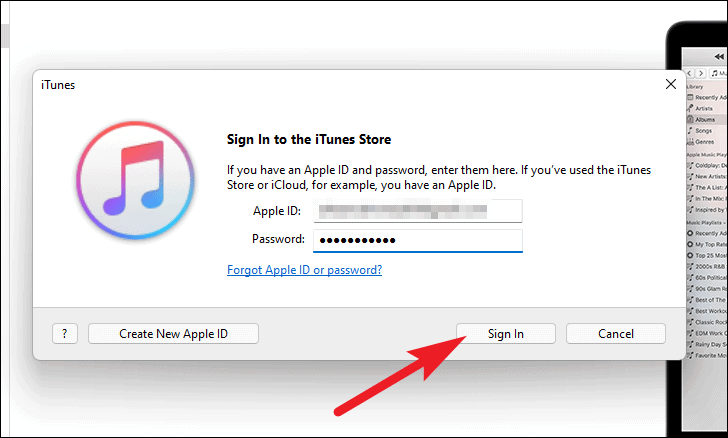
- Click on Account in the top menu and select
Sign In. - Enter your Apple ID and password, then click
Sign In.
Syncing Your iPhone via Cable
With iTunes set up, you’re ready to sync your iPhone using a cable.
- Connect your iPhone to your PC using the appropriate cable.
- Unlock your iPhone if necessary.
- On your iPhone, tap
Trustwhen prompted to trust the computer.

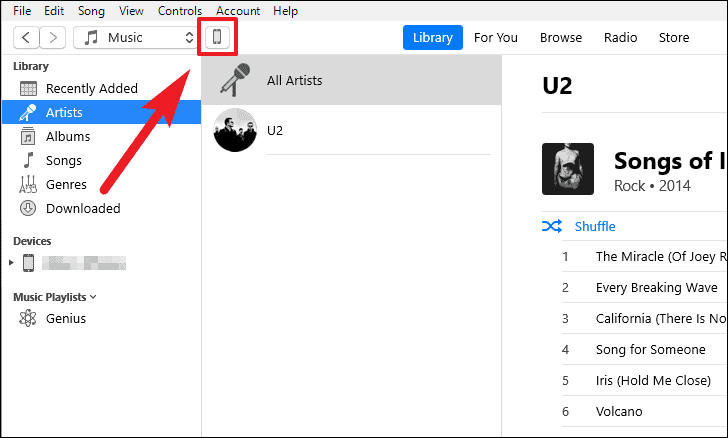
- In iTunes, click the phone icon that appears in the top-left corner.

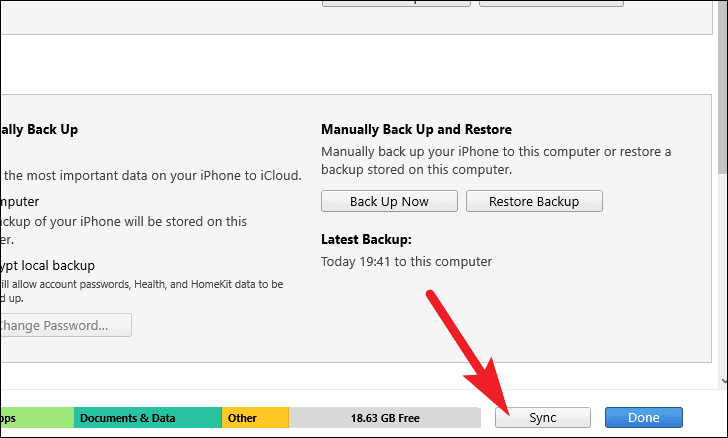
- Click
Syncat the bottom-right corner to start syncing your iPhone.
Enabling Wireless Sync
To sync your iPhone over Wi-Fi, enable wireless sync in iTunes while your device is connected via cable.
- With your iPhone connected, open iTunes if it’s not already open.
- Click the phone icon in the top-left corner.
- Scroll down to the Options section.
- Check the box next to
Sync with this iPhone over Wi-Fi. - Click
Applyto save the settings.
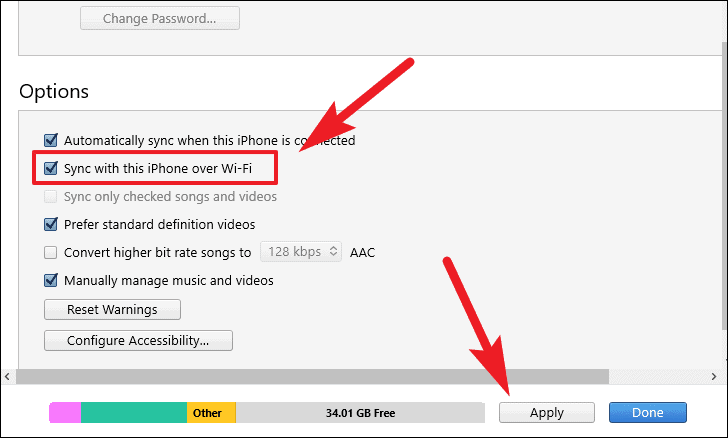
Your iPhone will now sync with your PC over Wi-Fi when they’re on the same network. Ensure your iPhone is charged or connected to power for uninterrupted syncing.
Backing Up Photos Without iTunes
You can back up your iPhone photos to your PC without using iTunes by importing them directly through File Explorer.
- Connect your iPhone to your PC using a USB cable.
- Unlock your iPhone if prompted.
- On your PC, open
File Explorerby pressingWindows+E. - Click on
This PCin the left sidebar.

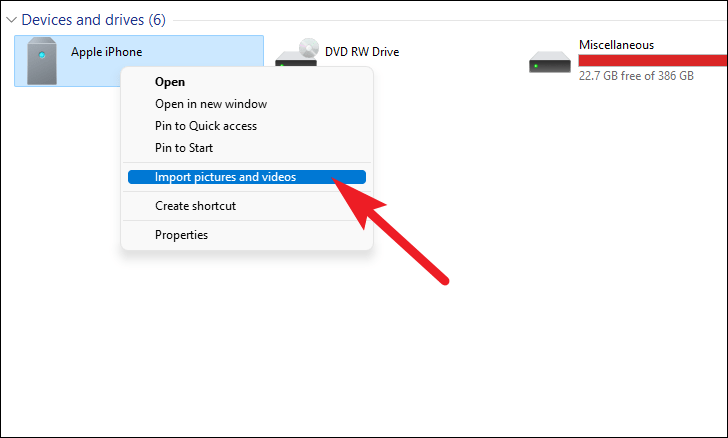
- Right-click on
Apple iPhoneunder Devices and Drives, then selectImport pictures and videos.
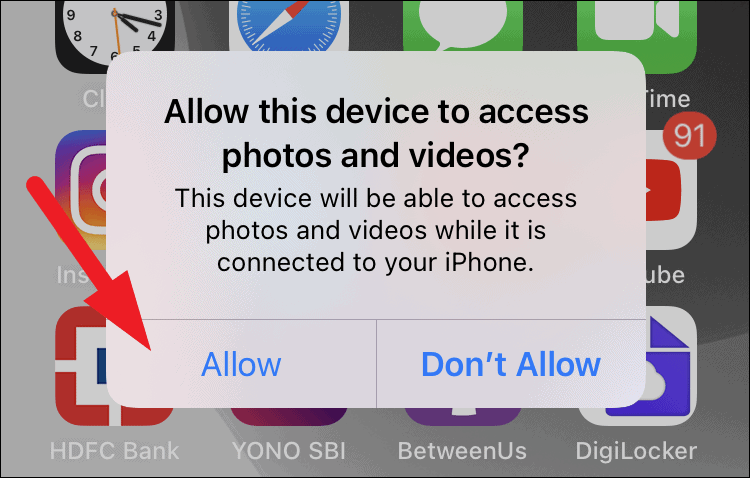
- On your iPhone, tap
Allowto grant the PC access to your photos and videos.
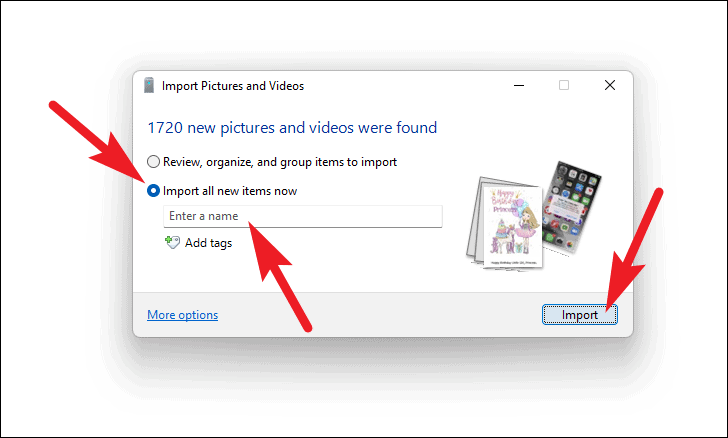
- Windows will search for media to import. Once ready, select
Import all new items now. - Optionally, enter a name for the imported folder.
- Click
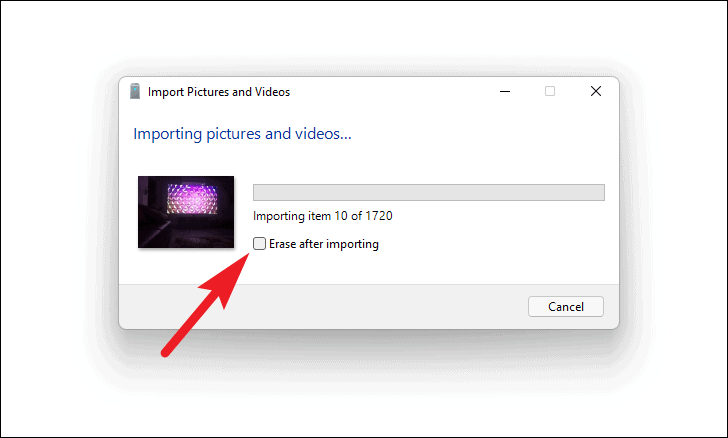
Importto begin transferring your photos and videos.
To delete the imported items from your iPhone after the transfer, check the box next to Erase after importing before clicking Import.
By following these steps, you can easily connect and sync your iPhone with your Windows 11 PC, whether you prefer using a cable or wireless syncing. Backing up your photos is also simple without the need for iTunes, ensuring your important memories are safely stored on your computer.