
Adverse weather conditions like a sudden rain and/or snowfall completely ruin your mood along with the hassle that such conditions bring. Now, a simple weather check or a notification when there’s an extremely high probability of pouring down can really help you plan your journey or at least provide you a heads up to be prepped enough for such a situation.
However, most of us are not naturally inclined towards checking the weather forecast before heading to a location. Fortunately, your iPhone can send you weather alerts right on your screen to provide you with timely updates and make you much more efficient and organized in your daily life.
Thankfully, turning on weather alerts on your iPhone is an easy and very straightforward process. However, it is a two-part process, first, you will need to enable precise location for the Weather app, and then allow notifications for the weather alert by going to the Weather app itself.
Allow Precise Location Access to Weather App from Settings
Since your iPhone will provide you weather alert for the location, you will need to enable precise location to get weather alerts only pertaining to your location. Moreover, you will also need to provide the Weather app with continuous access to the location in the background.
To do so, first, head to the Settings app either from the home screen or from the app library of your device.
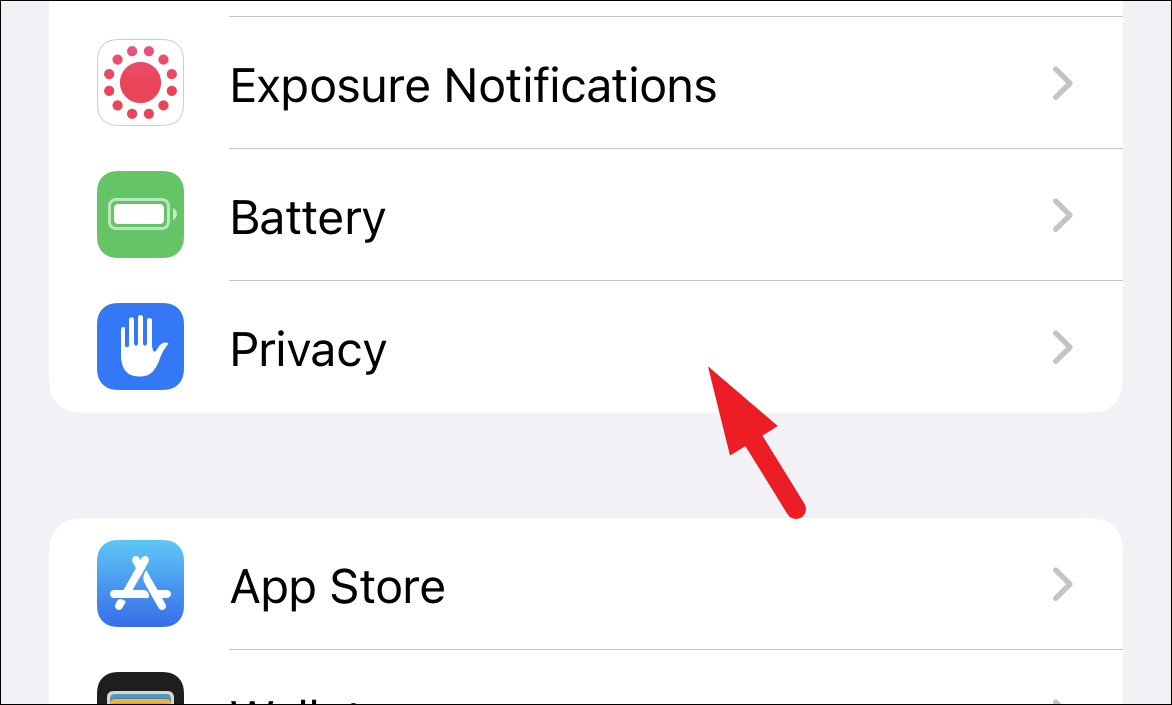
After that, from the ‘Settings’ screen scroll down to locate and tap on the ‘Privacy’ tile to proceed.
Next, on the ‘Privacy’ screen, tap on the ‘Location Services’ tile to continue.

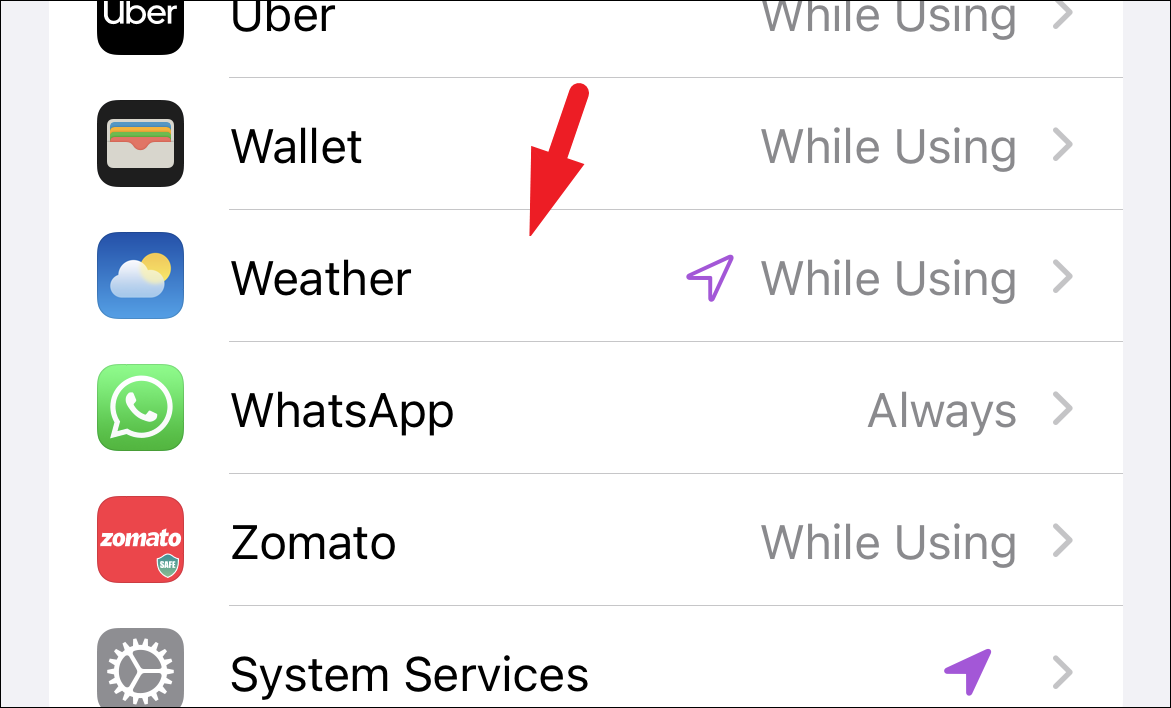
Then, on the next screen, scroll down to locate and tap on the ‘Weather’ tile to head to the next screen.
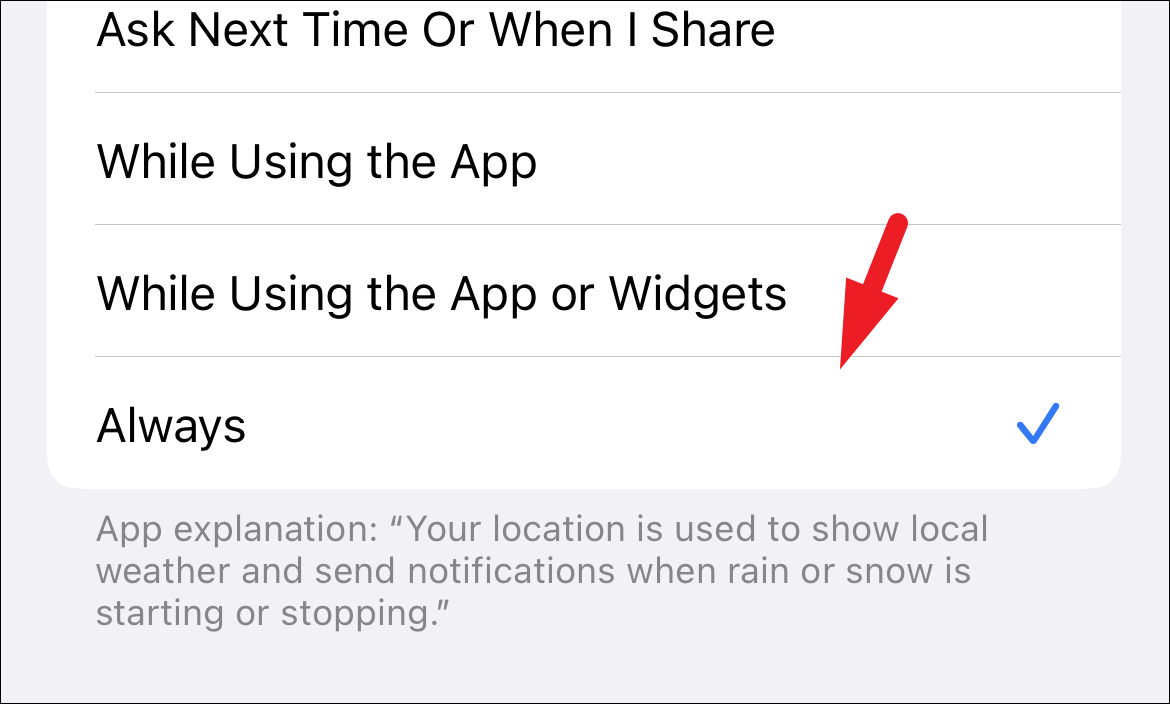
Finally, on the ‘Weather’ screen, tap on the ‘Always’ option present under the ‘Allow Location Access’ section to provide unrestricted access to location services.
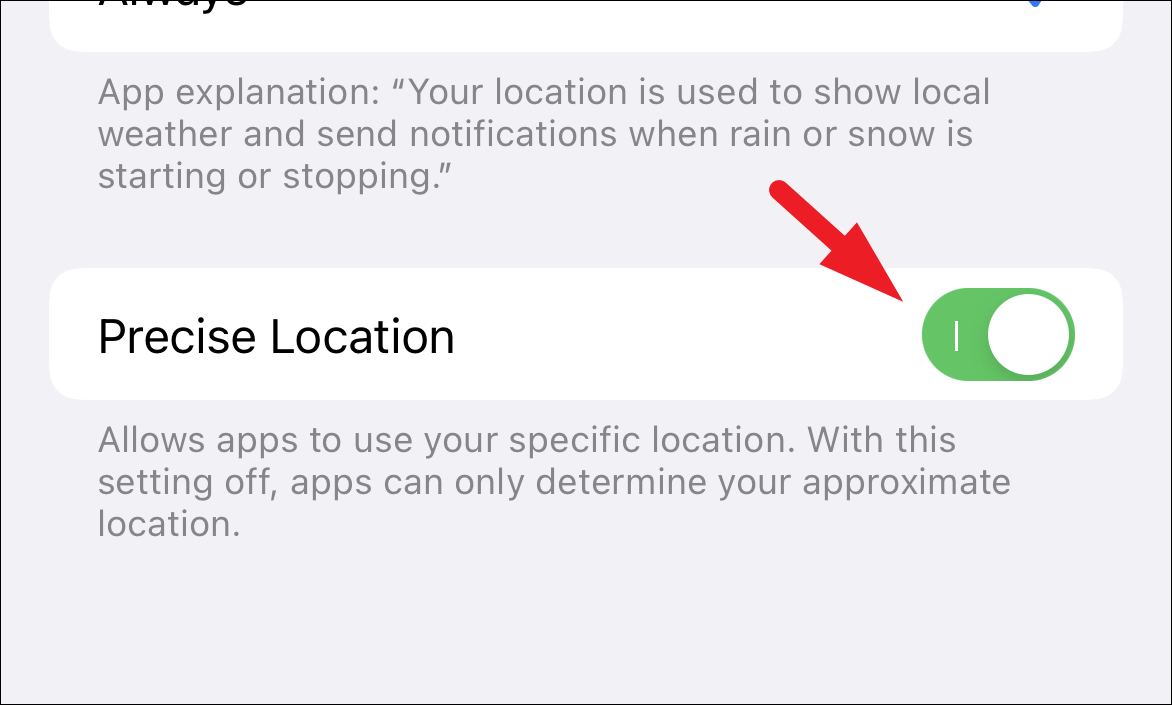
Then, on the same screen, locate the ‘Precise Location’ tile and tap on the following switch present on the far right edge of it to bring it to the ‘On’ position. This will allow the Weather app to use your exact location.
Now that you have enabled the precise location for the Weather app as well as provided unrestricted access to the location, it is now time to enable the notifications from the Weather app to receive them timely.
Allow Notifications from the Weather App
Once you have allowed the location services to the Weather app, you would now need to allow the notifications from the Weather app to receive the Weather alert timely on your iPhone.
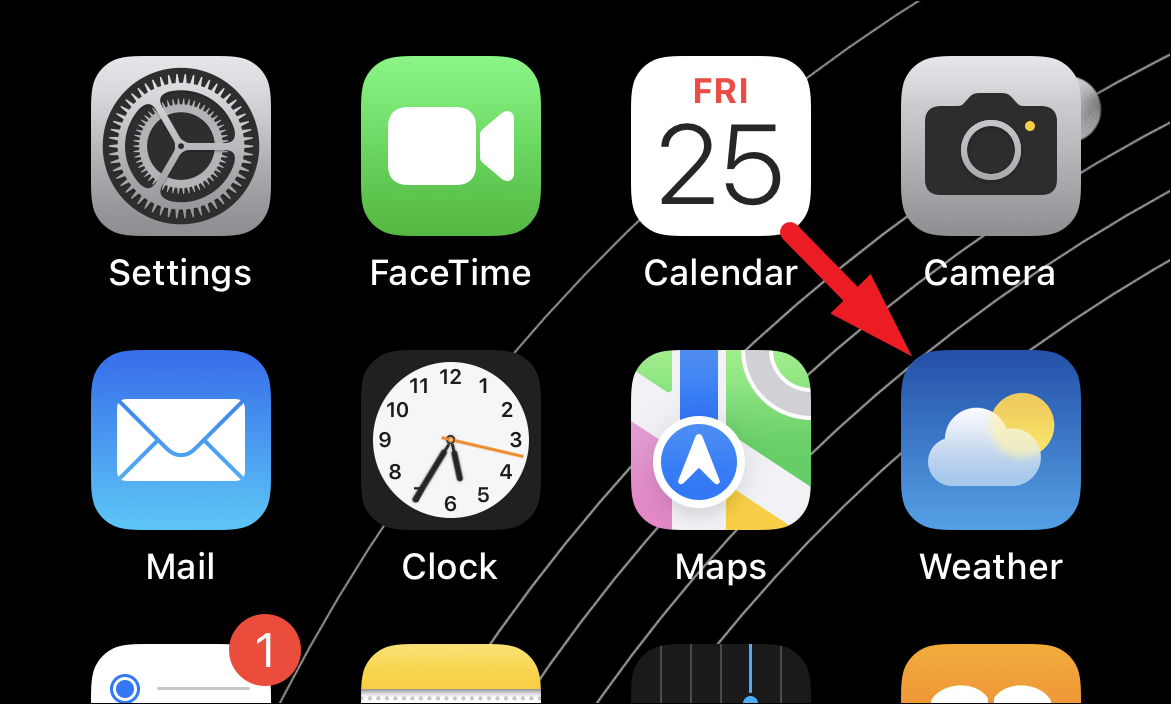
To do so, head to the ‘Weather’ app either from the home screen or from the app library of your device.
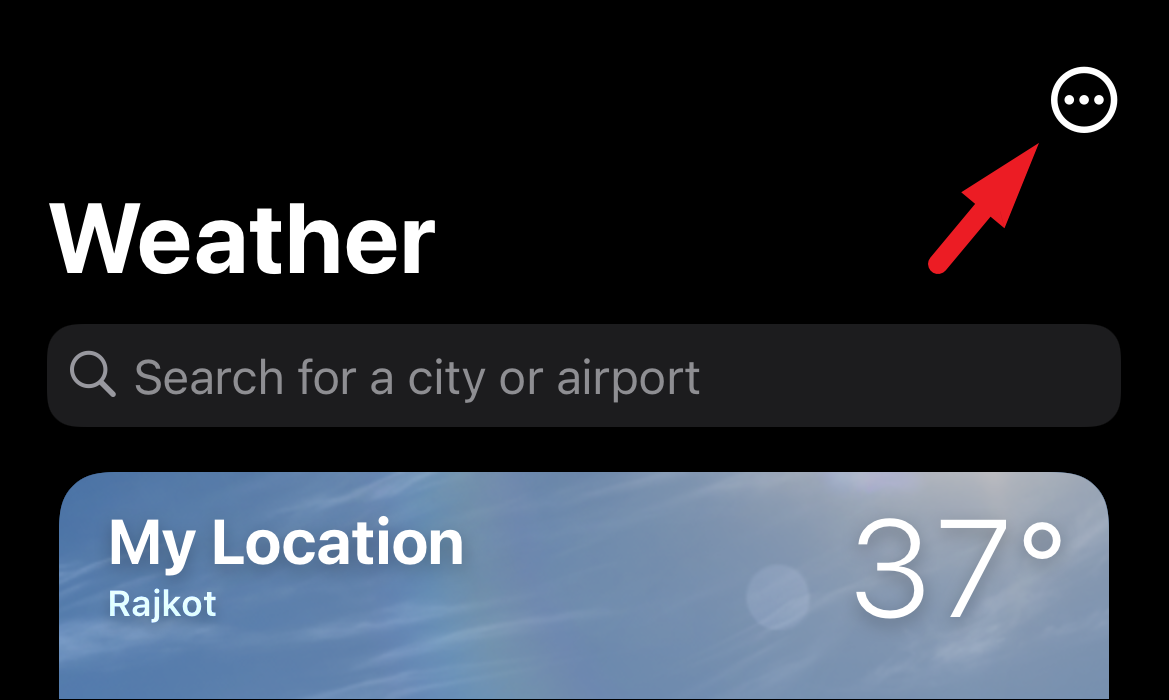
Then, on the ‘Weather’ app screen, tap on the ‘ellipsis’ (three horizontal dots) icon to reveal an overflow menu.
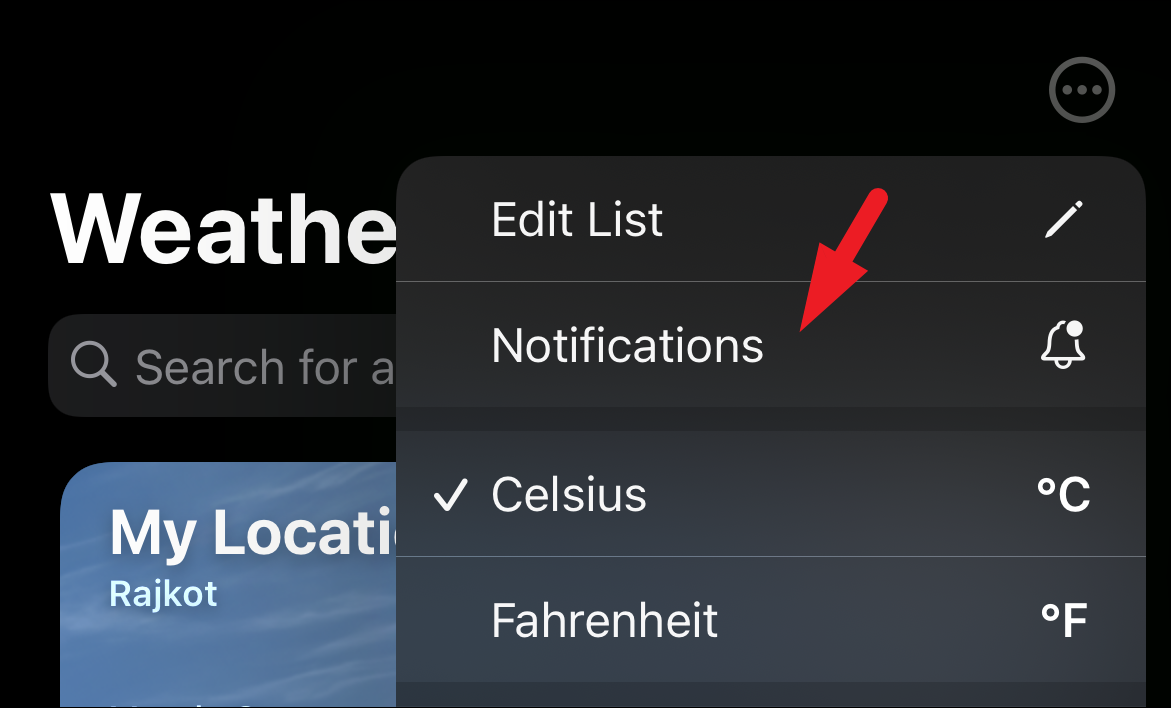
After that, tap on the ‘Notifications’ option from the overflow menu to proceed. This will bring an overlay window to your screen.
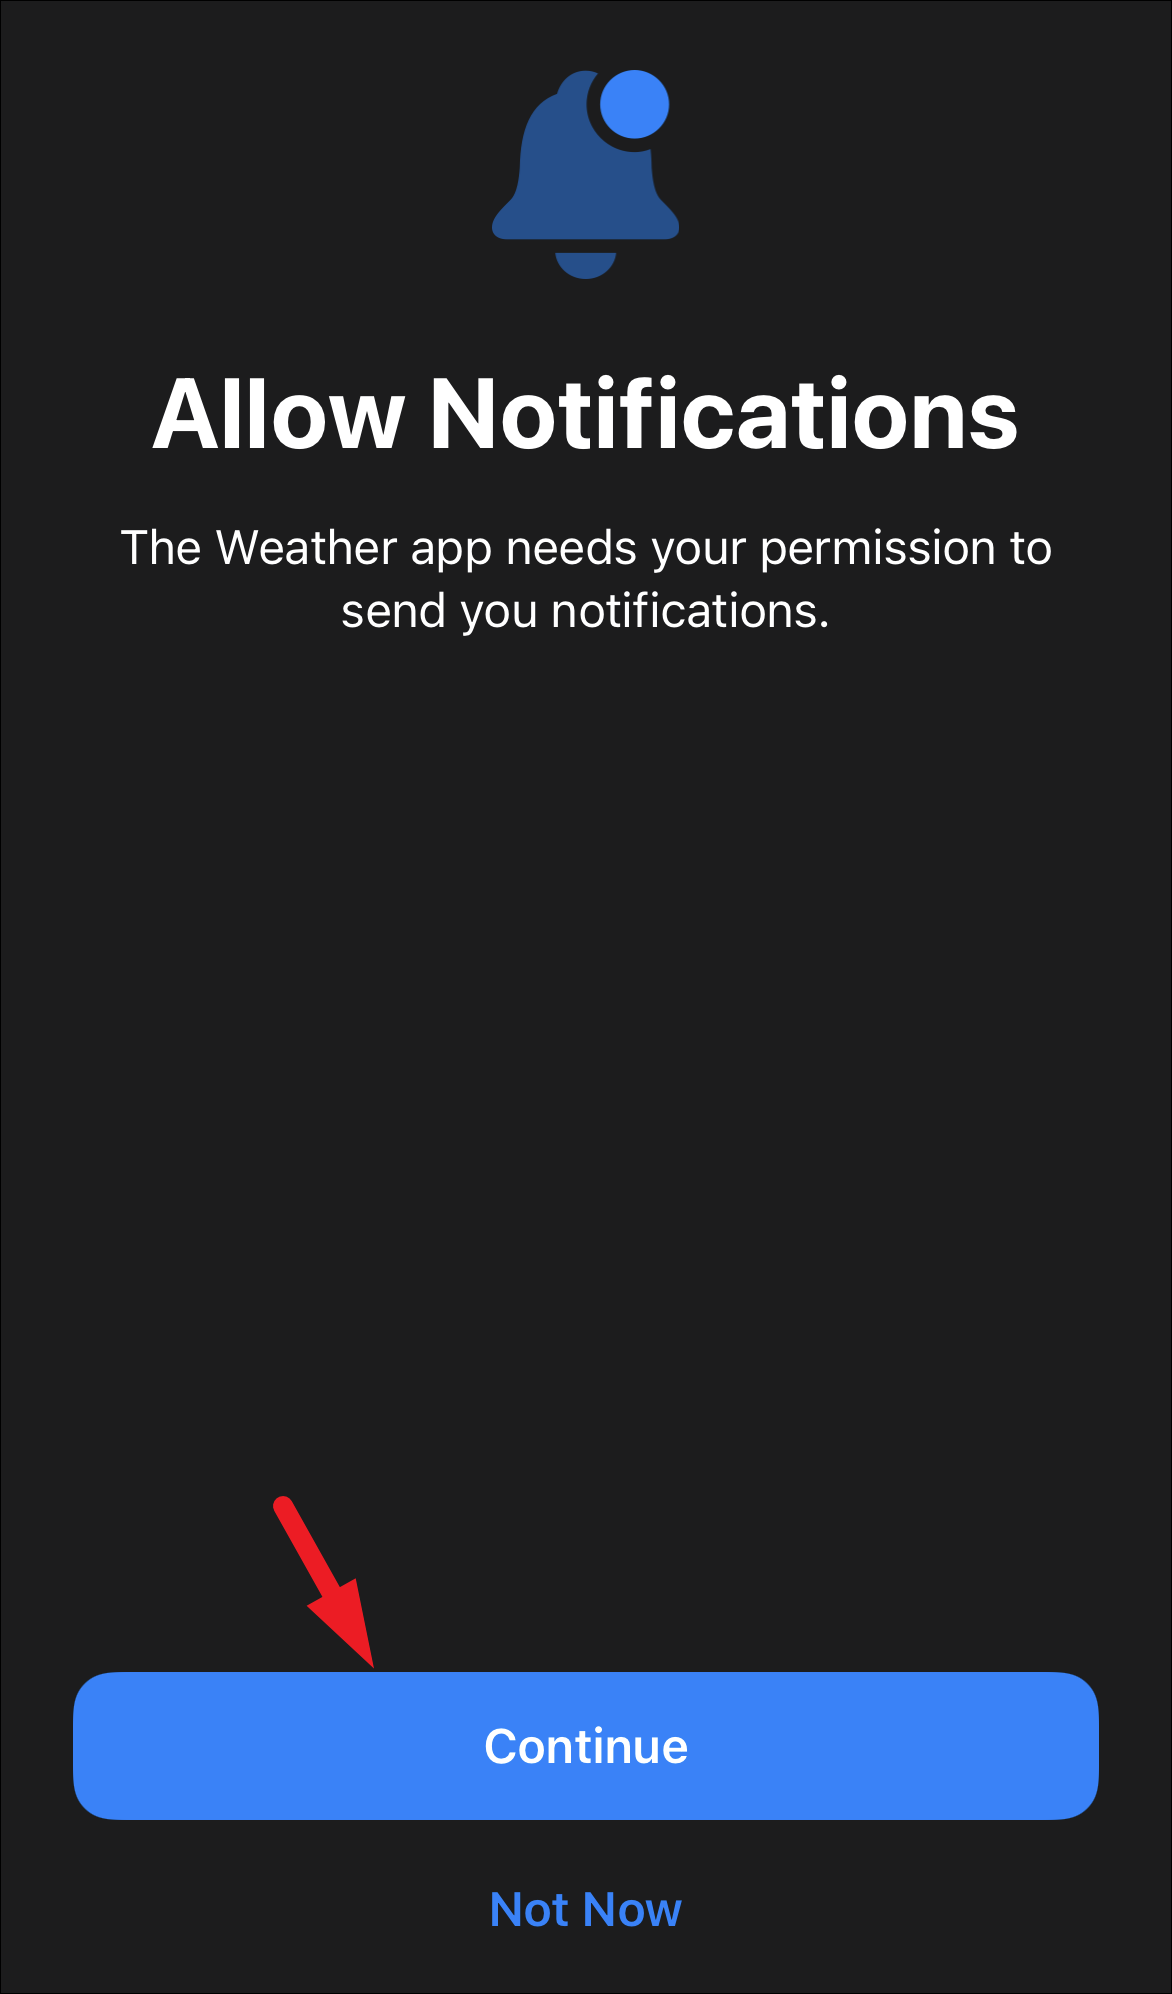
Now, from the overlay screen, tap on the ‘Allow Notifications’ button present on the bottom section of the page. This will bring an overlay alert to your screen.
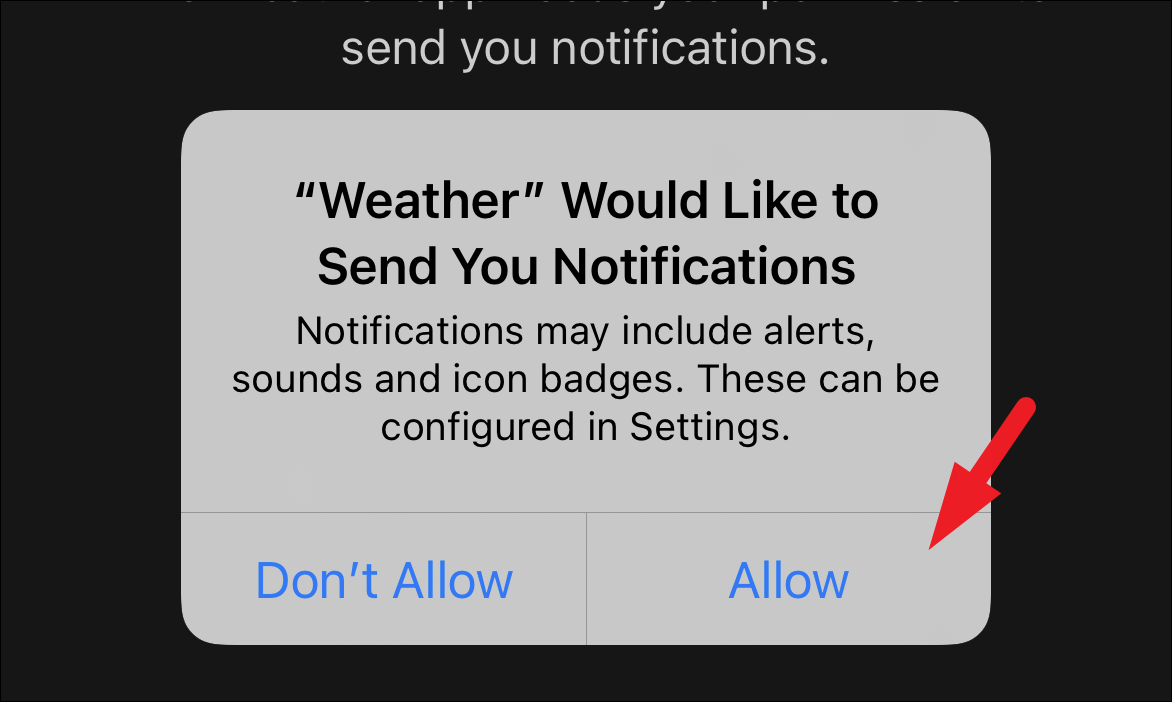
Then, from the alert, tap on the ‘Allow’ button to provide the Weather app the access to send you notifications.
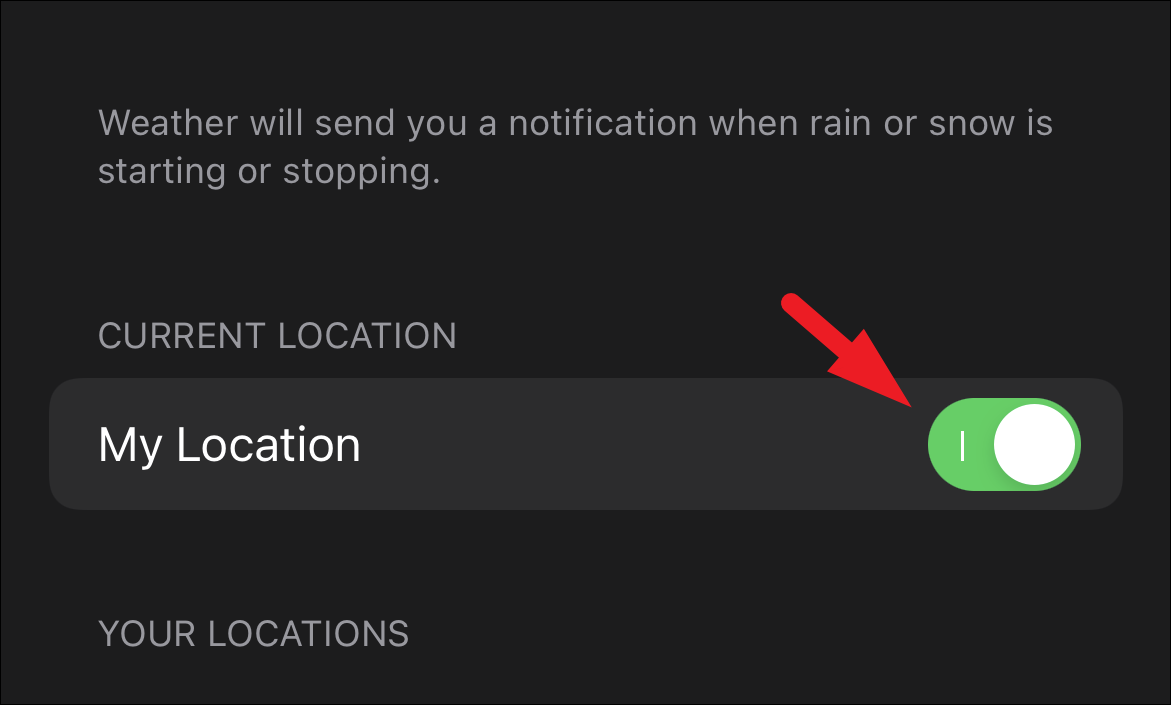
Now, on the next screen, locate the ‘My location’ tile and make sure the toggle switch present on the far right edge of the tile is in the ‘On’ position. In case it isn’t, tap on the toggle switch to bring it to the ‘On’ position.
There you go people, be enabling weather alerts on your iPhone, you can receive timely updates regarding snow or rain and be prepped enough for adverse weather conditions in your area.


