How to Unprotect an Excel Sheet or Workbook With or Without Password
You can unprotect an Excel Sheet or Workbook with or without a password by using a VBA code, ZIP file format trick, or Google Sheets.
You can unprotect an Excel Sheet or Workbook with or without a password by using a VBA code, ZIP file format trick, or Google Sheets.
by Shivam Malani
Forgetting the password to a protected Excel sheet or workbook can be a significant obstacle when you need to access or modify important data. Luckily, there are several methods to regain access without the password. This guide provides detailed steps to help you unprotect your Excel files.
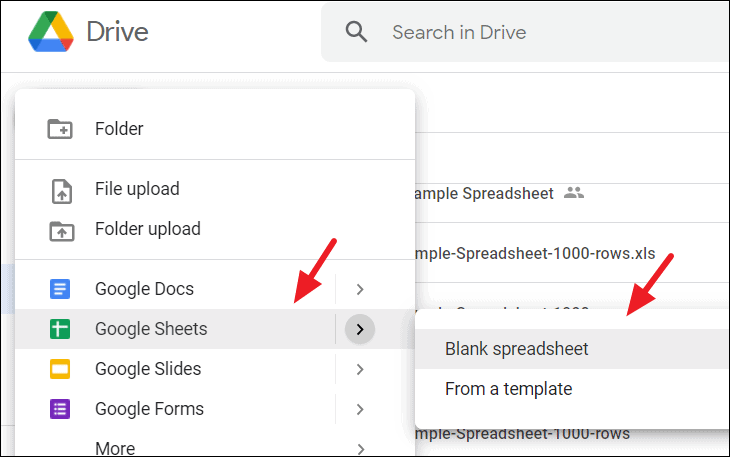
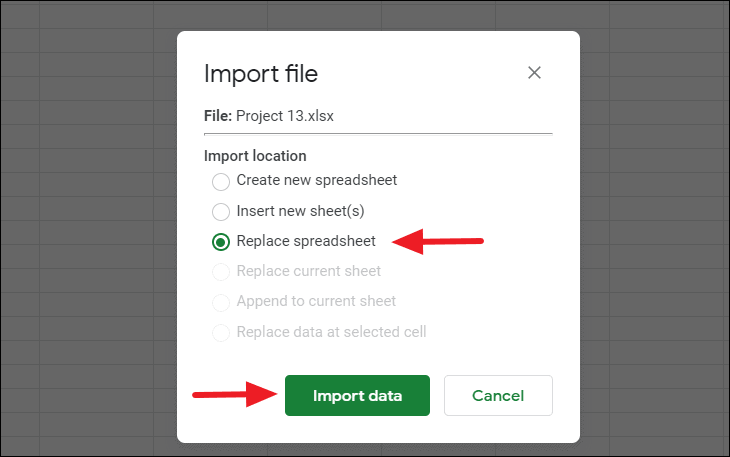
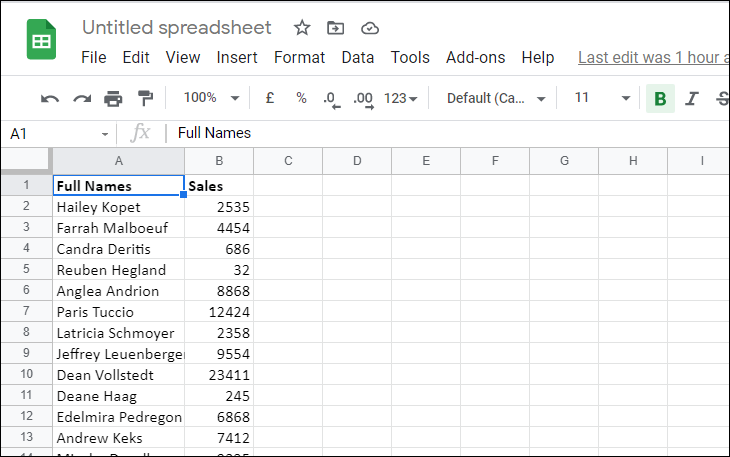
The protected Excel worksheet will now open in Google Sheets. You’ll notice that the protection has been removed, allowing you to edit the data freely.
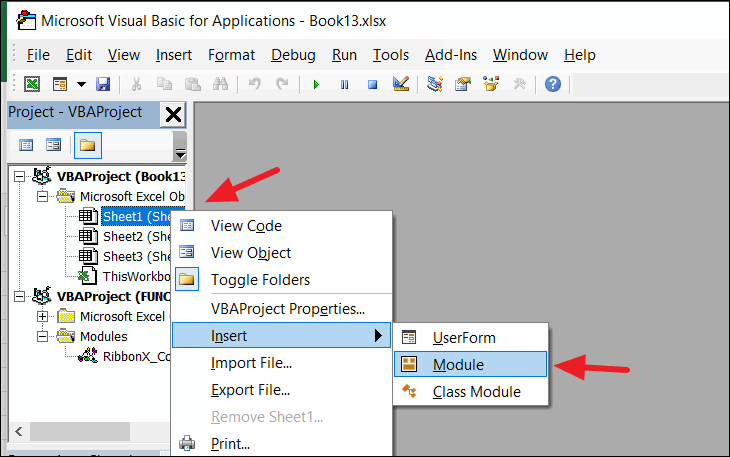
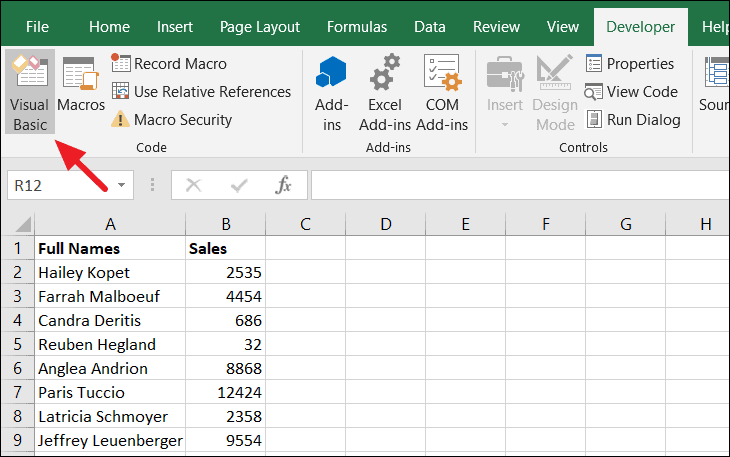
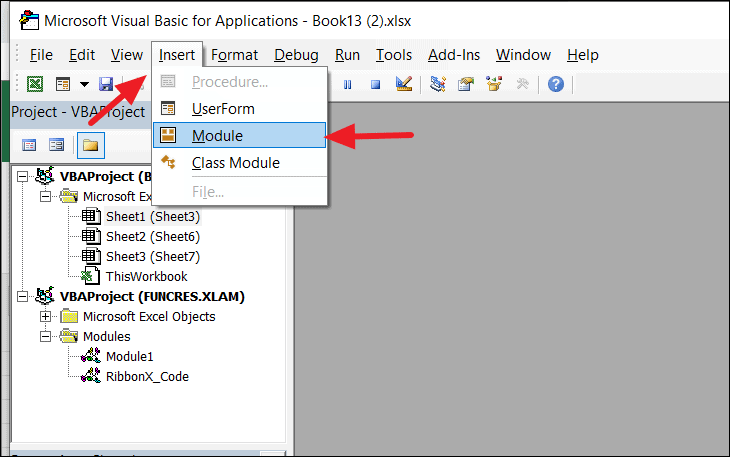
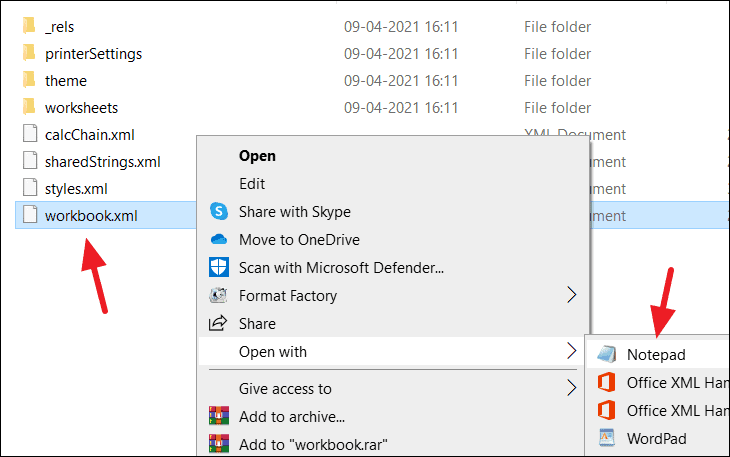
In the VBA editor, locate the left pane labeled Project-VBAProject. Expand the Microsoft Excel Objects folder, right-click on the protected sheet, select Insert, and then choose Module.
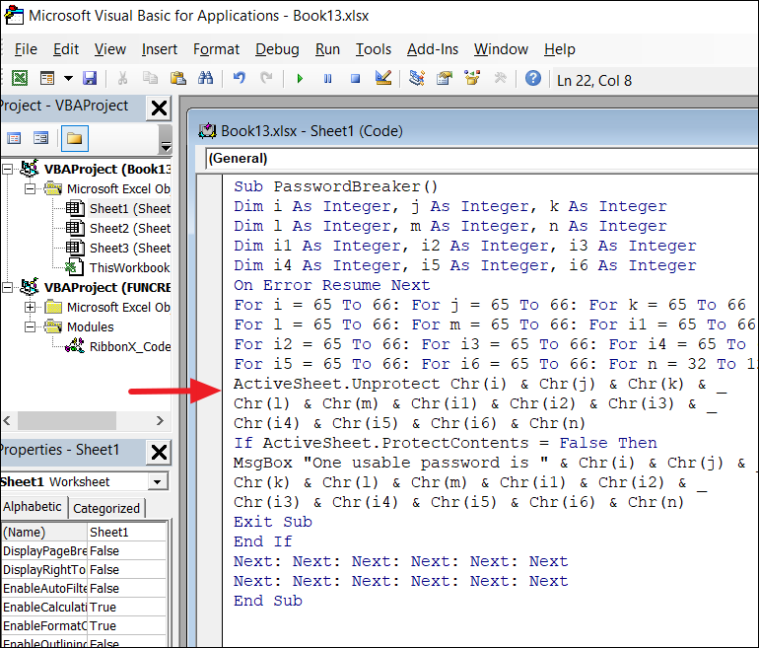
In the new Module window that appears, paste the following VBA code:
Sub PasswordBreaker()
    Dim i As Integer, j As Integer, k As Integer
    Dim l As Integer, m As Integer, n As Integer
    Dim i1 As Integer, i2 As Integer, i3 As Integer
    Dim i4 As Integer, i5 As Integer, i6 As Integer
    On Error Resume Next
    For i = 65 To 66: For j = 65 To 66: For k = 65 To 66
    For l = 65 To 66: For m = 65 To 66: For i1 = 65 To 66
    For i2 = 65 To 66: For i3 = 65 To 66: For i4 = 65 To 66
    For i5 = 65 To 66: For i6 = 65 To 66: For n = 32 To 126
    ActiveSheet.Unprotect Chr(i) & Chr(j) & Chr(k) & _
    Chr(l) & Chr(m) & Chr(i1) & Chr(i2) & Chr(i3) & _
    Chr(i4) & Chr(i5) & Chr(i6) & Chr(n)
    If ActiveSheet.ProtectContents = False Then
    MsgBox "One usable password is " & Chr(i) & Chr(j) & _
    Chr(k) & Chr(l) & Chr(m) & Chr(i1) & Chr(i2) & _
    Chr(i3) & Chr(i4) & Chr(i5) & Chr(i6) & Chr(n)
    Exit Sub
    End If
    Next: Next: Next: Next: Next: Next
    Next: Next: Next: Next: Next: Next
    End Sub
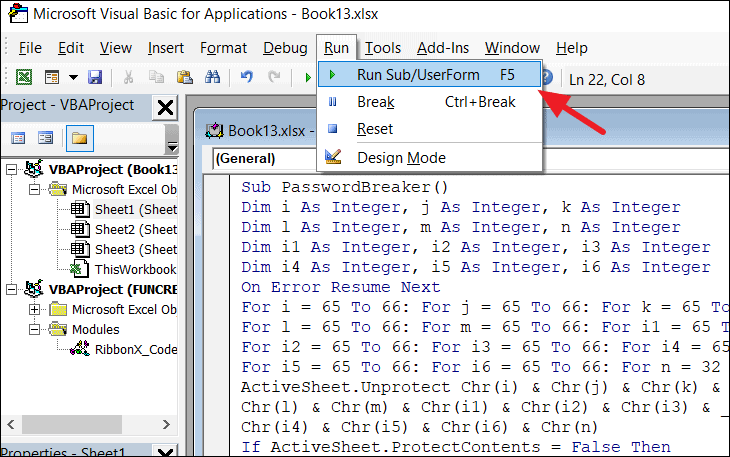
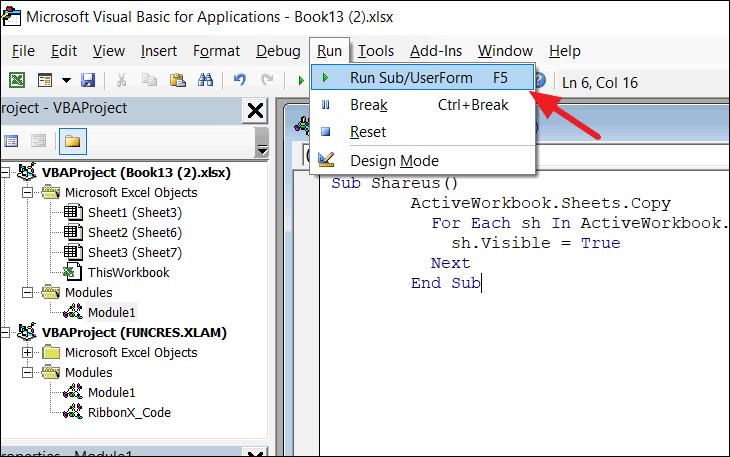
Press F5 or click on the Run button in the toolbar to execute the code. The macro will attempt to unprotect the sheet. This process may take some time depending on your system.
Once the macro has finished running, your sheet should be unprotected and editable.
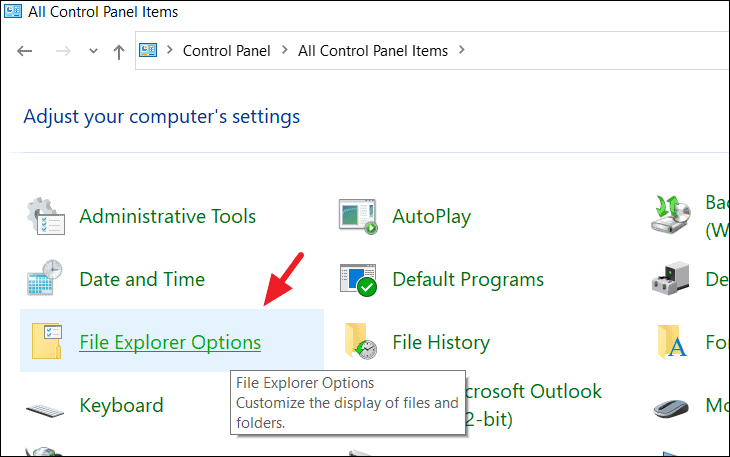
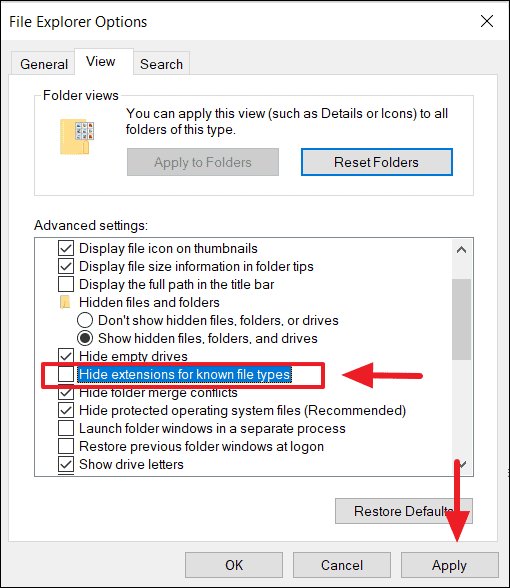
In the File Explorer Options window, click on the View tab. Uncheck the box labeled Hide extensions for known file types. Click Apply, then OK to save the changes.
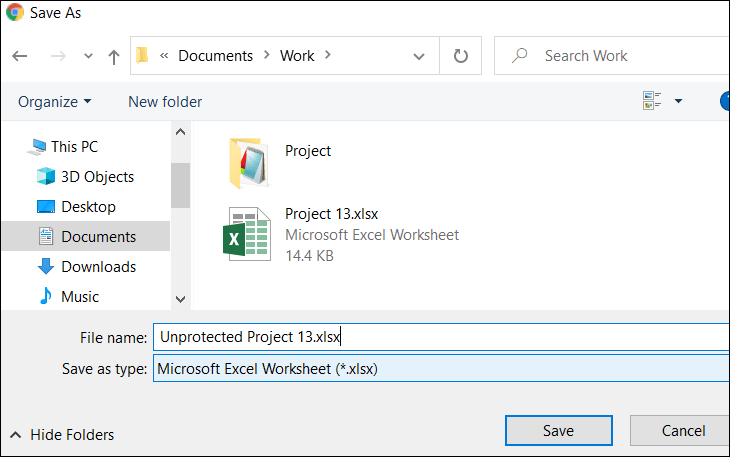
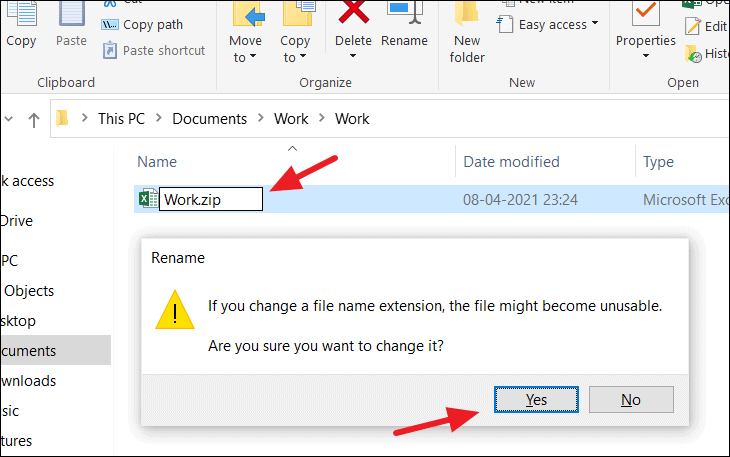
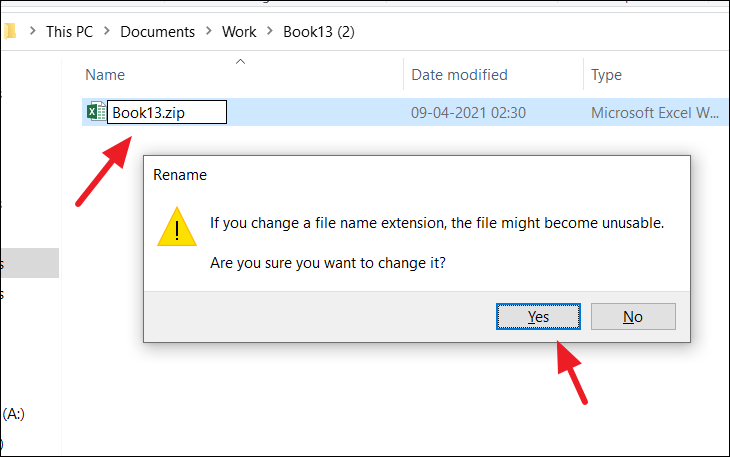
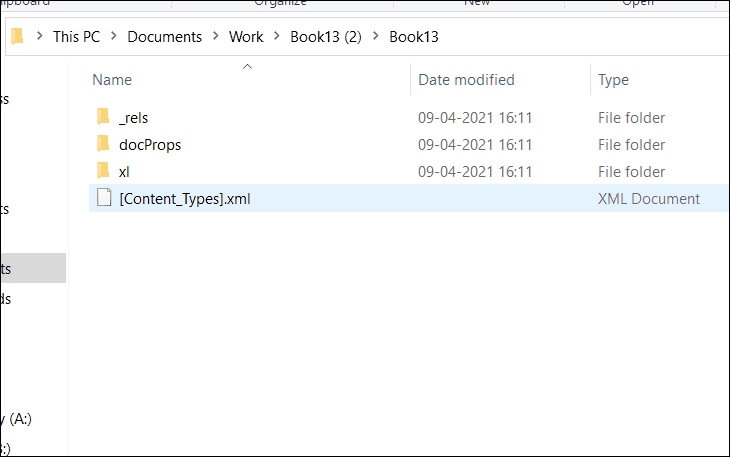
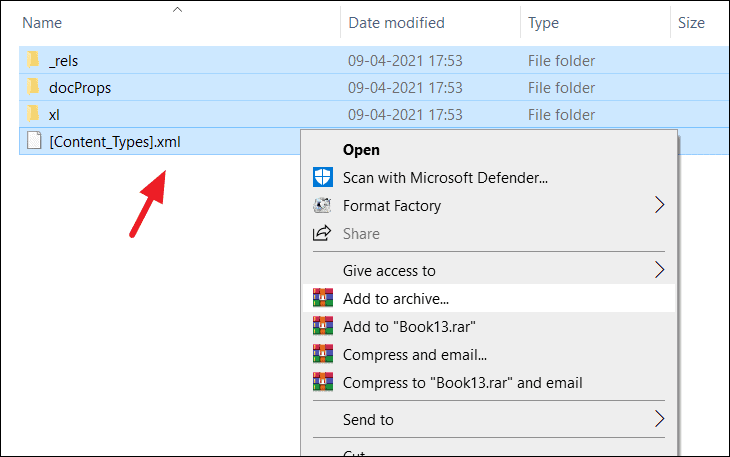
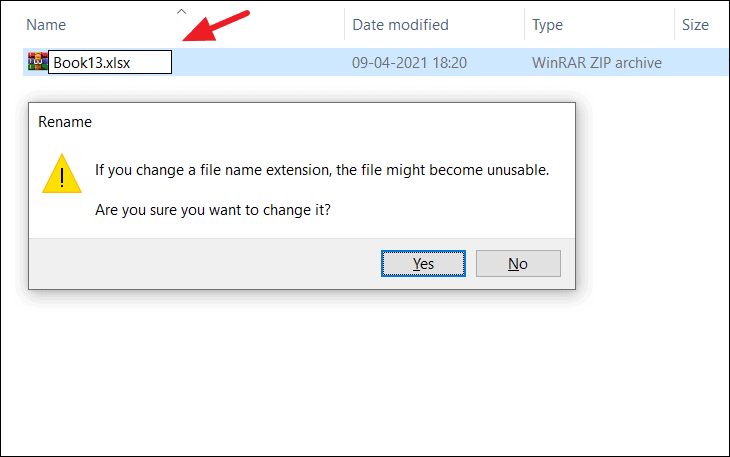
Locate your protected Excel file in File Explorer. Right-click on the file and select Rename. Change the file extension from .xlsx to .zip and press Enter. Confirm the change if prompted.
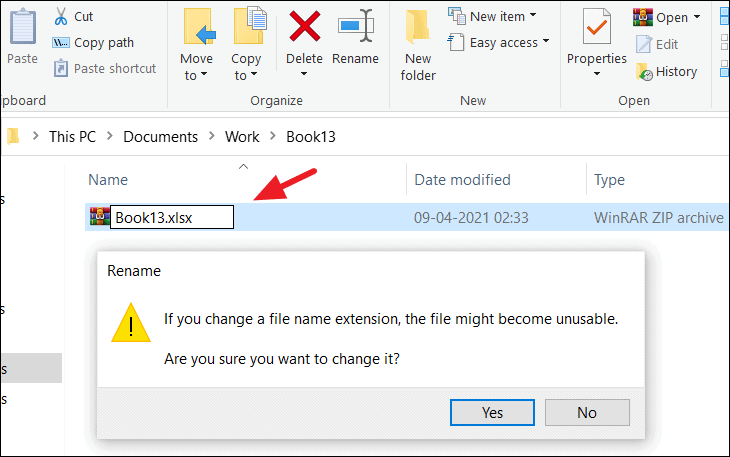
Open the Excel file. The workbook structure protection should now be removed, allowing you full access.
By following these methods, you can unprotect Excel sheets or workbooks, even without remembering the original password. Always remember to keep backups of your files before attempting these steps, and consider using a secure password manager to store your passwords safely.