Google has been turning Meet from a platform only for business meetings towards a playground for personal calls as well. When Google first made Meet available to everyone with a free Google account, it was in the light of the pandemic. And undoubtedly, Google did a solid to users everywhere in the world.
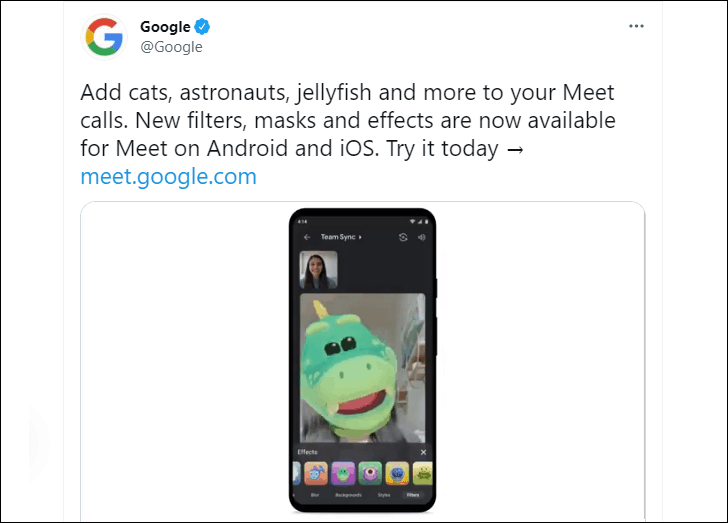
Soon, Meet soared to great heights in popularity. Google has been pushing it to personal accounts ever since, with more and more functionality being available in free accounts. There are even speculations that Meet might eventually replace Duo as the company might be planning to shelve it. In what looks like a further move in this direction, Google has now introduced Filters, AR-Masks, and Effects similar to that of Duo.
The new effects lineup includes filters like black & white video, AR masks like a dinosaur head (similar to Apple’s Memoji in FaceTime calls), or a silly AR effect like riding a dolphin, to name a few.
Who Can Use These New Filters and Effects?
The new filters and effects are only available on the iOS and Android mobile apps. Whether or not they will be available on Google Meet for Web remains yet to be seen as Google has not made any announcement, or even an indication, for the same.
Even on the mobile app, the filters and AR masks are only available for personal accounts, i.e., accounts with the ‘gmail.com’ domain. For Google Workspace accounts, the only effects available are the previously present “blur and background replace” effects. And that’s fitting, seeing as there’s really no need for these effects in a professional setting.
Adding a Filter, Mask, or Effect
Using these effects is relatively easy. But first, you need to update the Meet app from the App Store or Play Store as the effects are a part of the latest update. After that, you can apply these effects before joining or during a meeting. But the option to use the effects will only appear when your video is on.
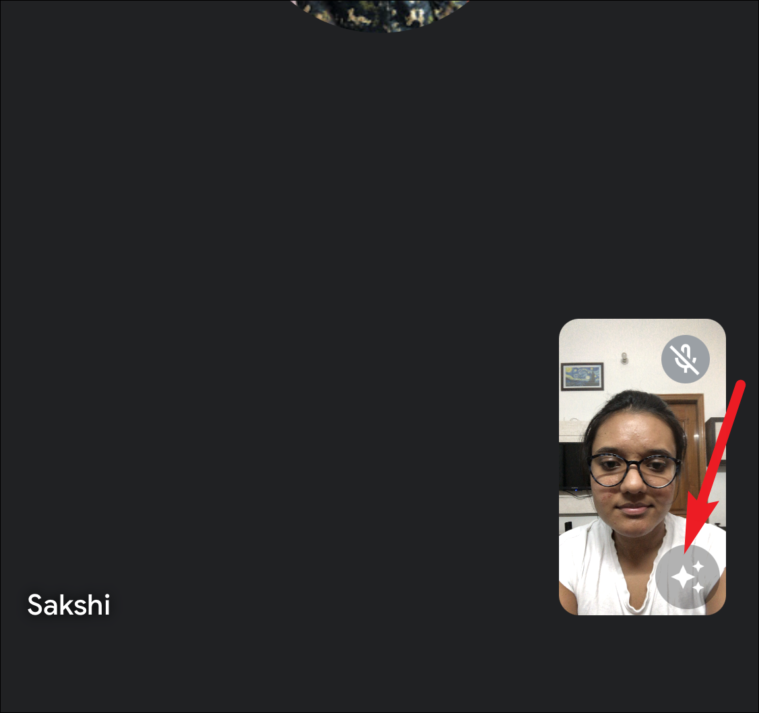
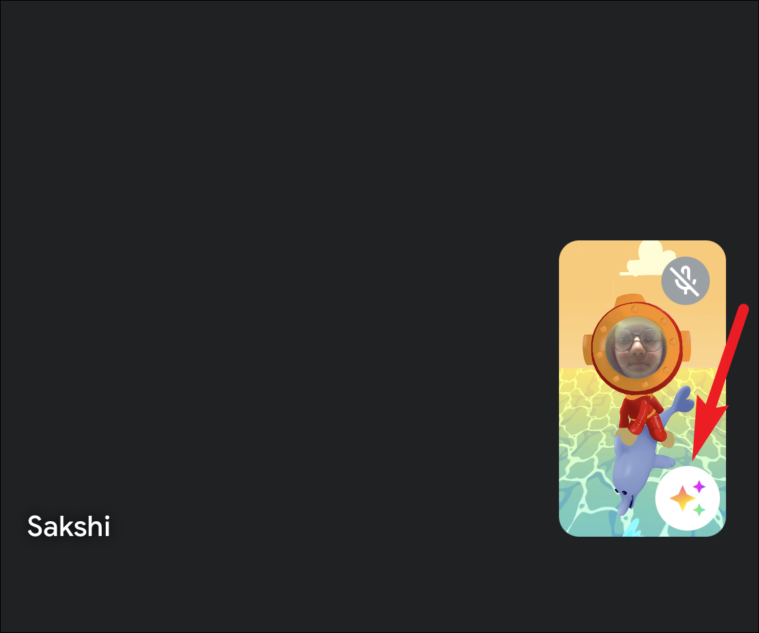
During a meeting, go to your self-view window and tap the ‘Effects’ icon (it looks like sparkles emoji ✨).
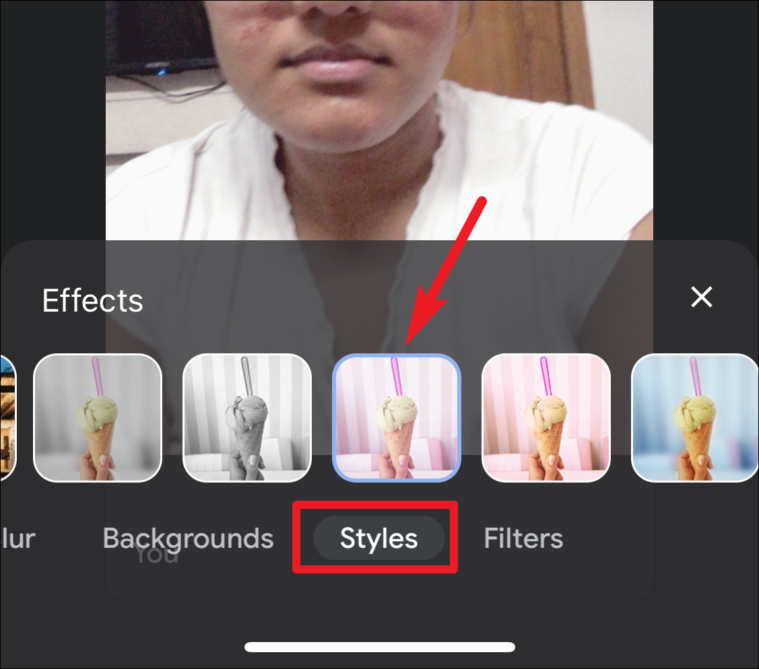
As soon as you tap the ‘Effects’ icon, your self-view window will expand, taking over the screen, and the effects will appear towards the bottom. You can keep swiping endlessly to navigate between different effects. Or you can use the categories to get to where you want. These categories include Blur, Backgrounds, Styles, and Filters. So, if you swipe, you’d have to go through the blur and background replace effects to get to filters and masks.

To use screen filters, tap ‘Styles’. There are currently 7 different styles like Black and white, a lens flare, etc. Tap the thumbnail for the style to use it. These screen filters work whether or not you’re in the view and affect the entire screen.
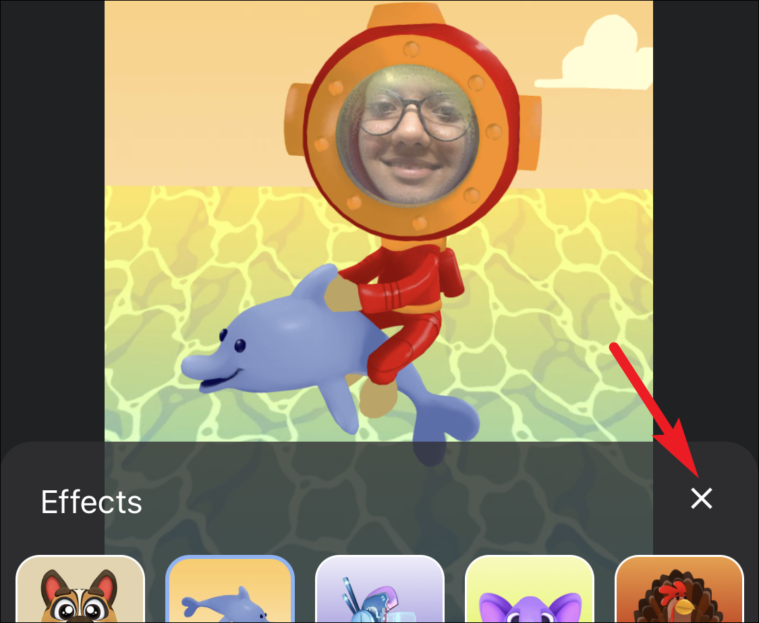
To use AR masks and other silly effects like the dolphin-riding one, tap ‘Filters’. You can add cats, dinosaurs, penguins, dogs, jellyfish, astronauts, ride dolphins, and much more with these masks and effects. Tap the thumbnail for the effect you want to use.
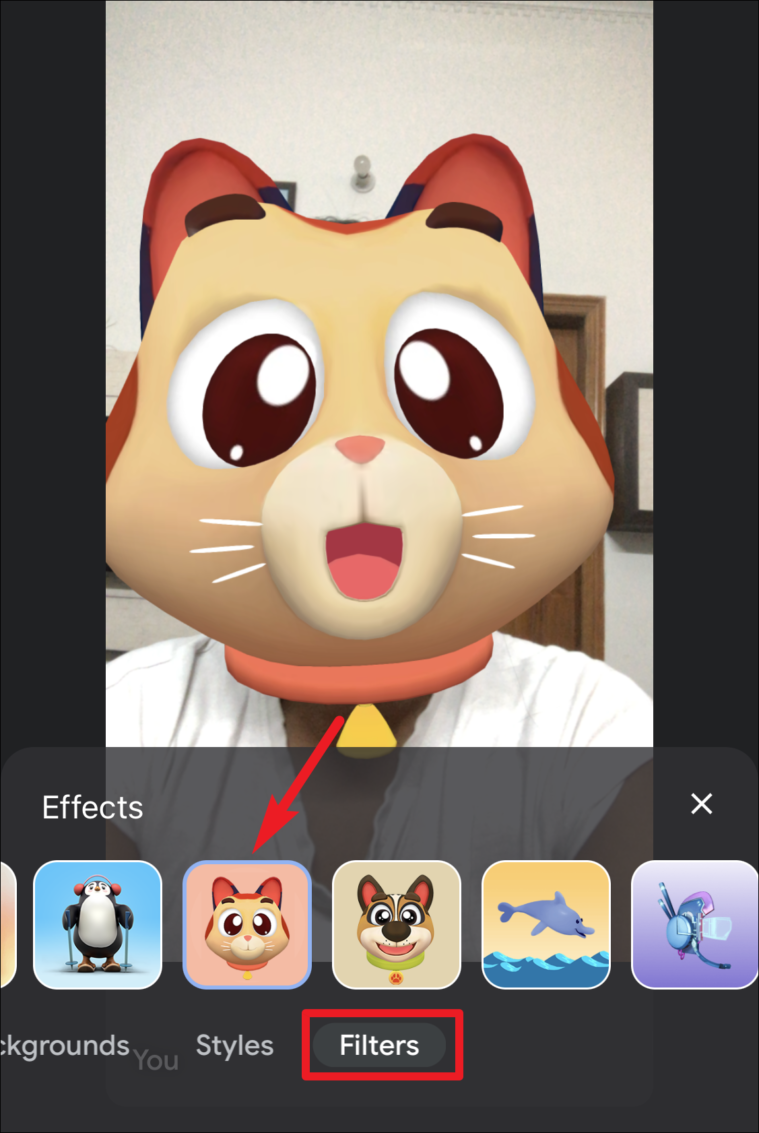
Most of these filters only work when your head is in the view as they use AR. It also uses head-tracking technology like Background effects, so the filter adjusts as you move your head.
Note: These styles and filters are applied in real-time. As soon as you tap an effect, even if you only want to preview what it looks like, others in the meeting will be able to see it.
Once you’re happy with the effect you want to use, tap the ‘Close’ icon to get back to the meeting.
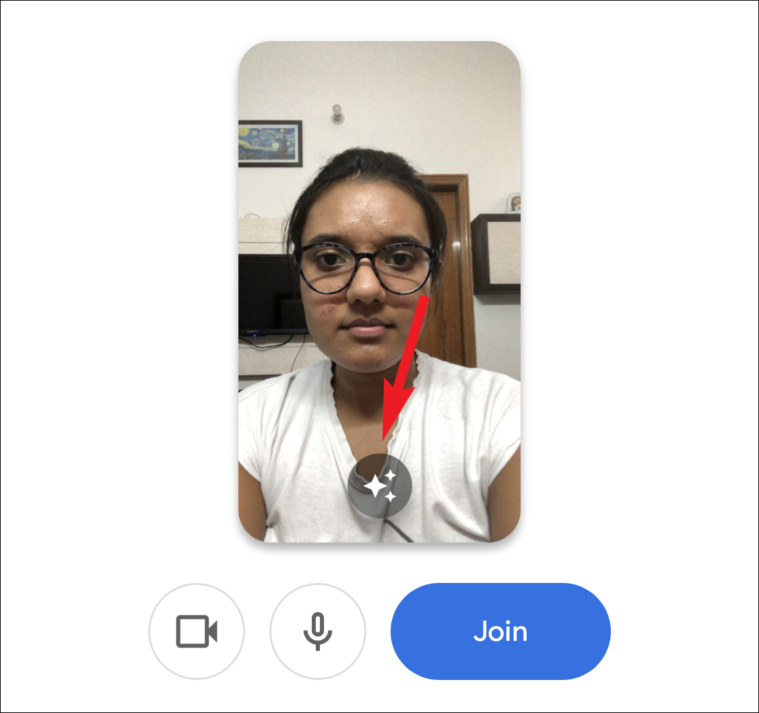
To use these effects before joining the meeting, go to your preview window and tap the ‘Effects’ icon.
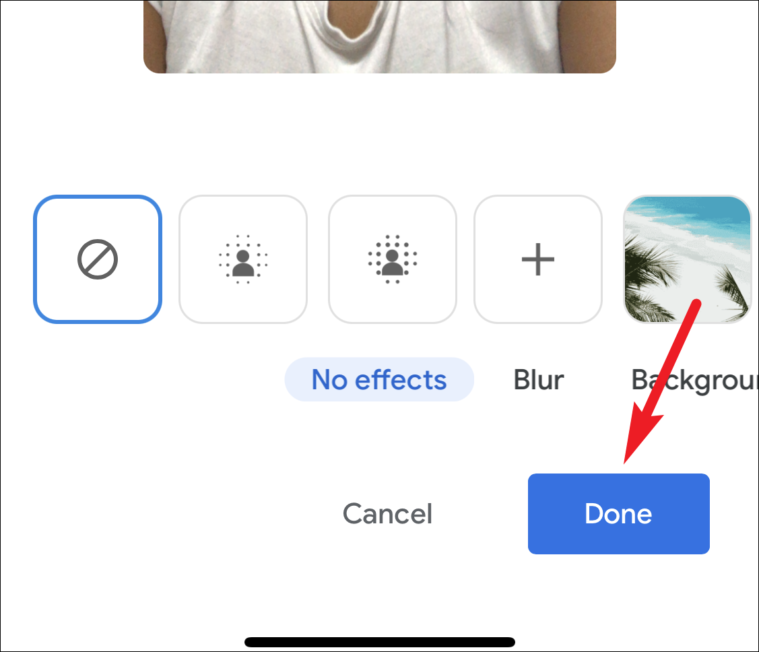
The effects screen will open. Select the effect you want to use and tap ‘Done’ to apply the filter. Unlike applying these effects during the meeting, the filter isn’t applied until you tap the ‘Done’ button. If you tap ‘Cancel’, the changes aren’t saved, whether you were applying an effect or changing it.
Removing the Effects
You can remove the effects in the meeting at any time. But if you’re leaving the meeting, you don’t have to worry about removing them. This is because Google Meet does not remember these effects like it does with background effects on Meet for Web. So, you don’t have to worry about an effect automatically being on just because you left the previous meeting without removing it. However, it also means that you have to apply these effects for each meeting.
To remove the effects, tap the ‘Effects’ icon again from your self-view window.
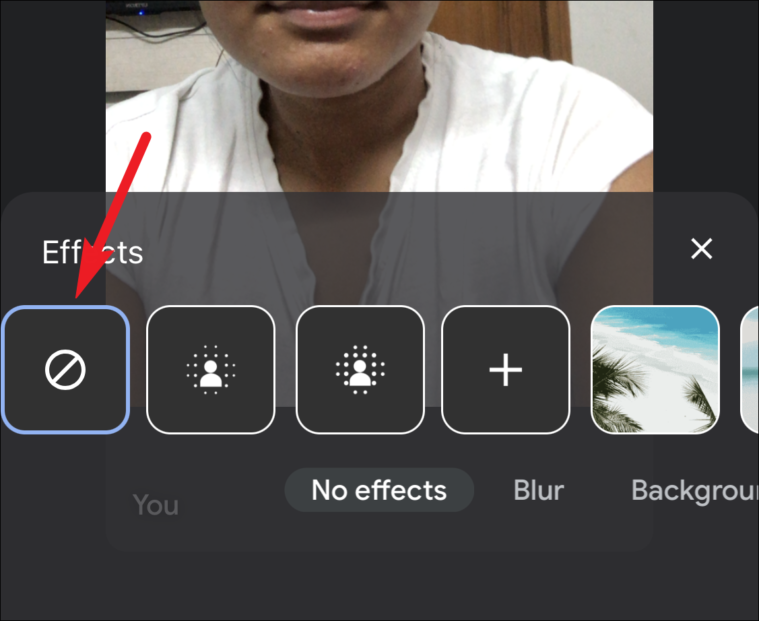
The effects screen will open. Now, either scroll all the way to the beginning or tap ‘No effects’ from the categories.
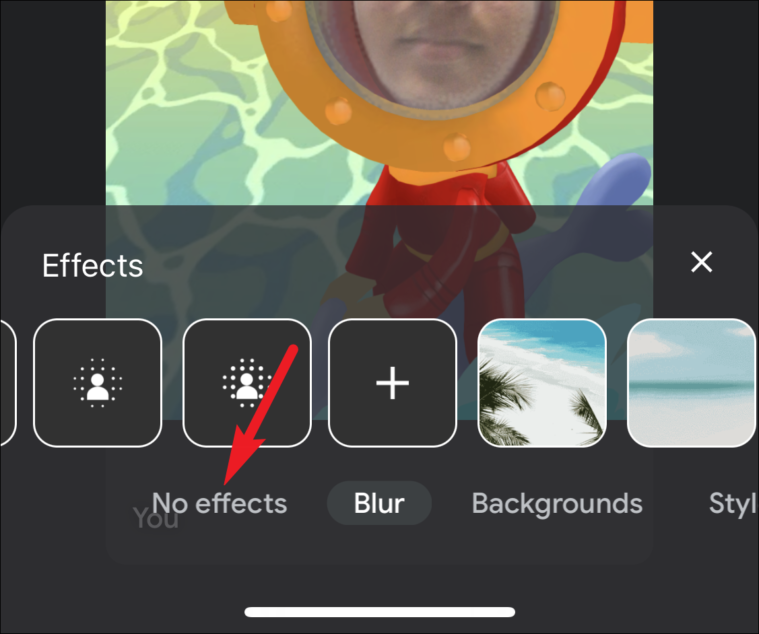
Then, tap the ‘No effects’ thumbnail and close the effects screen to return to the meeting with no effects.
Video calls can become a bit boring. These effects and masks can spruce up your calls a bit and give you something to joke about.


