Using social media can be enjoyable, but it can also become overwhelming and distract from real life. Taking a break is often beneficial. When you decide to pause your Facebook use, deactivating your account is easy, and you can reactivate it anytime by logging back in. However, deactivating Facebook doesn’t automatically deactivate Messenger, which means people can still contact you, potentially interrupting your social media break. To fully disconnect, you’ll need to deactivate Messenger separately, but remember, you must deactivate your Facebook account first.
If you’re unsure how to deactivate your Facebook account, here are some simple steps to follow:
Deactivate your Facebook Account
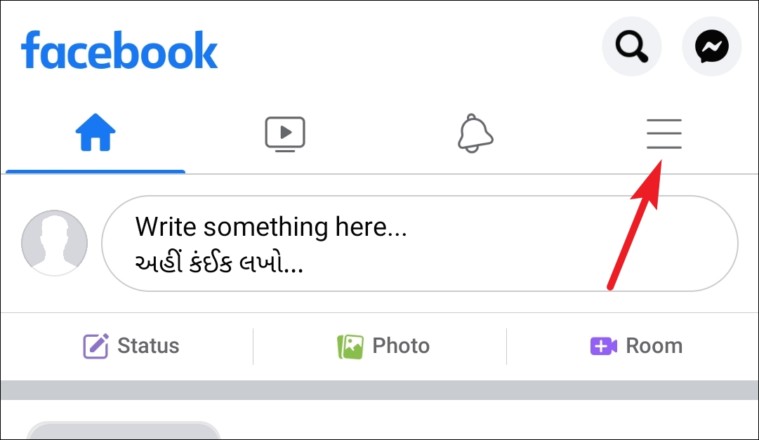
From the Facebook app, tap on the hamburger menu icon (three horizontal lines) situated on the top right corner of your screen.
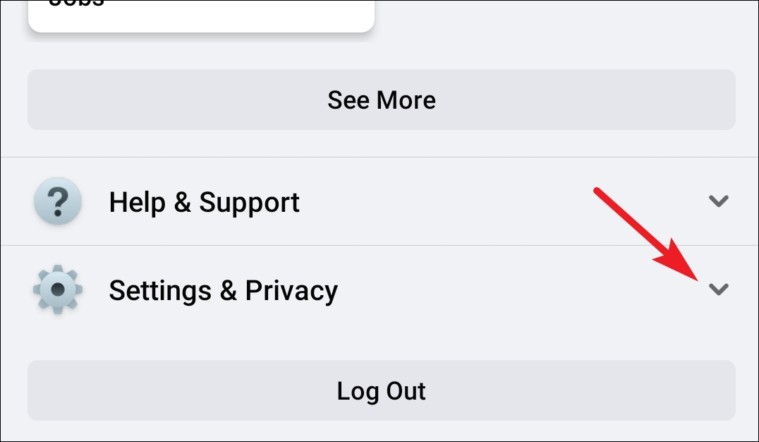
Next, scroll down and tap on the ‘Settings & Privacy’ option.
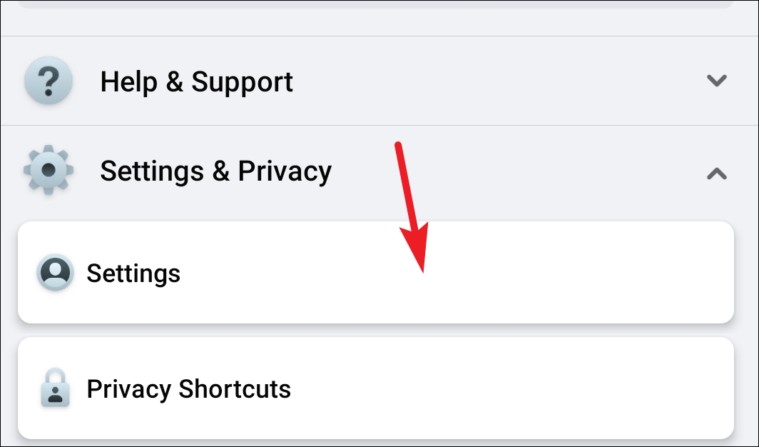
Then, tap on the ‘Settings’ option.
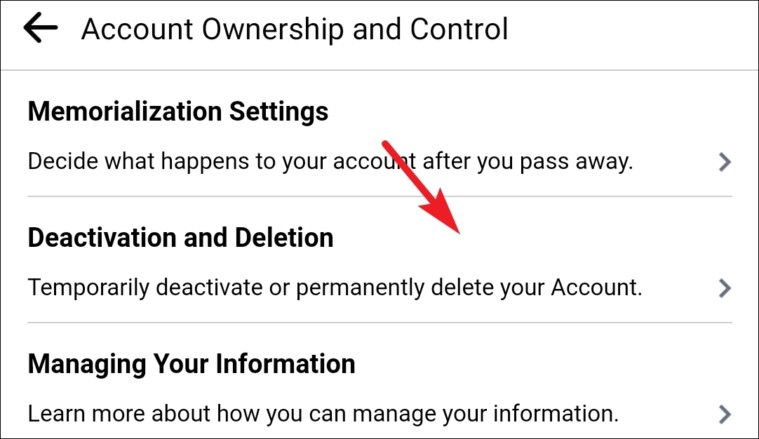
After that, tap on the ‘Account Ownership and Control’ option present on the screen.

Now, tap on the ‘Deactivation and Deletion’ option from the list.
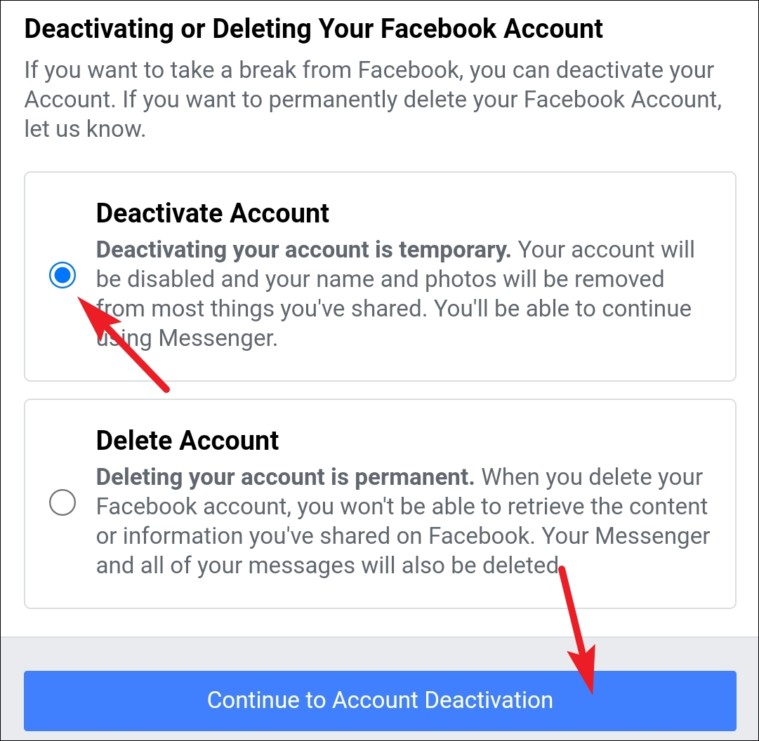
Next, select the ‘Deactivate Account’ option and tap on the ‘Continue to Account Deactivation’ option.
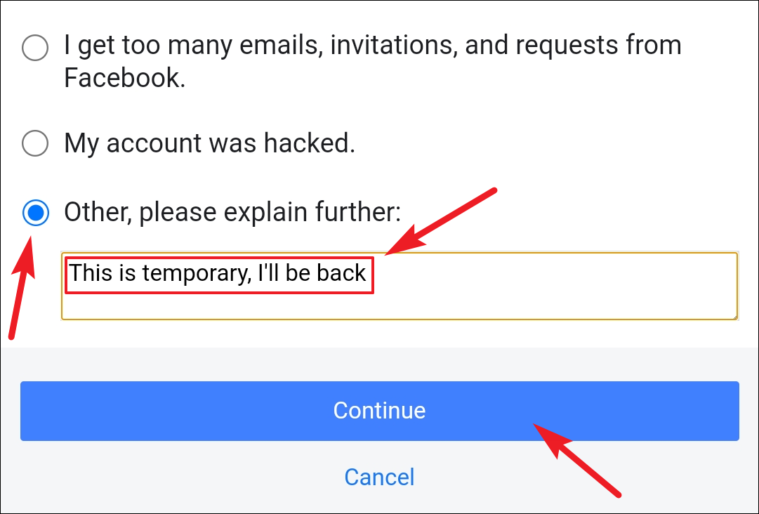
After that, choose a reason for deactivating your account from the available options or type one in the provided space. Then tap on ‘Continue’.
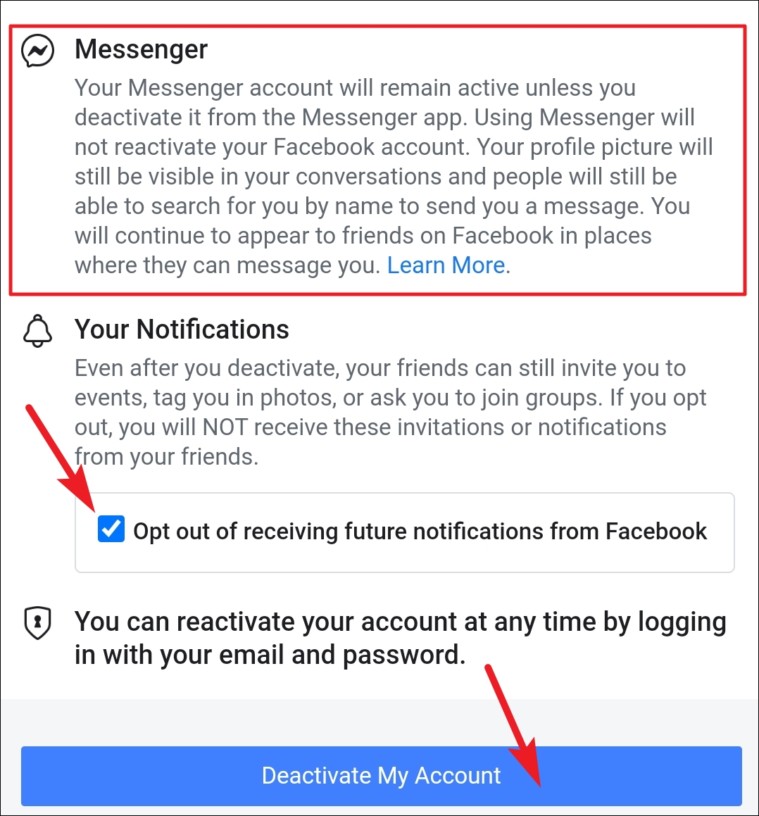
Then, if you do not want to receive notifications from your friends about them tagging you in pictures or request to join groups/communities or event invitations, tap on ‘Opt-out of receiving future notifications from Facebook’. Finally, tap on ‘Deactivate My Account from the bottom section of the screen.
(If you notice in the screenshot below, Facebook does bring to your notice that your Messenger account will not be deactivated unless you deactivate it separately.)
After that, you will be logged out of Facebook. So now your Facebook account has been deactivated.
Deactivate Facebook Messenger on iPhone and Android
Finding the setting to deactivate your Facebook Messenger account can be a bit tricky. However, once you know where to go, it’s as plain sailing as it gets.
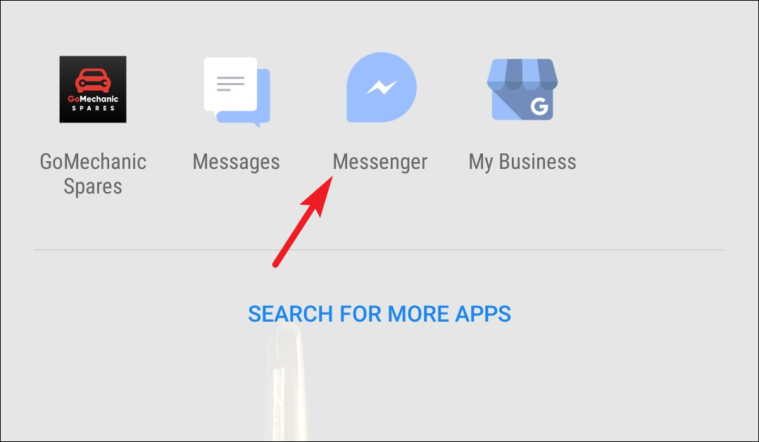
After deactivating your Facebook account, open the Messenger application on your iPhone or Android device.
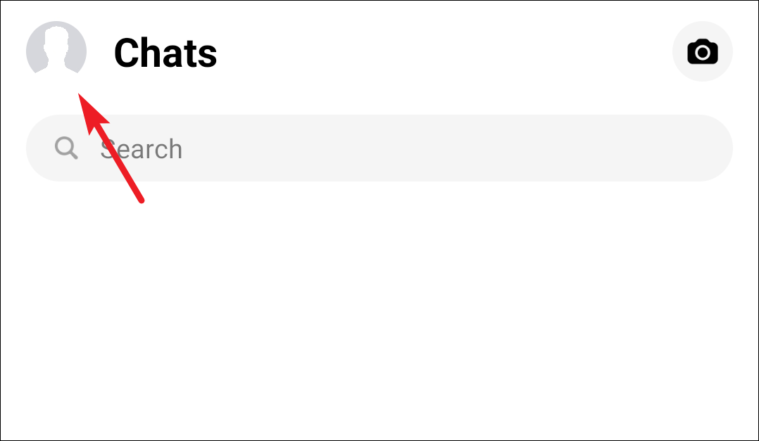
Then tap on your account profile picture from the top left corner of the screen.
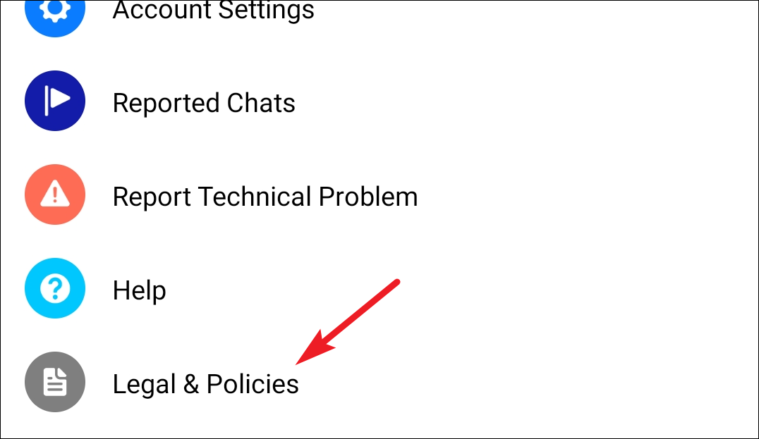
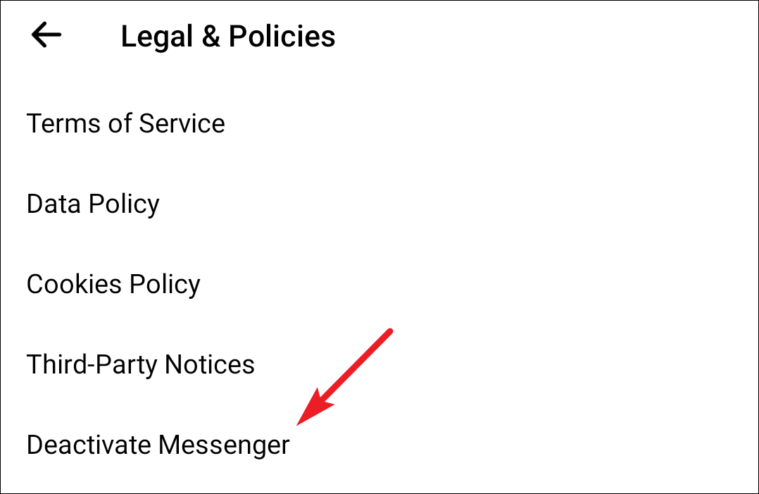
Then, scroll down and tap on the ‘Legal & Policies’ option from the list.
After that, tap on the ‘Deactivate Messenger’ option from the available list.
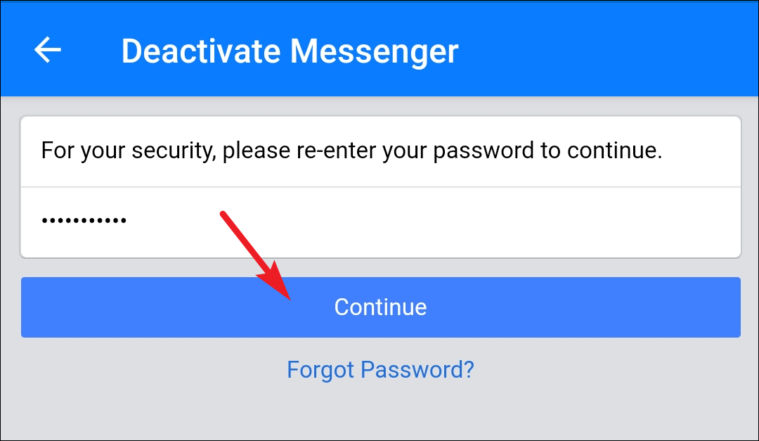
Next, enter your Facebook account password and tap on the ‘Continue’ button.
Finally, tap on the ‘Deactivate’ button to deactivate your Messenger account.
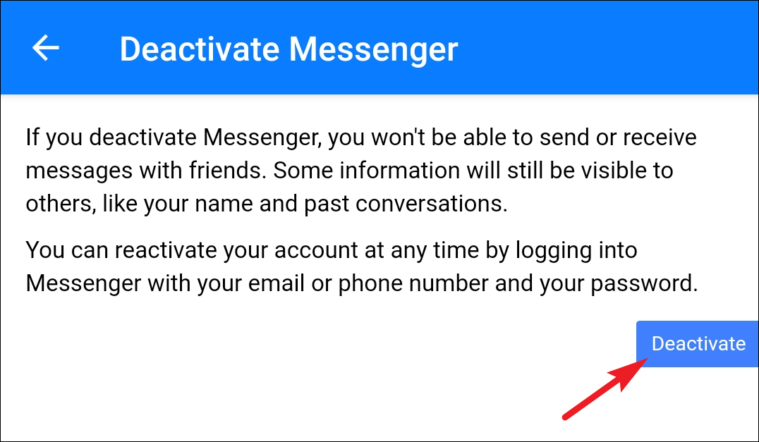
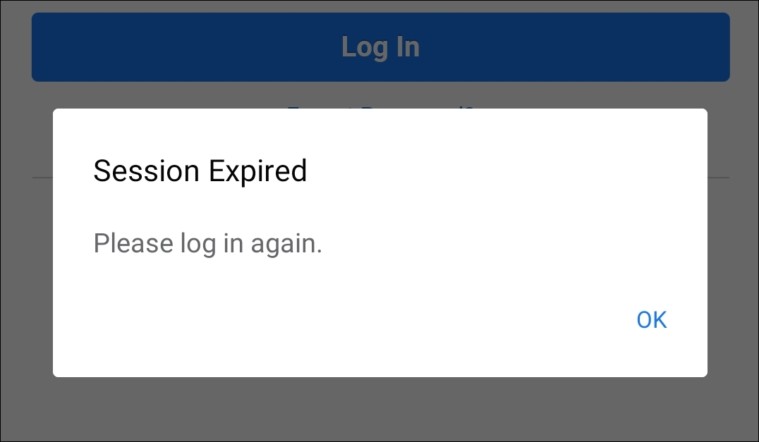
After tapping the ‘Deactivate’ button, you will be logged out of your Messenger account, and it will be deactivated.
Reactivate Facebook Messenger
Reactivating your Messenger is pretty straightforward. In fact, it’s just a single-step procedure.
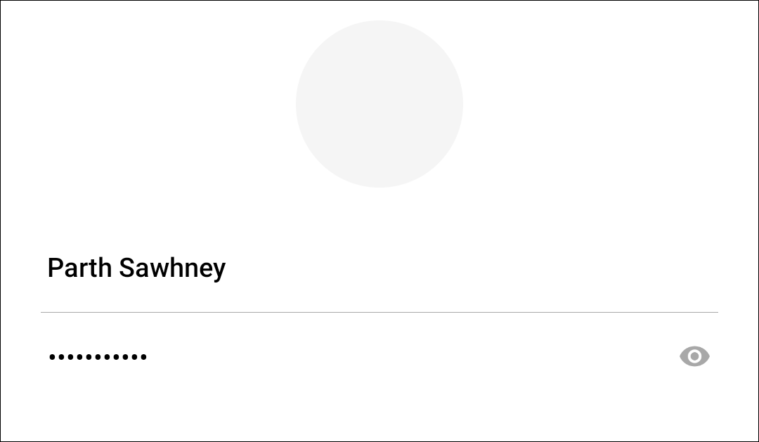
You will need to log in to the Messenger app either from the Desktop, Android, or iPhone by entering your credentials, and your account will be reactivated.
That’s it, people. This is how you deactivate your Messenger account after deactivating your Facebook account, so it doesn’t hinder your digital detox.


