
Mouse Without Borders is a convenient solution from Microsoft Garage that allows you to seamlessly control up to four Windows computers using just one mouse and keyboard. With this tool, you can effortlessly move your cursor between multiple devices, share clipboard contents, and transfer files by simply dragging and dropping. Here's how you can set up and use Mouse Without Borders on Windows 11.
Method 1: Using Mouse Without Borders via Microsoft PowerToys
Microsoft PowerToys includes Mouse Without Borders, making it easy to configure and manage your connected devices.
Step 1: First, download and install PowerToys from the official Microsoft PowerToys page. Once installed, launch PowerToys from the Start menu.
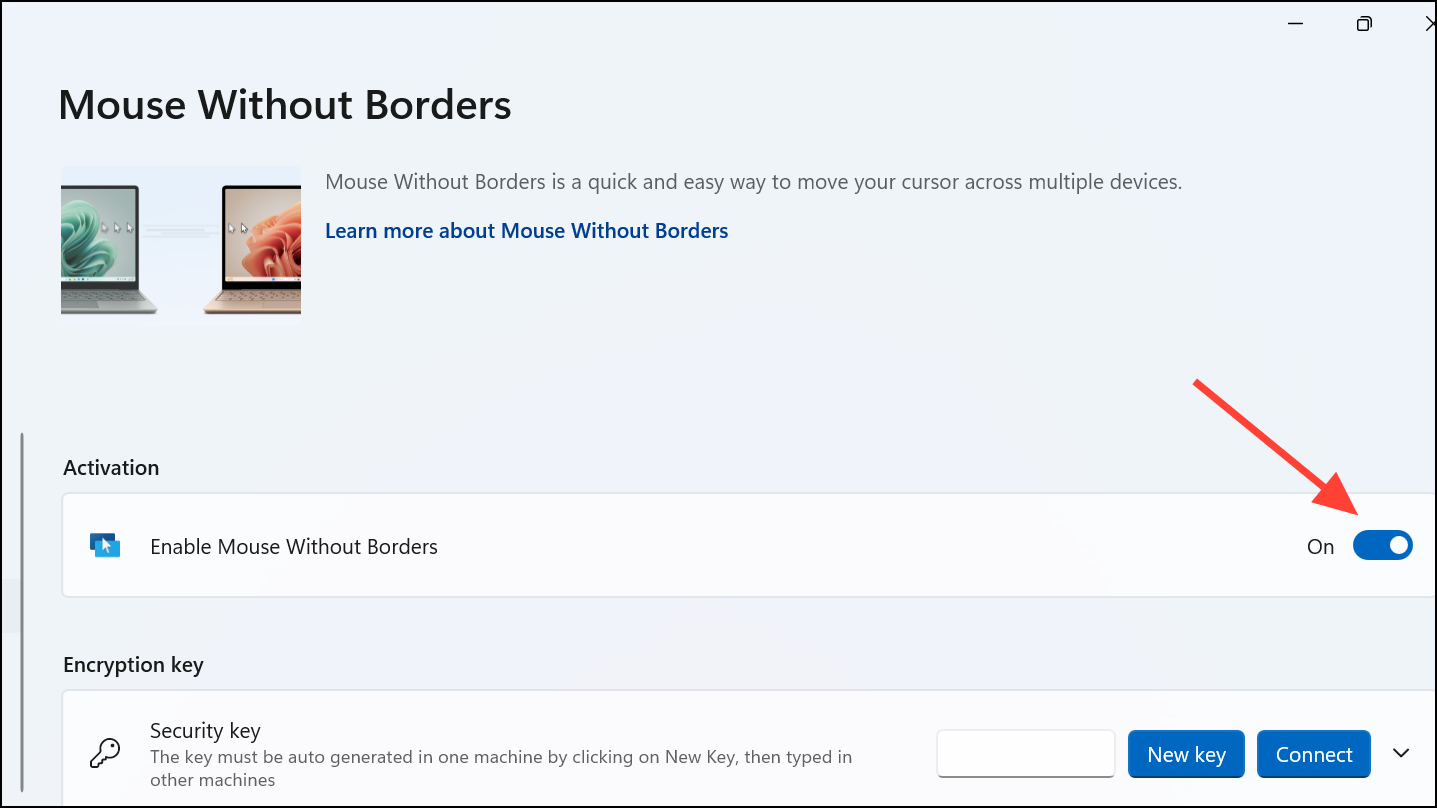
Step 2: In the PowerToys interface, navigate to the left pane and click on "Mouse Without Borders." Toggle the "Enable Mouse Without Borders" switch to the On position.
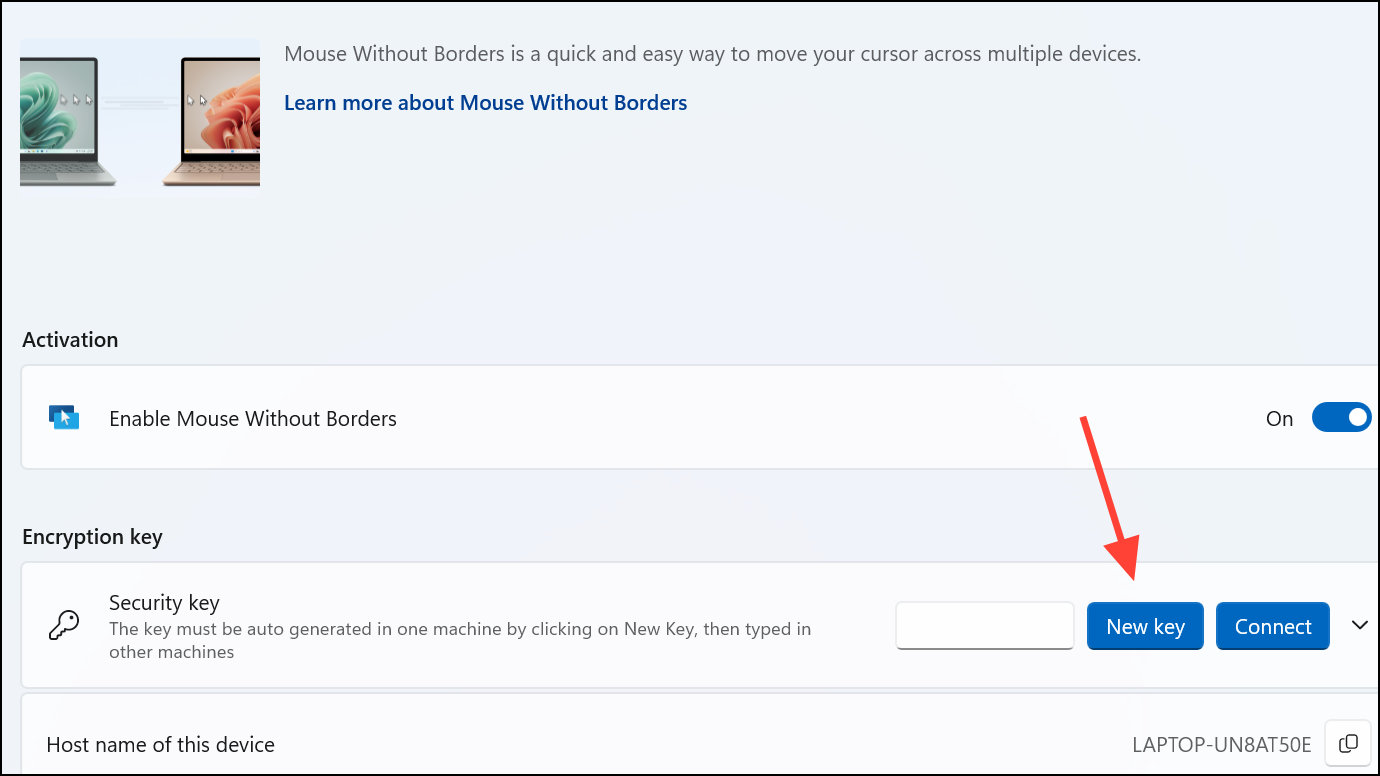
Step 3: Click the "New key" button to generate a unique encryption key for secure connection between your computers. Note down this encryption key and the host name of your primary device.
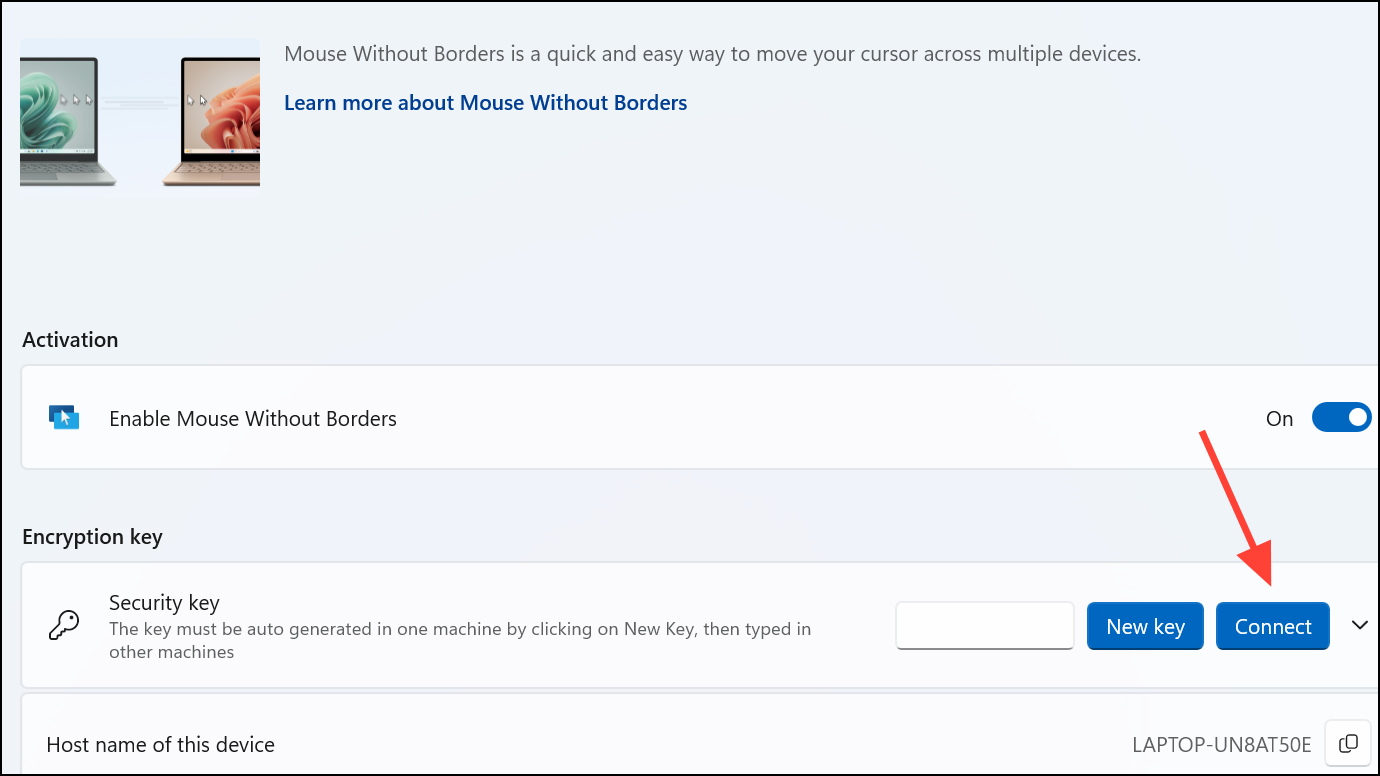
Step 4: On your secondary Windows 11 device, repeat the installation of PowerToys and enable Mouse Without Borders as described above. Instead of generating a new key, enter the encryption key and host name from your primary device into the respective fields. Then, click "Connect" to establish the link between the two computers.
Step 5: Once connected, you can rearrange the device layout in the PowerToys interface to match your physical monitor setup. Simply drag the device icons to their corresponding positions. A green highlight will indicate the current location of your cursor.
With this configuration complete, you can now move your mouse cursor seamlessly between your Windows 11 devices by moving it beyond the screen edges. Additionally, you can copy and paste text, transfer files by dragging and dropping, and even share clipboard contents across devices effortlessly.
Method 2: Installing Mouse Without Borders as a Standalone Application
If you prefer not to use PowerToys, you can install Mouse Without Borders directly from Microsoft's official download page.
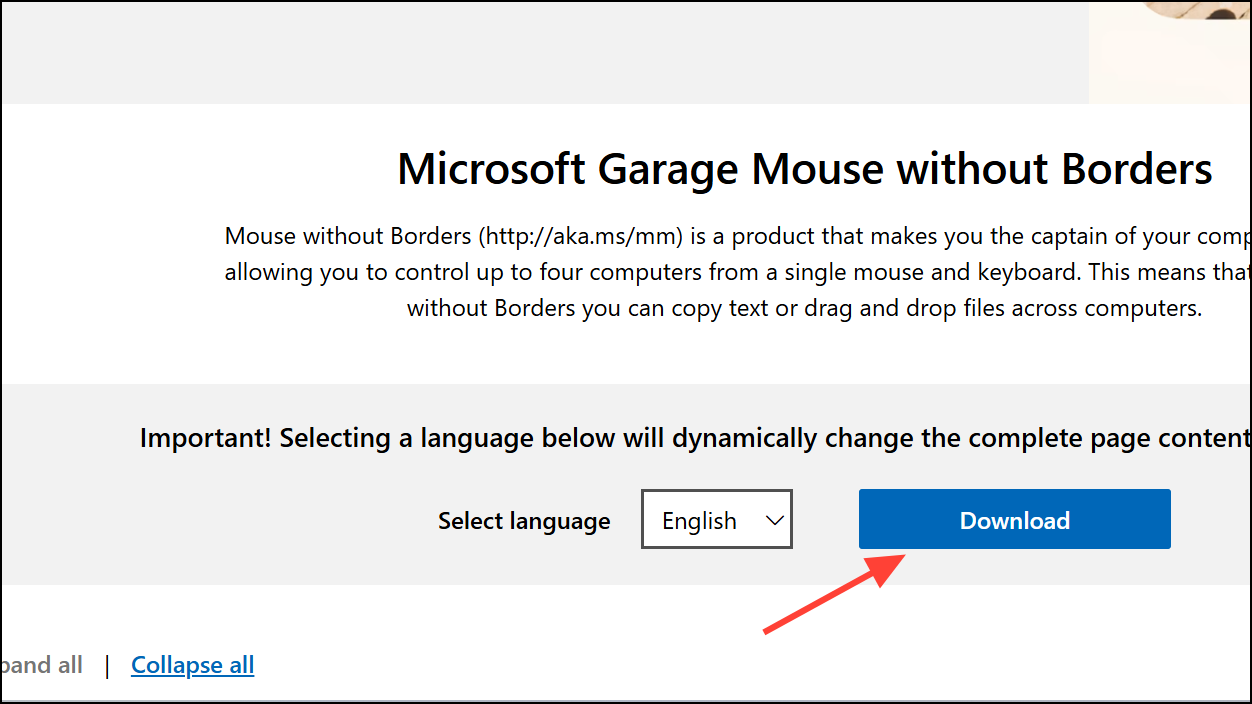
Step 1: Visit the Microsoft Garage Mouse Without Borders download page and download the installer file (MouseWithoutBordersSetup.msi).
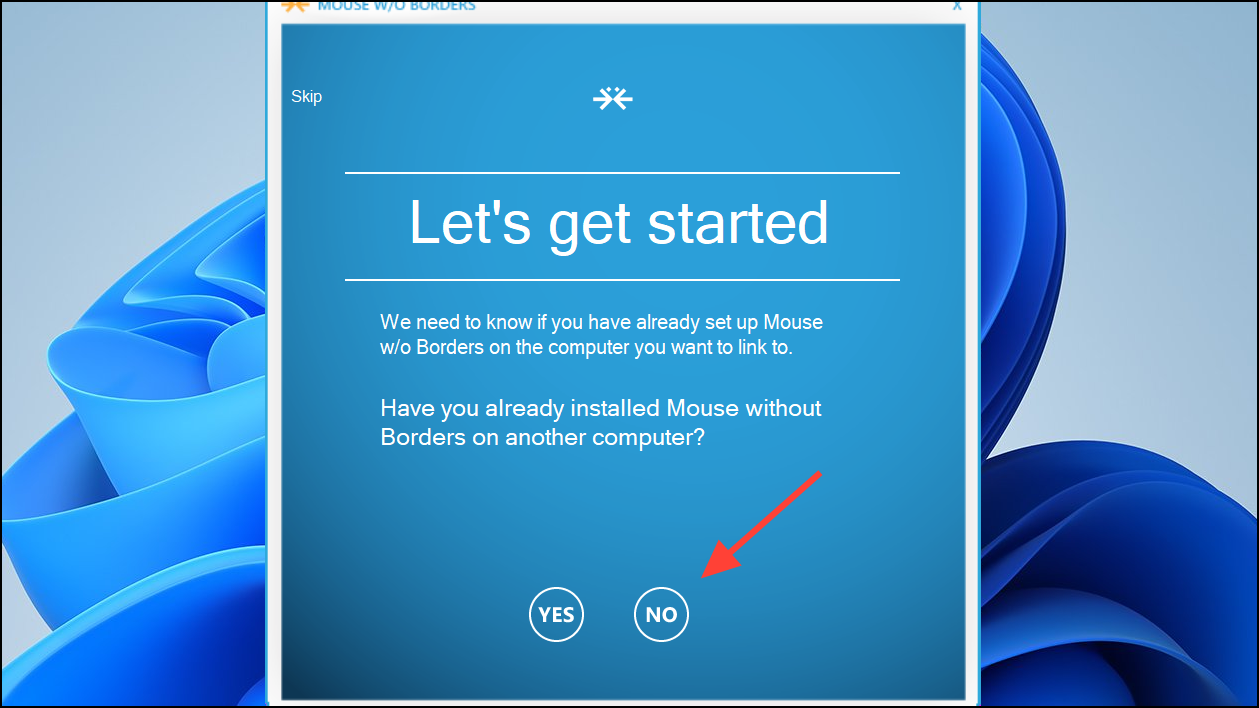
Step 2: Run the installer on your primary Windows 11 computer. After installation, the Mouse Without Borders setup wizard will launch automatically. Select "NO" on the first prompt, and you'll be shown a security key and computer name. Keep this information handy.
Step 3: Install Mouse Without Borders on your secondary computer. When prompted, select "YES" and enter the security key and computer name from the first computer. Click "LINK" to establish the connection.
Step 4: After linking, you can move your mouse cursor across the connected devices by moving it past the screen edges. To customize your setup, click the Mouse Without Borders icon in the system tray and select "Settings." Here, you can adjust device positions, clipboard sharing, and other preferences.
Troubleshooting Common Issues
If you encounter issues connecting your devices, first verify that both computers are on the same network. Also, confirm that Windows Firewall settings allow Mouse Without Borders to communicate. You can manually add firewall exceptions by going to Windows Security > Firewall & network protection and allowing the application through the firewall.
If the connection breaks or the mouse cursor movement is inconsistent, click the "Refresh connections" option in Mouse Without Borders settings or restart the application on both devices.
Mouse Without Borders simplifies multitasking across multiple Windows 11 devices, helping you declutter your workspace and streamline your workflow. Give it a try, and you'll wonder how you managed without it!