Recording your desktop screen can come in handy in many scenarios, you might wish to quickly record a setting walkthrough to help your non-tech savvy friend, or wish to show the segues of your wireframe in Xcode, or display a broken functionality, you can solve all of the above just by recording your screen.
One of the great tools available for Mac is OBS studio, it is a free and open-source software capable of catering to the very basic user as well as to the advanced users who need all the bells and whistles for their recording.
Whatever may be your purpose and need, OBS Studio can definitely fulfill it. Though before you can begin recording your screen, you will have to download and install the OBS Studio on your macOS device.
Download and Install OBS Studio on your MacBook
Downloading and installing OBS Studio is as plain sailing as it gets. Follow the simple steps mentioned below and you will be done installing it before you realize it.
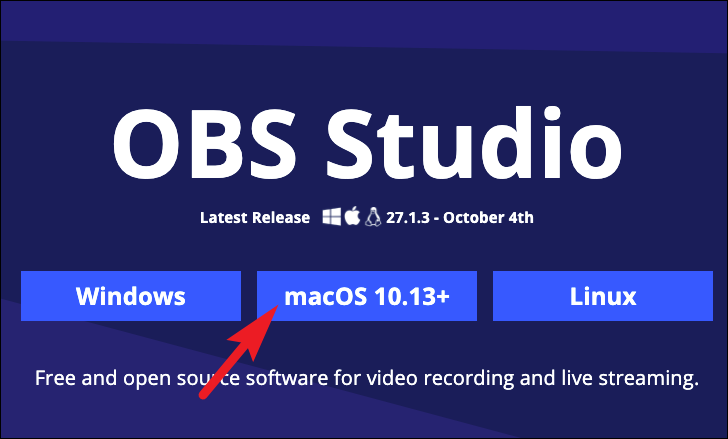
First, head to obsproject.com using your preferred browser. Then, click on the ‘macOS’ tile. This will redirect you to the OBS download webpage and your download should start automatically.
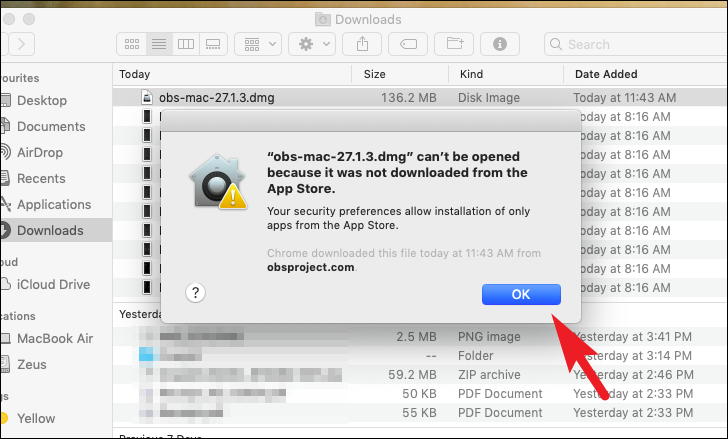
Next, once downloaded, head to your default downloads directory and click on the .dmg file to open the installer.

After that, you might receive a prompt saying the MacBook cannot install the app since it is not from a verified publisher. Click the ‘OK’ button present on the prompt to continue.
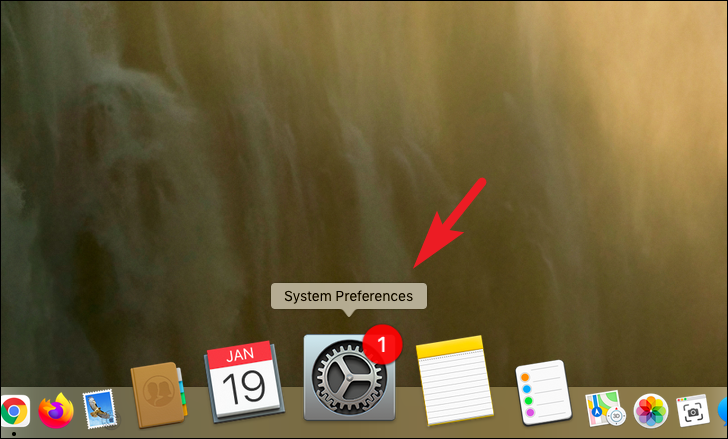
Now, open the ‘System Preferences’ app either from the dock or from the launchpad of your device.
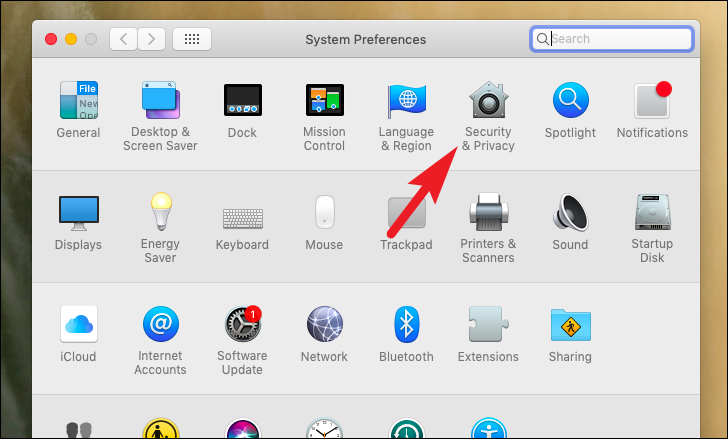
After that, click on the ‘Privacy & Security’ tile from the grid of options present on your screen.
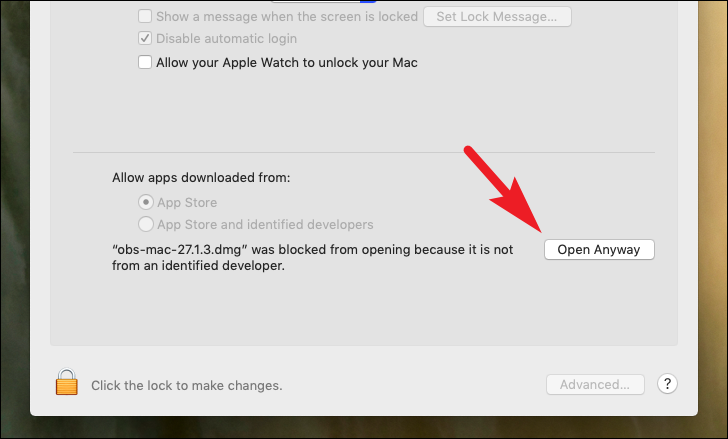
Next, click on the ‘Open Anyway’ button present at the bottom section of the System Preferences window. This will bring up a prompt on your screen.
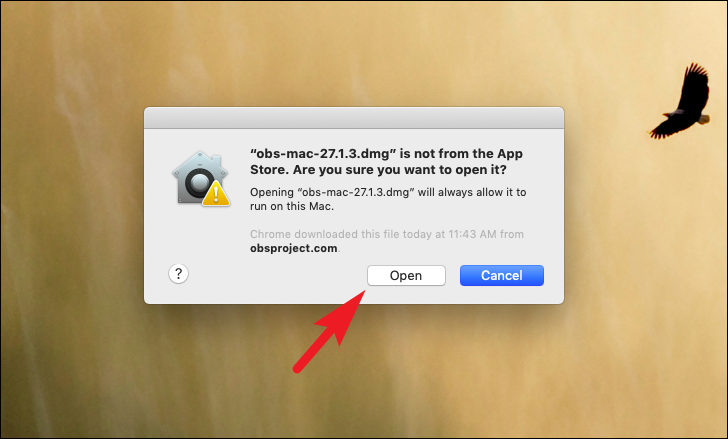
From the prompt, click on the ‘Open’ button to launch the installer for OBS Studio on your macOS device.
Now, from the installer window, click-hold and drag the OBS Studio app to the ‘Applications’ folder to install it on your MacBook.

And that’s it, OBS Studio is now installed on your system.
Record Screen Using OBS Studio on your macOS Device
Once you have downloaded OBS Studio on your MacBook, it is now time to start recording your screen using it.
First, launch the OBS Studio app either from the dock or from the launchpad of your device.
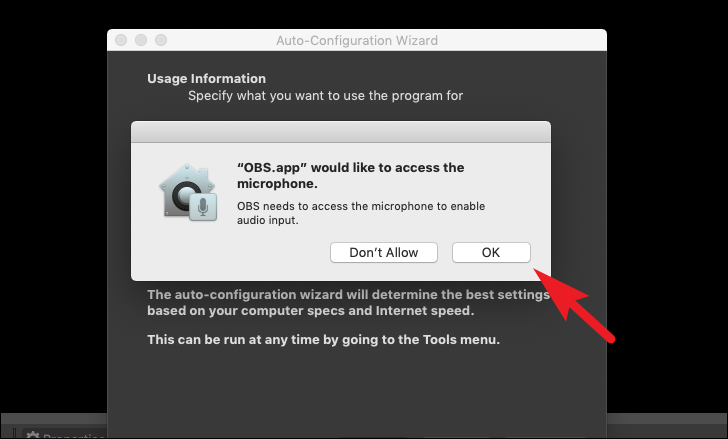
If this is your first launch of OBS studio, you will receive a prompt asking for permission to access the microphone. To grant permission, click on the ‘OK’ button.
Next, you will be presented with an ‘Auto-Configuration Wizard’ on your screen. Click on the radio button preceding the ‘Optimise just for recording, I will be not streaming’ to optimize the OBS Studio for recording on your MacBook. Then, hit the ‘Next’ button present on the pane.

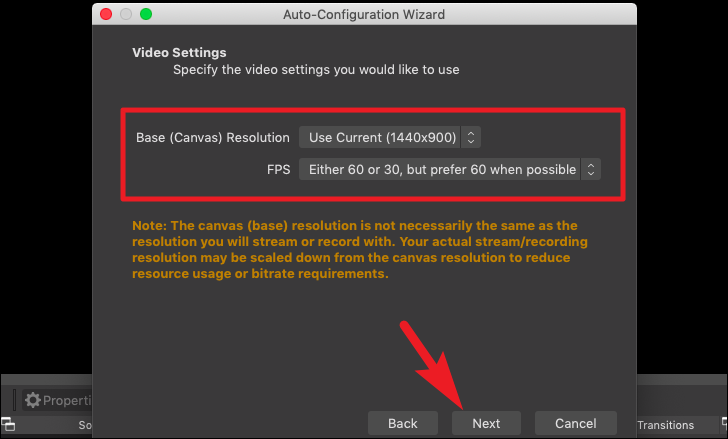
Then, select the resolution and FPS for recording the screen using the respective dropdown menus. Then, click on the ‘Next’ button to proceed.
After that, OBS Studio will run a test to determine the best possible settings for your device to record screen. Wait patiently, while the test completes.
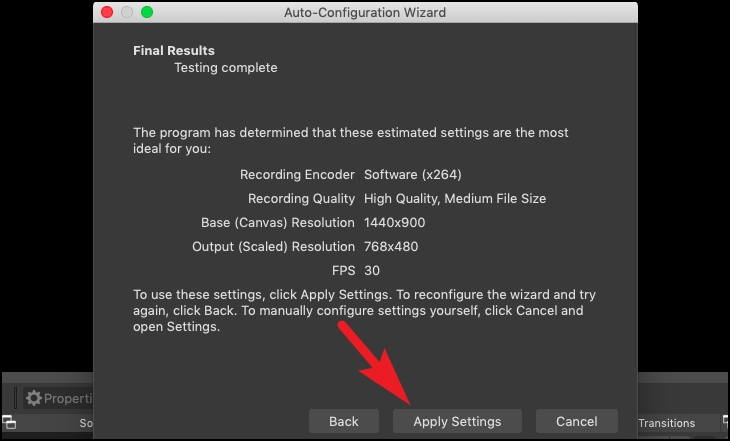
Once the test completes, OBS will display the determined ideal settings for your machine to record screen. Click on the ‘Apply Settings’ button to go ahead with the displayed settings. To configure them manually, click on the ‘Cancel’ button.
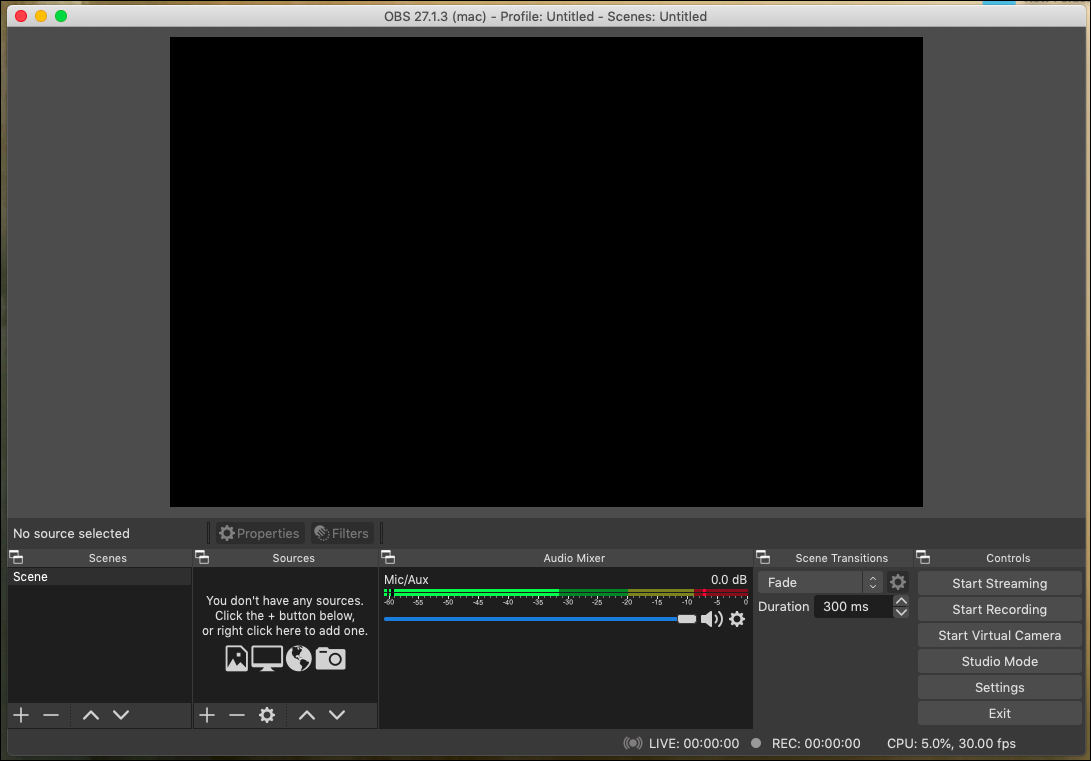
After applying the ideal settings, you will be able to see the home screen of the OBS Studio.
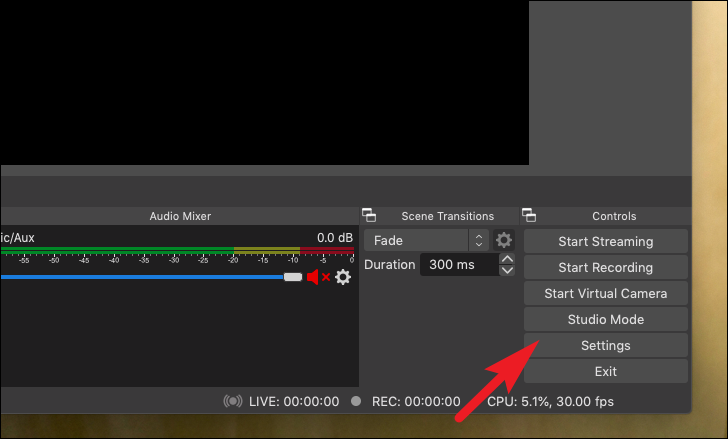
Now, before you start recording you need to make sure you are outputting the file in your desired folder on the system. To do so, click on the ‘Settings’ option present under the ‘Controls’ section in the left bottom section of the screen. This will open a separate OBS window on your screen.
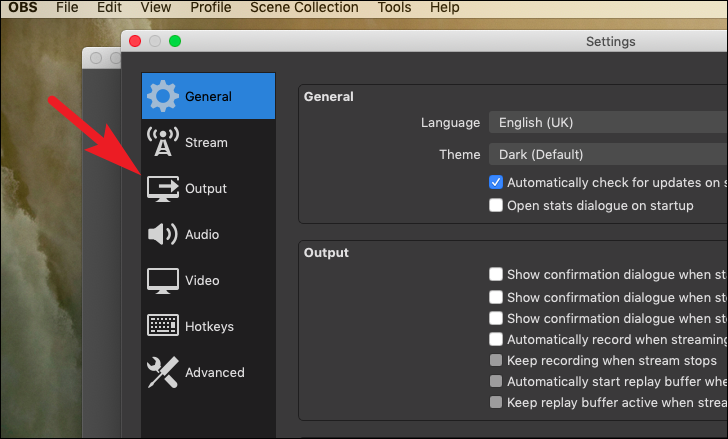
Next, from the Settings window, click on the ‘Output’ tile present on the left sidebar.
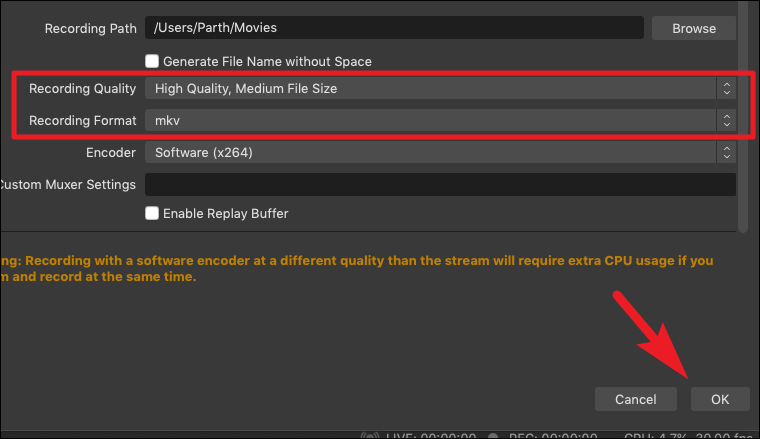
Then, from the right section of the window, locate the ‘Recording’ section, and click on the ‘Browse’ button following the ‘Recording Path’ option and select your desired directory using the Finder.
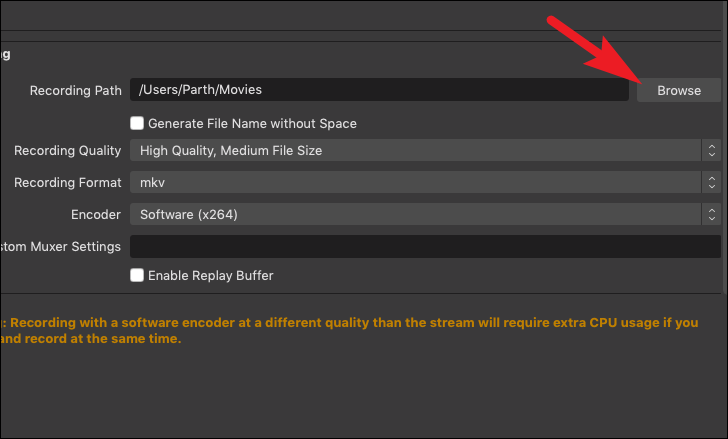
You can also change the recording quality and recording format to your preferred one using the respective dropdown menus on the screen. Once you have adjusted all the settings to your preference, click on the ‘OK’ button to apply the settings and close the window.
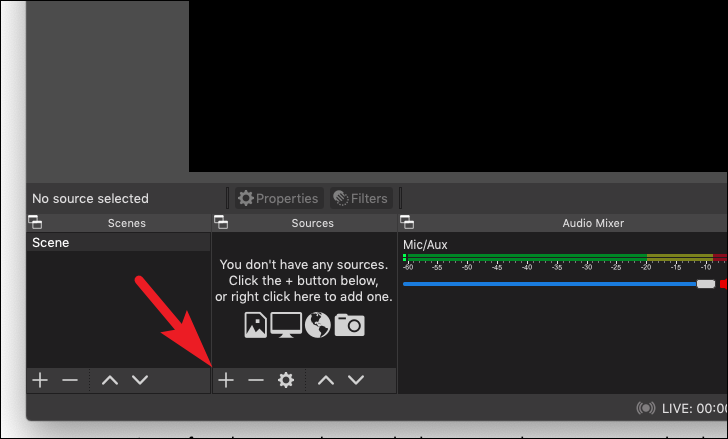
Now on the OBS home screen, locate the ‘Sources’ section and click on the ‘+’ button. This will reveal an overflow menu.
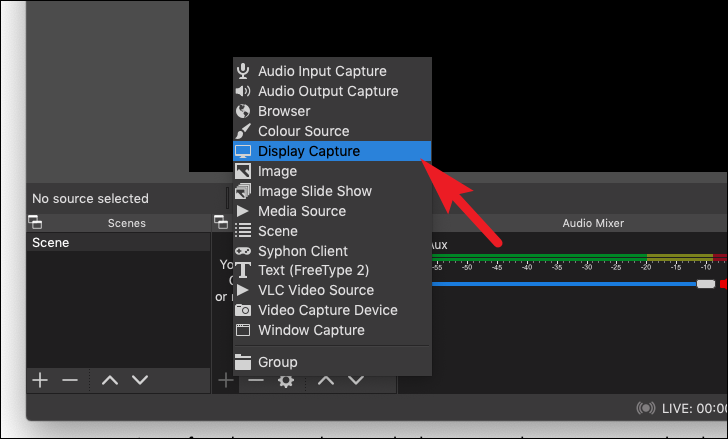
Next, from the overflow menu, click on the ‘Display Capture’ option. This will bring up an overlay pane on your screen.
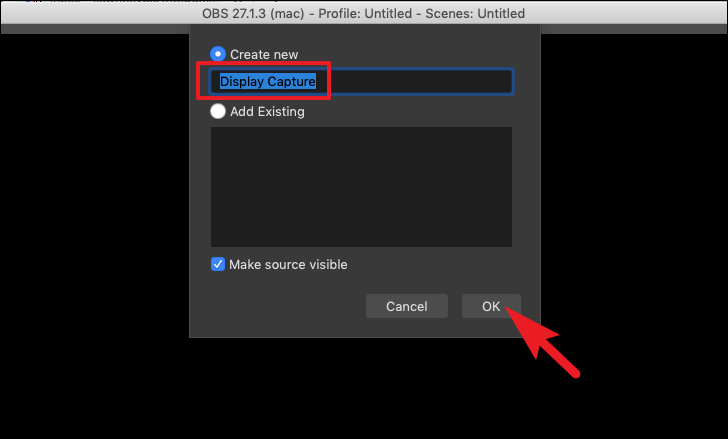
From the overlay pane, give an appropriate name for your recording and click on the ‘Ok’ button to proceed. This will bring up a separate window on your screen.
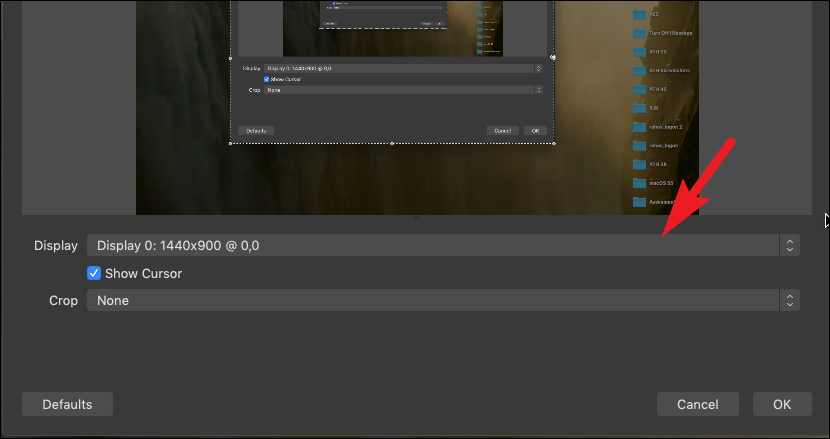
Now, if you have more than one display connected to your system, select the one you wish to record by selecting from the drop-down following the ‘Display’ option. Also, uncheck the checkbox preceding the ‘Show Cursor’ option’ if you do not wish to display the cursor.
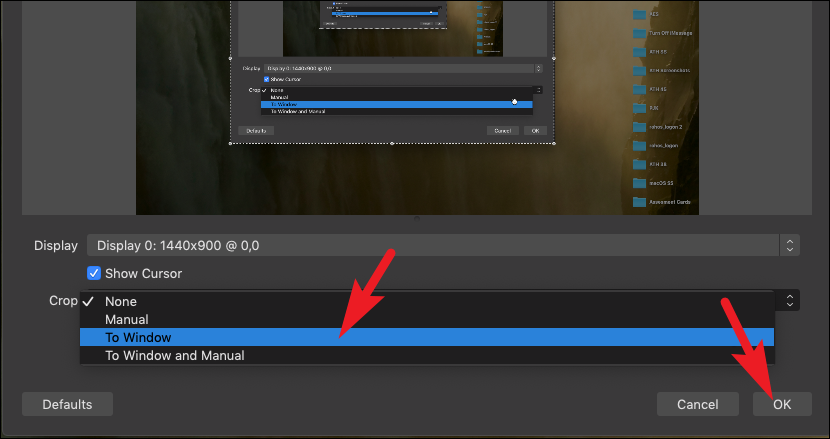
Moreover, if you wish to record only a single app window or crop the recording area, you can do that by clicking on the dropdown following the ‘Crop’ option. Then, select the ‘Manual’ option to set the recording area manually. Otherwise, click on the ‘To window’ option to select the app window on your computer to record. Once all is set to your preference, click on the ‘OK’ button to proceed.
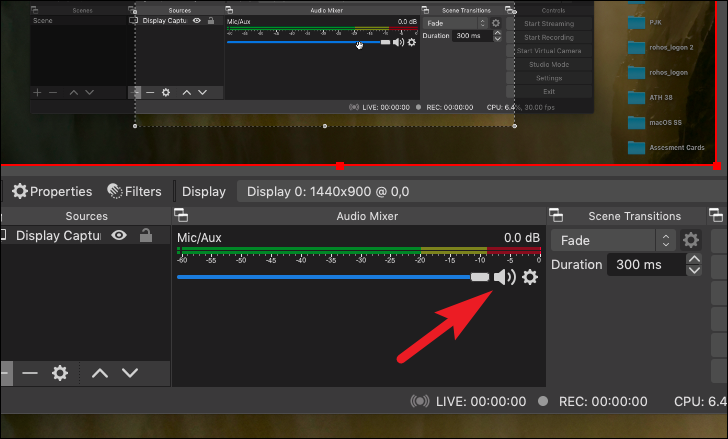
Now, OBS will capture sound from your mic by default. If you do not wish to record sound, locate the ‘Audio Mixer’ section and click on the ‘Volume’ button to disable recording sound for the video.
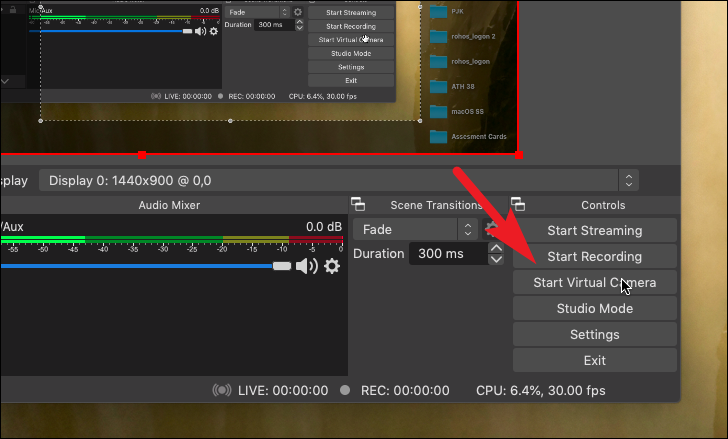
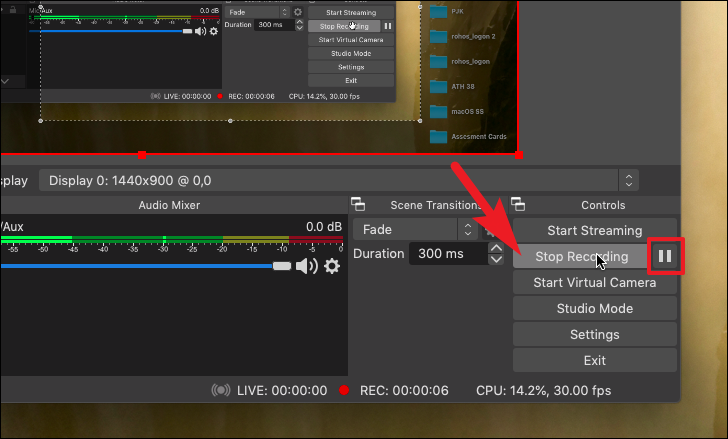
Finally, click on the ‘Start Recording’ button present under the ‘Controls’ section located in the bottom right section of the OBS window.
You can also pause the screen recording by clicking on the ‘Pause’ icon present right next to the ‘Stop Recording’ button on the ‘Controls’ section. To stop recording, click on the ‘Stop Recording’ button.
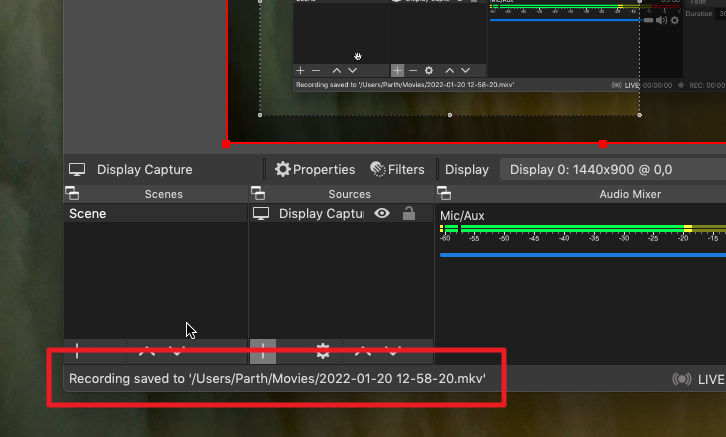
OBS will now display the complete path of the saved recording at the bottom left corner of the window. You can find the recording by heading to the directory using the Finder.
There you go folks, you can easily record your screen(s) using the OBS Studio without any hassle.