Jotting down minutes of meetings or writing down critical points of a conversation always takes more effort than you can imagine. And even though you go in with the best intention and resolution to get it right, the outcome is often cryptic scribbled phrases that even you cannot remember what was it exactly you wanted to convey.
That’s where Otter AI comes in. It converts your conversation and voice memos into smart notes that you can search, edit, and share at your convenience. Though before you start using it, let us understand it in a bit more depth.
What is Otter AI?
As mentioned before, Otter AI helps you record meetings and conversations and turn them into editable smart notes. You can also highlight important bits of the meeting and share them via email with your colleagues.
It also has a web interface (interchangeably known as OtterPilot or Otter Assistant) that can automatically join Zoom, Google Meet, and Microsoft Teams meetings marked on your calendar and take notes. In addition to recording and transcribing the meeting, it even captures slides shared in the meeting automatically. Moreover, it is also capable of sharing meeting notes and/or meeting summaries with all the event guests.
Though for the automated note-taking and sharing of the meeting notes, you will need to provide Otter access to your calendar and email contacts. Only then can OtterPilot automate the entire process and join meetings without any assistance on your end.
Otter AI also has a mobile app that you can use to perform all the above-mentioned functions.
Otter AI currently offers 3 plans to all consumers, namely – ‘Basic’, ‘Pro’, and ‘Bussiness’. The basic plan is free and has some limitations to it. The Pro costs $8.33/pm if billed annually and $16.99/pm if billed monthly allowing for more transcription bandwidth along with increased duration per transcription.
The Business plan, as the name suggests, comes with all the bells and whistles you would require. Below is a table that provides a bird’s eye view of the list of features in all the plans.
| Basic | Pro | Business | |
|---|---|---|---|
| Monthly transcription limit | 300 minutes | 1,200 minutes | 6,000 minutes per user |
| Max transcription duration (per conversation) | 30 minutes | 90 minutes | 4 hours |
| Import audio and video files for transcription | up to 3 (lifetime) | up to 10 monthly | Unlimited |
| Custom Vocabulary | up to 5 terms | 100 names + 100 general terms | Team: 800 names + 800 general terms Personal: 200 names + 200 general terms |
| Real-time transcription | Yes | Yes | Yes |
| Real-time transcription collaboration | Yes | Yes | Yes |
| User groups | Yes | Yes | Yes |
| Otter Assistant | Yes | Yes | Yes |
| Drop Box sync | No | No | Yes |
| Zoom cloud recording transcription | No | No | Yes |
| Live transcription for Zoom | No | No | Yes |
| Live closed captioning for Zoom | No | No | Yes |
| User Management | No | No | Yes |
| Centralized billing | No | No | Yes |
| Reporting and analytics | No | No | Yes |
| Two-factor authentication | No | No | Yes |
Benefits of Otter AI
With Otter AI creating transcripts of the meetings and conversations, you can focus more on talking than on writing. Moreover, you can always visit the transcription of the conversation later to refresh your memory.
Along with that, not only the quality of transcripts will turn out to be better since you are not multitasking, but you can also share them with others should the need arises to do so. And since Otter AI has a mobile app, you can easily access all your transcripts easily from anywhere.
And with OtterPilot automating the entire process, from joining meetings to transcribing them and sending meeting summaries to everyone, you don’t even have to worry about starting the meeting recording on time. s
Getting Started with Otter AI
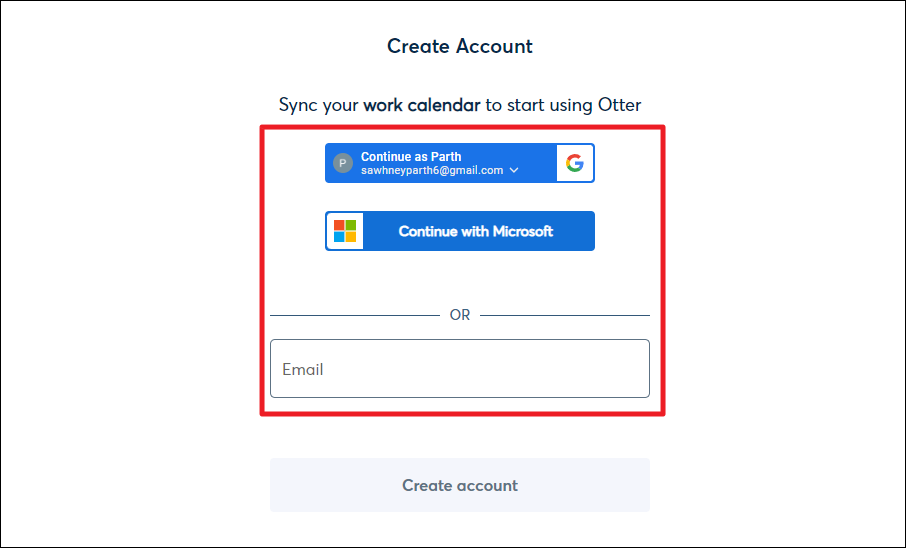
First things first, you will need to create an account. Head to otter.ai/signin and create an account by entering your email address or using Google or Microsoft login.
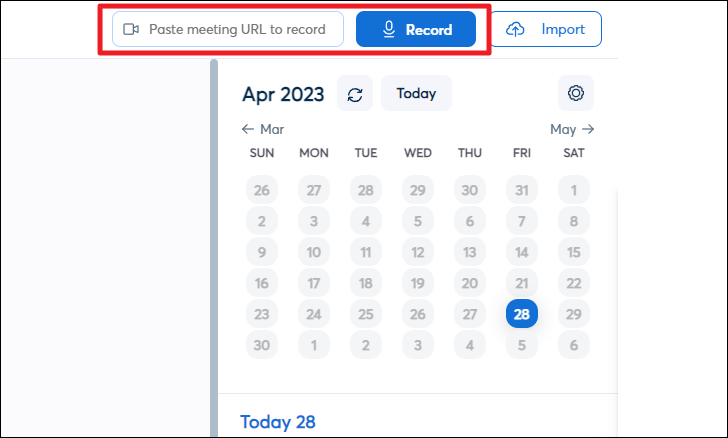
Once you are signed in, you will be able to see the main dashboard of Otter AI. Here you will be able to see all the meetings marked on your connected calendar and your recordings will appear as you record them.

To start recording, click on the ‘Record’ button or paste the online meeting URL in the textbox provided in the top right corner.
If you have connected your Google or Microsoft calendar with Otter, Otter Assistant will automatically be set up. All your meetings will be displayed below the calendar. In case you don’t want Otter Assistant to join a meeting, you can turn off the toggle for ‘Otter Assistant’.
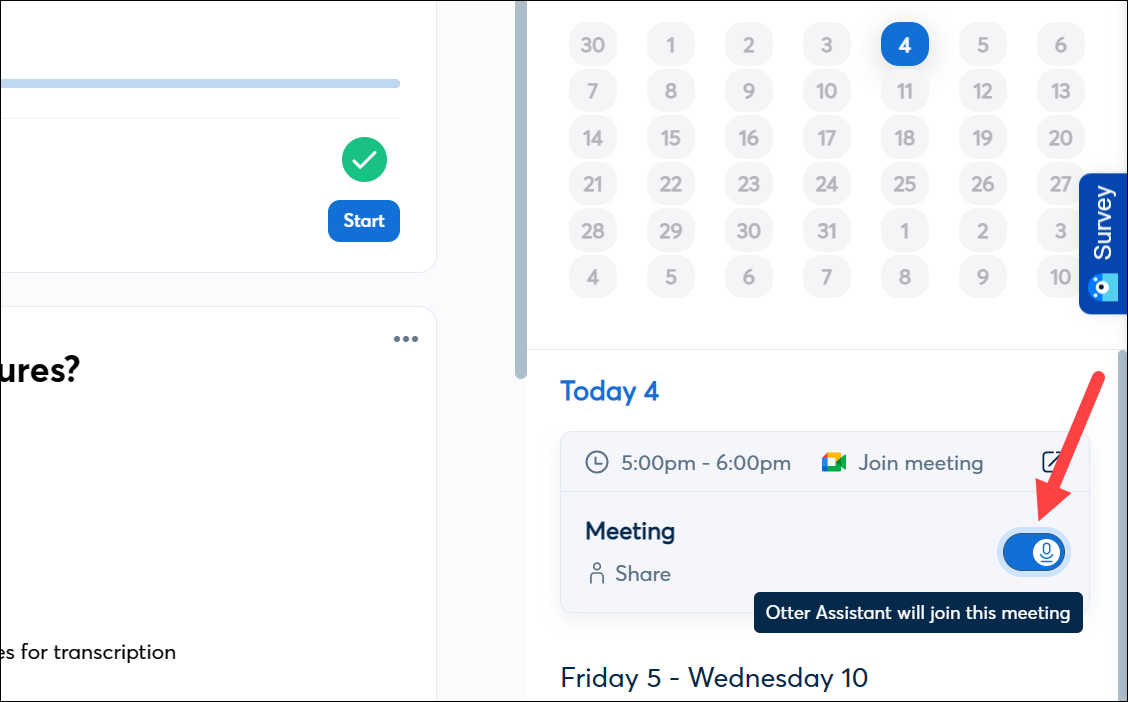
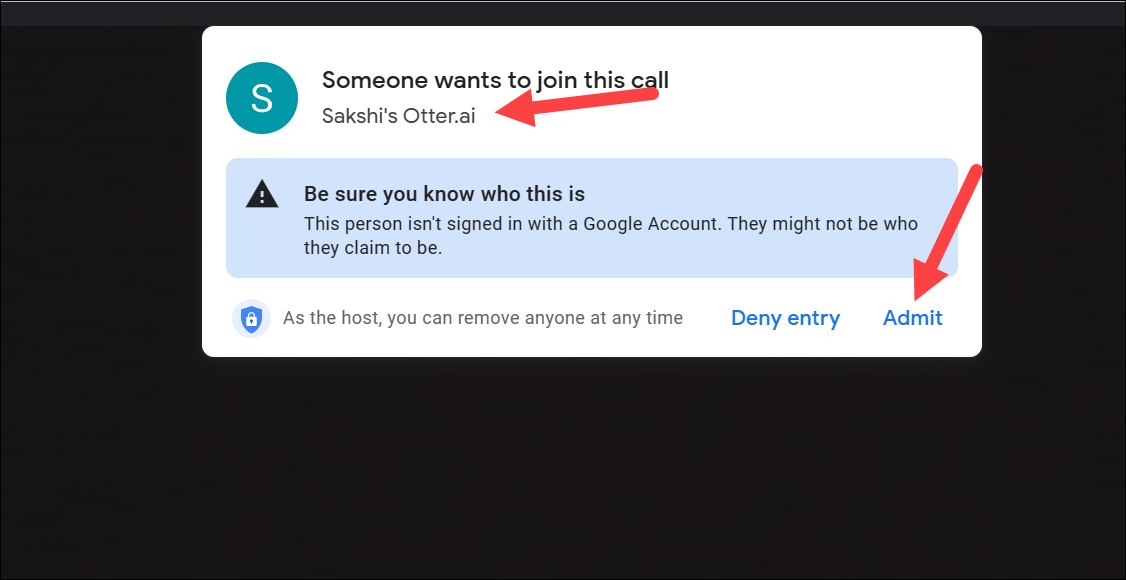
But if the toggle is on, Otter AI will join the meeting at the scheduled time. It’ll join the meeting as ‘[Your Name]’s Otter.ai’. The host might have to let Otter Assistant into the meeting.
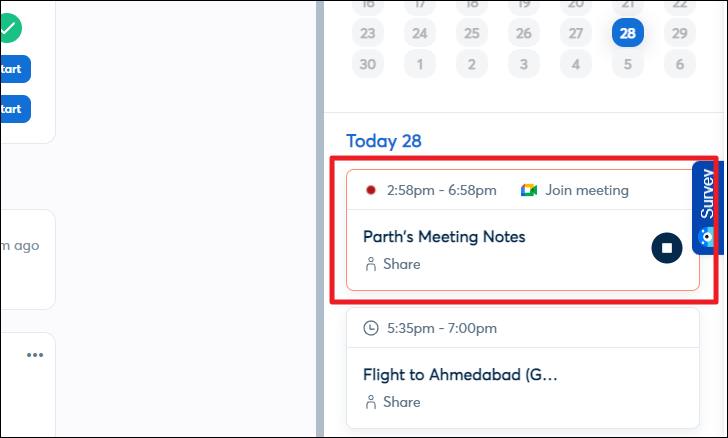
If you chose to record the online meeting, it will be displayed right below the calendar in the sidebar. You can stop recording anytime by clicking on the ‘Stop’ button.
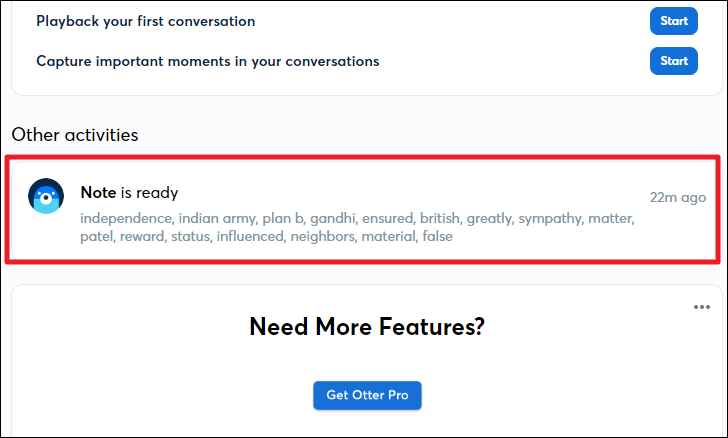
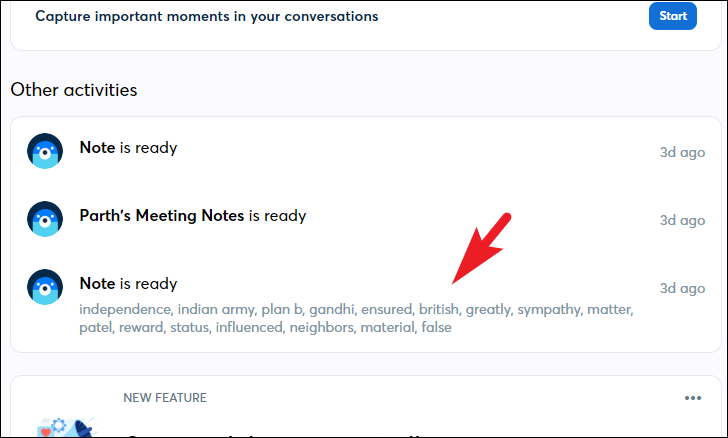
If you have recorded a conversation manually, it will show up right in the center of your dashboard. It can take some time for Otter to process the transcript. Click on it to open it once it is ready.
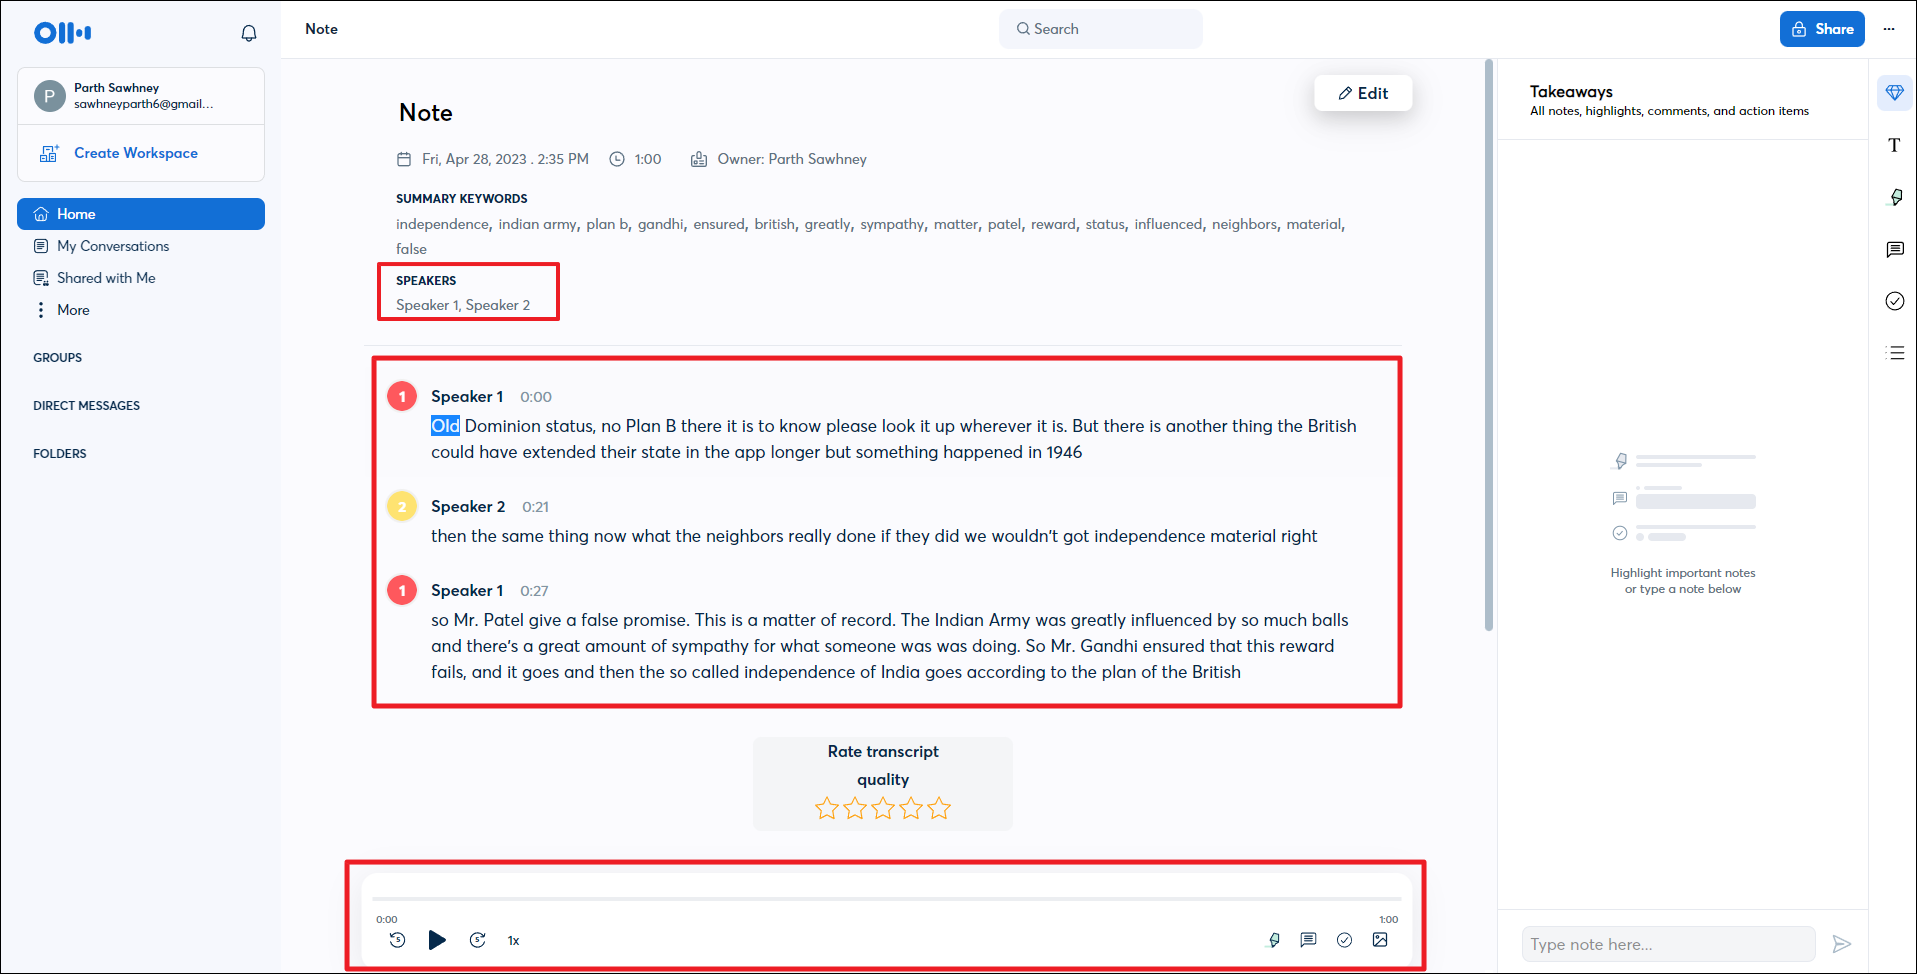
On the next screen, you will be able to view the transcription of the recorded meeting. Otter will automatically detect the number of speakers and bifurcate the transcription according to the speaker along with the timestamp. You can also listen to the recording by using the media player at the bottom of the screen.
You can perform all these functions using the mobile app as well. For your convenience, we will be showcasing the process on an iOS system.
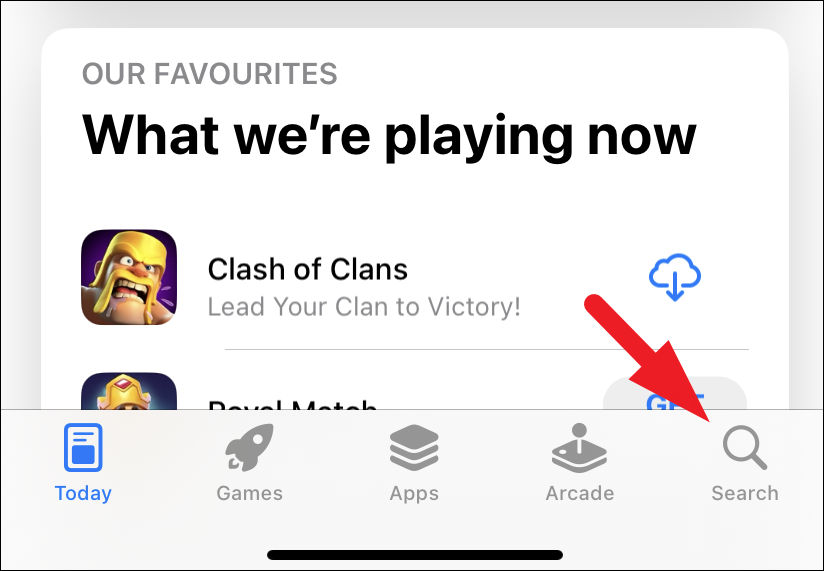
To download the mobile app, head to the App Store on your iPhone and then tap on the ‘Search’ tab from the bottom right corner.
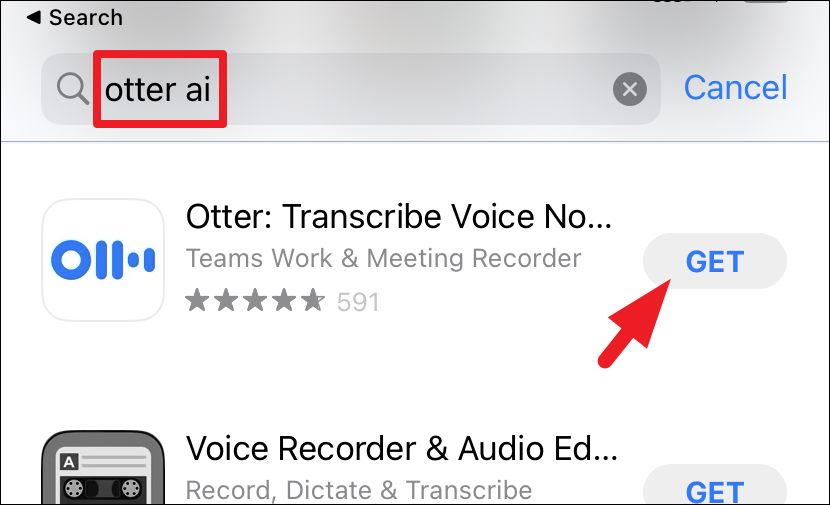
Then, search for ‘Otter AI’, and from the search results, tap on the ‘Get’ button to download the app.
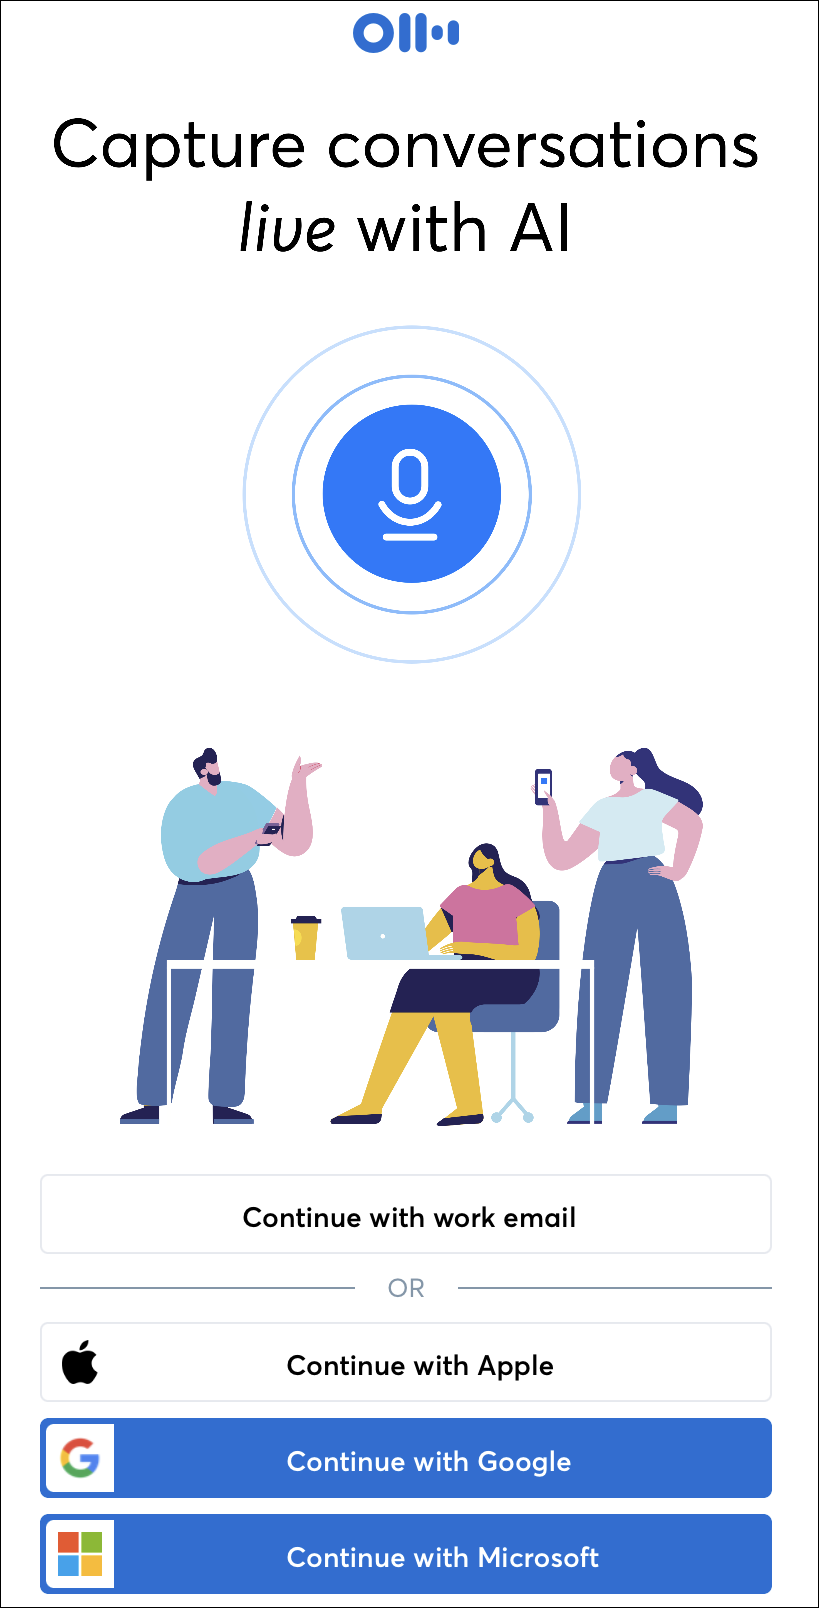
Once downloaded, launch the app and then sign in using your email address or Google/ Microsoft sign-in.
Once signed in, you can tap on the ‘Mic’ button to start recording the meeting manually.
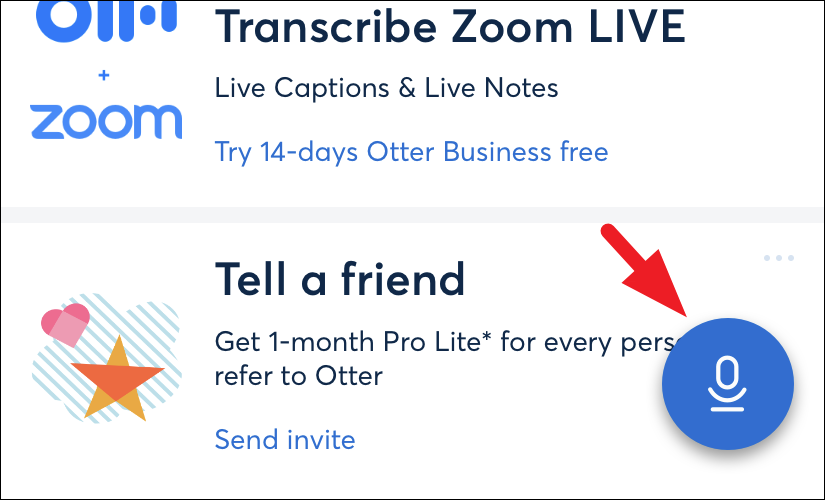
You might receive an alert on your screen asking for ‘Microphone’ permissions. Tap on the ‘Allow’ option to proceed.
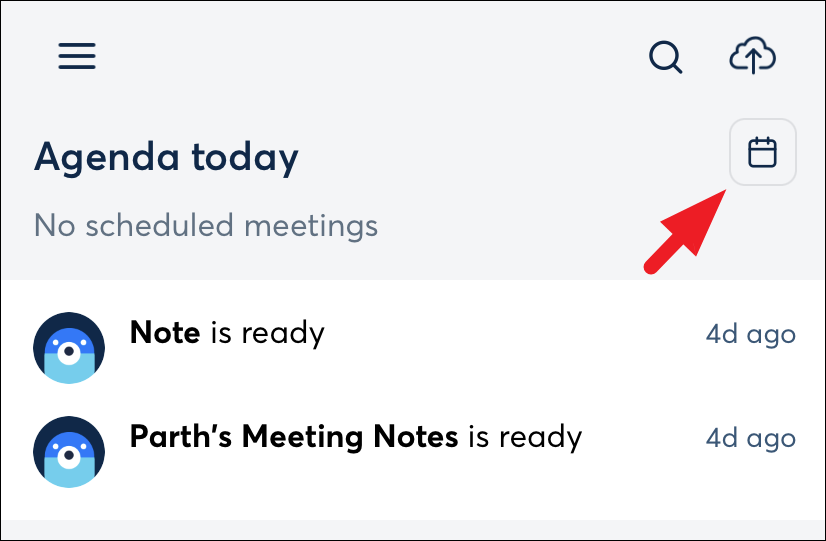
You can also enter a meeting URL or join a meeting scheduled and synced with your calendar. To do so, click on the ‘Calendar’ icon in the top right corner.
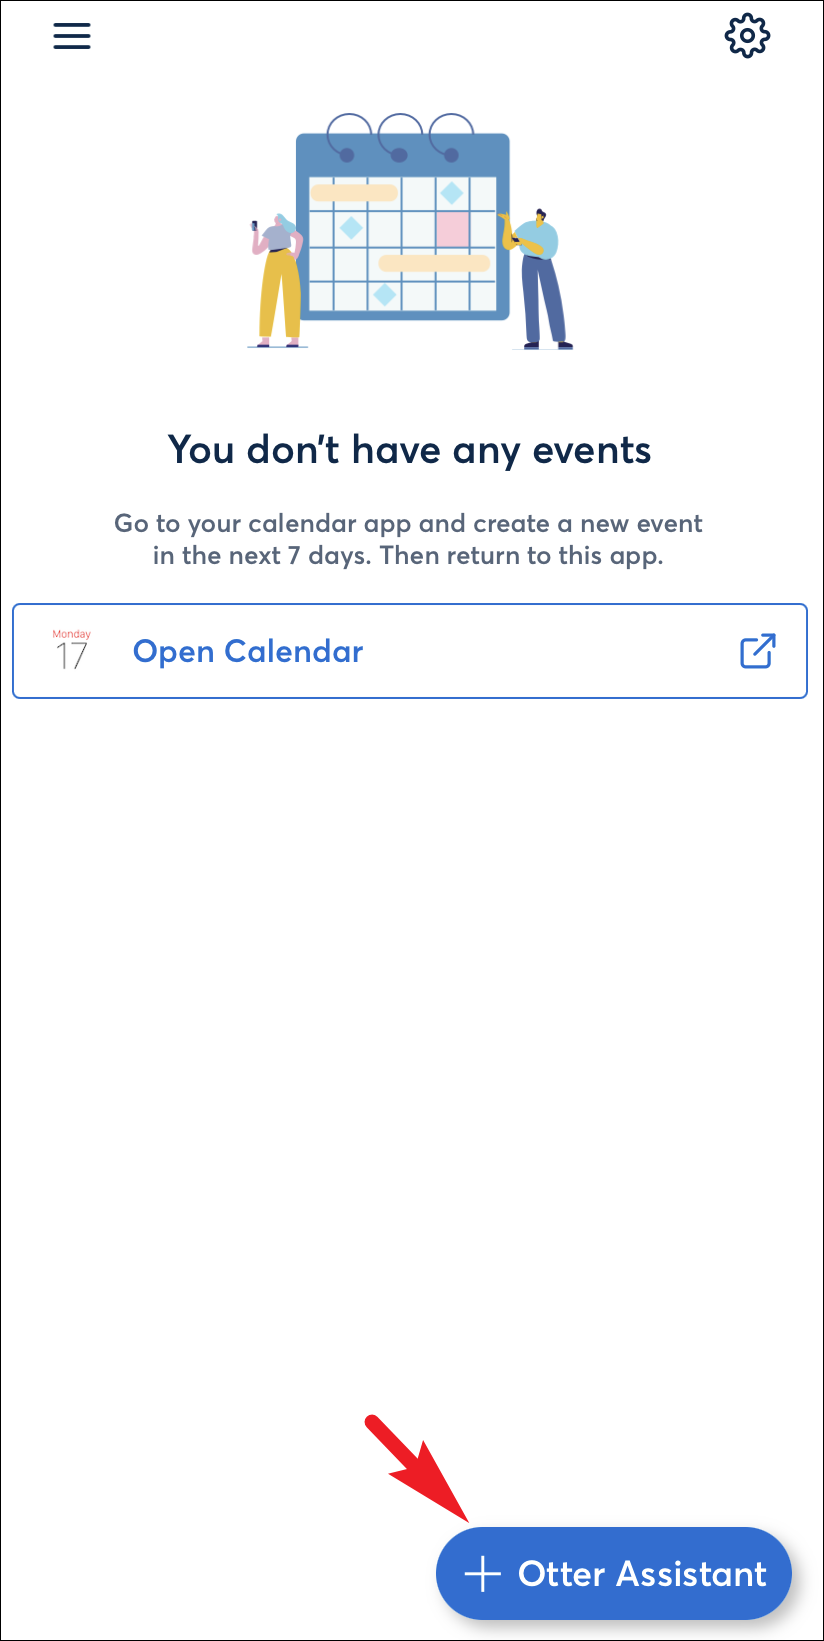
To enter a meeting URL, tap on the ‘Otter Assistant’ button in the bottom right corner. If you have a meeting scheduled that day, you will be able to see a ‘Join Meeting’ button under the ‘My Agenda’ tab.
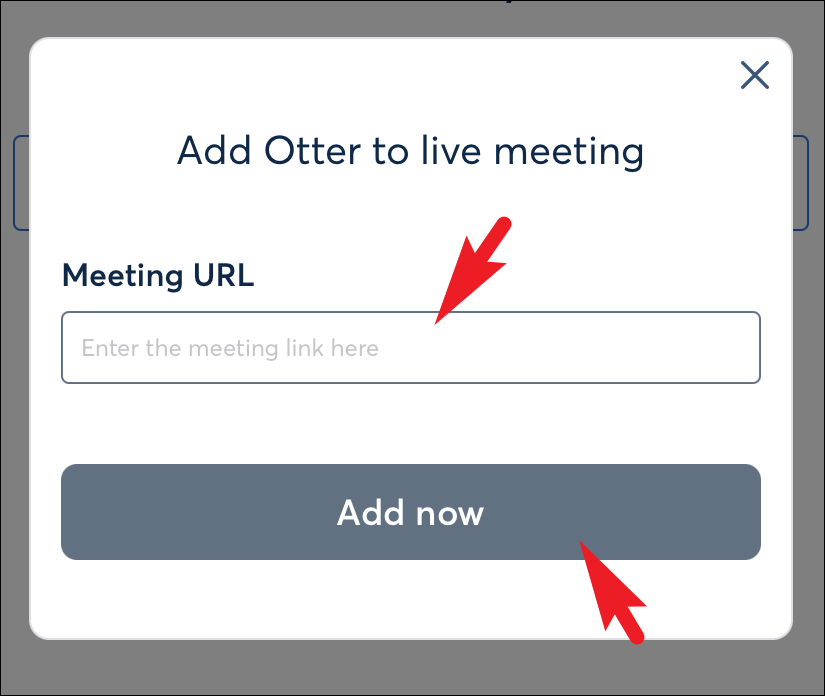
If you chose to enter the meeting URL, paste the link in the space provided and tap on the ‘Add now’ button. This will instantly start to record the meeting.
Once you have recorded a meeting, it will be visible on the dashboard screen.

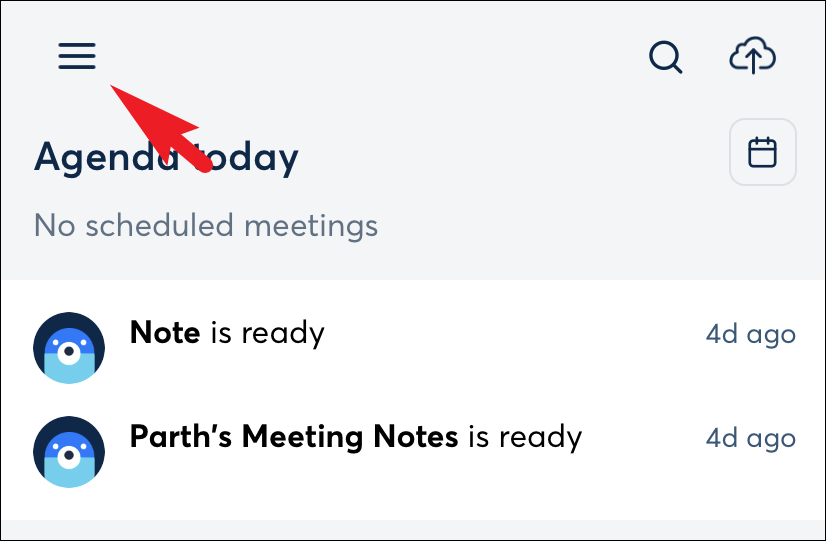
You can also access all your recordings from the ‘My Conversations’ tab that is accessed using the hamburger icon present in the top left corner.
If you wish to import an audio file, click on the cloud icon in the top right corner.
Increase Convenience by Using other Otter AI Features
There are many other features supported by Otter AI where you can add speaker names, highlight or annotate the transcript, and export transcripts. You can also add others to collaborate on your transcripts. Moreover, you can even embed Otter AI with other apps and services.
To add speaker names and topics, on the website, click on the note you wish to tag the speaker from the main dashboard.
After that, click on the ‘Edit’ option from the right sidebar.

Next, click on the speaker stamp. From the overflow menu, either click on the ‘Suggested speakers’ or enter a new one using the text box and click on the ‘Tag’ button.

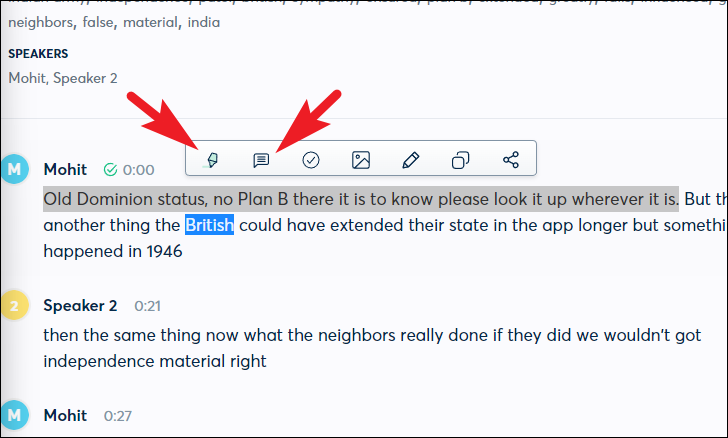
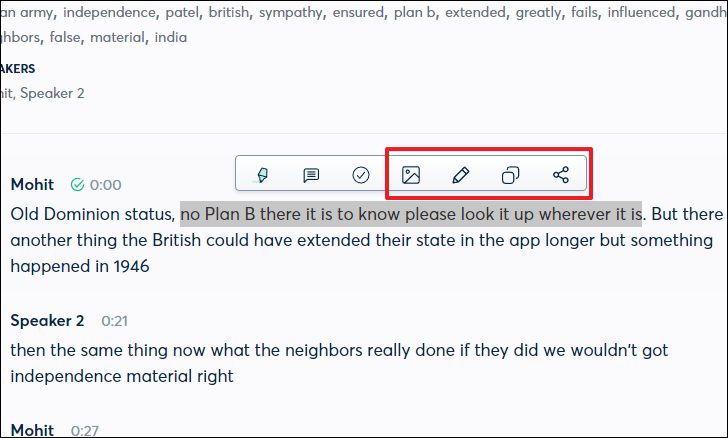
To highlight or annotate your transcript, from the transcript of the conversation, click on the sentence you wish to highlight or annotate. Then, click on the ‘Highlighter’ icon to highlight the selected sentence. To annotate, click on the ‘Comments’ icon and then add annotations as deemed necessary.
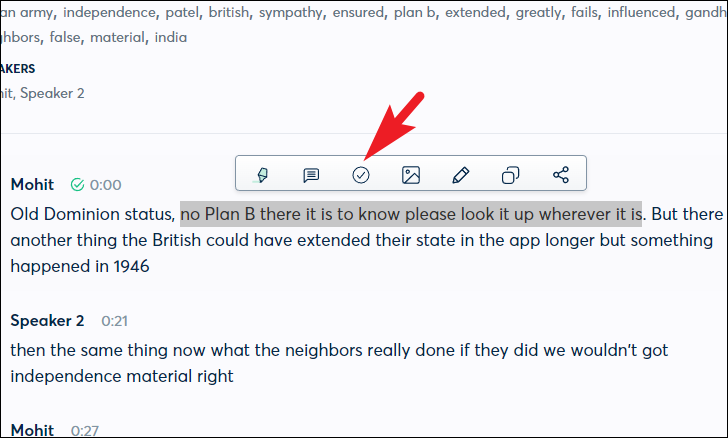
You can also add an action for a speaker by clicking on the ‘check mark’ button.
Then, select a speaker to assign it to.
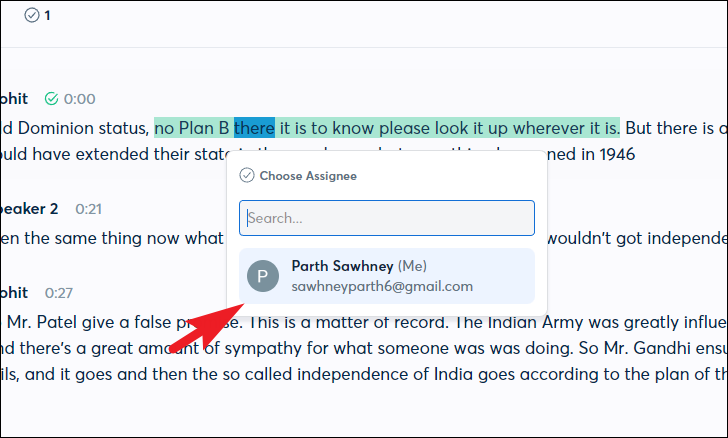
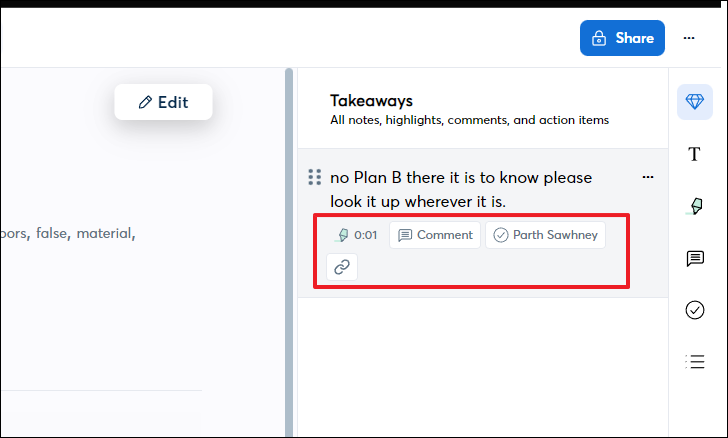
Once assigned, you can see the action item in the ‘Takeaways’ space. You can then annotate the action item separately, copy the link or play the conversation recording right from there.
You can also add an image to the transcript, edit it, copy the selected transcription, or share it using the respective options.
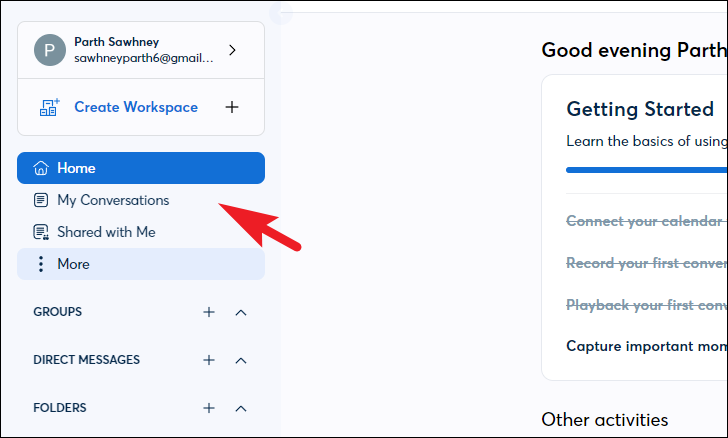
To export a transcription, first, click on the ‘My conversations’ tab from the left sidebar.
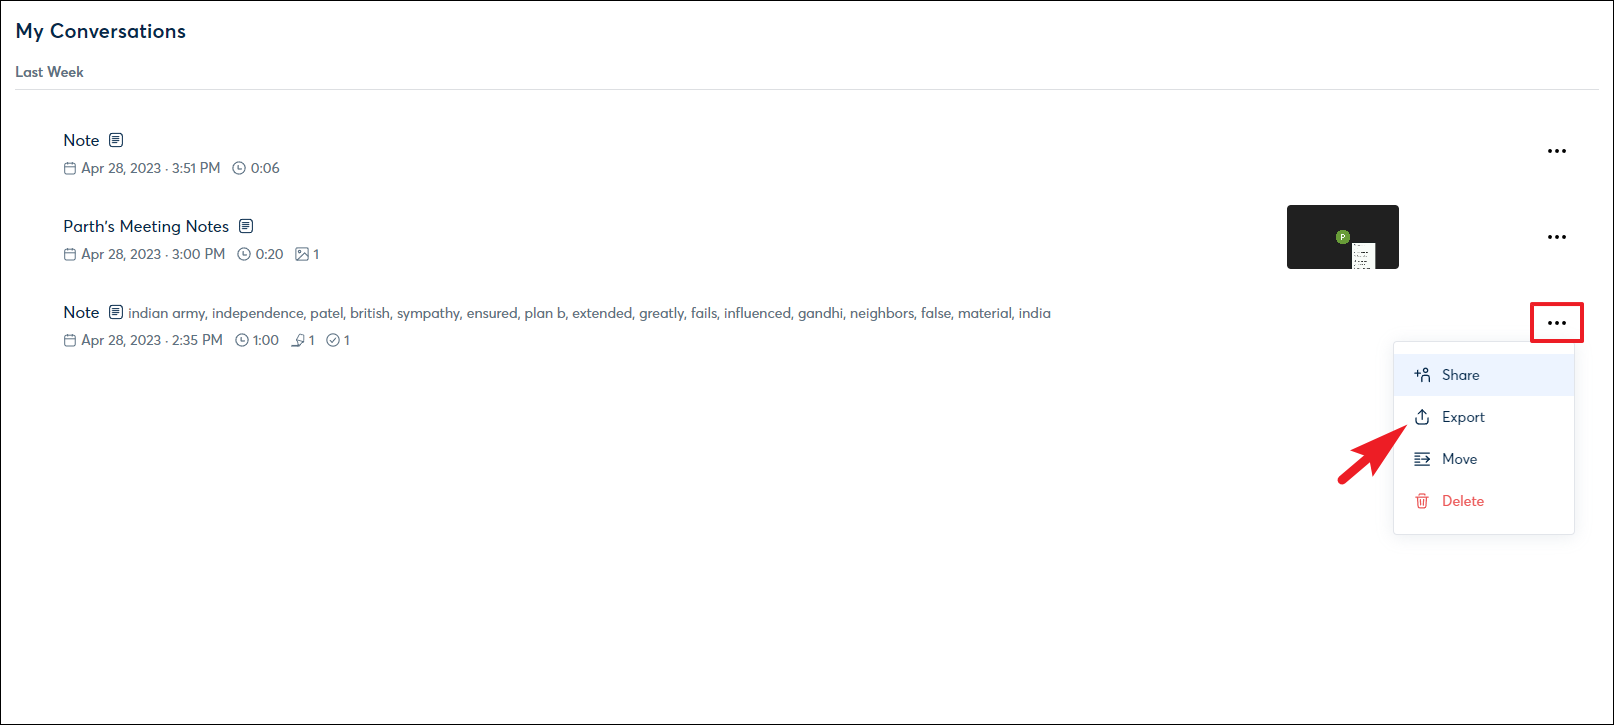
After that, locate the conversation you wish to export and click on the ‘ellipsis’ button. Then, select the ‘Export’ option from the overflow menu. This will bring an overlay window to your screen.
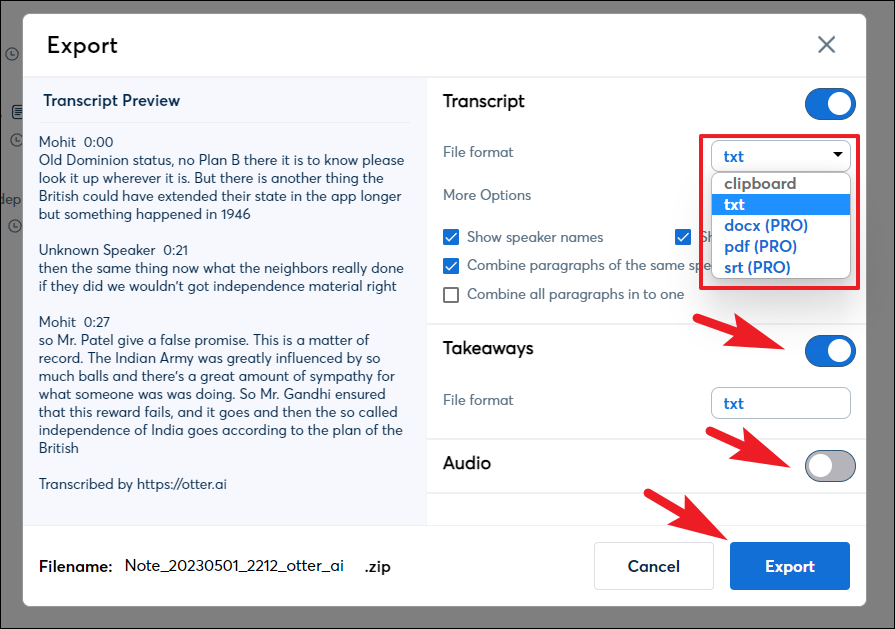
To select a format of your choice, click on the drop-down menu following the ‘File format’ field. You can also choose to show/hide speaker names or combine all transcriptions from the same speaker into a single paragraph or even the complete transcription into a single paragraph. You can also choose to include ‘Takeaways’ and ‘Audio’ for the transcription. To change the file name, click on the ‘File name’ in the bottom left corner and enter an apt name. Once done, click on the ‘Export’ button and the ZIP file will be downloaded.
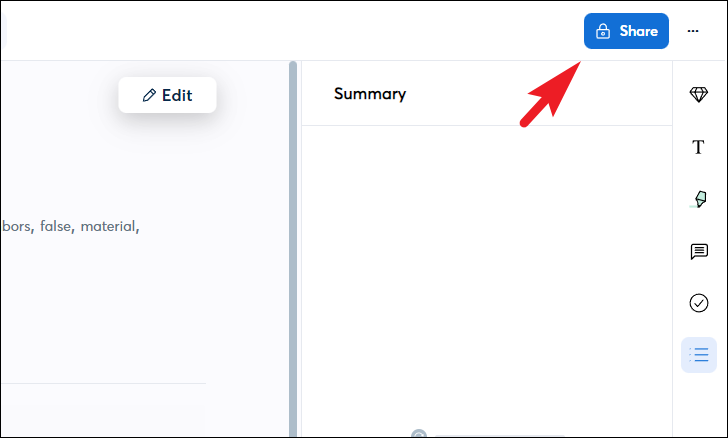
To add collaborators for the transcripts, first, select a conversation from the dashboard. Then, click on the ‘Share’ button. This will bring an overlay window to your screen.
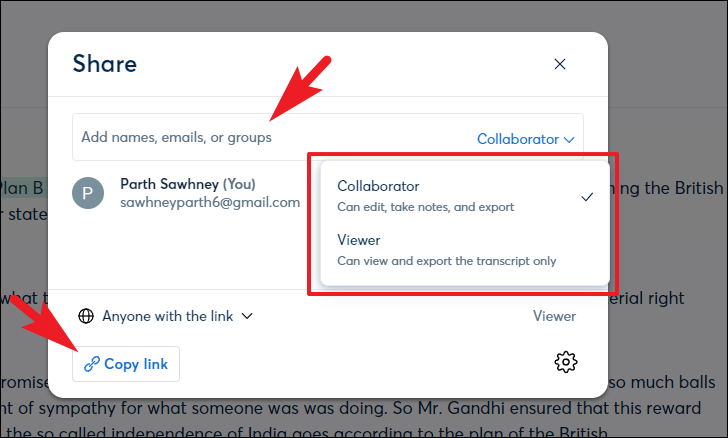
After that, you can start entering emails with whom you wish to share the transcript. You can also select the permission level as a collaborator or just as a viewer. If you do not have an email address, you can click on the ‘Copy link’ button and share the link to the transcript with anyone you wish.
As mentioned previously in this guide, you can use Otter AI with other services like Google Meet, Zoom, and Microsoft Teams. If you did not set it up at the time of creating your account, you can always do it later from the menu.
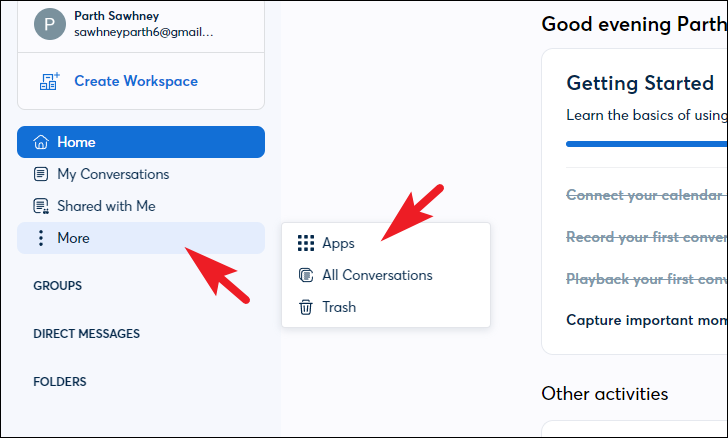
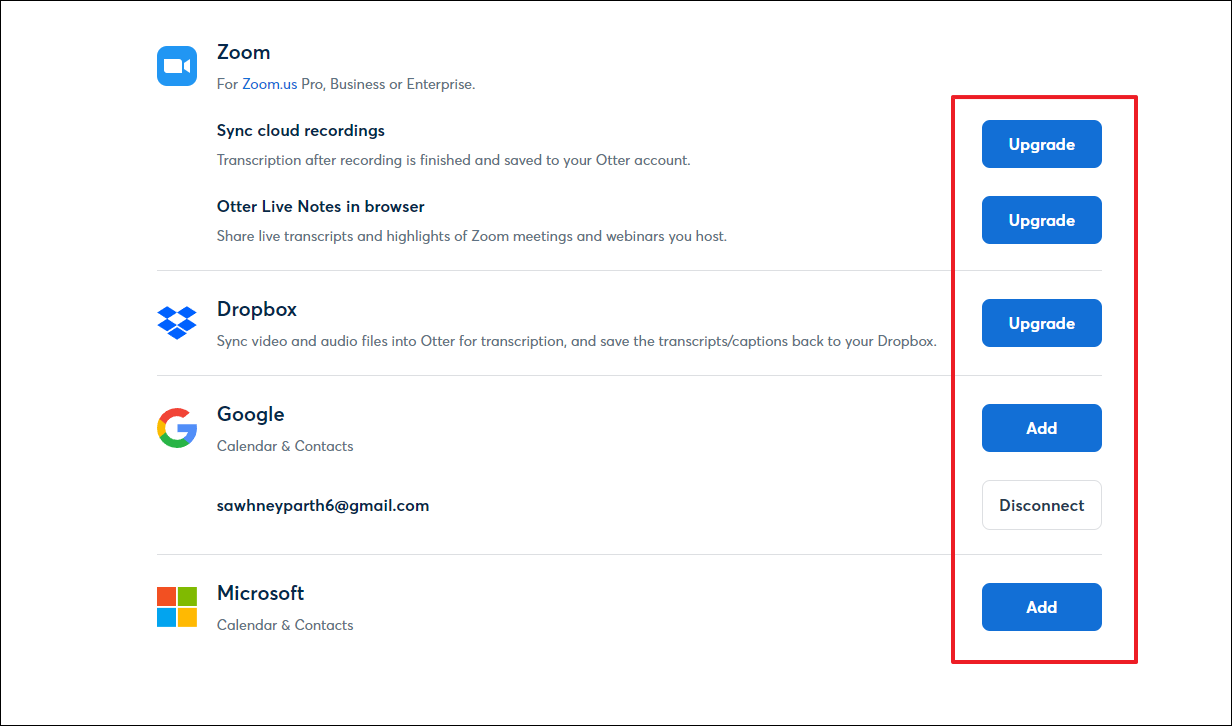
To integrate Otter AI with other services, from the Dashboard screen, click on the ‘More’ option and select the ‘Apps’ option.
On the next screen, you can click on the ‘Add’ button on the right of your required service to integrate Otter AI and enjoy benefits like automatic meeting recording and transcriptions. However, do note, Zoom and DropBox require at least a ‘Pro’ account in order to be integrated with Otter AI.
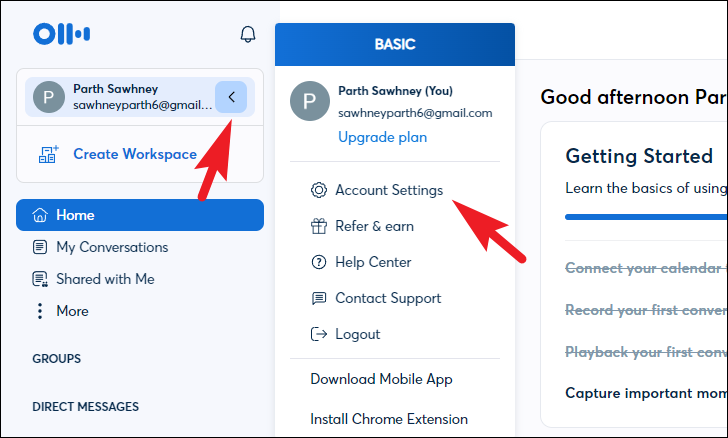
To add custom phrases, words, or names pertaining specifically to your work in Otter AI, click on your account initials/picture on the left sidebar and click on the ‘Account Settings’ option.
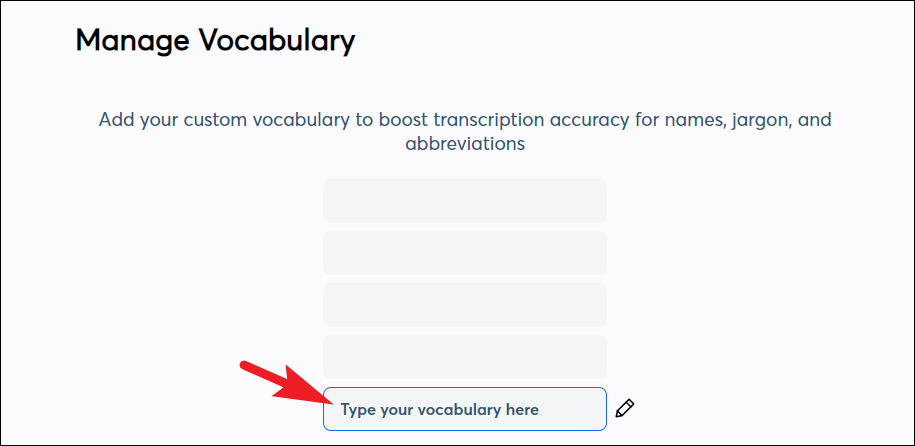
After that, click on the ‘Manage vocabulary’ tab to proceed.

The basic plan allows you to enter 5 entries only. However, if you choose to upgrade, you can get up to 100 people’s names and 100 other words that you can teach to Otter AI.
In addition to all of these tips, Otter AI can also be trained to recognize your voice. You can make sure to tag yourself as the speaker whenever you are speaking in a conversation that is being recorded by Otter AI and after a couple of transcriptions, Otter AI will start to automatically tag you as a speaker whenever you are speaking the conversation.
If you are upgrading to a Pro or a Business tier on Otter AI, you also get live transcription for Zoom and closed captioning. Then there is a user management feature for Admins to use and you can also generate reports and see analytics of your account.
All in all, Otter AI can prove to be very handy and useful if your routine revolves around talking to many people. Otter AI completely automates jotting down the minutes of meetings and also digitizes them. Afterward, you can perform multiple actions on it or can even share it with people you deem fit. So what you’re waiting for? Go download the app and start using Otter AI stat.