Reading and writing are two elementary activities we need in most phases of our lives. Whether you’re a student or a working professional, you’ll need to perform both these activities, although the extent might differ.
Now, the world isn’t fair and some people need a little extra help than others when it comes to these activities. Whether it’s a learning disability, low literacy, or working in a second language, an extra boost can help. That’s where Read&Write comes in.
What is Read&Write?
Read&Write is a literacy support tool that can help students and users in the workplace with everyday reading and writing activities. Read&Write is available for both Education and Work environments.
Exactly how does it help with these activities? It has plenty of tools like Text-to-Speech, Text & Picture Dictionaries, Audio Maker, Voice Notes, Screen Masking, etc. to make reading and writing easier.
Users can use the tool to read the text out loud or get help with understanding unfamiliar words. It can also help students research for assignments or proofread them before submitting them. Users in the workplace can use the tool for writing emails and other reports.
Tools like highlighters, voice notes, audio maker, etc. make it easier to read documents in a digital environment, whether it’s for school or work. There are also tools for making writing easier, like text prediction, or a proofreader that checks the grammar, spelling, etc. as well as can read the entire text out loud. And for people who think faster while speaking than typing, there’s also the option to talk and type. Students also get access to vocabulary and definition resources that can help them improve their skills.
Read&Write is available for different platforms like Windows, Macs, Chromebooks, iPads and tablets, Google Chrome, etc.
When using it in Google Chrome, i.e., as an extension, you can use it on webpages, PDFs, ePUBs, Google Docs, Slides, Forms, Drive, Microsoft Office environment, etc. As a student, it also works with most Learning Management systems such as Google Classroom, Canvas, Schoology, and Brightspace, among others.
Read&Write Features
Here is an overview of the most popular tools in Read&Write to get you an idea of what you can expect from the tool:
- Text-to-Speech: For some users, listening to text help them process it better than reading it. Using this tool, you can read anything on the screen out loud, whether it’s a webpage or text that you have written. It also uses dual color highlighting that makes it extremely easy to follow the text. There’s also a screenshot reader that can grab text from images and read it out loud but you’ll have to install a separate extension for it.
- Text & Picture Dictionaries: When you encounter words that are difficult to understand, you can search for them using the dictionary tool. It also boasts a picture dictionary that helps in understanding new words using visual aid.
- Screen Masking: This reading pane tool helps to increase focus and reduce distractions and visual stress.
- Vocabulary List: When you encounter any new words, you can instantly add them to your vocabulary list which is a separate document that keeps track of your word list with definitions, and visual aid.
- Check It: Proofreading tool that you can use to check your grammar, spelling, punctuation, and more.
- Word Prediction: Writing aid that intuitively predicts the word you’re writing so nothing can interrupt your workflow.
- Highlight: You can color code the different information on the page that’s important using different colored highlighters. Not only that, but it can also create a separate document using just your highlighted points.
- Voice Notes: For users who prefer verbal communication to written text, voice notes help them leave comments on Google Docs that others can listen to.
There are many more tools that we will explore as we go along. Most of these are premium features that are only available with a subscription. The prices for subscriptions slightly vary for individuals in education and other industries. Read&Write for Education costs around $150 while it costs $270 for Read&Write for Work.
Read&Write is completely free for teachers. If you want to deploy the tool for your school or the entire workforce, there are different pricing models available.
Get Read&Write for Google Chrome
You can get a 30-day free trial when you install Read&Write for Google Chrome which gives you access to all the premium features. Once the trial period expires, you’ll only have access to Text-to-Speech and Translator. To access all other features, you’d need a subscription.
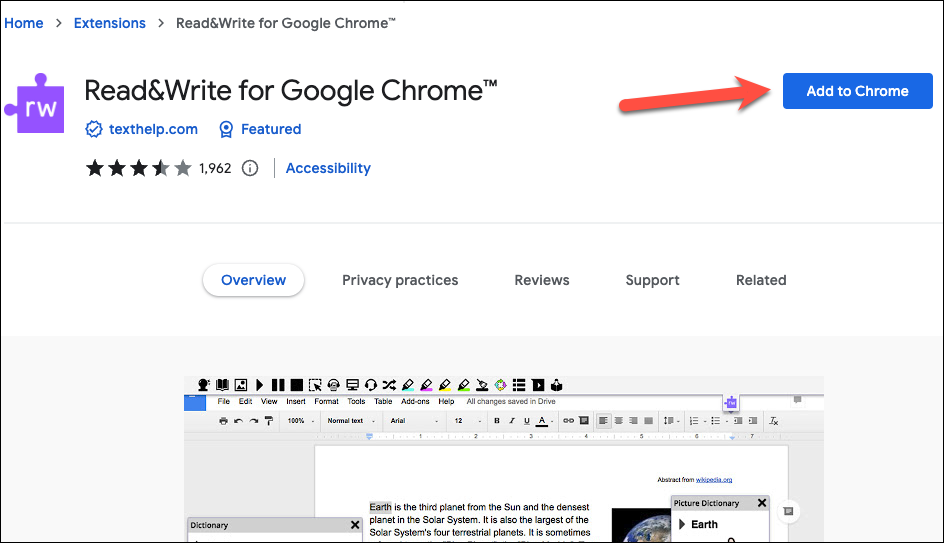
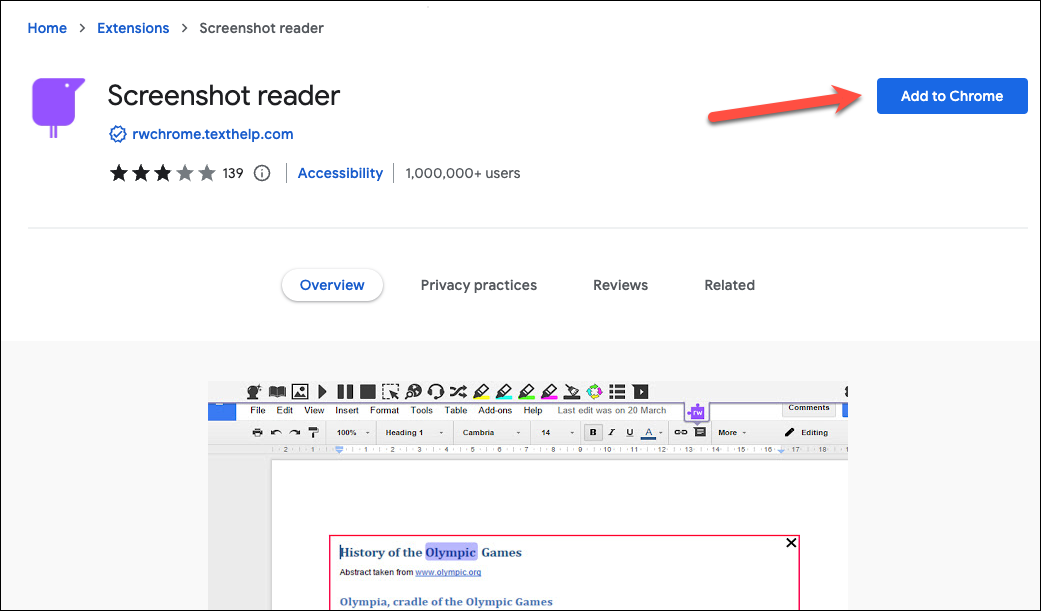
To get Read&Write for Chrome, go to the Chrome web store and search for the extension or click this link to go directly to the listing page. Since it’s a Chrome extension, you can also get it for Microsoft Edge.
Then, click the button for ‘Add to Chrome’ to add the extension to your browser.
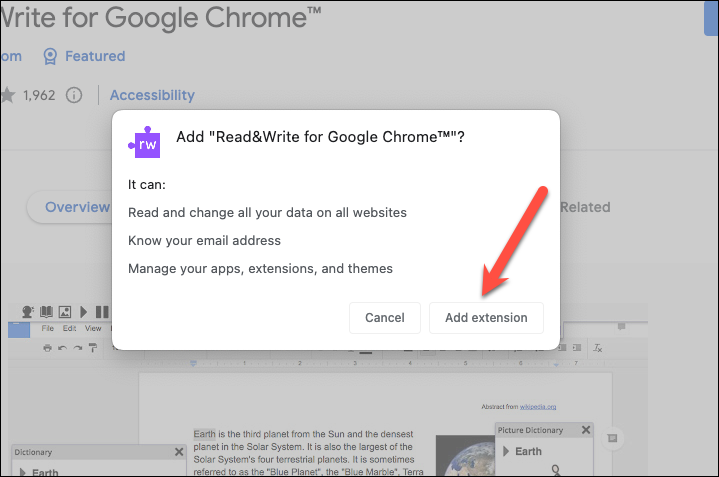
A confirmation prompt will appear listing the access the extension will have and asking whether you want to add the extension to the browser. Read the disclaimer information carefully and click on the ‘Add extension’ button to proceed.
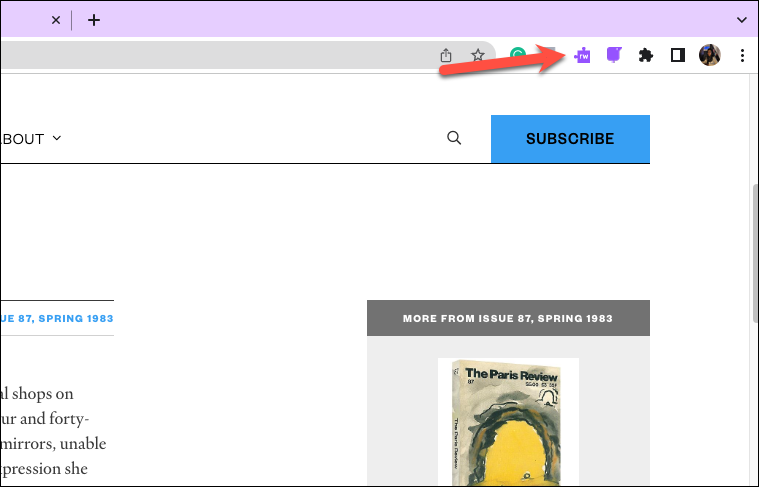
The extension will be installed on your browser and either appear on the address bar or the extensions menu that you can access using the ‘Extensions’ (Puzzle-shaped) icon.

Click the purple puzzle-shaped ‘Read&Write’ icon from the extensions menu/ address bar when you need to access Read&Write. The service is accessible as a toolbar that hovers on the browser that you can (mostly) move anywhere, although sometimes it’s fixed depending on where you’re using it.
Using Read&Write on a Webpage
You can use Read&Write on a webpage to make it easier to read and understand the text. To use Read&Write on a webpage, navigate to the webpage and click the extension icon.
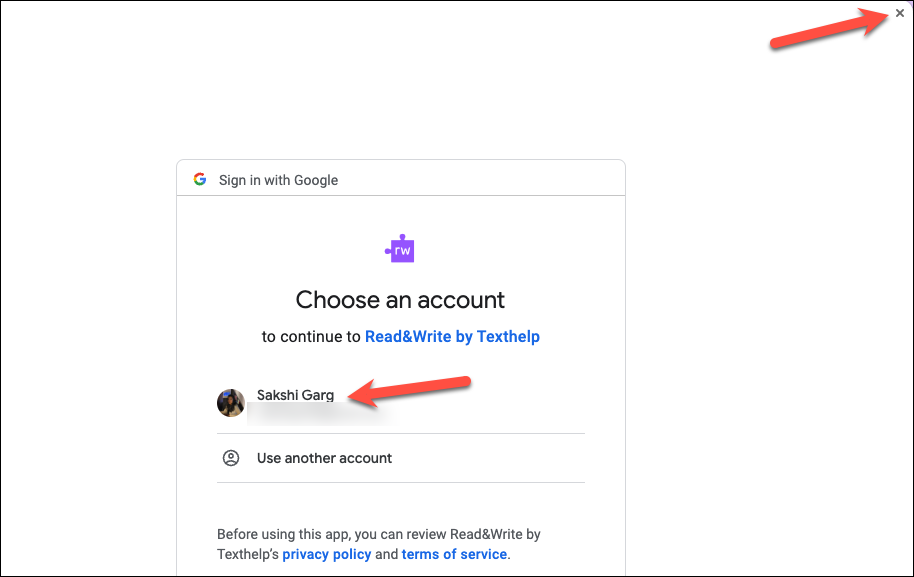
When you click the extension icon, a login prompt will appear asking you to continue with your Google account. You can either choose to use your Google account or click the ‘Close’ button on the login prompt. But you will be greeted by the login prompt every time you go to use the extension if you close without logging in.
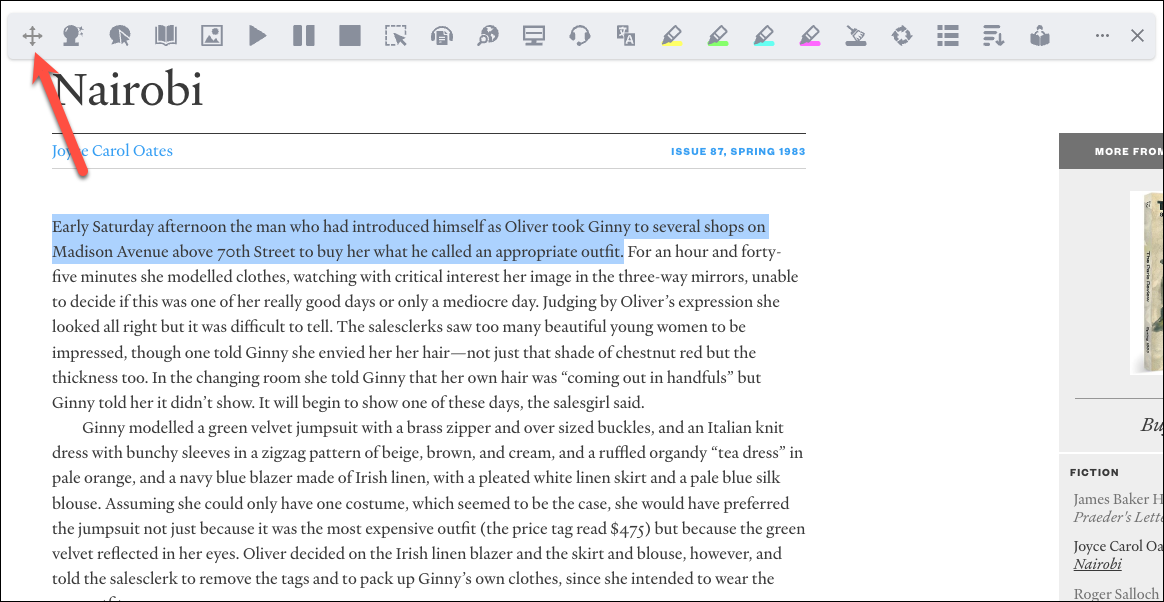
The toolbar for the extension will appear at the top. When using it on a webpage, you can move the toolbar anywhere using the ‘Move’ icon on the very left.
Using Text-to-Speech Tools
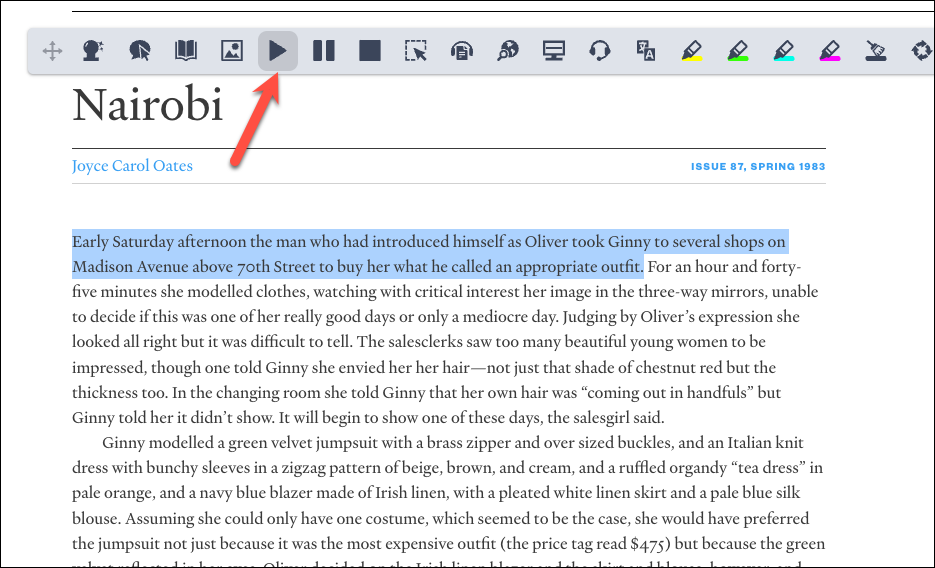
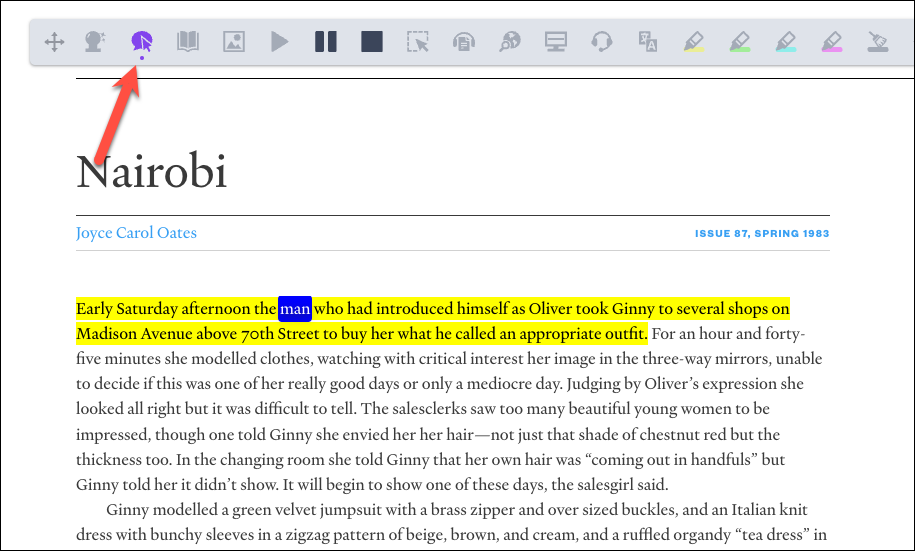
To use Text-to-Speech, select the text from where you want to start reading out loud. Then, click the ‘Play’ icon from the toolbar.
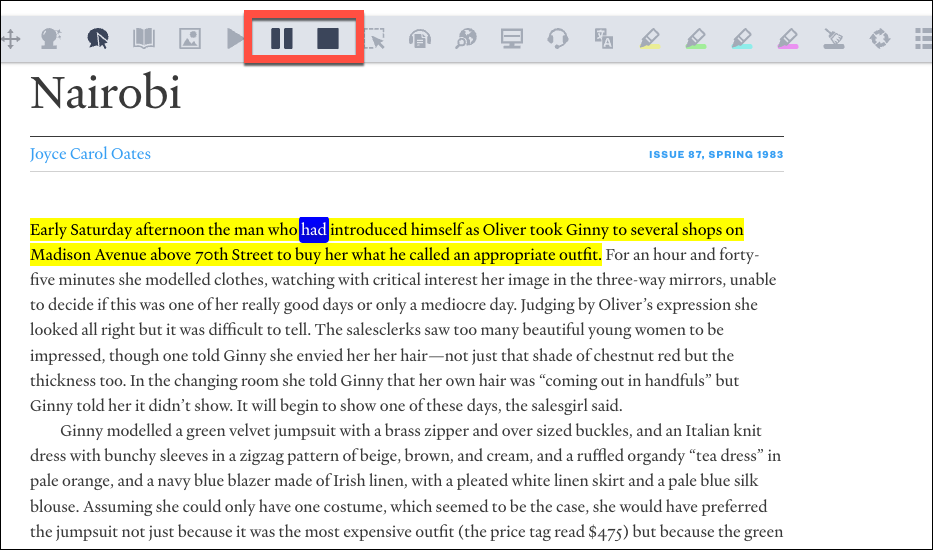
The tool will start reading the text from where you selected it but it won’t stop there. Click the ‘Pause’ or ‘Stop’ buttons to pause or stop the speech entirely.
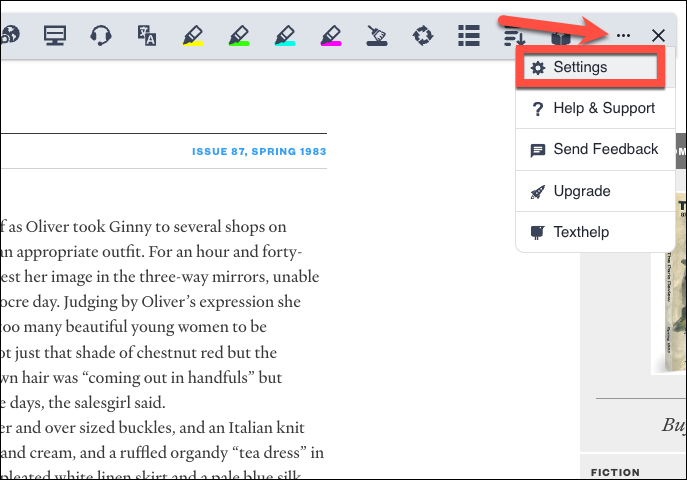
To change the voice or adjust the speed, click the ‘three-dot’ menu at the right and select ‘Settings’ from the menu to access them.
You can change the voice or language from the drop-down menu and adjust the speed by dragging the slider.
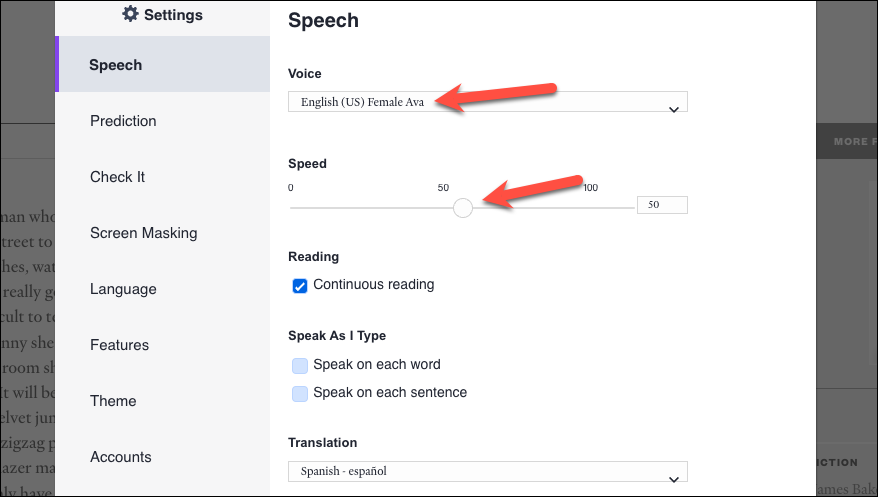
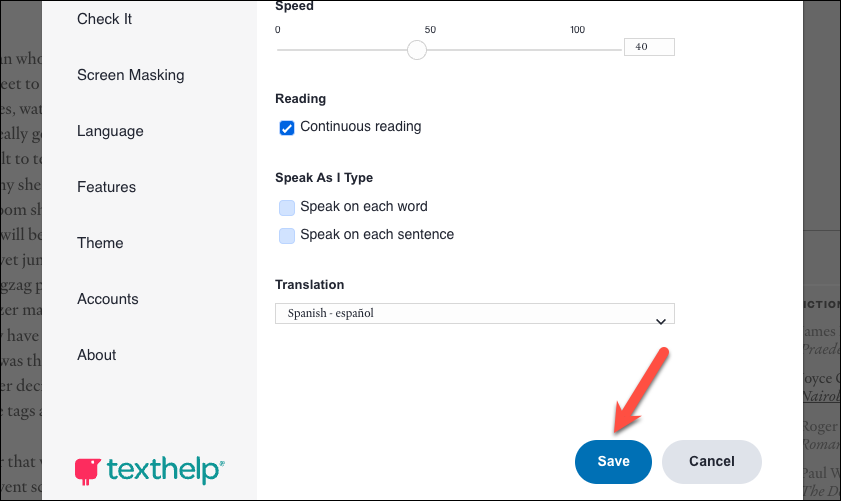
You can also change other settings like whether you want it to read continuously, or speak as you type. Click ‘Save’ after making the changes.
To dictate the text you’re hovering over, click the ‘Hover Speech’ option and move your cursor to the text.
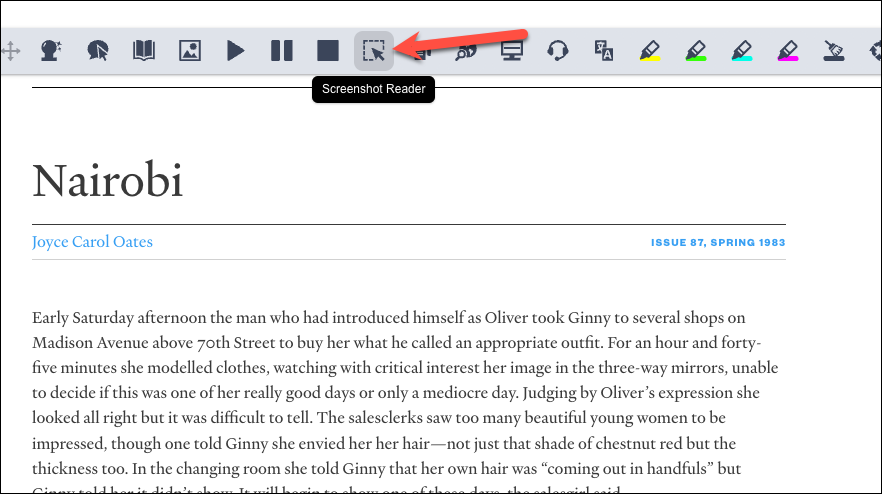
If you also want to read text from a photo, click the option for ‘Screenshot Reader’.
It’ll redirect you to an extension ‘Screenshot Reader’ on the Chrome web store. Click ‘Add to Chrome’ to install it.
A confirmation prompt will appear. Click ‘Add’ to install the extension.

Then, click the Screenshot reader icon again and select the image that has the text you want to listen to.

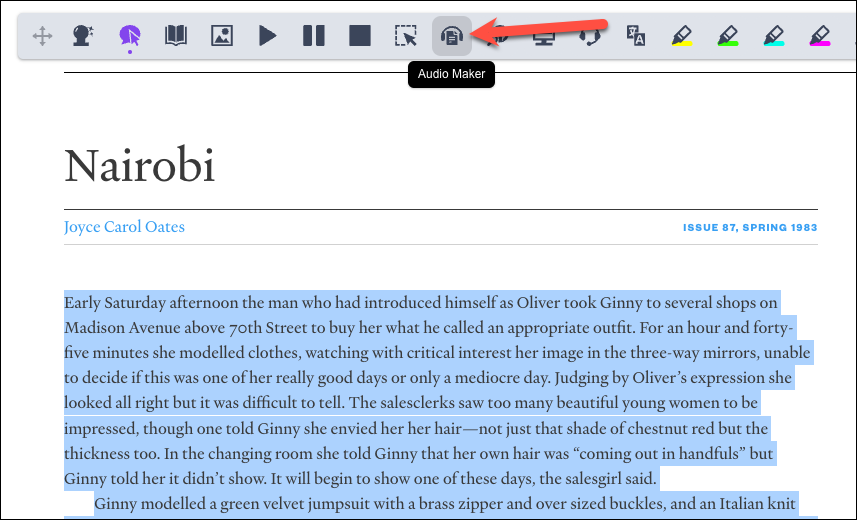
You can also convert the text to an MP3 file to listen to it on the go using the audio maker. Select the text you want to convert to audio and click the ‘Audio Maker’ button. The MP3 file will be downloaded to the default downloads directory on your computer.
Using Dictionary
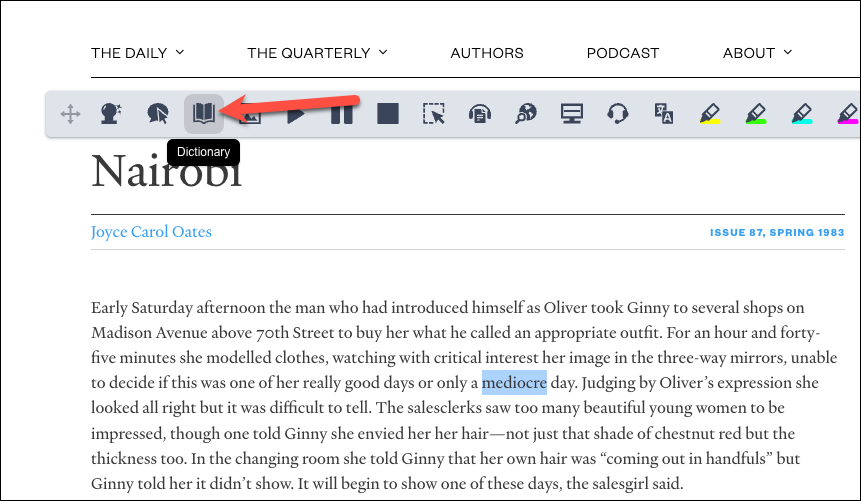
To look up the definition of a word, select the word and click the option for ‘Dictionary’ from the toolbar.
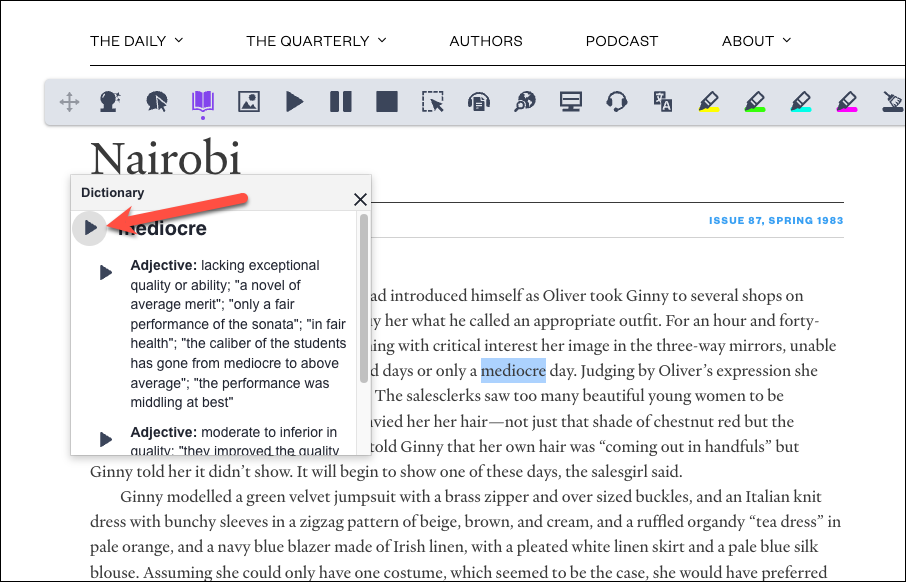
The definition will appear in a hovering textbox. If you want to listen to the definition instead, click the ‘Play’ button.
To see the meaning using the picture dictionary, click the ‘Picture Dictionary’ icon while the word is still selected. Not all words will have a visual representation, though.

Using Screen Masking
Click the ‘Screen Masking’ option to use this tool.
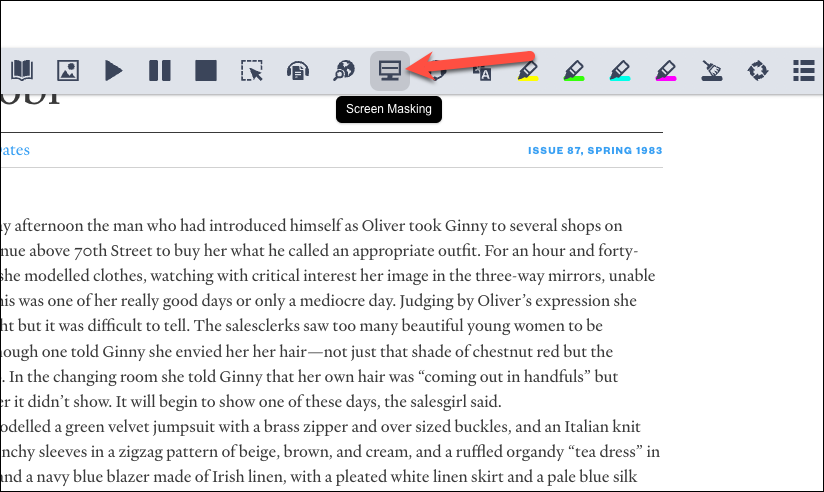
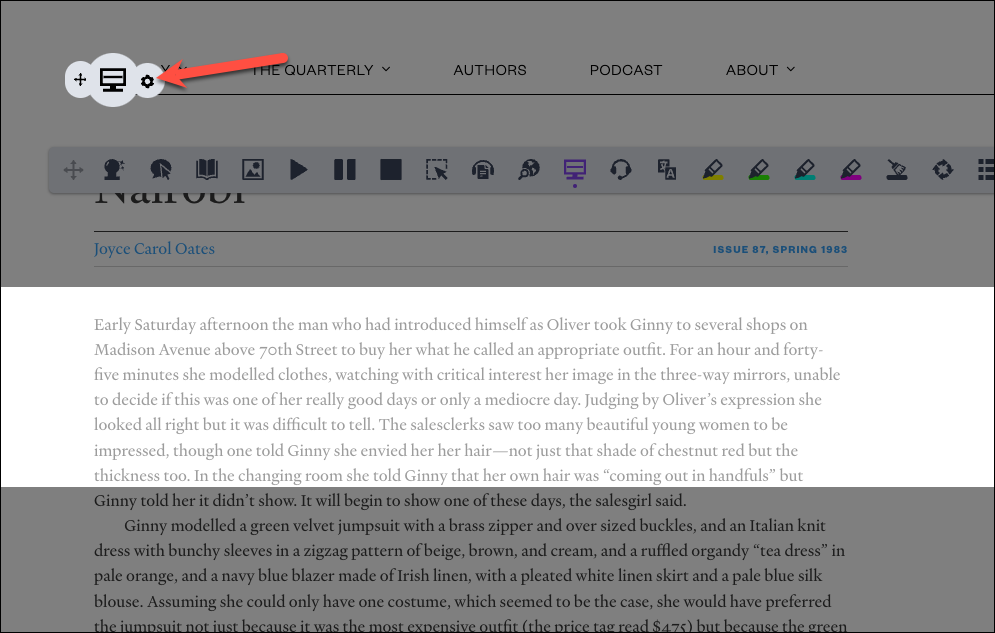
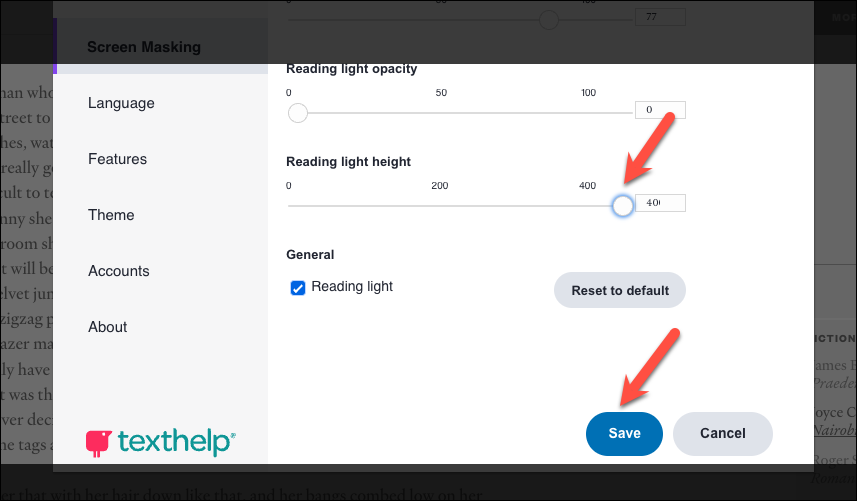
It’ll mask a huge portion of the screen while only keeping some in focus. You can change the background color and the opacity of the reading light, i.e., the portion in the focus. Click the ‘Settings’ option. You can also change these at any time by accessing Settings directly.
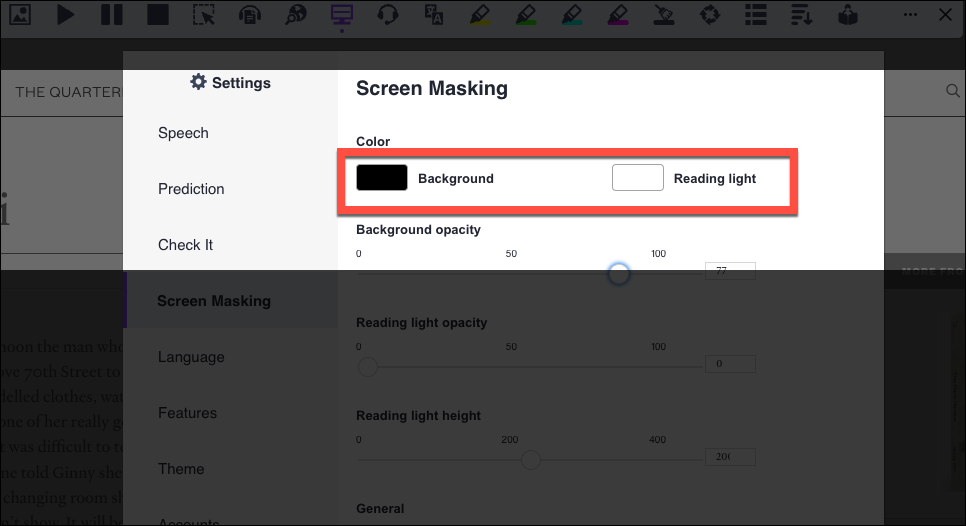
You can change the color of the background or the reading light by clicking the respective options underneath the color option.
Drag the sliders under ‘Background Opacity’ and ‘Reading Light Opacity’ to adjust their opacity. The more opaque the background, the fewer distractions you’ll find.
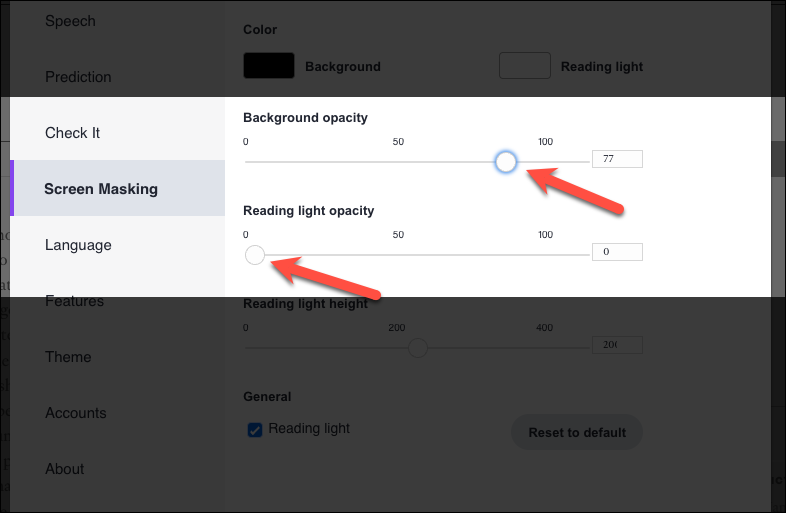
You can also adjust the height of the reading light by dragging the respective slider. Then, click the ‘Save’ button.
To get out of the screen masking option, click the option again.
Highlighting a Text
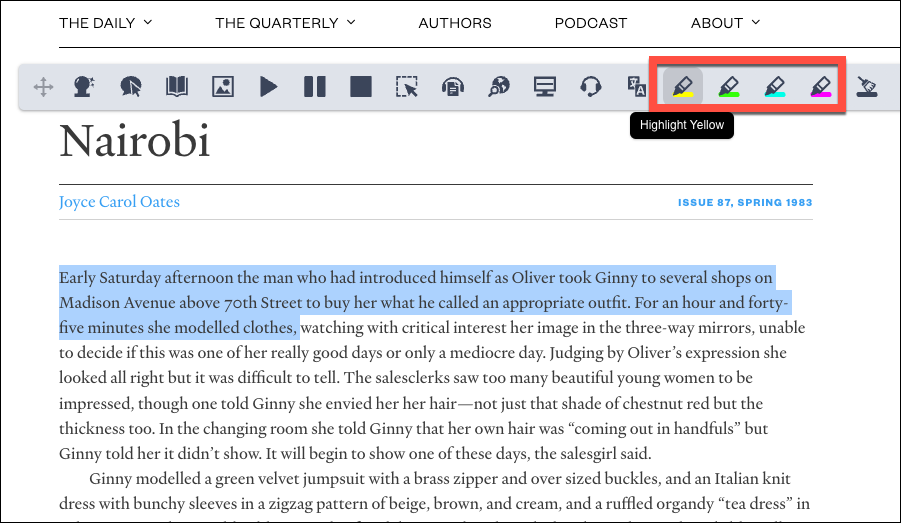
To highlight a text, select the text and click the color with which you want to highlight it from the toolbar.
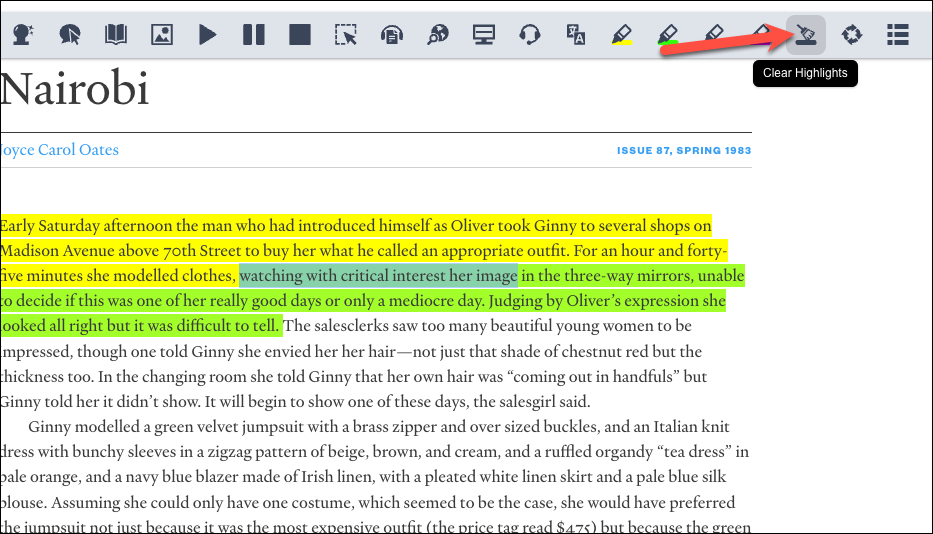
To clear a highlighted section, select it and click the ‘Clear Highlights’ button.
Click ‘Collect Highlights’ to save all your highlighted text in a separate document. You can also choose whether you want to sort the highlights in the document by colors or position on the page.

A pop-up will appear. Select the colors that you want to collect and click ‘OK’. You should be logged in with your Google account to use this feature.

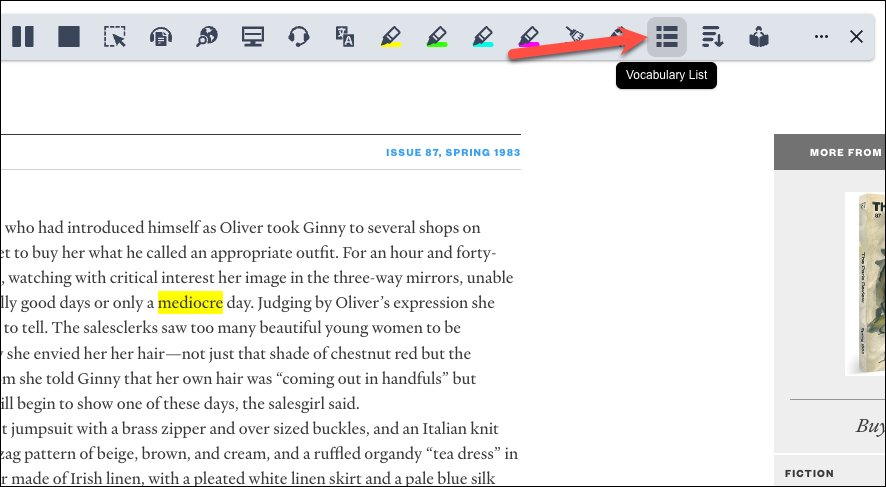
If you want to add a word to your vocabulary list, which is a separate Google Doc that the extension creates, highlight the word and click the ‘Vocabulary List’ icon.
A pop-up will appear asking which colors to collect. Select the colors and click ‘Ok’. You should be signed with your Google account to use this feature though. If you aren’t, a login dialog box will appear.
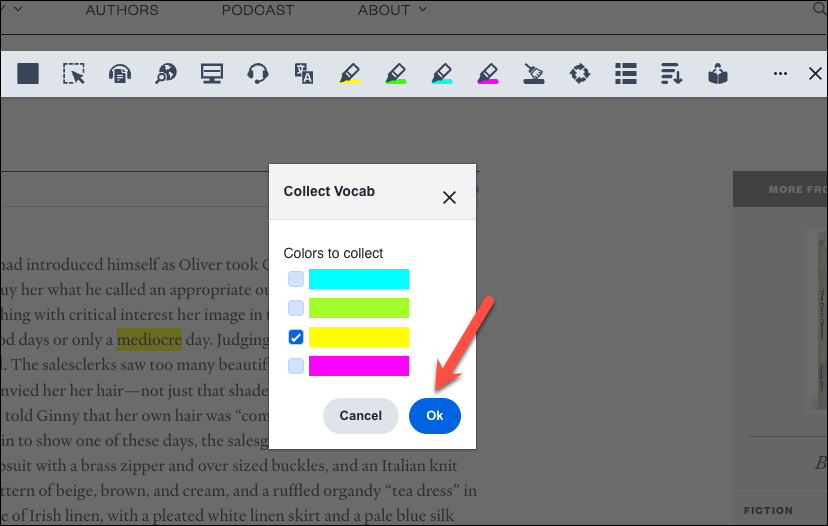
Tip: You should use only a single color to highlight the vocabulary so the vocabulary list doesn’t collect your other highlights.
Other Features
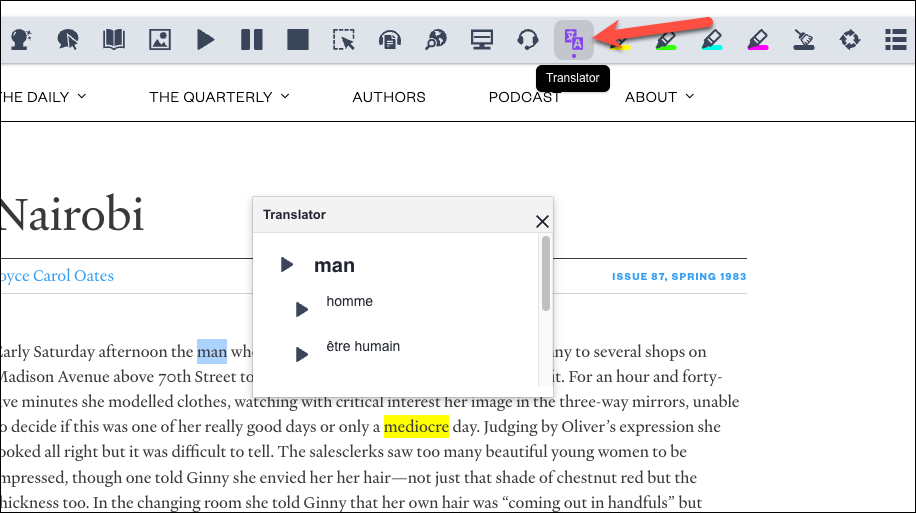
If you want to translate any text while reading, select the text and click the ‘Translator’ button from the toolbar. Once the translator is active, keep selecting new words and the results in the pop-up will keep changing. Click ‘Close’ on the pop-up to stop translating.
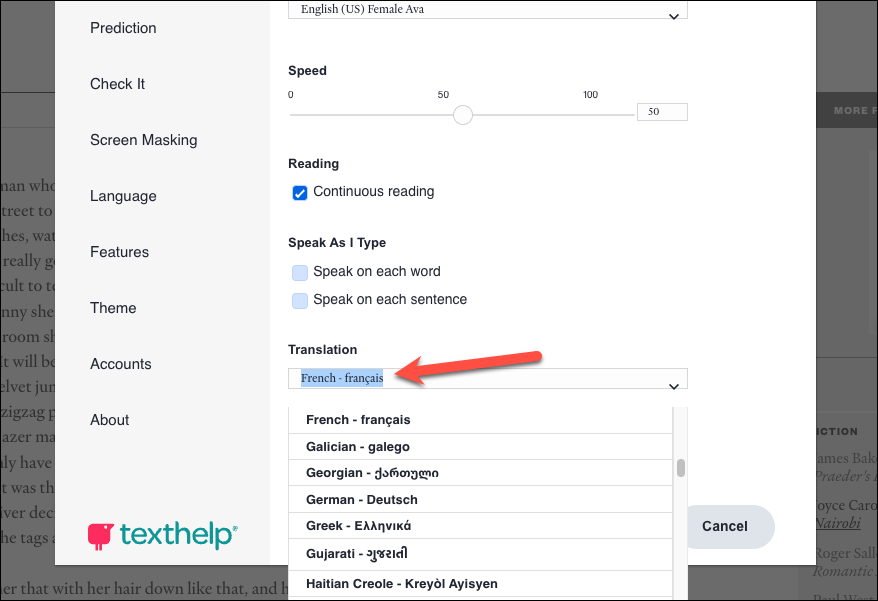
To change the language to which to translate the text, open Settings. Then, click the drop-down menu under ‘Translation’ and select the destination language. Click ‘Save’ after making the changes.
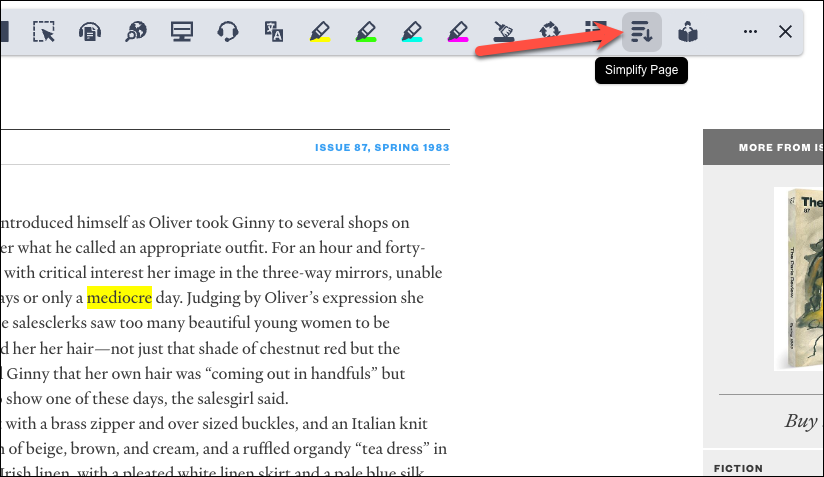
If there are too many distractions on the page, like ads or other banners, click the ‘Simplify Page’ button. It’ll open the contents of the webpage in a separate tab without any of those distractions.
Using Read&Write in Google Docs or Microsoft Word
Using Read&Write in writing tools like Google Docs, Microsoft Word online, and other compatible tools like Slides, Powerpoint, etc, the set of tools is slightly different than when using it on a webpage. Some tools, like Check It, Prediction, talk&type, voice notes, etc. are available for use to aid writing. Let’s see how to use them.
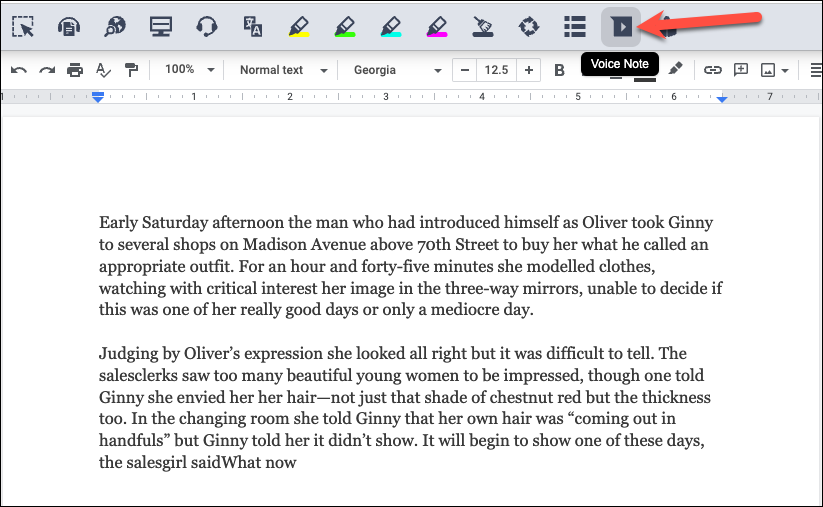
When you open a Google Docs or Microsoft Word document, the icon for the Read&Write extension will automatically appear on the page. Click it to activate the toolbar.
The toolbar will appear at the top of the page, and unlike when using it on a webpage, you can’t move it.
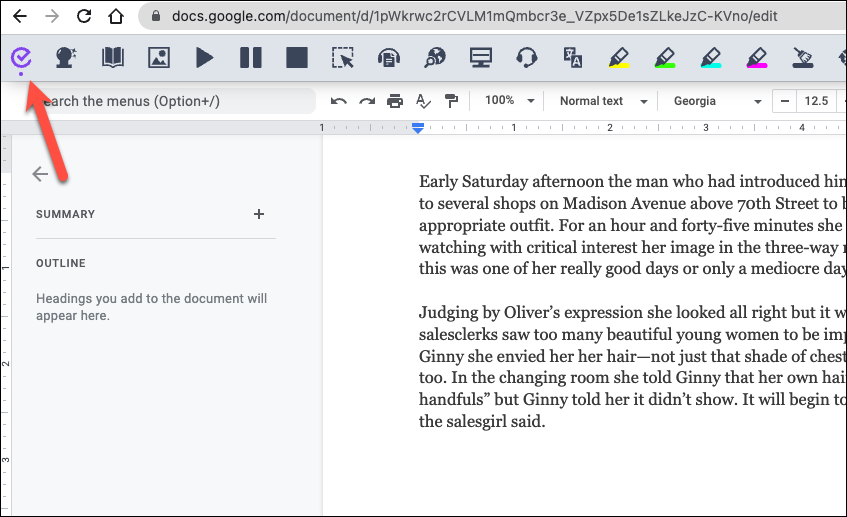
To check the grammar, spelling, verb tense, etc., click the ‘Check It’ button on the far left.
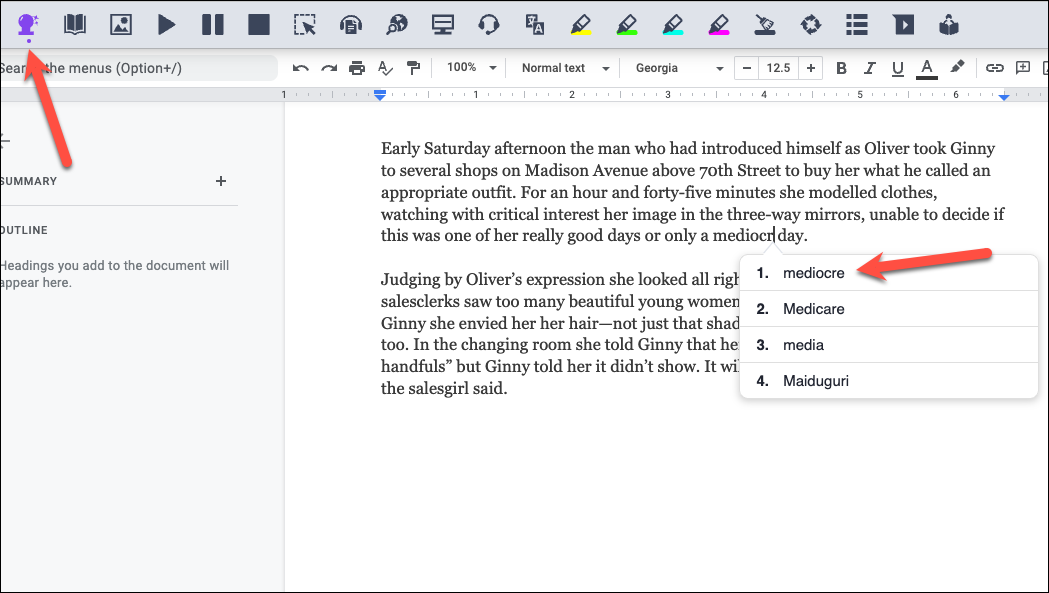
To use ‘Prediction’ while writing, click its icon from the toolbar. Then, as long as the tool is active, you’ll get predictions while writing.
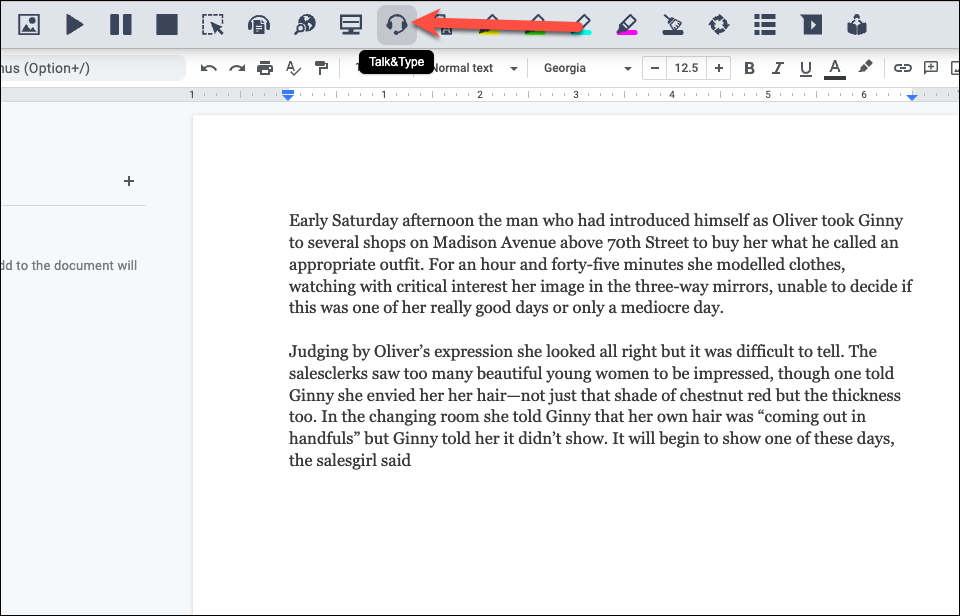
To type by dictating, click the ‘Talk&Type’ button.
If the site doesn’t already have permission to use your microphone, a permission prompt will appear. Click ‘Allow’ to grant access to your microphone.
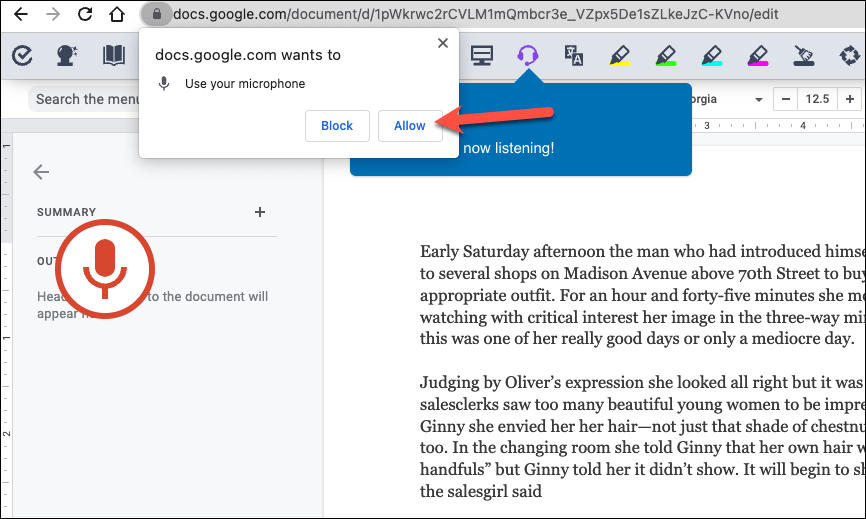
The microphone will become active and you can start speaking. Although it automatically punctuates, you can say ‘Period’ to insert a period if it doesn’t enter it. Or you can also say ‘New Line’. You can also type simultaneously while using talk&type; it won’t deactivate the microphone every time. To stop using the feature, click the ‘Microphone’ icon.
Then, click the ‘Close’ (x) button on the talk&type pop-up.

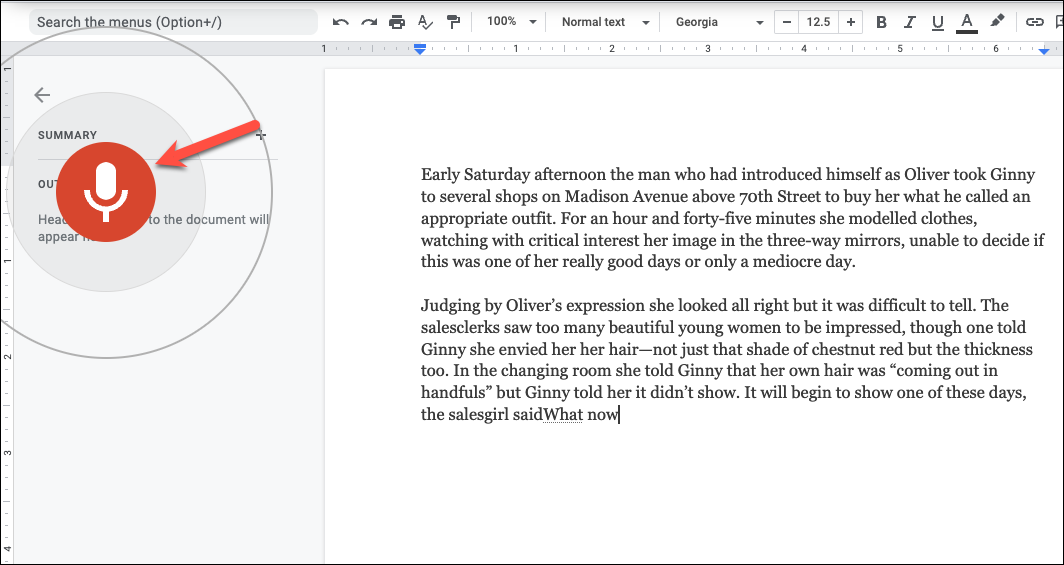
In Google Docs, you can also leave voice notes as comments on a document. This functionality is only available in Google Docs, and not elsewhere. Click the ‘Voice Note’ button from the toolbar.
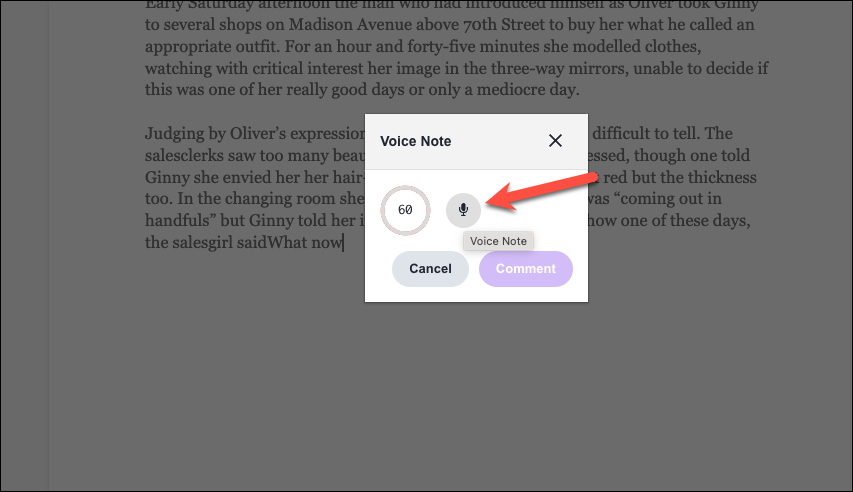
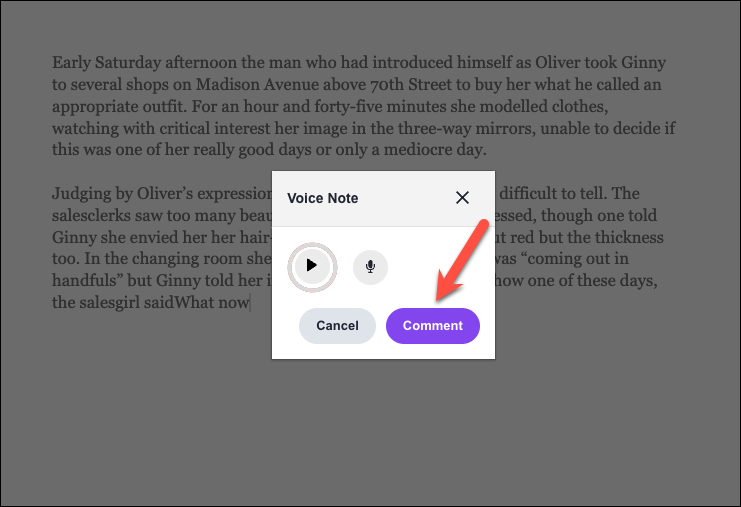
Then, click the ‘Microphone’ icon from the pop-up to start recording the note.
Click the ‘Stop’ button to end the recording or it’ll end automatically when 60 seconds are up.
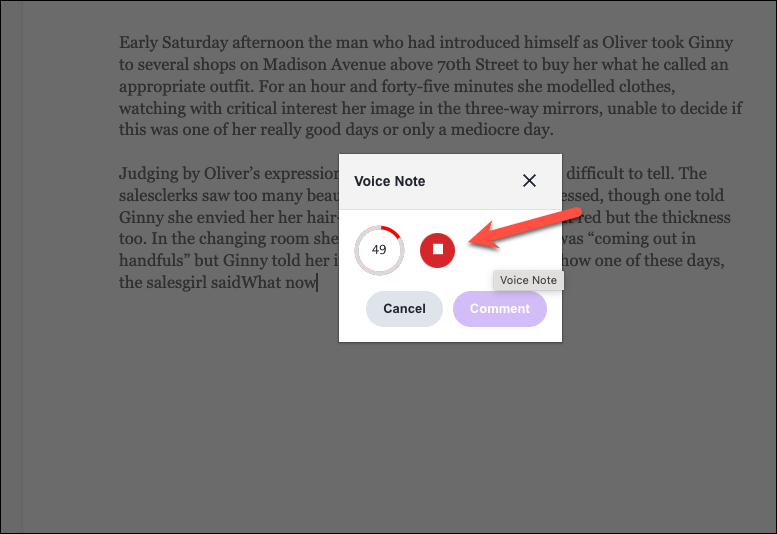
Click the ‘Play’ button to listen to the note before posting. If it’s satisfactory, click ‘Comment’, otherwise click ‘Cancel’ and record again.
The rest of the tools, like Text-to-Speech, Translator, Highlighter, Vocabulary list, etc. work exactly the same way as described above while writing in Google Docs documents or elsewhere also.
Read&Write can prove to be a great asset for users who need the extra help to make it an even playground. And the Chrome extension makes the service even more accessible as we do the most work in our browsers these days.