
Introduced first in Mac OS X 10.5 Leopard, Quick Look is a feature that not many people are aware of. However, the fact that the feature isn’t that popular doesn’t diminish the fact that it is a very efficient and time-saving tool when used correctly. The feature allows users to have a quick look at a file without actually opening it.
Let’s have a look at a real-life example to better understand its use case. Many times we are looking for a file, but we are not sure about its name. In such cases, most of us open multiple documents to see if the file has the content we are looking for. This often leads to confusion, time wastage, and impatience.
With Quick Look, you can press a single button to get a quick view of the document and have a look at what’s inside it. Not only that, but you can also use the feature to make some quick changes to your photos and share your documents without actually opening them! In this post, we’ll see how you can use Quick Look and easily perform some crucial tasks without opening the file.
Opening Files using Quick Look on Mac
Traditionally, you would open a single file in Quick Look, but there might be times when you want to open multiple files. For example, when you quickly want to scan through multiple photos, you might consider opening multiple files on Quick Look. Fortunately, you can use Quick Look both ways.
Opening Single File in Quick Look
First, select the file you wish to open in Quick Look.
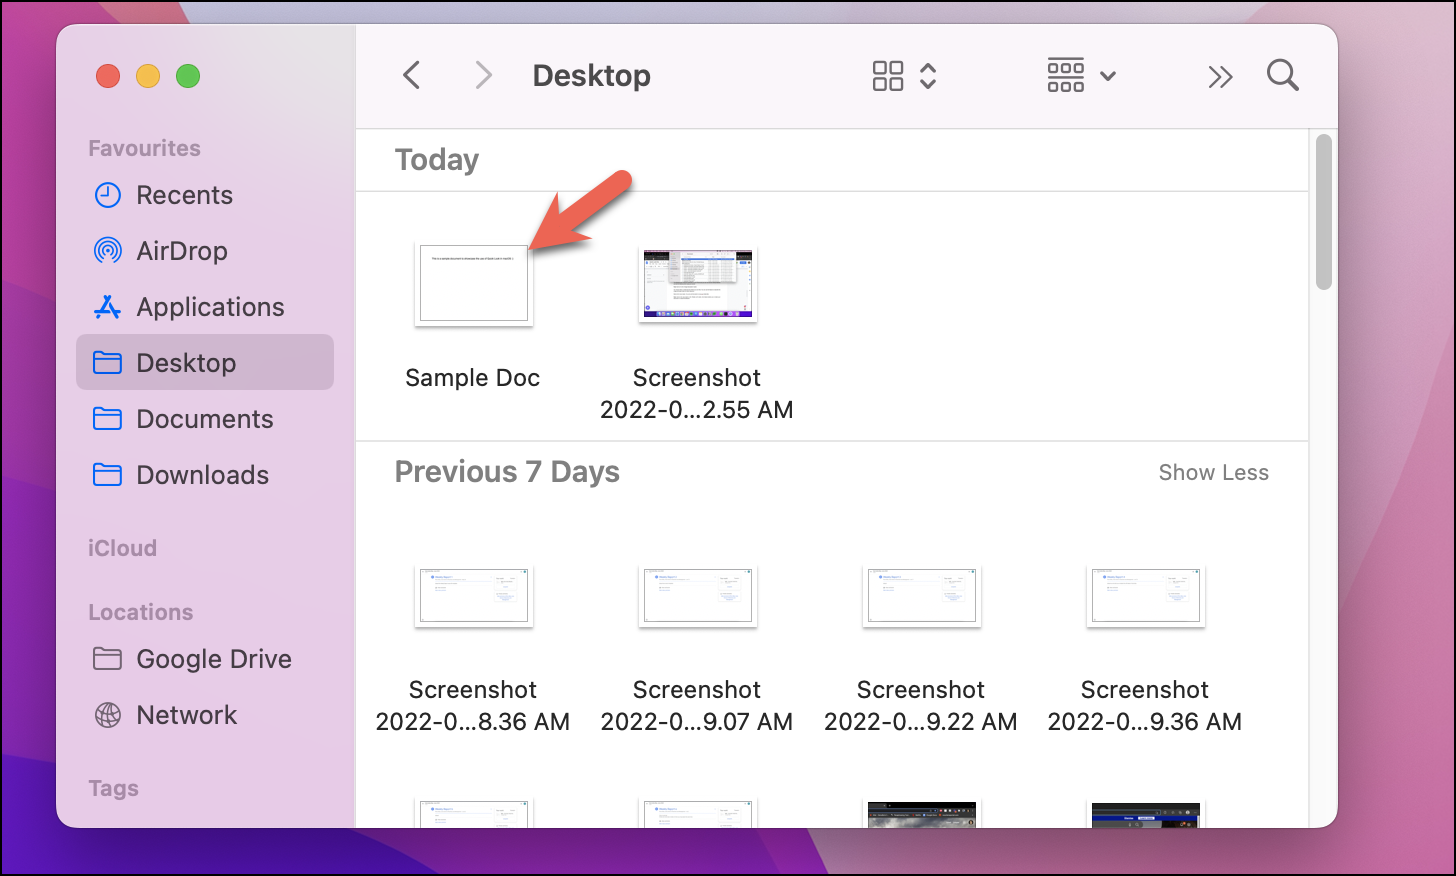
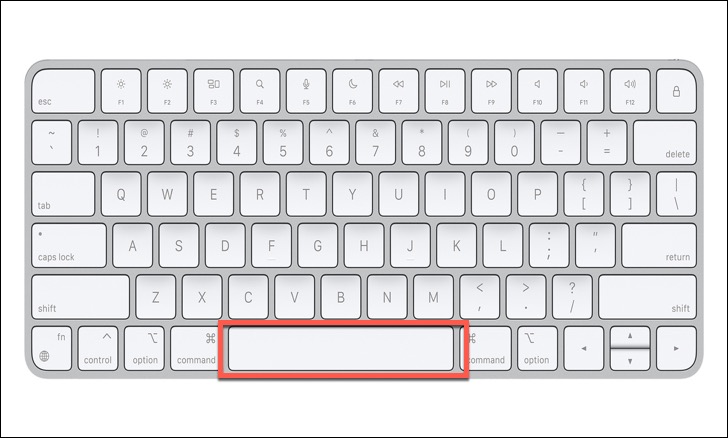
Next, press the spacebar key.

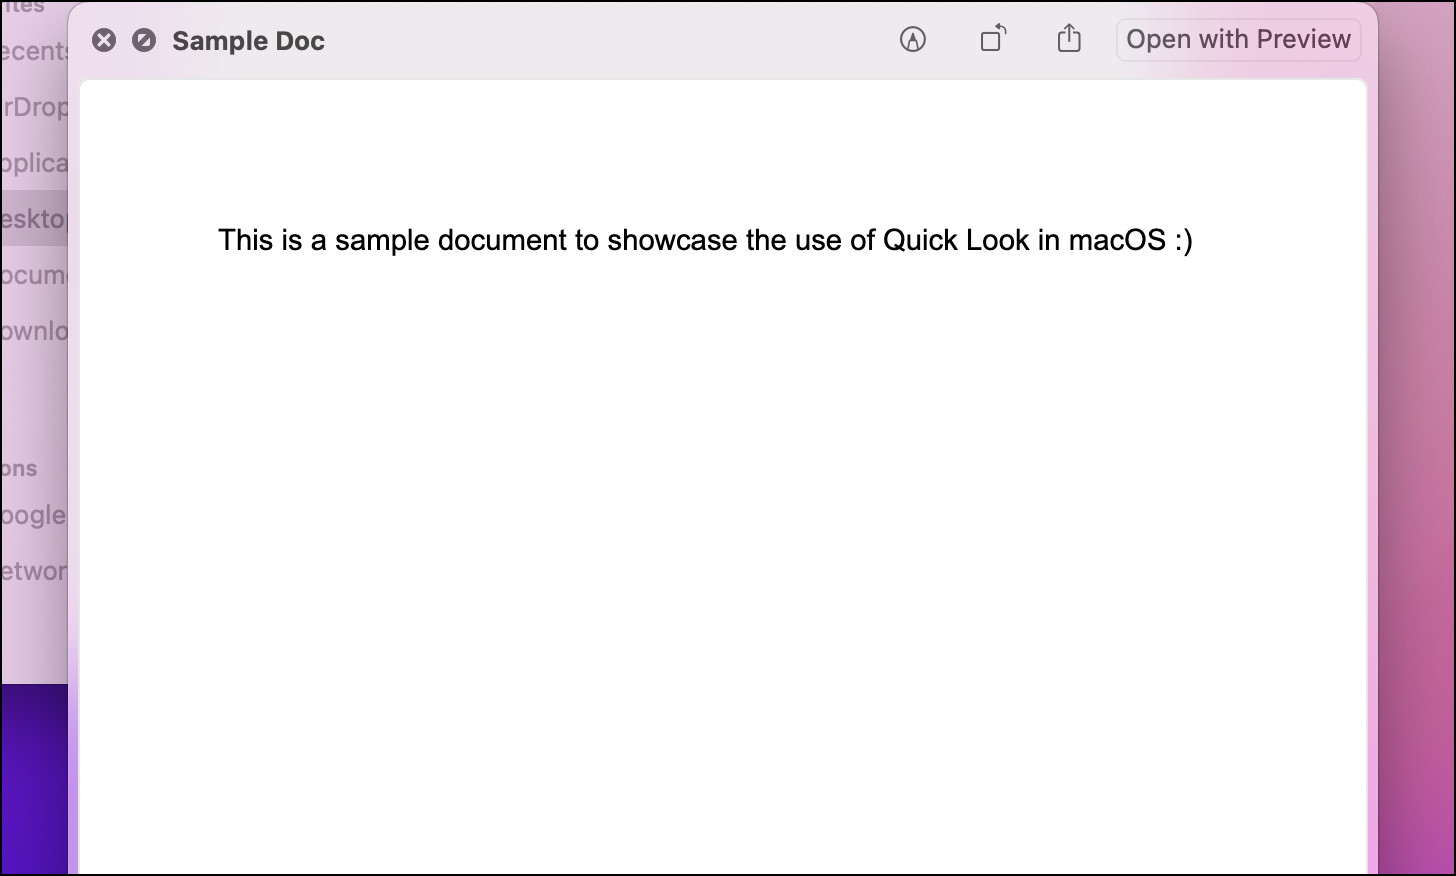
You would immediately get a pop-up of the Quick Look window. It’s that simple!
Opening Multiple Files in Quick Look
If you wish to open multiple files, simply select all relevant files by clicking on them while holding the Command (⌘) button on your keyboard.
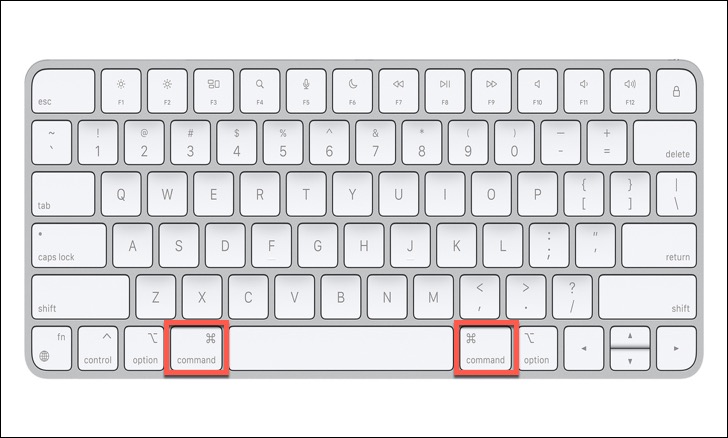
Next, press the spacebar.
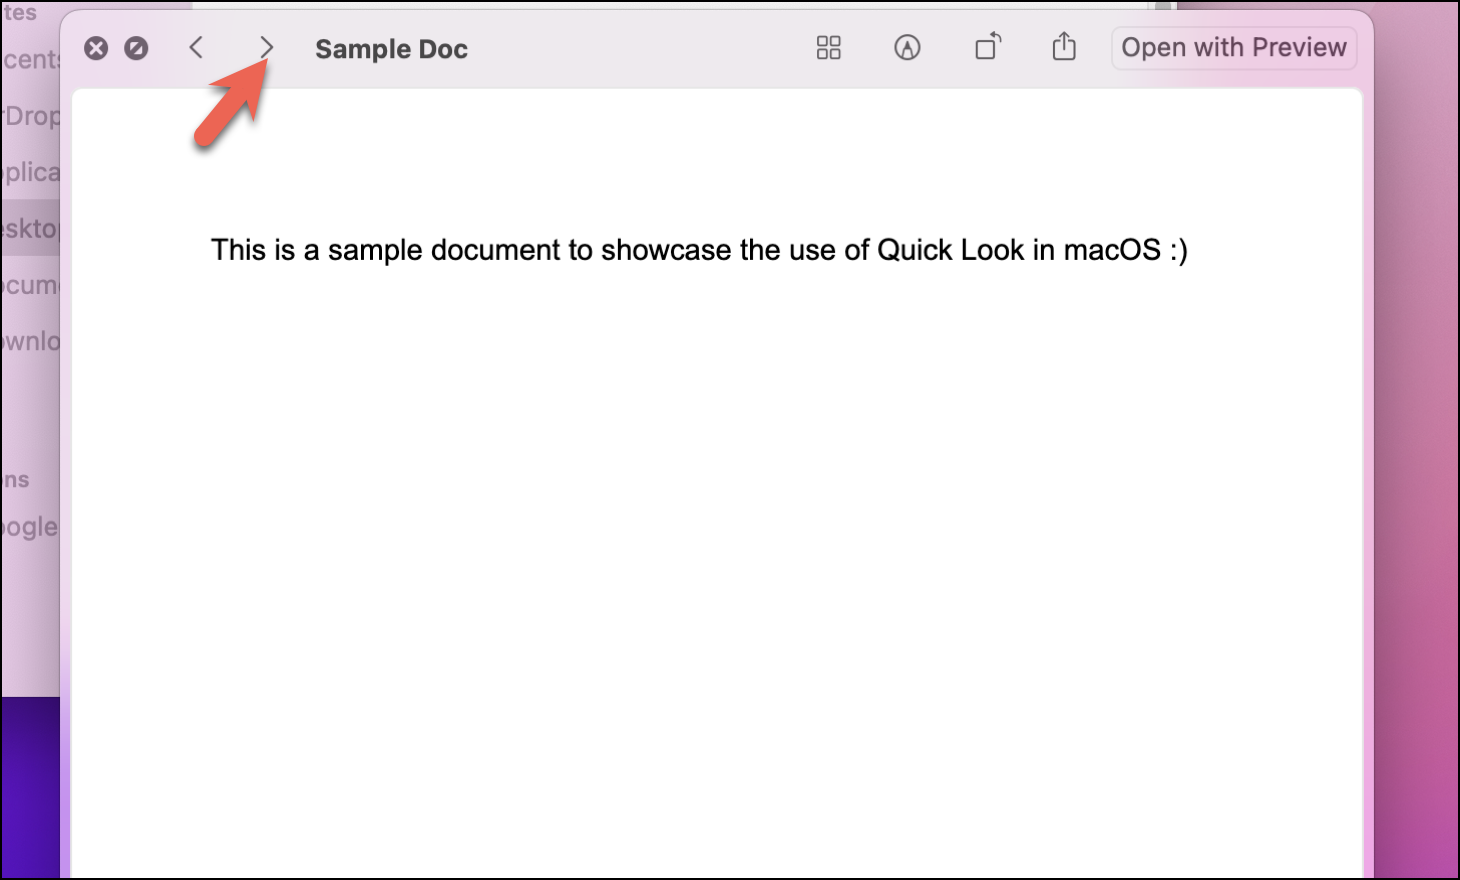
You can use the right and left arrow icons to navigate between the files you have selected.
This is it. This is how you can open files in Quick Look in macOS.
Using the Quick Features in Quick Look
The Quick Look window also gives you access to various handy features that let you make some quick necessary changes to your files in addition to viewing it. In this section, we will explore some of those features.
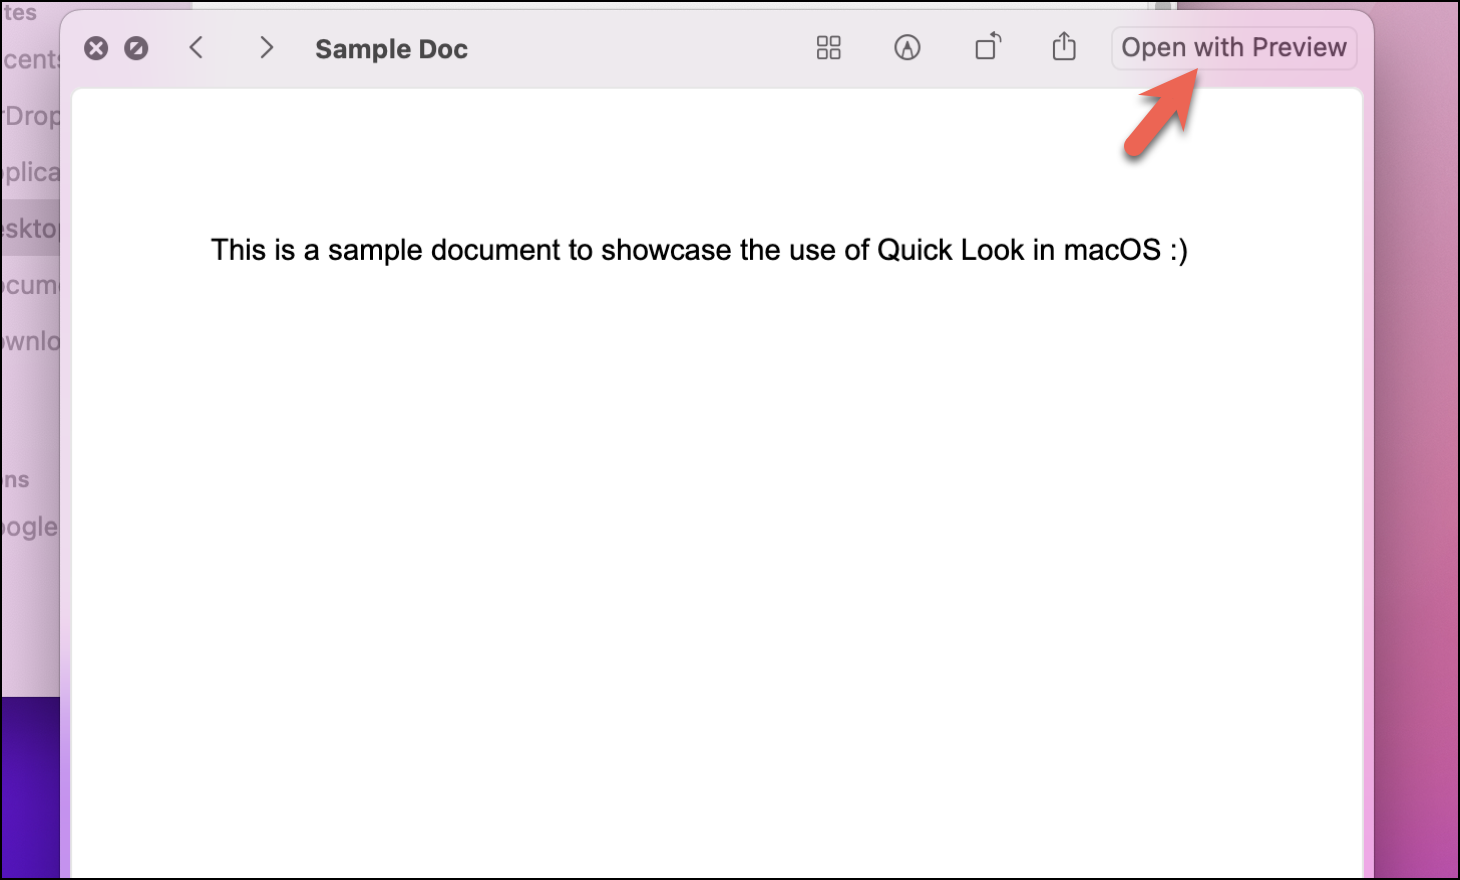
‘Open with…’ Button
The ‘Open with Preview’ button in the top right corner of the Quick Look window lets you open the document in the Preview app.
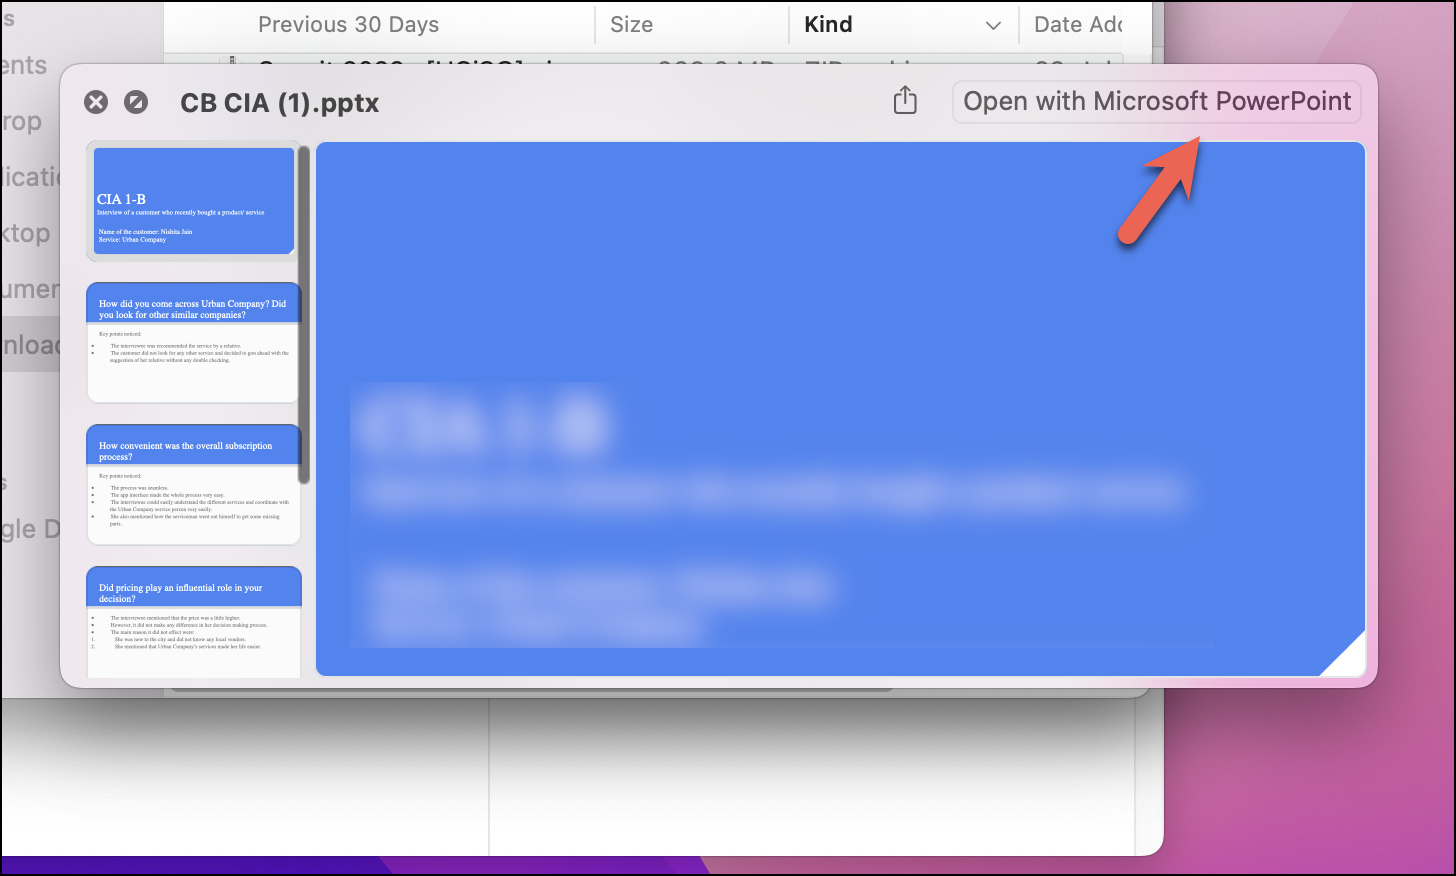
Similarly, if you open a docx, xlsx, or pptx file in Quick Look, you would get the option of ‘Open with Microsoft Word/Excel/PowerPoint’, which would perform the same feature of opening the file in its default app.
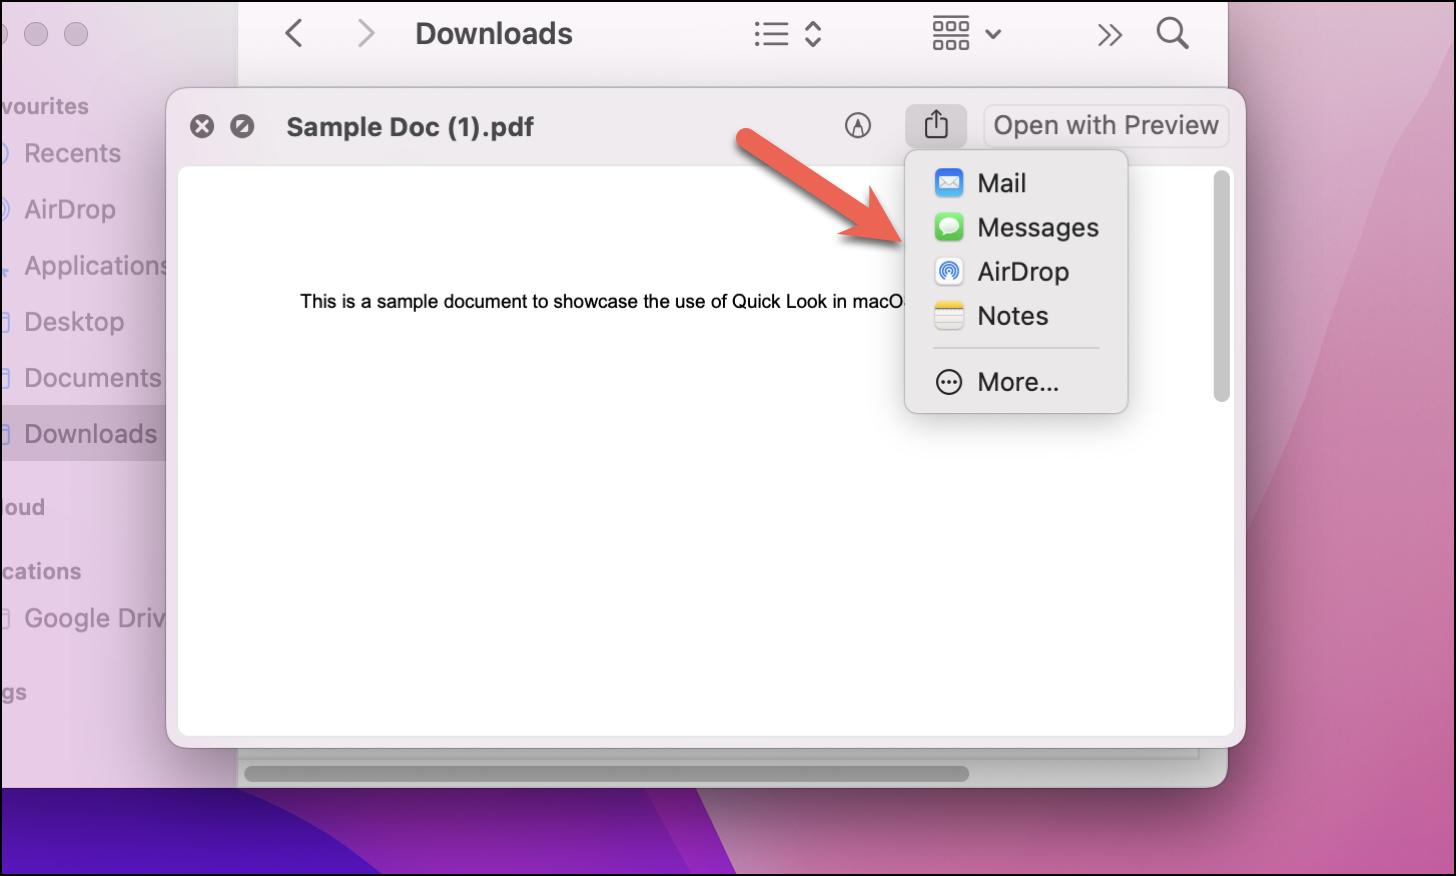
Sharing Files from Quick Look
We all share files and documents regularly. Quick Look helps you make this process a little quicker. As you might have already guessed, the share option lets you immediately share the file using various applications.
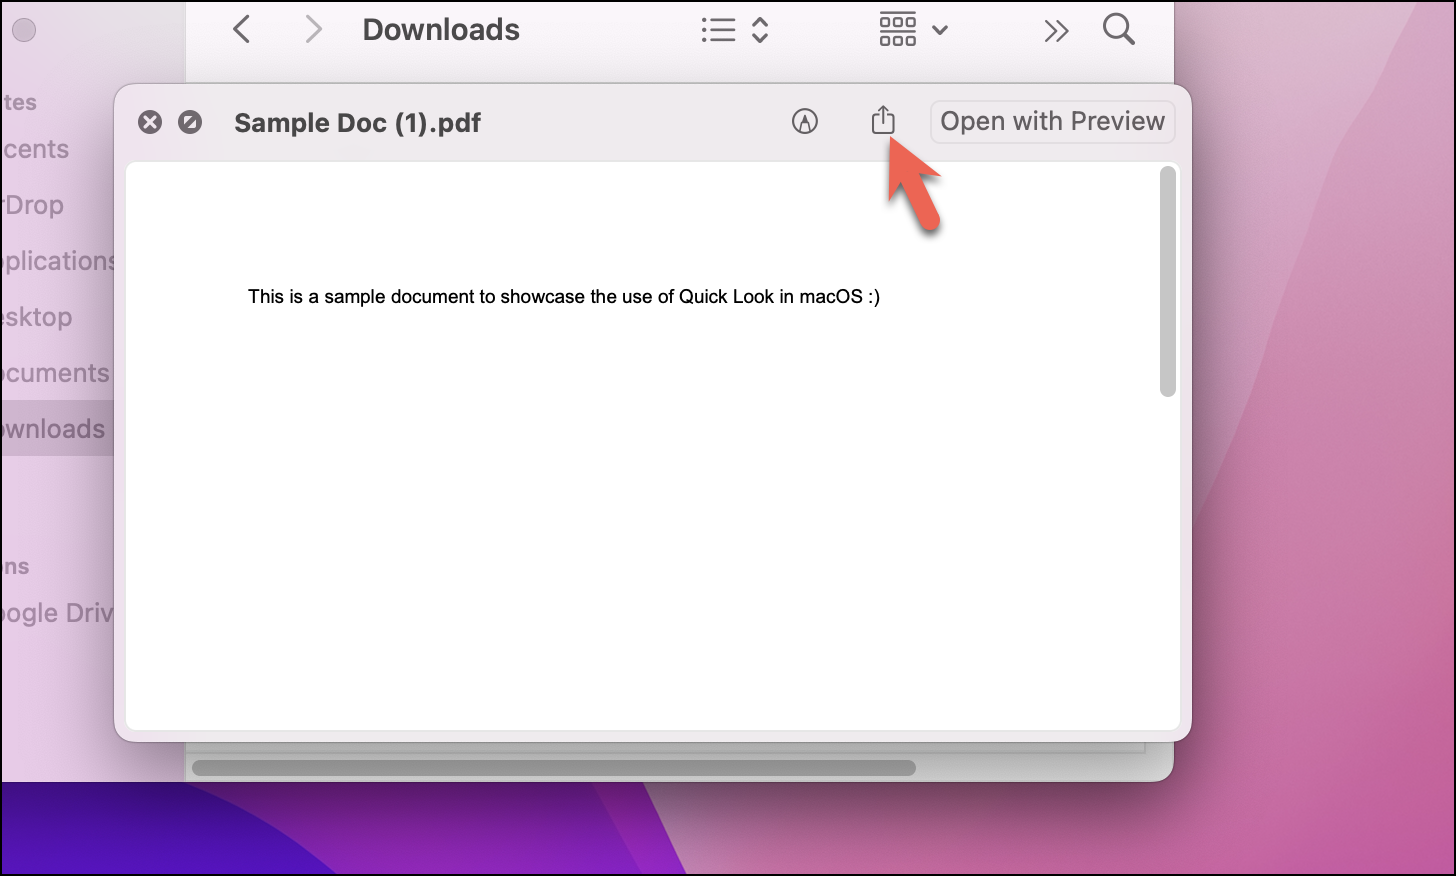
Once you click on the share button, you will get a drop-down menu of various applications through which you can share the file.
Using Markup in Quick Look
Regular macOS users would know how handy the markup button is in letting you edit your documents. This option comes only for media files like images, videos, and pdfs.
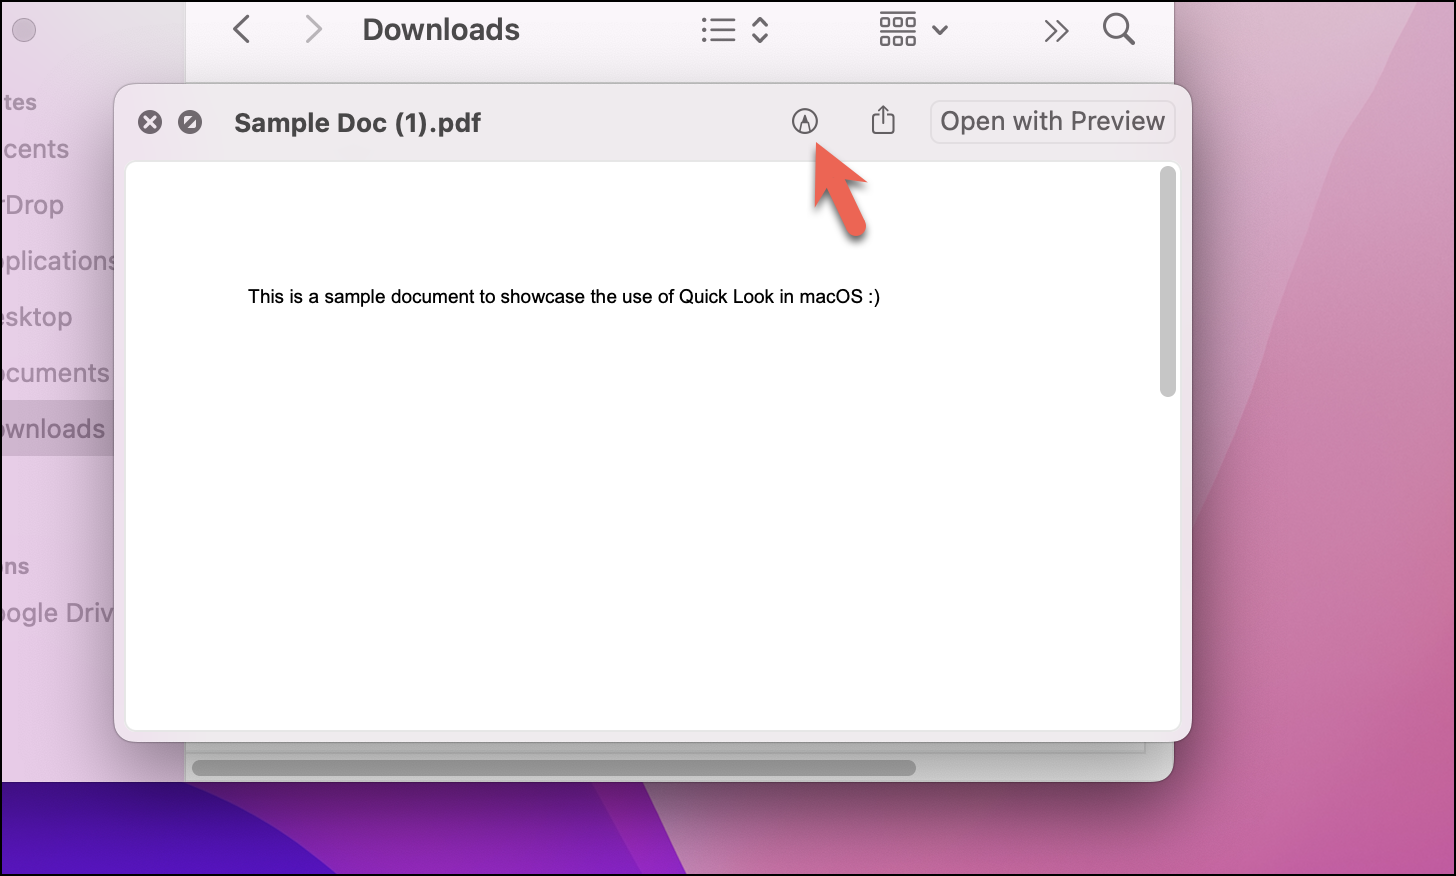
Once you click on the markup button, you would notice a whole set of features on the top of your Quick Look window.
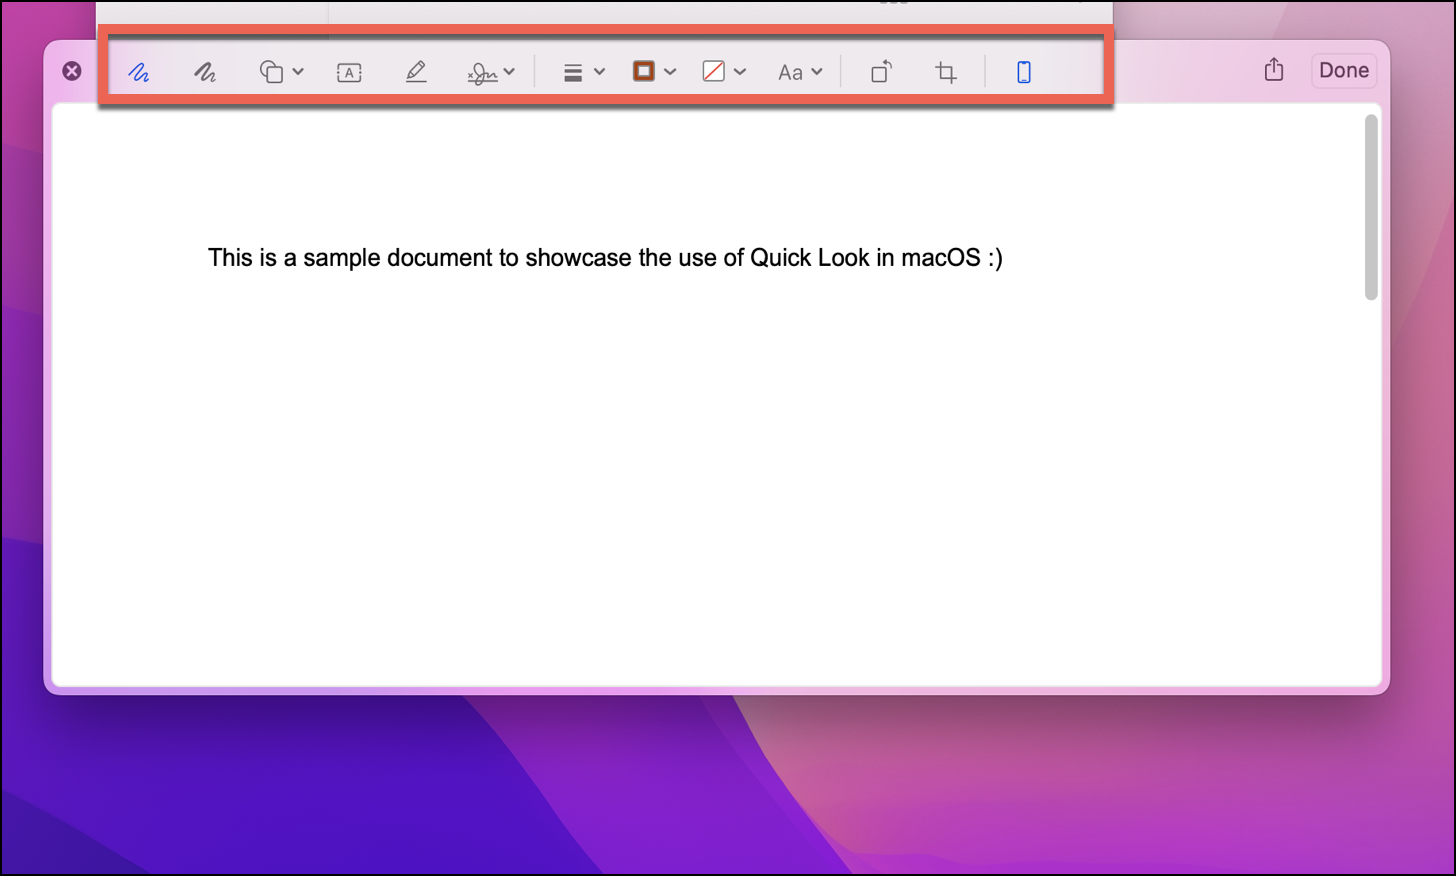
Let’s start with the ‘Sketch’ tool that appears as a scribble icon on the extreme left of your top menu bar. This feature allows you to make figures and doodles on the document/media file. The tool supports you with the help of AI to sharpen your drawings.
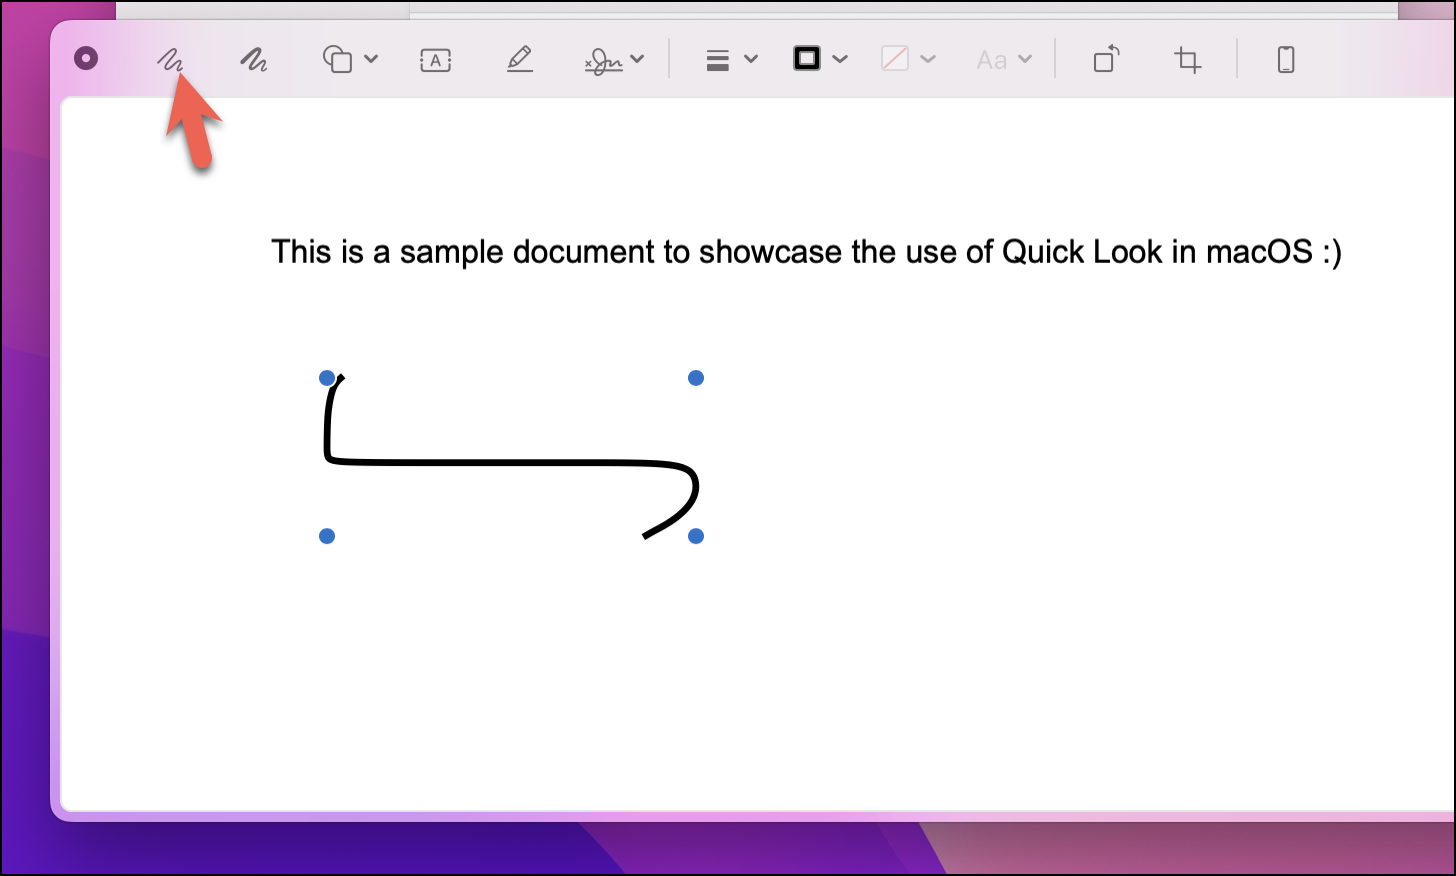
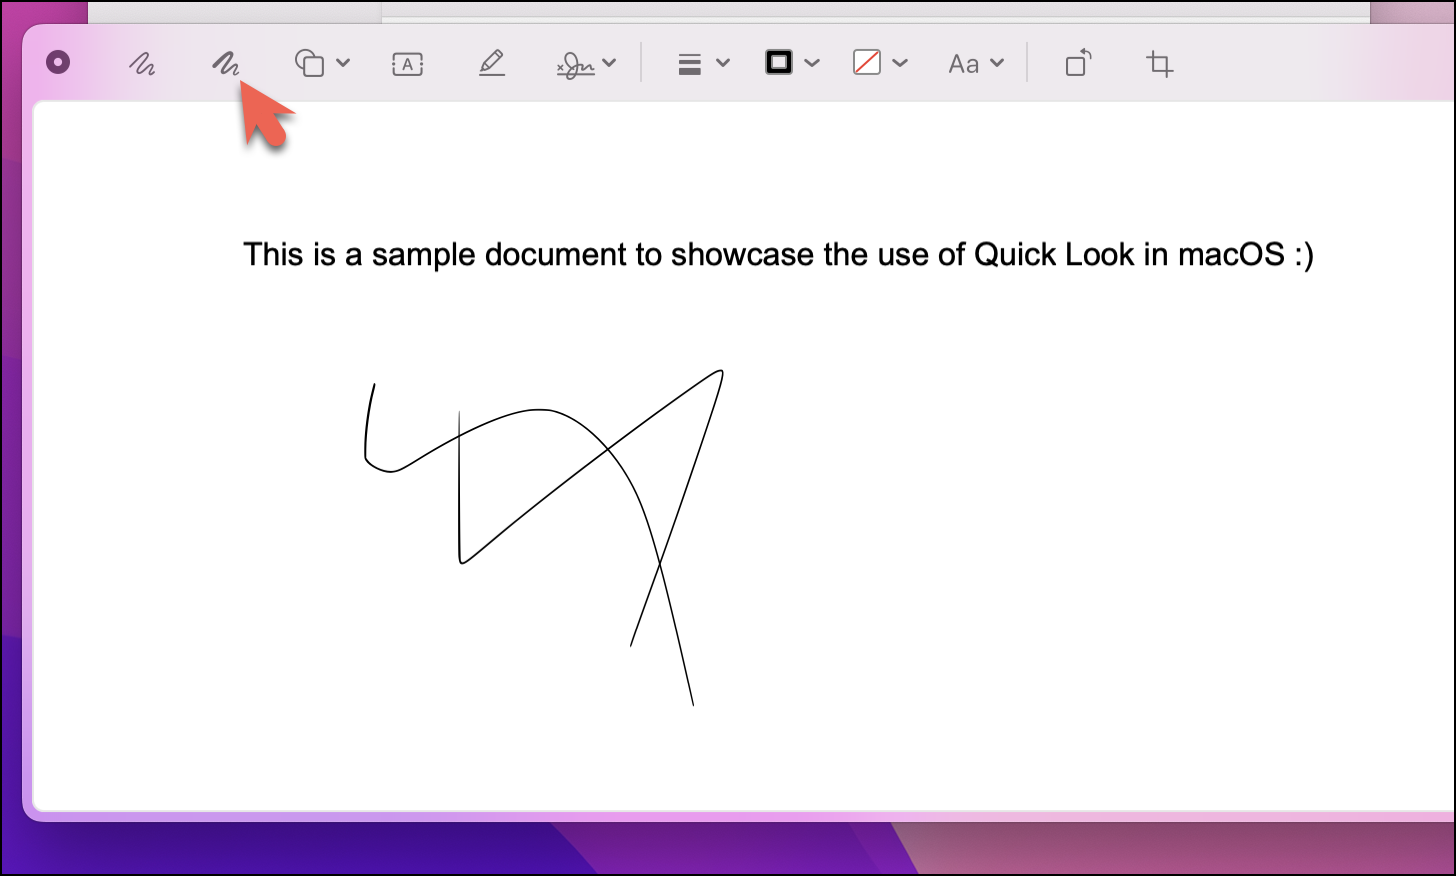
Right next to it is the ‘Draw’ tool. The icon for this feature looks similar to the ‘Sketch’ icon, just in bold. This feature allows you to scribble freely, and unlike the Sketch feature, it does not correct whatever you scribble.
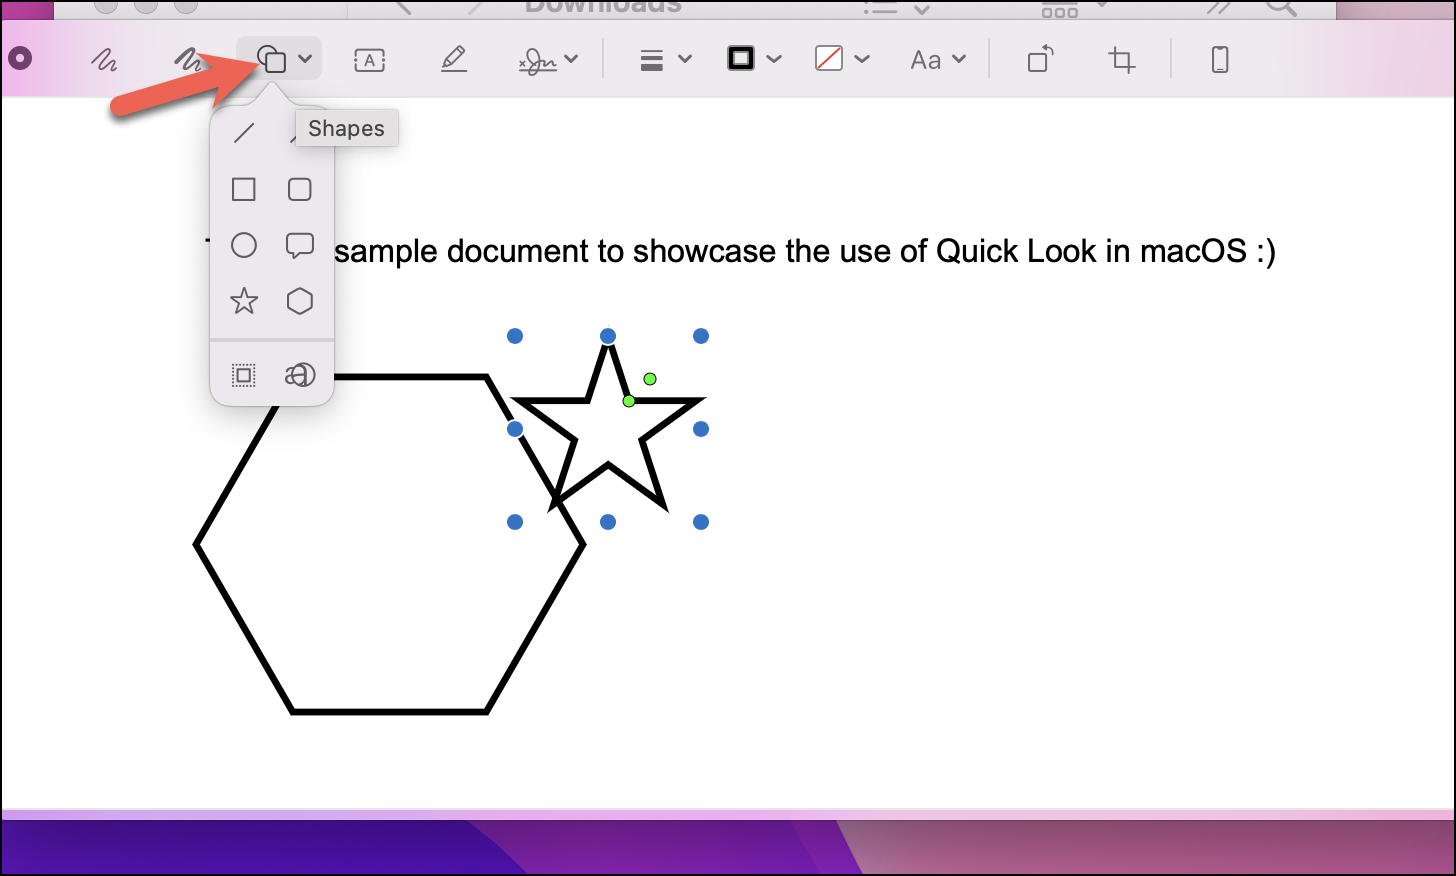
Next is the ‘Shapes’ tool, which is denoted as a square with a circle in the back. This feature lets you insert various shapes into your document/media file.
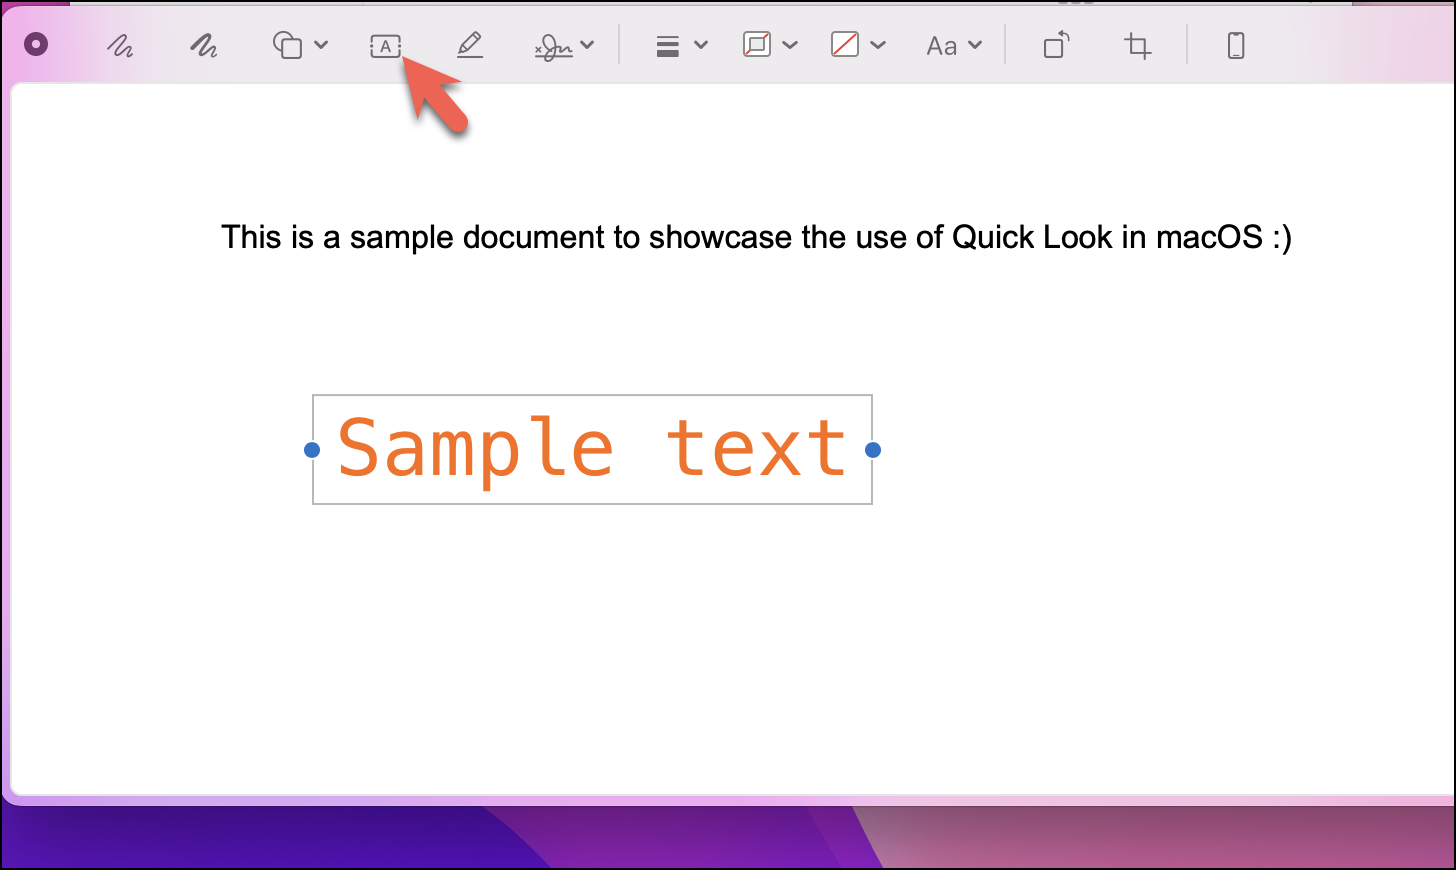
Then comes the ‘Text’ tool, denoted by an ‘A’ in a rectangle icon. This feature allows you to insert a text box inside the document/media file. You can later edit your text using the additional features, about which we are going to talk later in this post.
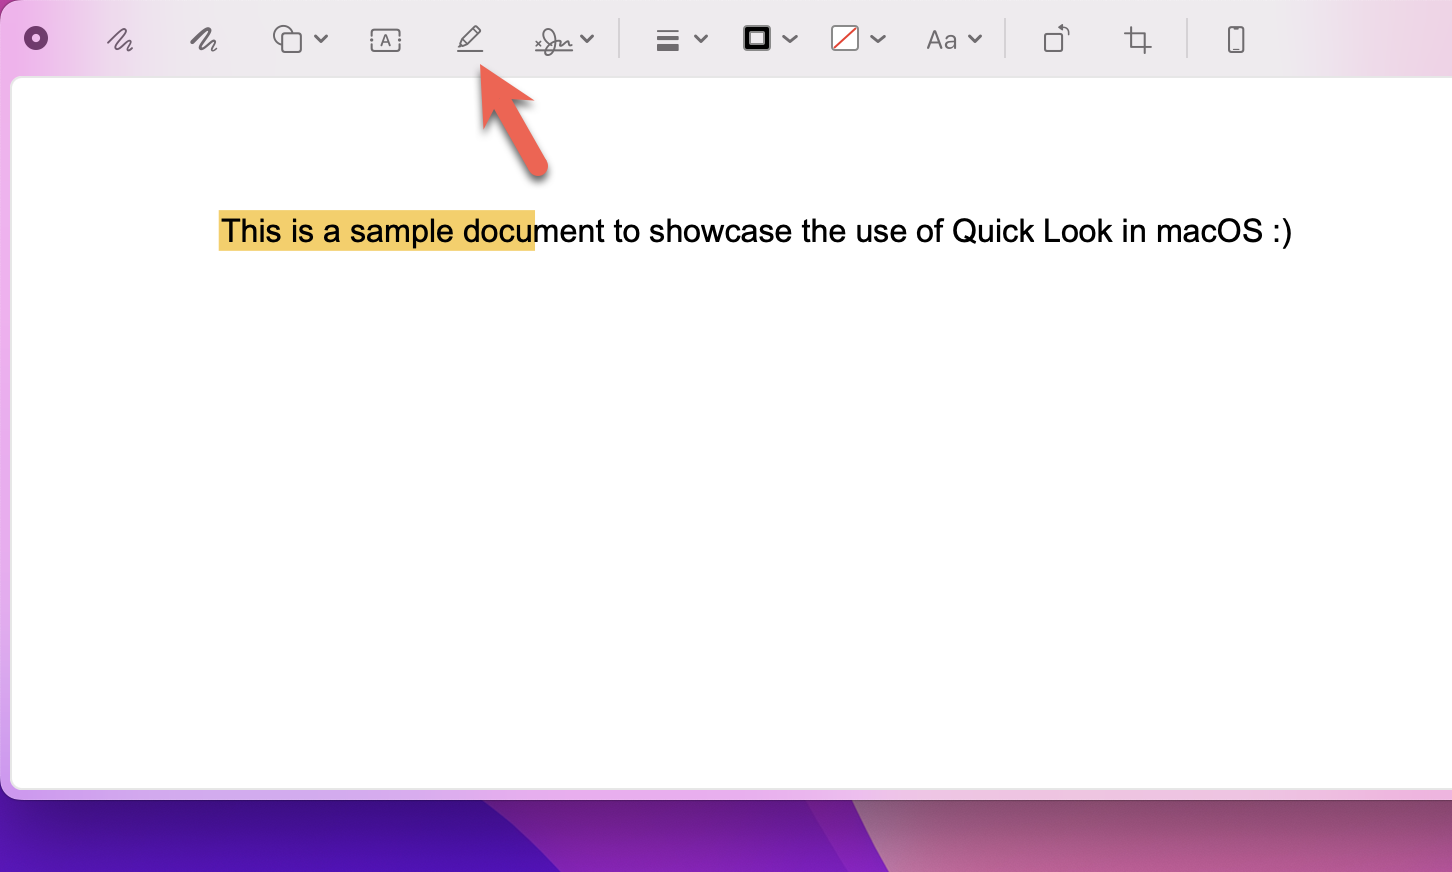
Next is the ‘Highlight Section’ tool which appears as a pen icon. This feature allows you to highlight specific text inside a document.
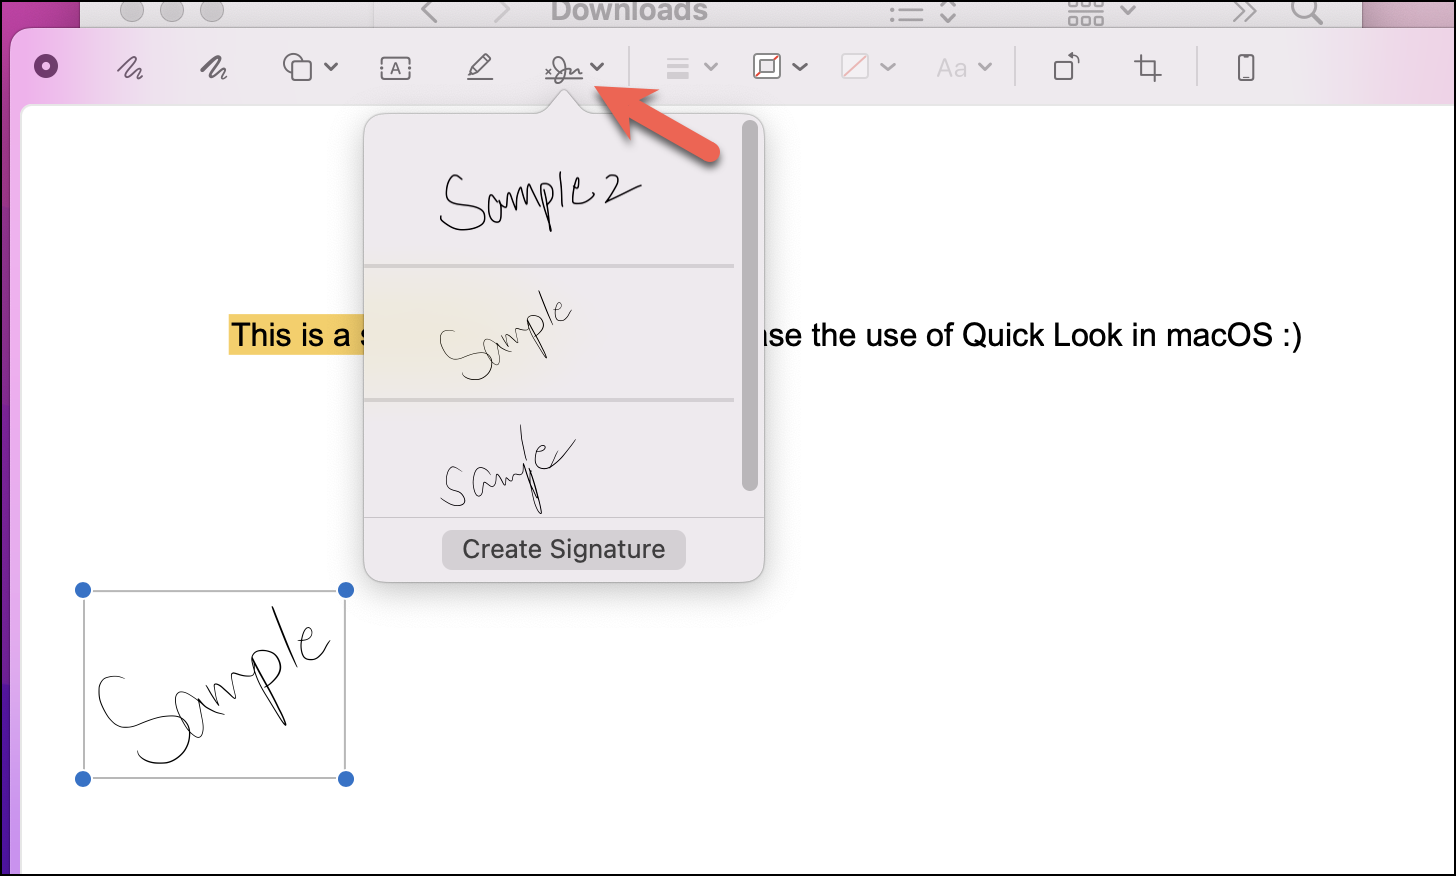
Right next to the ‘Highlight Section’ feature is the ‘Sign’ feature. This feature allows you to add signatures to your documents. To know how to use the Sign tool, you can check out our dedicated post on the same.
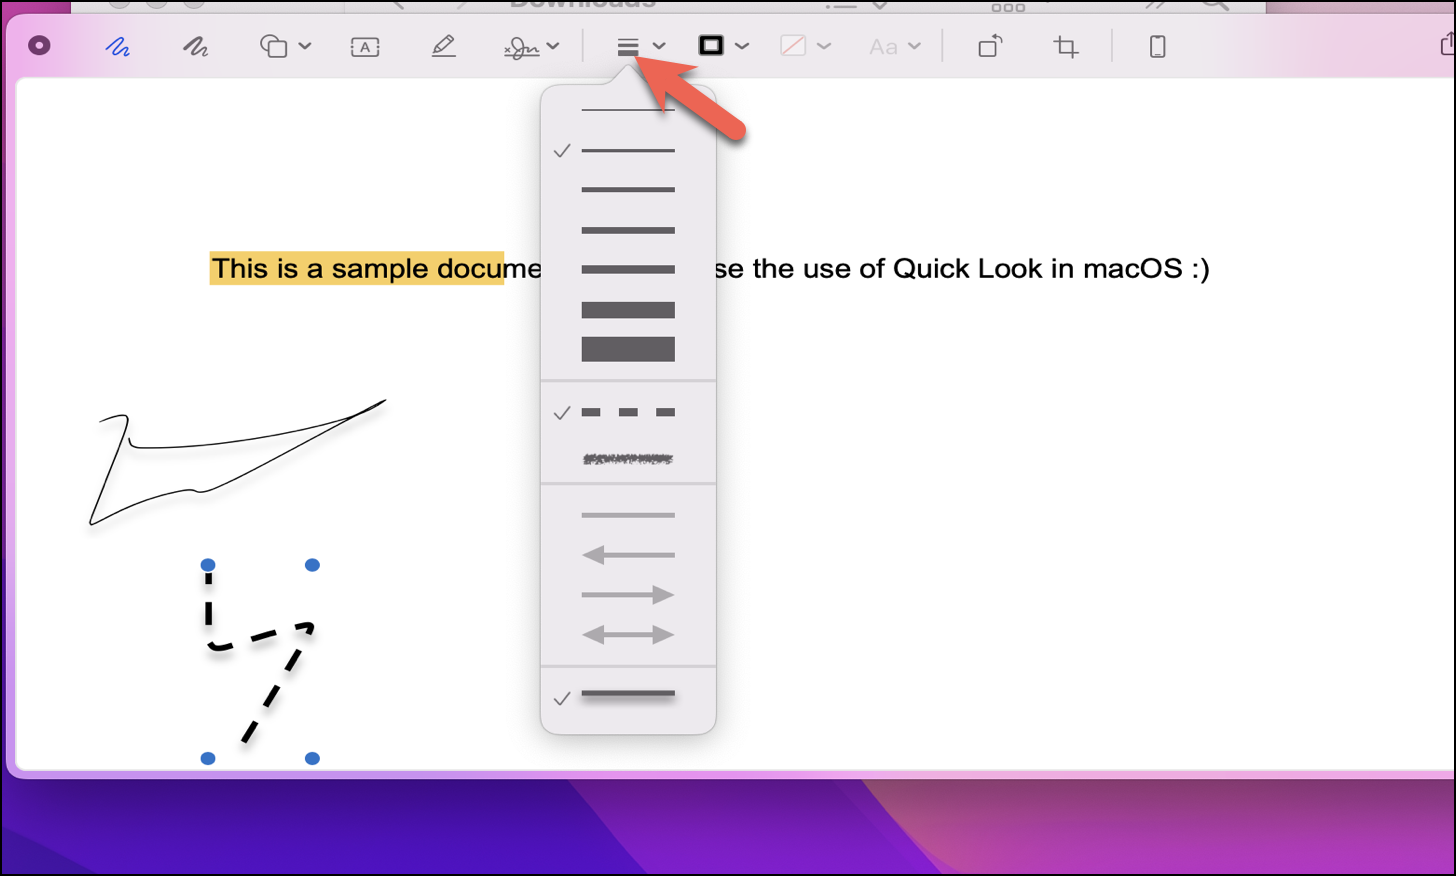
Next is the ‘Shape Style feature’, which appears as three horizontal lines, each bolder than the other. This feature allows you to style your textbox, drawings, or inserted shapes according to your liking. You can choose from the various styles available.
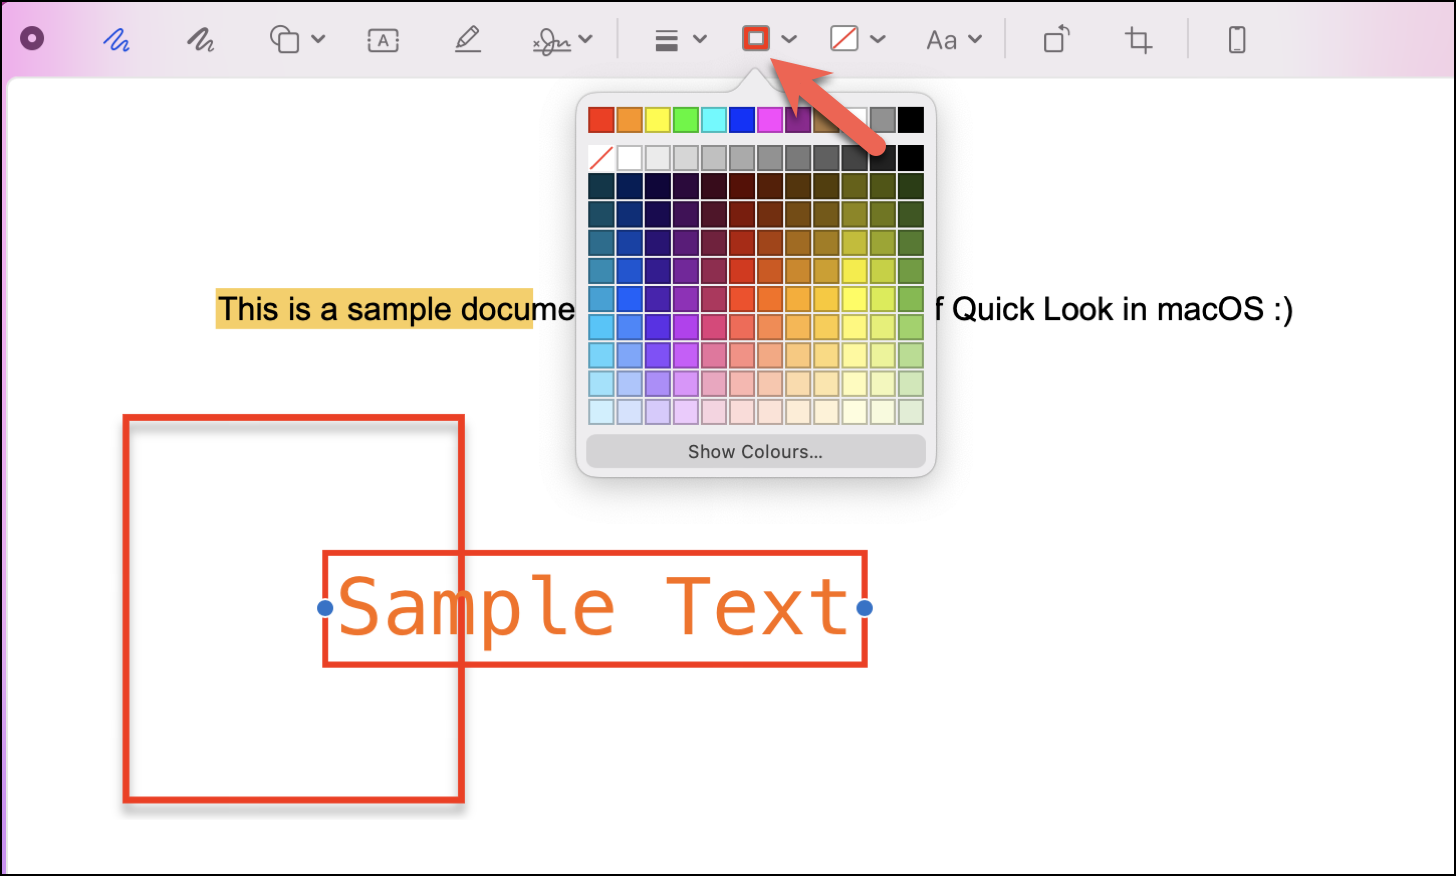
Next to the ‘Shape Style’ feature, you can locate the ‘Border Colour’ feature. This feature allows you to pick a color for the border of your textbox, inserted shape, signature, or drawings.
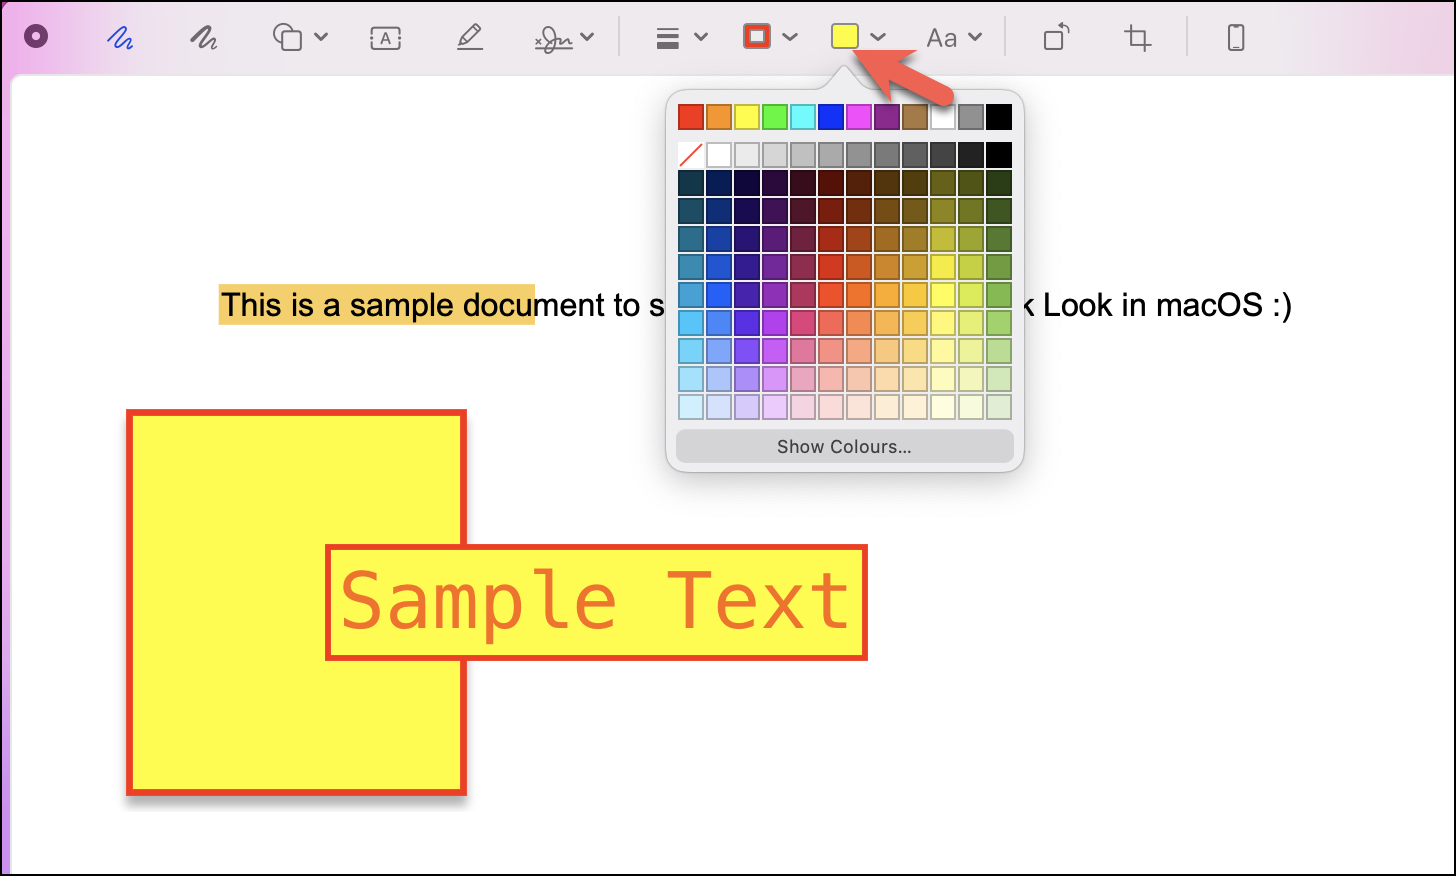
Next, you would find a square icon next to the ‘Border Colour’ feature. This icon denotes the ‘Fill Colour’ feature. This feature allows you to fill your textbox or shape with the color of your preference.
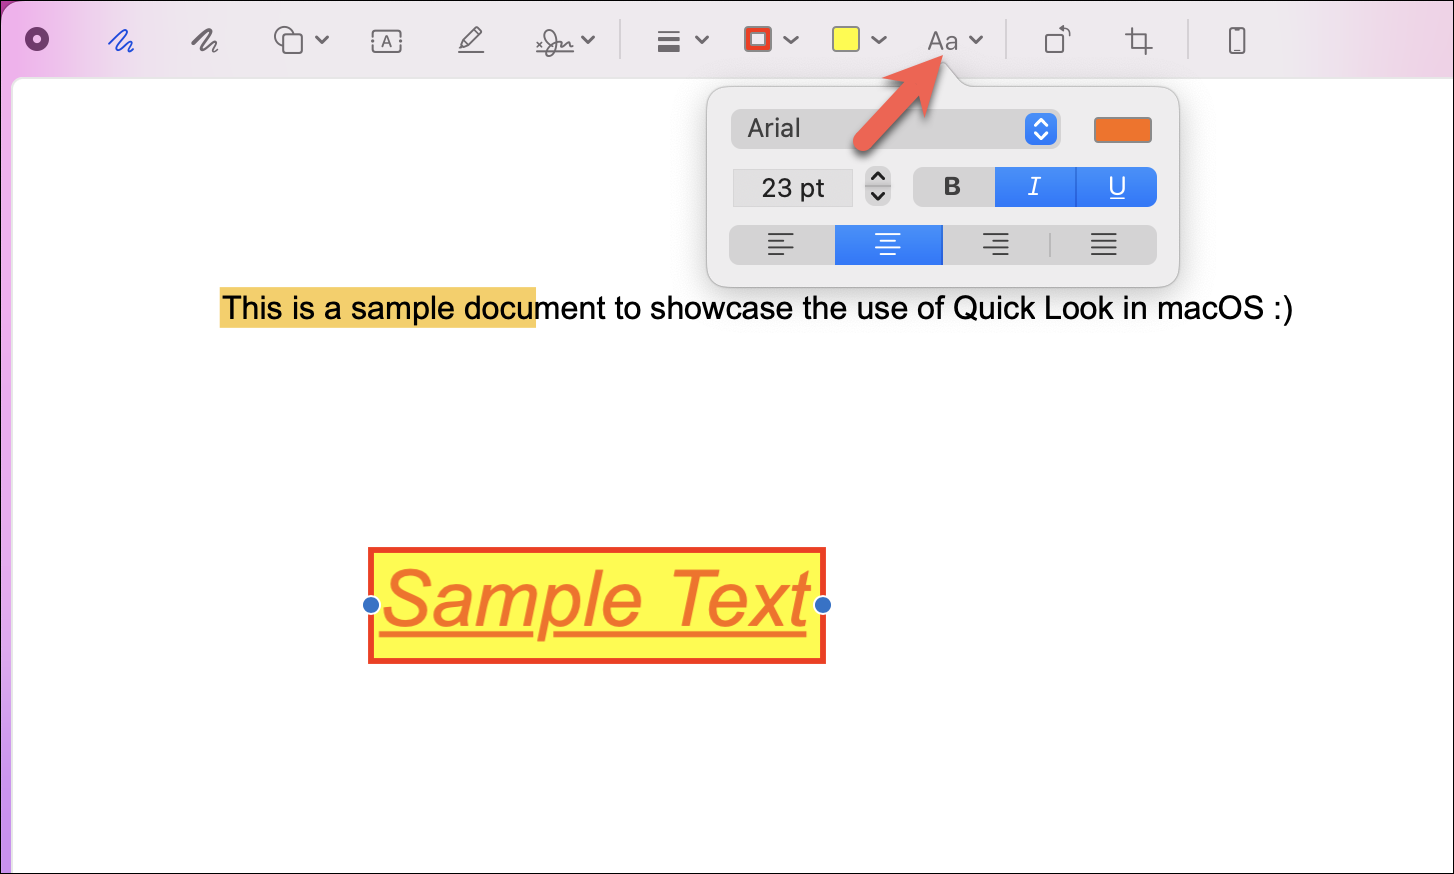
Then comes the ‘Text Style’ feature, which appears as ‘Aa.’ This feature lets you change the font, size, color, and alignment of the text. You can also use the Bold, Italic, and Underline features to edit your text.
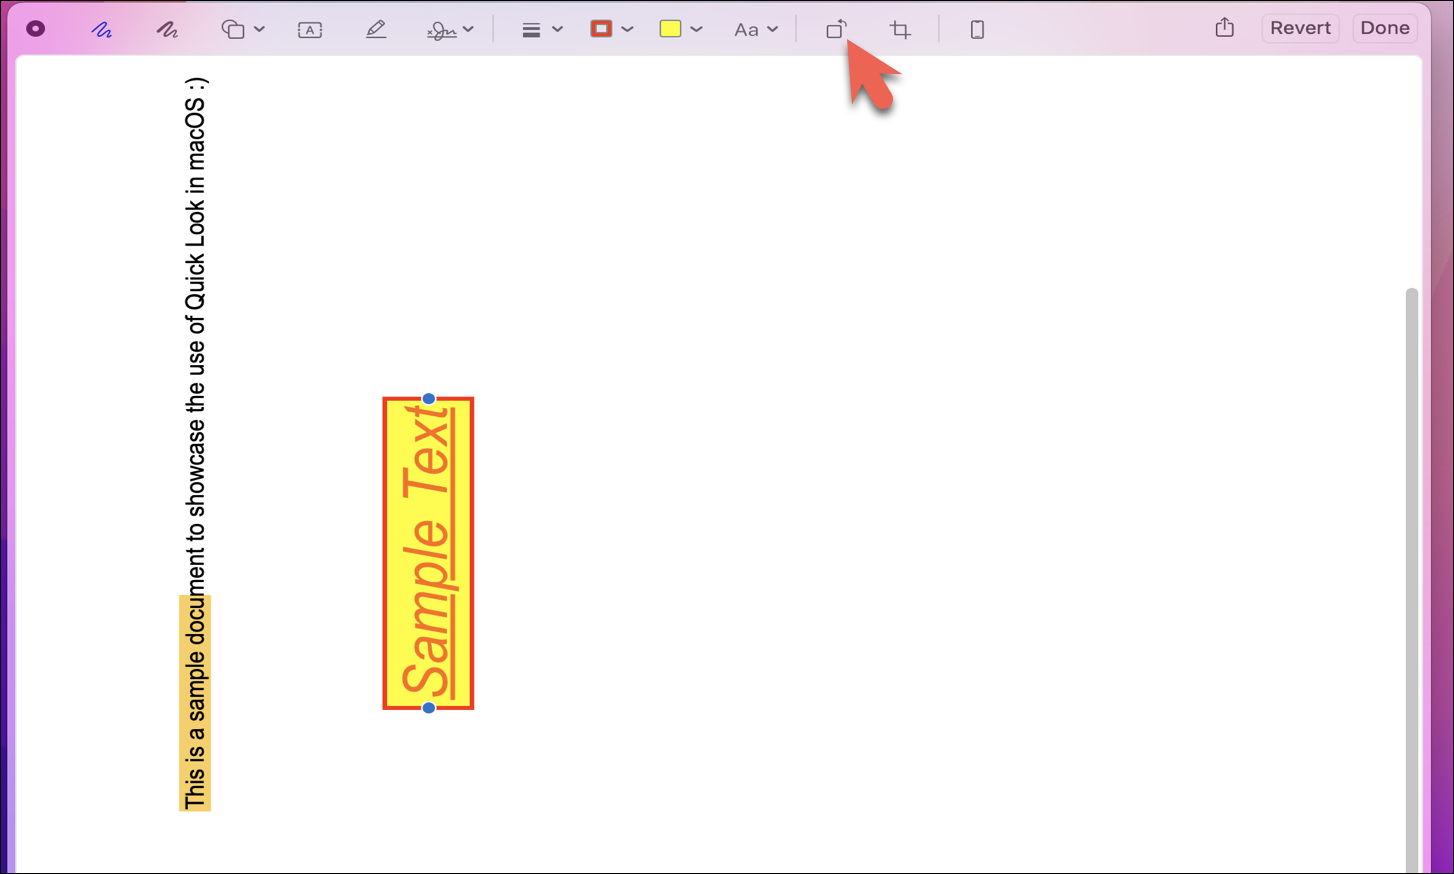
Right next to the ‘Text Style’ button is the ‘Rotate Left’ button. This feature allows you to rotate your document or media file leftwards.
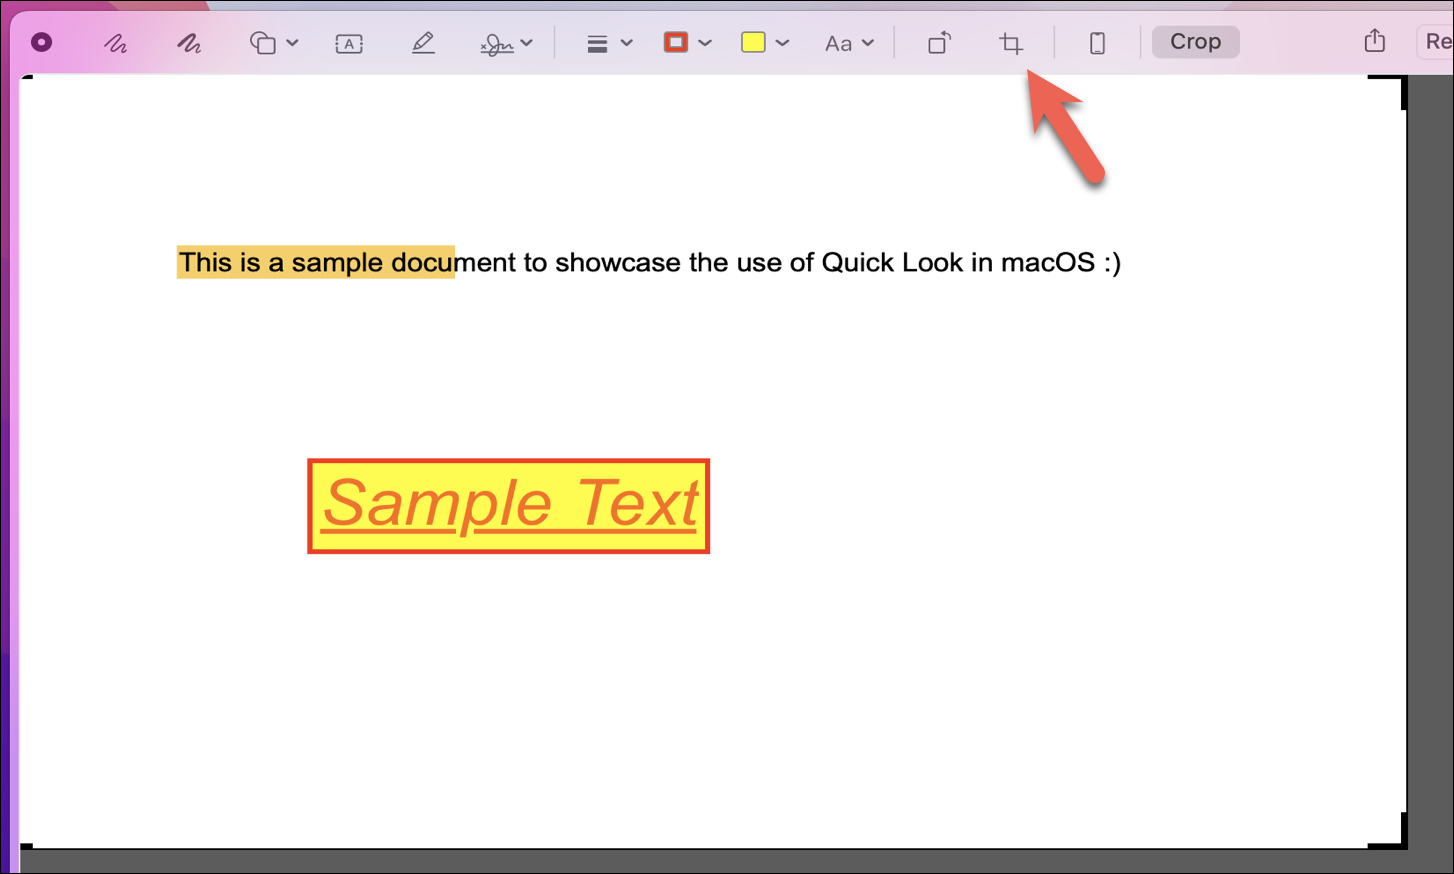
Next is the ‘Crop’ button. You can use this button to crop your media files.
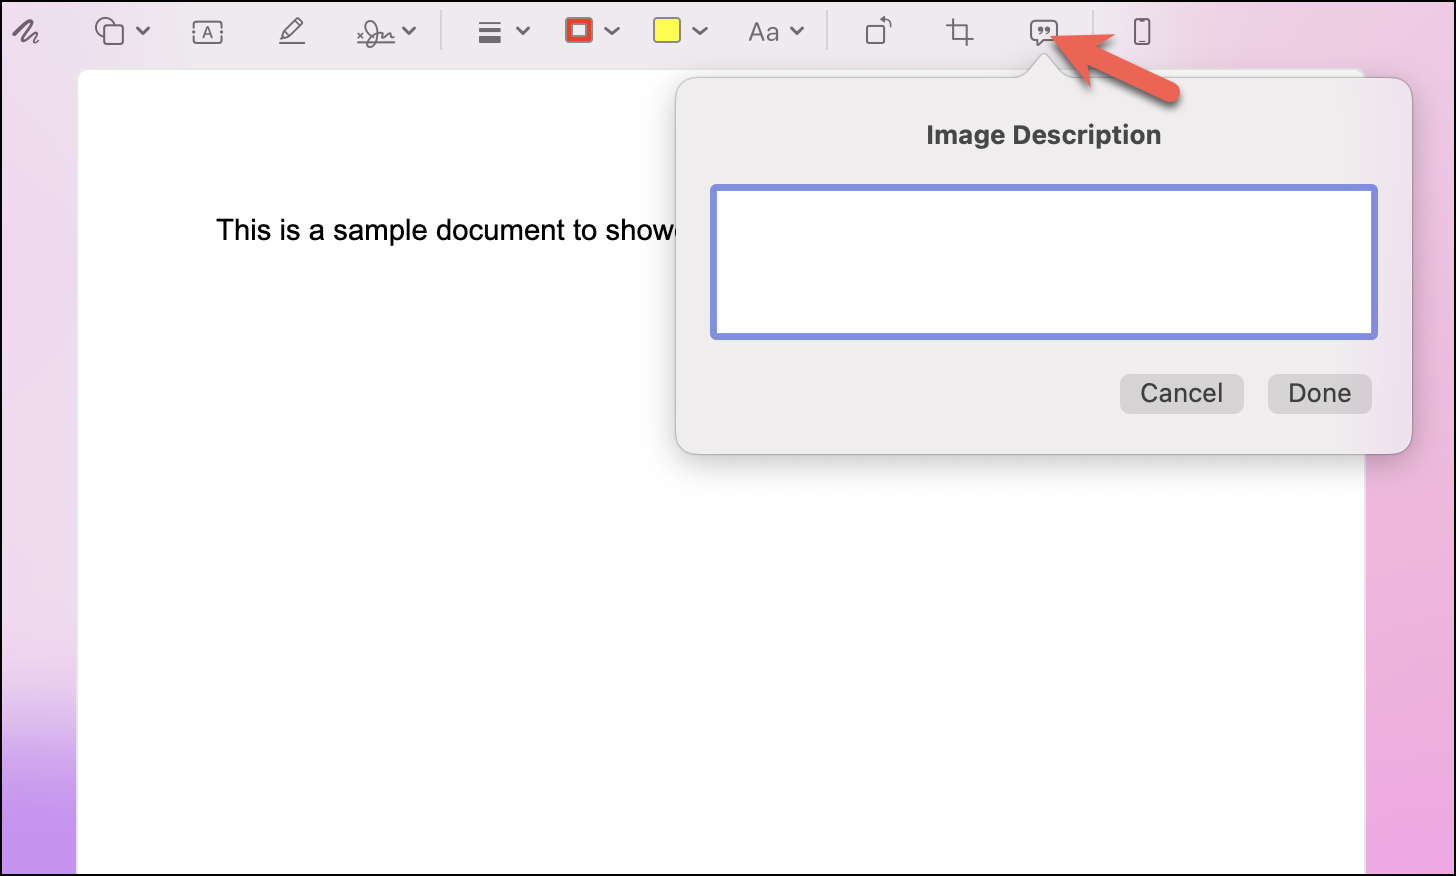
Right next to it is the ‘Image Description’ button. You would notice a small drop-box where you can write. You can use the feature to describe the image and keep notes for future reference.
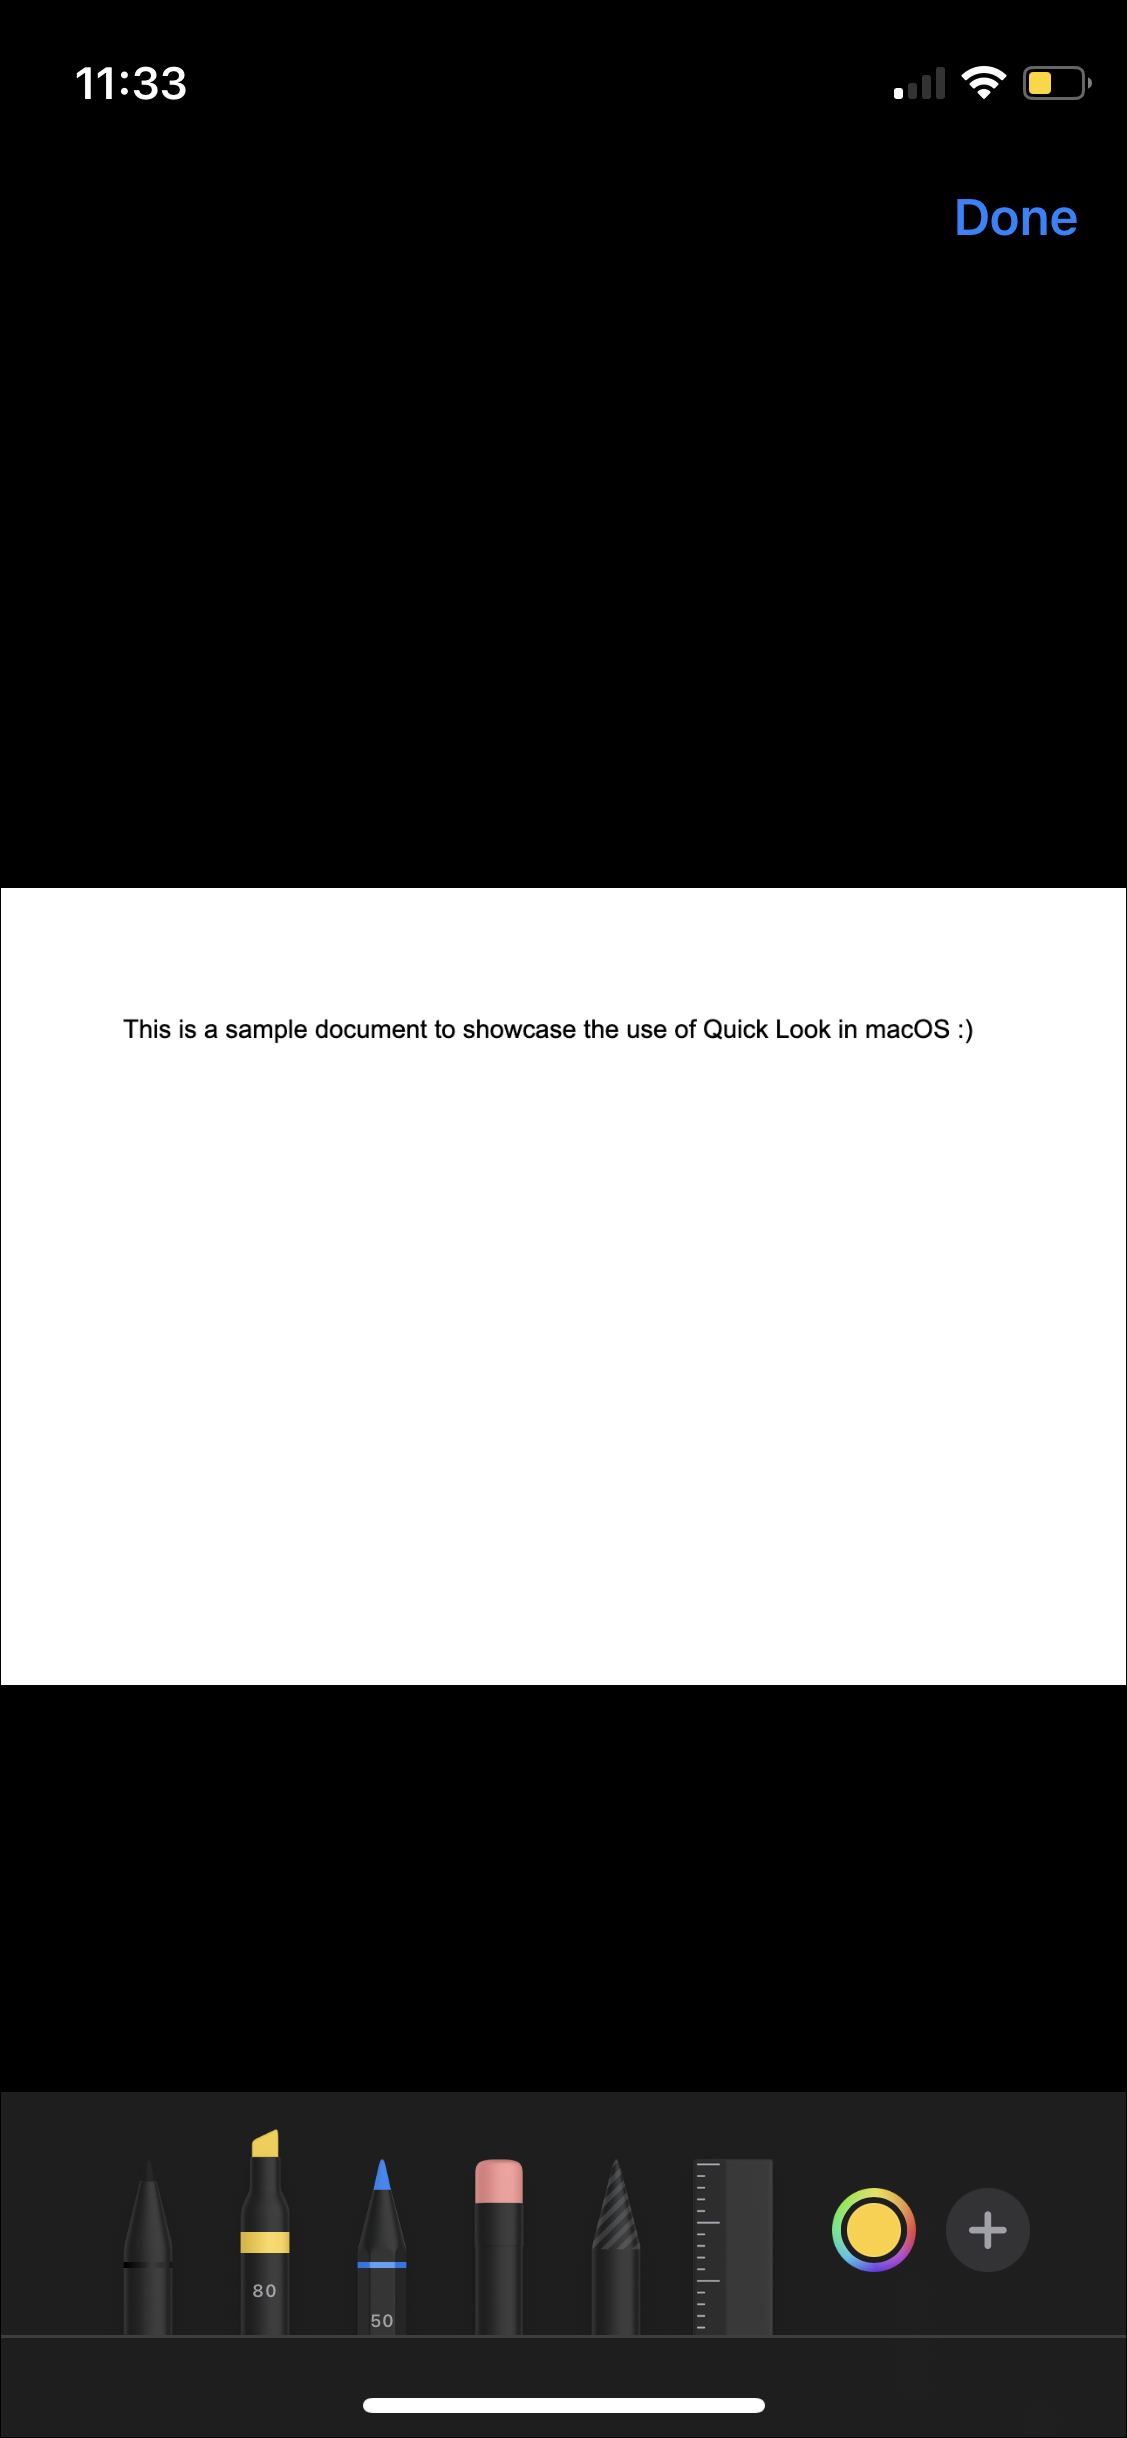
The annotate button (denoted by the phone icon), which is at the extreme right, lets you annotate the document/file through your iPhone.
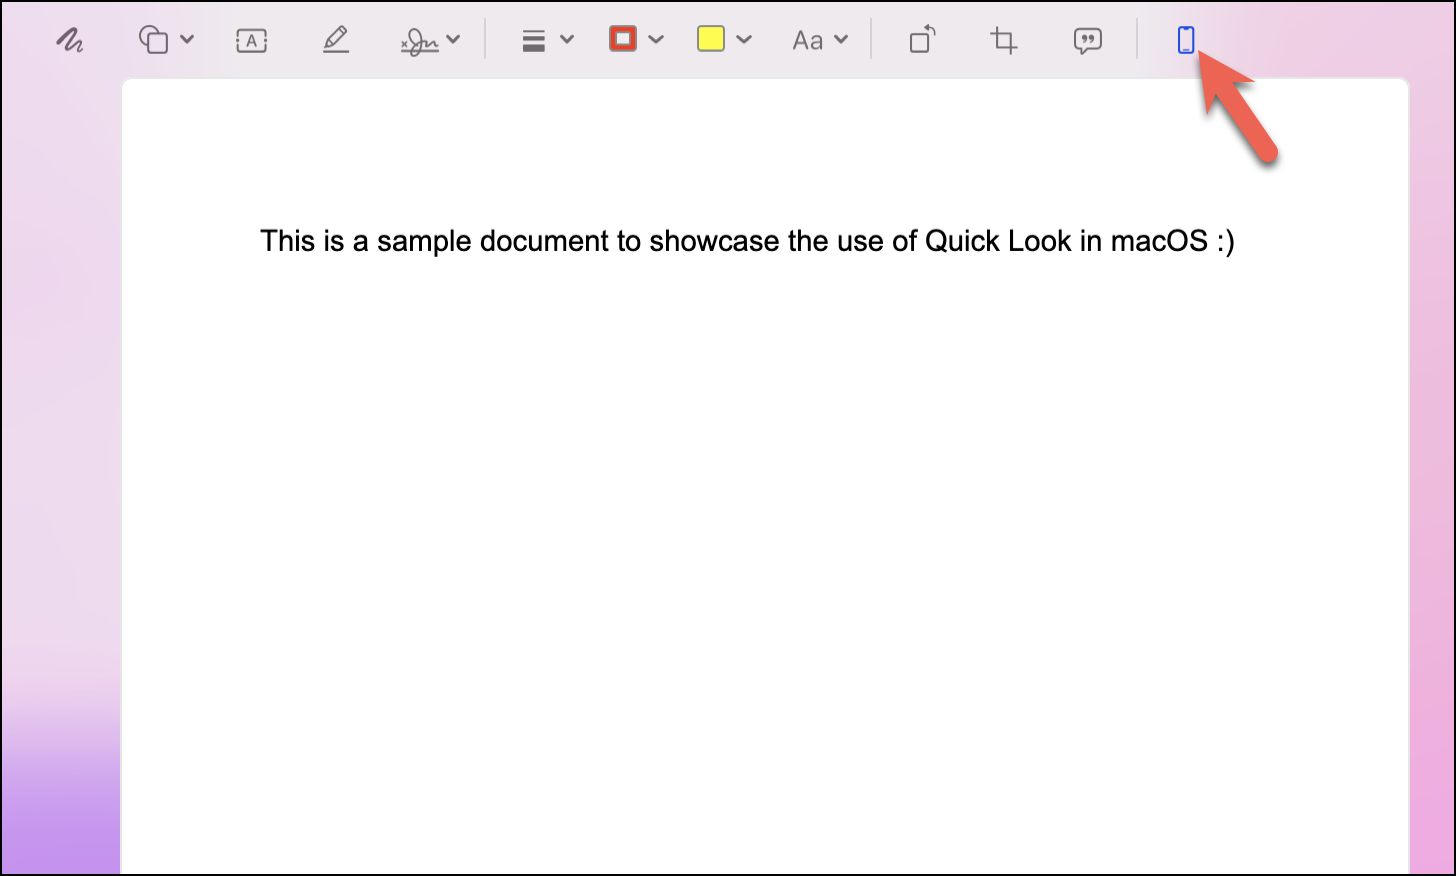
The file/document would be screened on your iPhone, and you can now use all markup features and edit the file/document using your phone.
These were all the features you get in the Quick Look function of macOS. They help in saving loads of time and increase your productivity levels exponentially.
Quick Look might not seem like an impactful feature at first glance, but it can drastically increase your speed and productivity. Next time when you need to skim through documents or photos to find the one you’re looking for, you know exactly which button to reach for.