
Microsoft PowerPoint for Windows includes a built-in screen recording tool that makes it possible to capture on-screen activity and audio for use in presentations or as standalone video files. This feature streamlines the process of creating tutorials, demonstrations, and video explanations without the need to install additional software. However, the screen recording option is currently not available in the Mac version of PowerPoint, so Mac users will need to use alternative tools. Below, you’ll find detailed instructions for using PowerPoint’s screen recording feature on Windows, as well as guidance for Mac users and key troubleshooting tips.
Using Screen Recording in PowerPoint for Windows
Step 1: Launch PowerPoint and open the presentation where you want to embed your screen recording. If you’re starting from scratch, create a new blank presentation.
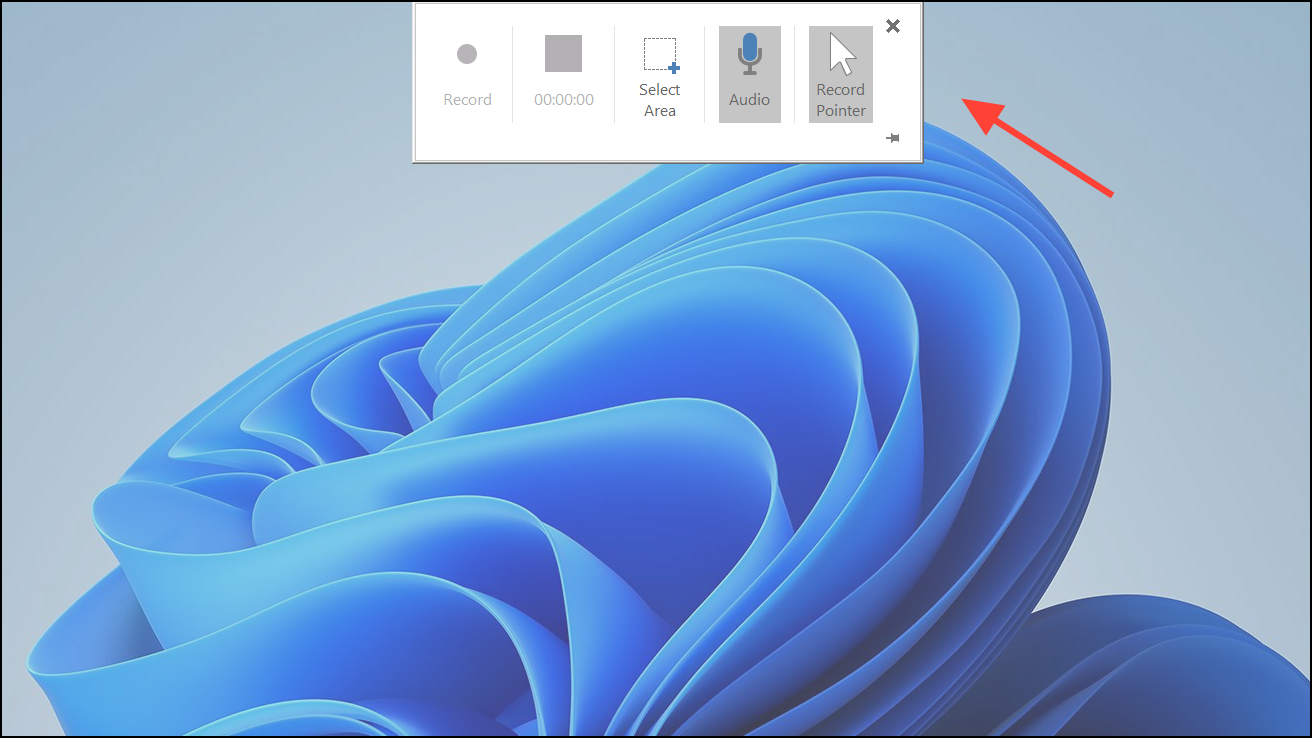
Step 2: Go to the Insert tab in the PowerPoint ribbon. At the far right of the toolbar, select Screen Recording. This will open the screen recording control dock at the top of your screen.

Step 3: Click Select Area on the control dock. Your cursor will change to a crosshair. Click and drag to highlight the specific area of your screen you want to record. If you want to record the entire screen, drag across the full display.
Step 4: By default, both Audio and Record Pointer are enabled. If you want to record system audio (sounds from your computer), keep the Audio option selected. To exclude cursor movement, deselect the Record Pointer option. If you only want to record internal audio and not microphone input, ensure your sound card supports internal audio capture, as PowerPoint relies on your hardware for this functionality.

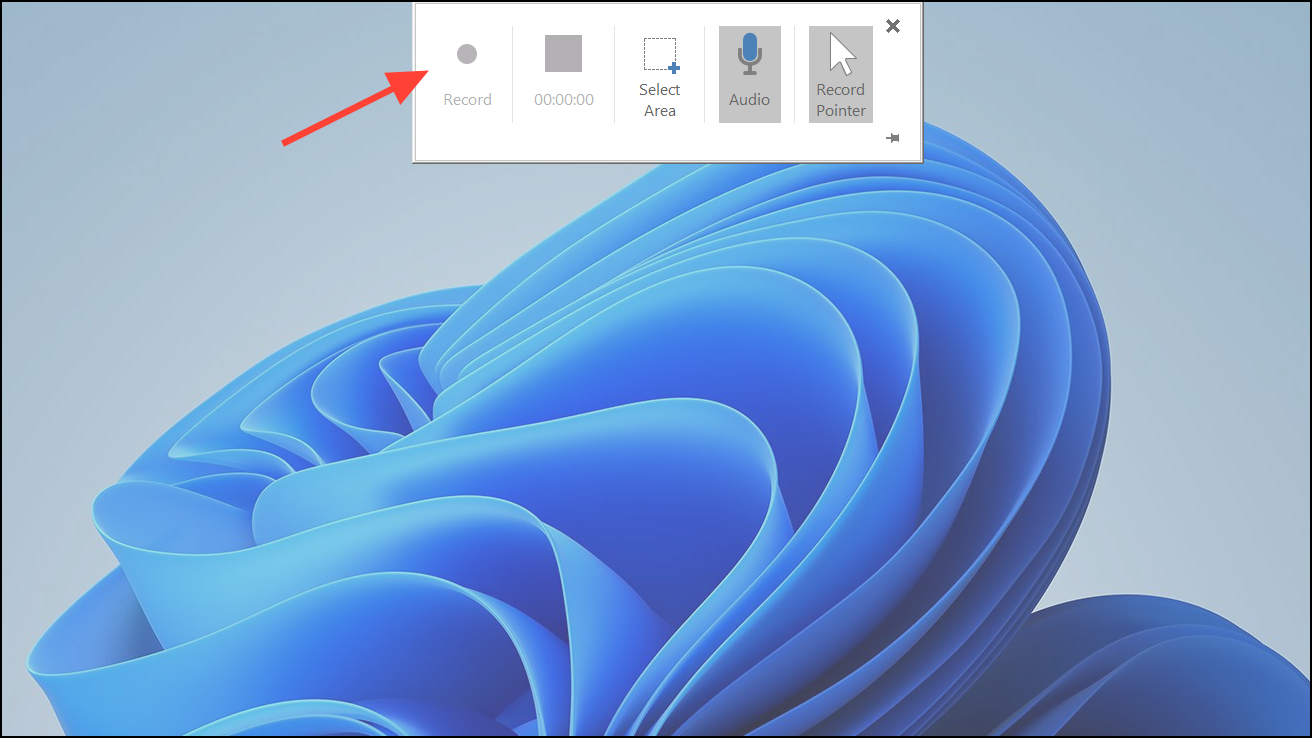
Step 5: Click Record on the control dock to begin recording. The dock will minimize automatically, but you can reveal it by moving your mouse to the top edge of your screen.
Step 6: To pause recording at any time, click Pause on the control dock or use the keyboard shortcut Windows logo key + Shift + R. To resume, press the same shortcut again.
Step 7: To stop the recording, click Stop on the control dock or use the shortcut Windows logo key + Shift + Q. The recorded video will appear on your current slide.
Step 8: Save your PowerPoint presentation as usual to embed the recording. If you want to export the video as a standalone file, right-click the video on the slide and choose Save Media As. Choose a file name and location, then click Save to store the video as an MP4 file.
Editing Your Screen Recording in PowerPoint
While PowerPoint doesn’t offer advanced video editing tools, you can perform basic edits directly within your presentation:
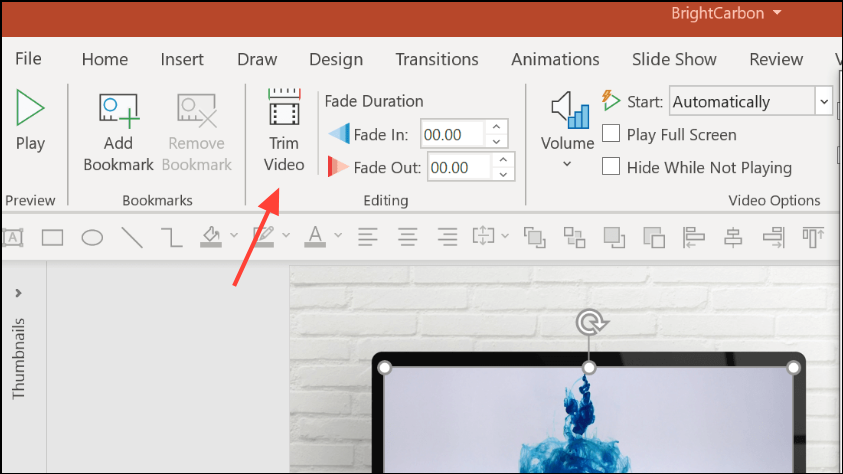
- Trim Video: Select the video, go to the Playback tab, and click Trim Video. Adjust the green and red markers to set new start and end points, then click OK to remove unwanted sections from the beginning or end.
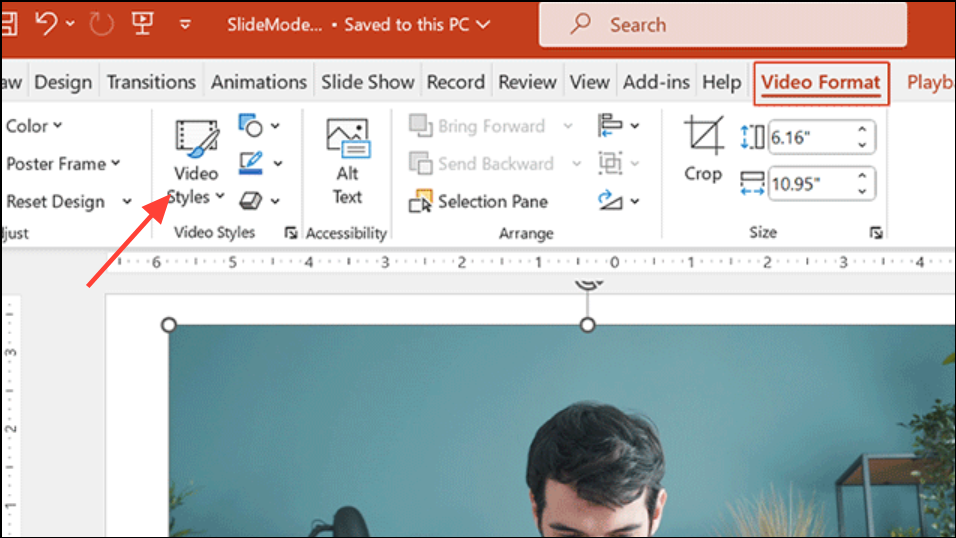
- Change Video Style: With the video selected, open the Video Format tab. In the Video Styles section, you can apply borders, shapes, and effects to the video frame for a more polished look.
- Adjust Playback Settings: In the Playback tab, set how the video starts (automatically, on click, or in sequence), enable looping, or choose to rewind after playback.
Audio Recording Considerations
PowerPoint’s screen recorder can capture audio, but the way it handles system (internal) audio depends on your hardware. If your computer does not have a sound card that supports internal audio capture, PowerPoint may only record audio from your microphone. For users who need to capture system sounds (like application audio or video playback), verify your sound card supports this feature. If not, consider using third-party screen recording software that offers more audio input flexibility.
PowerPoint Screen Recording on Mac
The screen recording feature is not available in PowerPoint for Mac. Even if you enable permissions under System Settings > Privacy & Security > Screen Recording for PowerPoint, the option will not appear in the Insert tab. Mac users should use the built-in QuickTime Player for screen recording:
Step 1: Open QuickTime Player from your Applications folder.
Step 2: In the menu bar, select File > New Screen Recording.
Step 3: Choose to record the entire screen or a selected portion, enable or disable microphone audio as needed, then click Record to start. When finished, click the Stop button in the menu bar. Save your recording as a video file and insert it into your PowerPoint presentation if desired.
Troubleshooting and Tips
- Missing Screen Recording Option: Ensure you are using the Windows version of PowerPoint (Office 2016, Office 365, or newer) as this feature is not available on Mac.
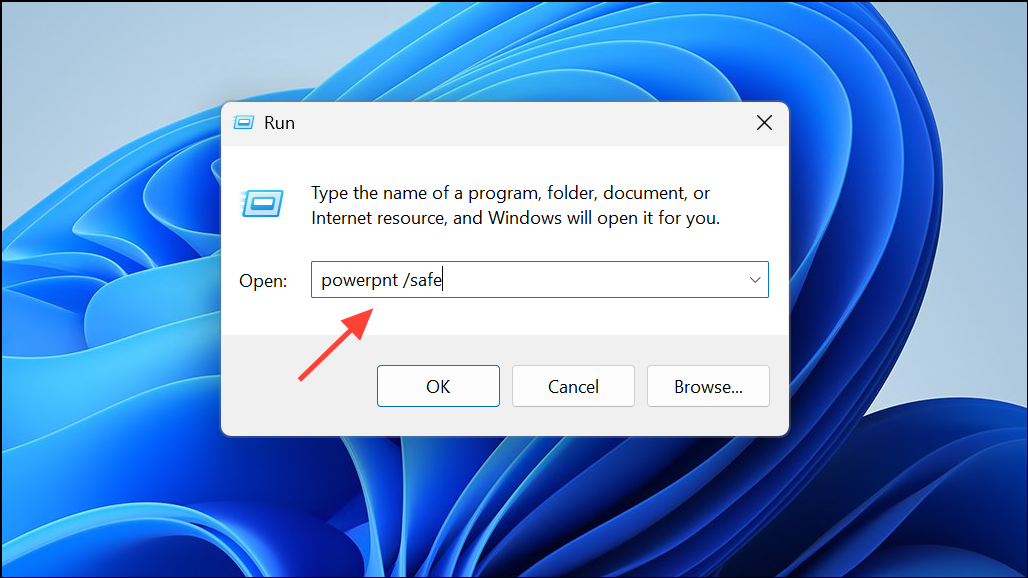
- Screen Recording Not Working: Restart PowerPoint or your computer, check for software updates, or run PowerPoint in Safe Mode (
powerpnt /safein the Run dialog). If issues persist, consider reinstalling PowerPoint or using alternative screen recording software.
- Recording Quality: PowerPoint’s screen recorder is suitable for tutorials and demonstrations but may not perform well for high-motion content like gameplay. For advanced needs, dedicated screen recording tools offer higher frame rates and more configuration options.
Recording your screen in PowerPoint is a straightforward way to add visual demonstrations to your presentations or create standalone screencasts. For Windows users, this feature streamlines content creation, while Mac users can rely on QuickTime Player for similar results. Remember to check your audio hardware if you need to capture internal sounds, and use PowerPoint’s editing tools to refine your recordings as needed.