macOS Sequoia introduces a highly anticipated window management feature known as window tiling. This built-in functionality allows you to quickly arrange multiple application windows into organized sections on your screen, significantly improving productivity and multitasking capabilities. Whether you need to compare documents side-by-side, reference multiple apps simultaneously, or simply keep your workspace tidy, window tiling simplifies the process.
How Window Tiling Works in macOS
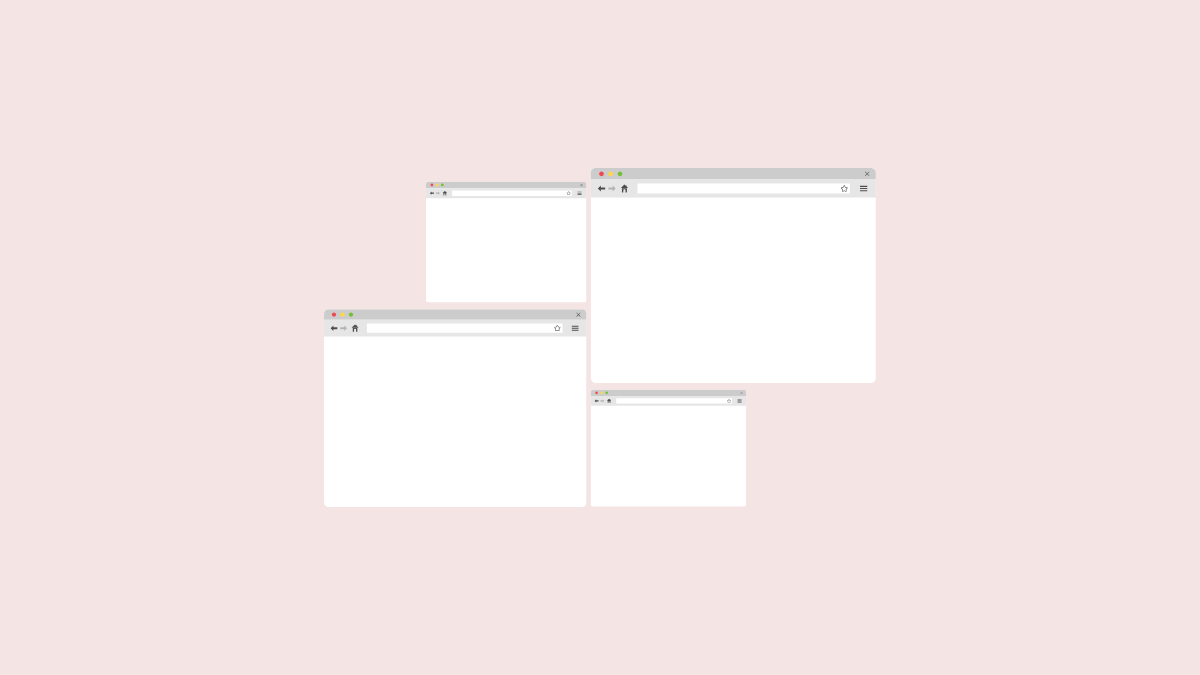
Window tiling enables you to quickly snap application windows into predefined positions on your desktop. Unlike previous macOS versions, where users relied heavily on third-party apps like Magnet or Rectangle, macOS Sequoia now provides native support for window snapping into halves, quarters, and full-screen arrangements without obscuring the menu bar or the Dock.
Enabling Window Tiling
Using Window Tiling by Dragging Windows
- Top-left quarter
- Top-right quarter
- Bottom-left quarter
- Bottom-right quarter
- Left half
- Right half
- Top half
- Bottom half
- Full-screen (without hiding menu bar and Dock)
- Centered half-screen
To maximize a window while keeping the Dock and menu bar visible, drag the window to the top-center portion of the screen. For quarter-screen tiling, drag the window towards any corner.
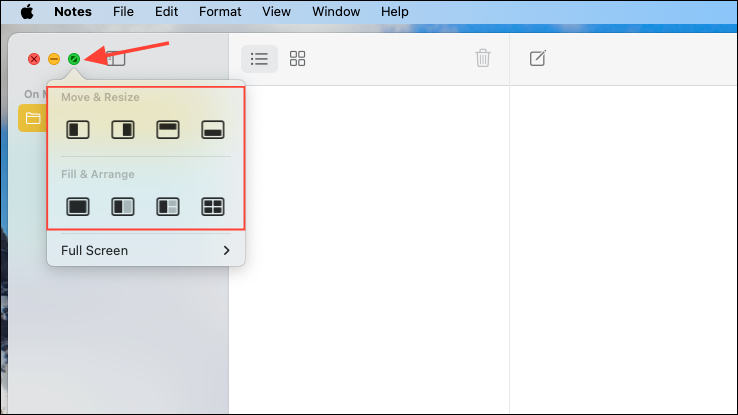
Using the Green Button for Quick Tiling
Keyboard Shortcuts for Window Tiling
macOS Sequoia provides built-in keyboard shortcuts to manage window tiling quickly, reducing the need to use the mouse. The following shortcuts are available by default:
Fn + Control + F: Maximize the active window to fill the desktop.Fn + Control + C: Center the active window.Fn + Control + Left Arrow: Snap window to the left half of the desktop.Fn + Control + Right Arrow: Snap window to the right half of the desktop.Fn + Control + Up Arrow: Snap window to the top half of the desktop.Fn + Control + Down Arrow: Snap window to the bottom half of the desktop.
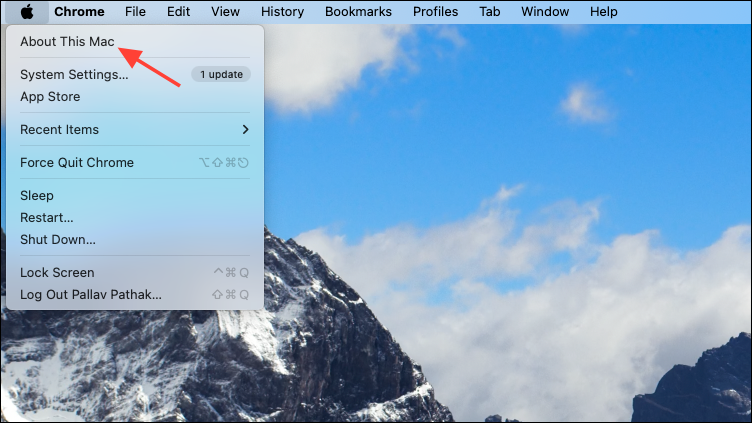
For additional customization, you can create your own shortcuts by navigating to System Settings > Keyboard > Keyboard Shortcuts > App Shortcuts.
Advanced Window Tiling Tips and Tricks
To further optimize your multitasking workflow, consider these advanced tips:
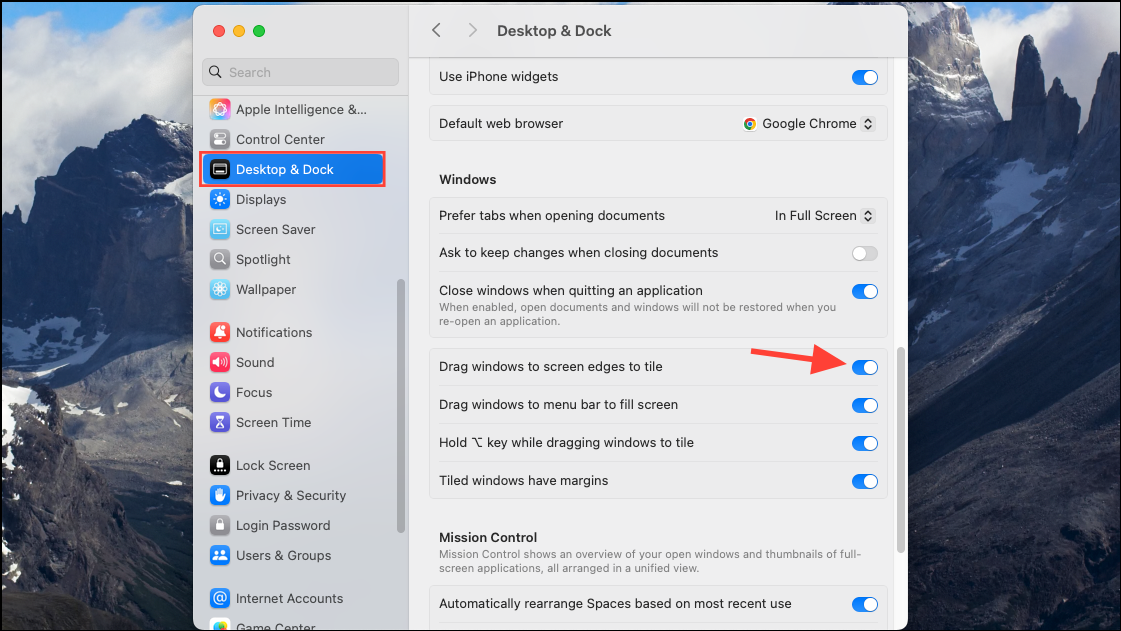
- Tweaking Margins: By default, tiled windows include margins around them. You can disable these margins completely in System Settings > Desktop & Dock > Windows to maximize screen space.
- The Option Key Shortcut: Hold down the Option key while dragging a window to quickly snap it into place without reaching screen edges. This is especially useful when working with multiple monitors.
- Mission Control Integration: Use Mission Control (activated by swiping up with three fingers on the trackpad or pressing the F3 key) to easily manage multiple tiled windows across different virtual desktops.
macOS Sequoia’s window tiling feature significantly simplifies multitasking by allowing you to arrange windows quickly and intuitively. With these built-in tools, you can streamline your workflow, reduce desktop clutter, and boost your overall productivity.