
Microsoft’s new command-line text editor, Edit, addresses the long-standing gap of a native CLI editor on 64-bit Windows systems. Previously, only 32-bit versions included the classic MS-DOS Edit, leaving users to rely on third-party tools or Notepad for quick text changes. Edit is lightweight, open-source, and designed for simplicity, allowing quick file edits directly from the terminal without switching context or dealing with modal commands like in vim. Here’s how to install Microsoft Edit on Windows 11 and start using it efficiently.
Install Microsoft Edit from GitHub Releases
Step 1: Visit the official Microsoft Edit GitHub repository at https://github.com/microsoft/edit. This is the primary source for the latest releases and documentation.
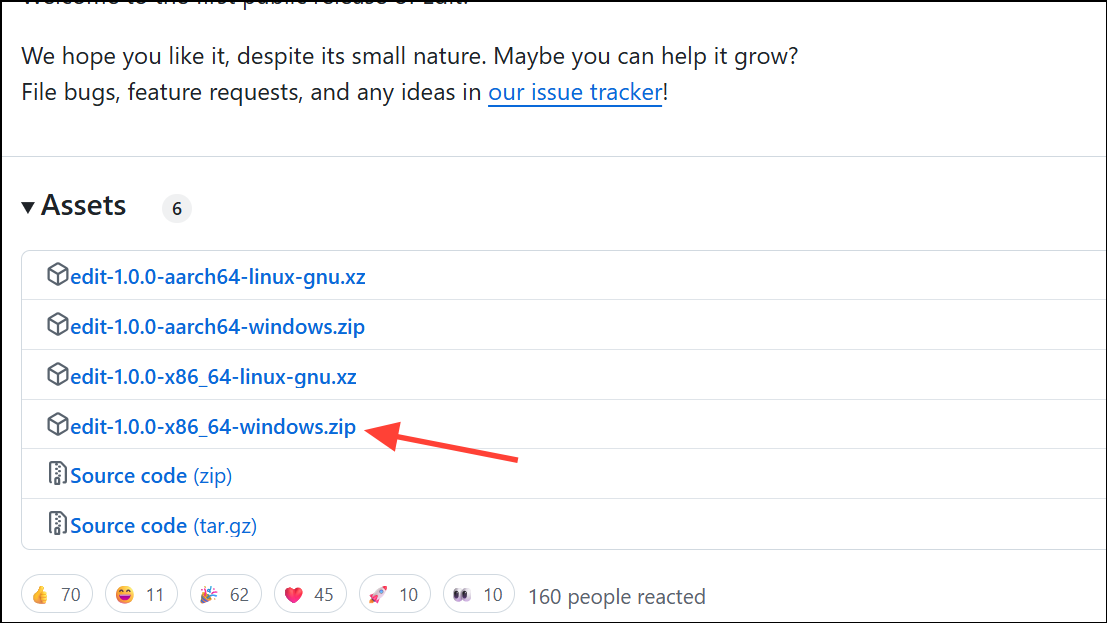
Step 2: On the repository page, locate the Releases section. Click on it to view available builds. Download the latest Windows binary package, typically named with a version number and .zip or .exe extension.
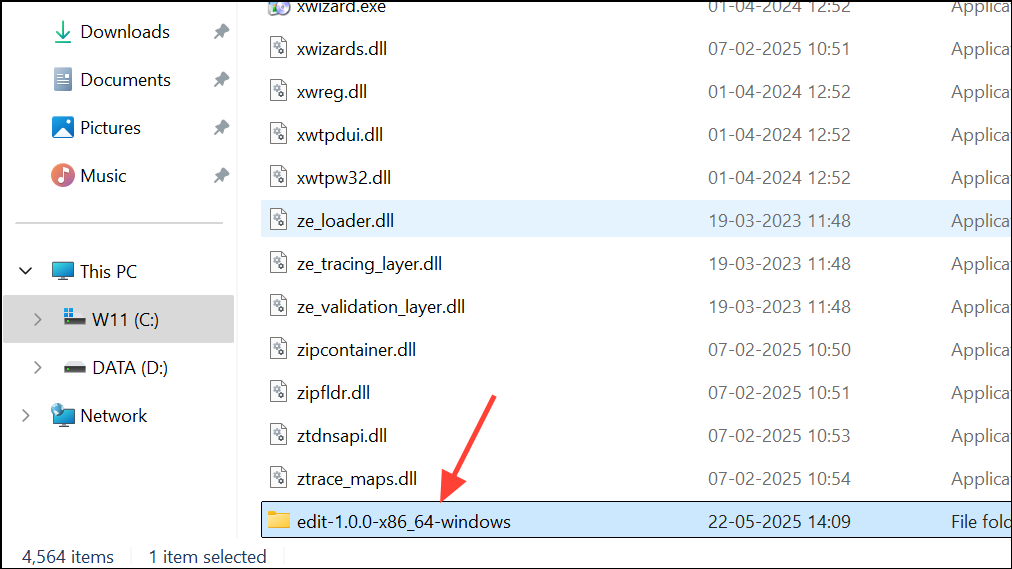
Step 3: Extract the downloaded archive if necessary. Place the edit.exe file in a directory included in your system’s PATH environment variable (for example, C:\Windows\System32 or another tools directory). This step allows you to launch Edit from any command prompt window.
Step 4: Open Windows Terminal, Command Prompt, or PowerShell. Type edit and press Enter to launch the editor. Alternatively, double-click the .exe file. You can also open a specific file by running edit <filename>. If Edit launches successfully, you’re ready to start editing files directly in the terminal.
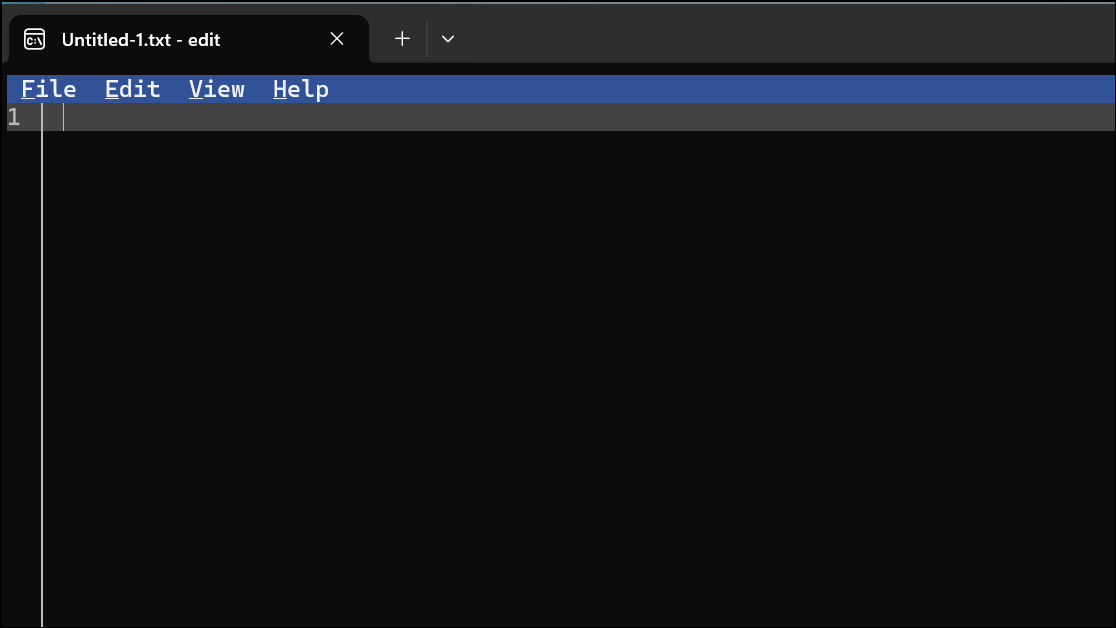
Edit’s interface is modeless, so you won’t need to remember different command modes. All menu options display their keyboard shortcuts, such as Ctrl+P for switching between files, Ctrl+R for find and replace, and Alt+Z for word wrap. The editor supports mouse input, multi-file editing, case-sensitive search, and regular expressions out of the box.
Build Microsoft Edit from Source (Advanced Method)
For users who want the latest features or wish to customize the editor, building Edit from source is an option. This method requires familiarity with development tools and Rust, the programming language used for Edit.
Step 1: Install Rust by downloading it from https://www.rust-lang.org/tools/install. Follow the prompts to complete installation and ensure cargo (Rust’s package manager) is available in your PATH.
Step 2: Clone the Edit repository by opening a terminal and running:
git clone https://github.com/microsoft/edit.git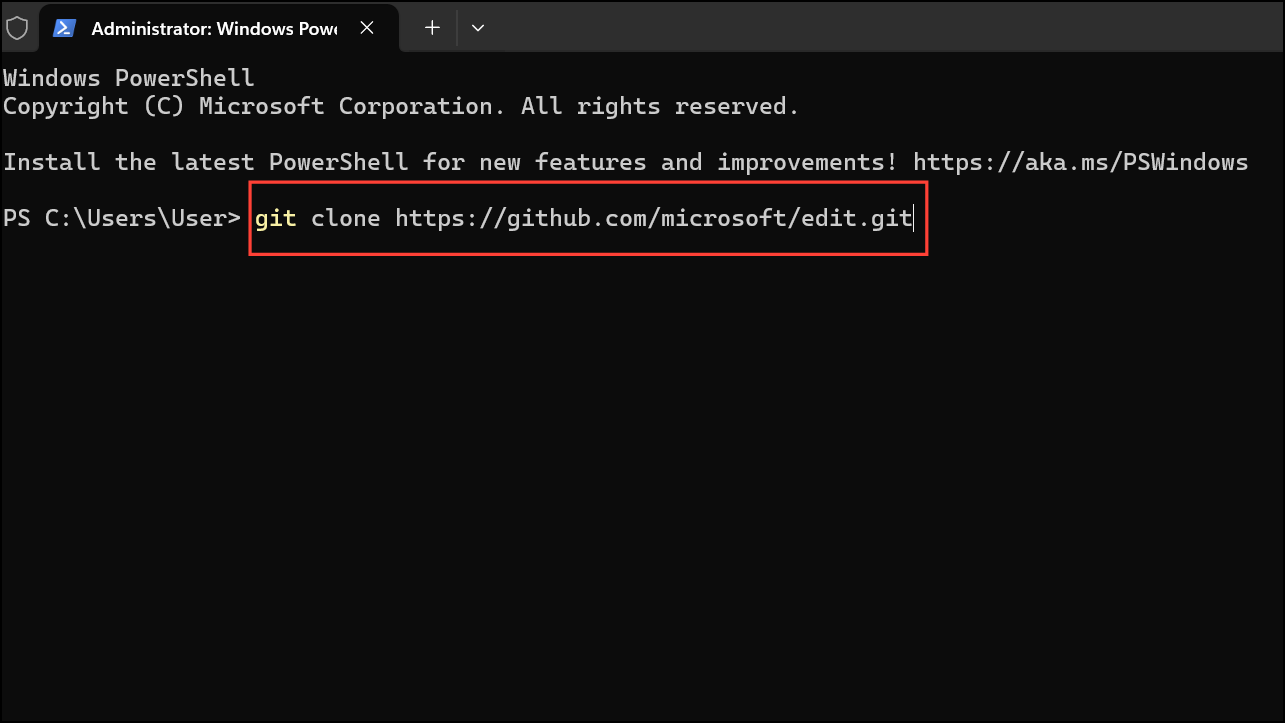
Step 3: Change into the cloned directory:
cd edit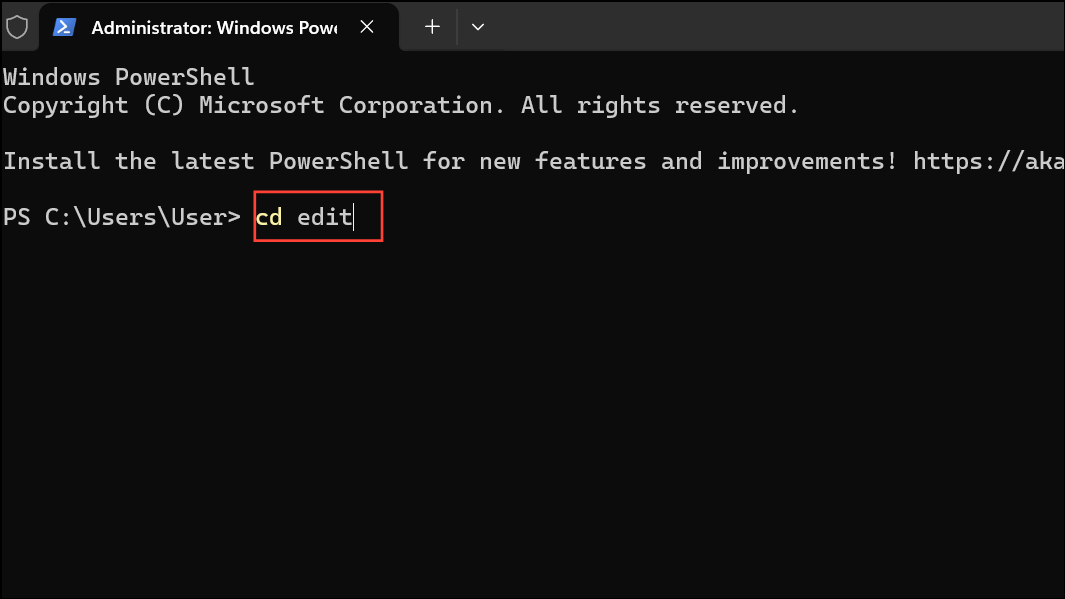
Step 4: Build the project using Cargo:
cargo build --release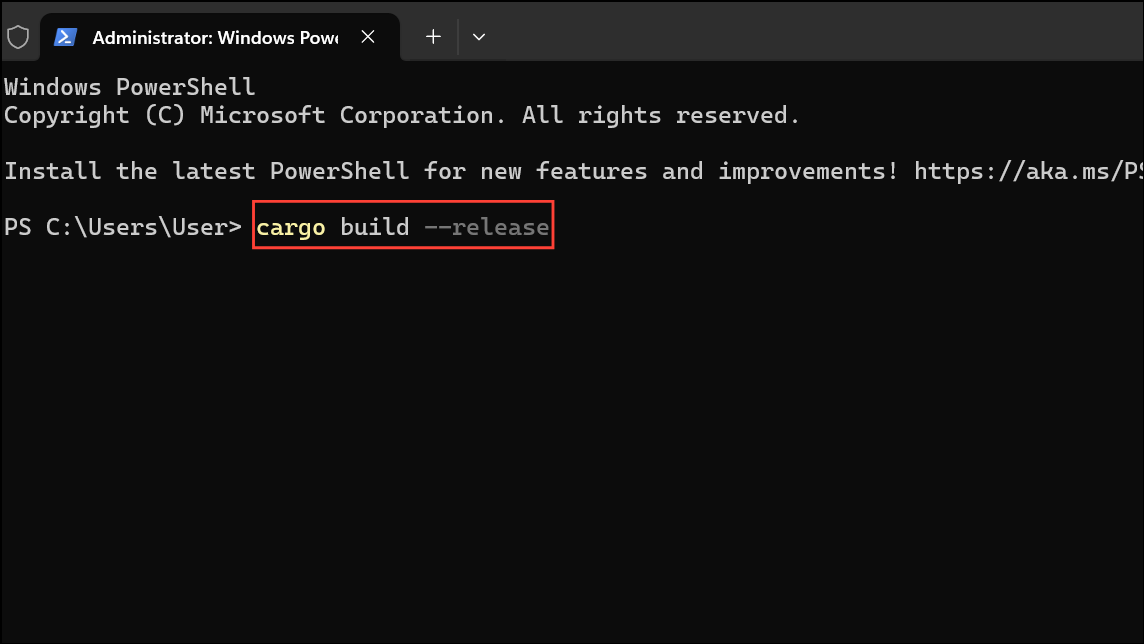
This command compiles Edit and outputs the executable in the target\release directory. Copy edit.exe to a directory in your PATH for easy access.
Step 5: Launch Edit from your terminal as described in the previous method. If you encounter build errors, refer to the repository’s README for troubleshooting tips or required dependencies.
Access Edit via Windows Insider Program (Upcoming)
Edit is rolling out to Windows 11 users through the Windows Insider Program as part of future system updates. Once it’s included in your build, you’ll be able to launch Edit natively from the command line without manual installation. To join the Insider Program, visit https://www.microsoft.com/windowsinsider/ and follow the enrollment instructions. After updating to a build that includes Edit, open your terminal and run edit to start editing files.
Installing Microsoft Edit on Windows 11 streamlines quick file edits and brings a modern, user-friendly CLI text editor to the platform. Keep an eye on the official repository for updates and new features as development continues.