
Windows 11 installation often raises concerns about potential data loss, especially when you want to keep files stored on drives other than the system drive. Windows installations, by default, only affect the selected partition, but choosing the wrong option can erase important data. Understanding which installation choices allow you to keep your files is essential for a smooth upgrade or installation process.
Using the 'Keep Personal Files' Option During Windows 11 Setup
Step 1: Begin by downloading the official Windows 11 installation media from Microsoft's website. Use the Media Creation Tool or the Installation Assistant to prepare the setup files on a USB drive or directly on your PC.
Step 2: Launch the Windows 11 installer. When prompted, select the option to upgrade your current Windows version. The installer will check for compatibility and guide you through the process.
Step 3: When you reach the "Choose what to keep" screen, select Keep personal files and apps or Keep personal files only. This ensures that your files on the system drive (usually C:) remain untouched, and files on other drives (like D: or E:) are not affected by the installation.

Step 4: Proceed with the installation. The setup will only update system files and leave your personal data on all drives intact. Once installation completes, verify that your files are present on all drives.
Custom Installation Without Formatting Drives
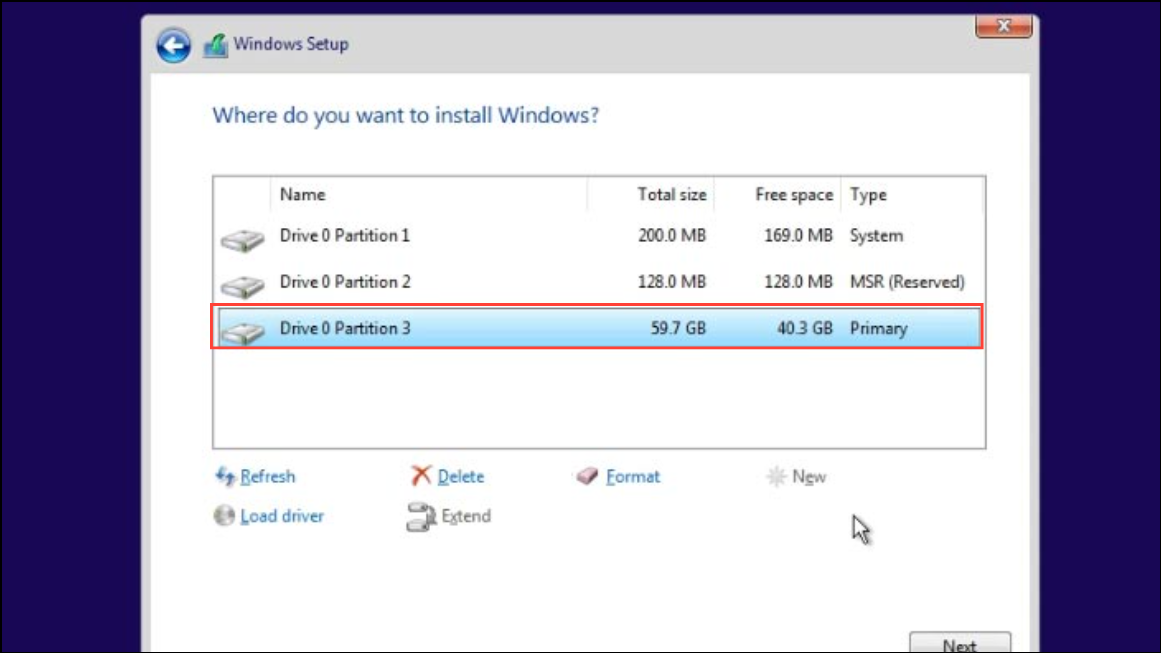
Step 1: Start the Windows 11 installation from bootable media. When you reach the "Where do you want to install Windows?" screen, you will see a list of all available drives and partitions.
Step 2: Select the partition where you want to install Windows 11 (typically the C: drive). Do not format or delete any partitions unless you have backed up your data. Formatting will erase all data on that partition.
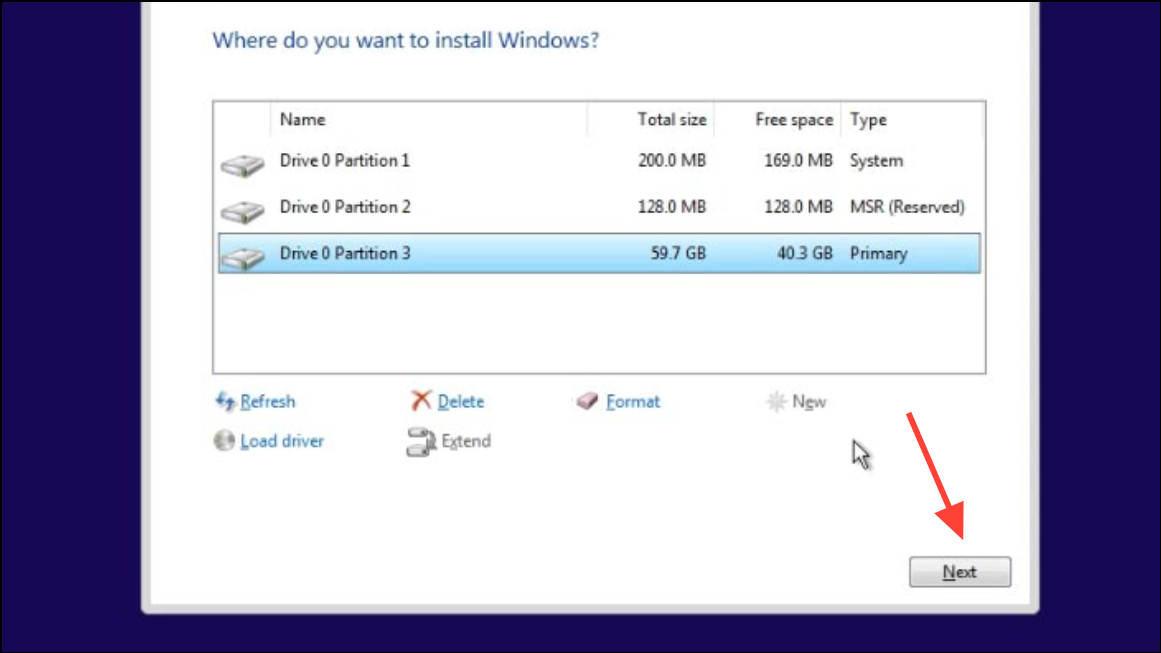
Step 3: Click Next to continue. Windows will install on the selected partition and will not touch files on other drives or partitions. Only the chosen partition is affected by the installation process.
Step 4: After installation, check all your drives to confirm your files are still present. Files on non-system drives (D:, E:, etc.) should remain unchanged.
Backing Up Files as a Precaution
Step 1: Even when using options designed to preserve your data, unexpected issues can occur. Before starting the installation, copy important files from all drives to an external hard drive, USB drive, or cloud storage.
Step 2: Use Windows File Explorer to manually drag and drop folders or use backup software for a more automated process. Verify the backup by opening a few files from your backup destination.
Step 3: After Windows 11 is installed and you have confirmed your files are intact, you can delete the backup or keep it for future safety.
Choosing the right installation options and avoiding formatting steps will protect your files on existing drives during a Windows 11 installation. Always back up important data for added security, so you can proceed with confidence and minimize the risk of accidental data loss.