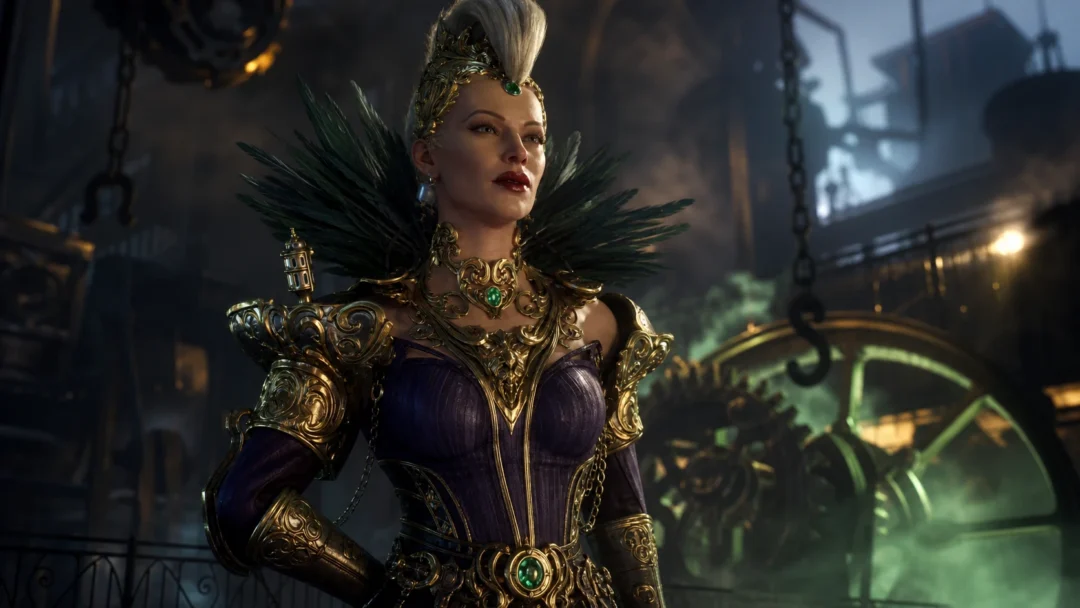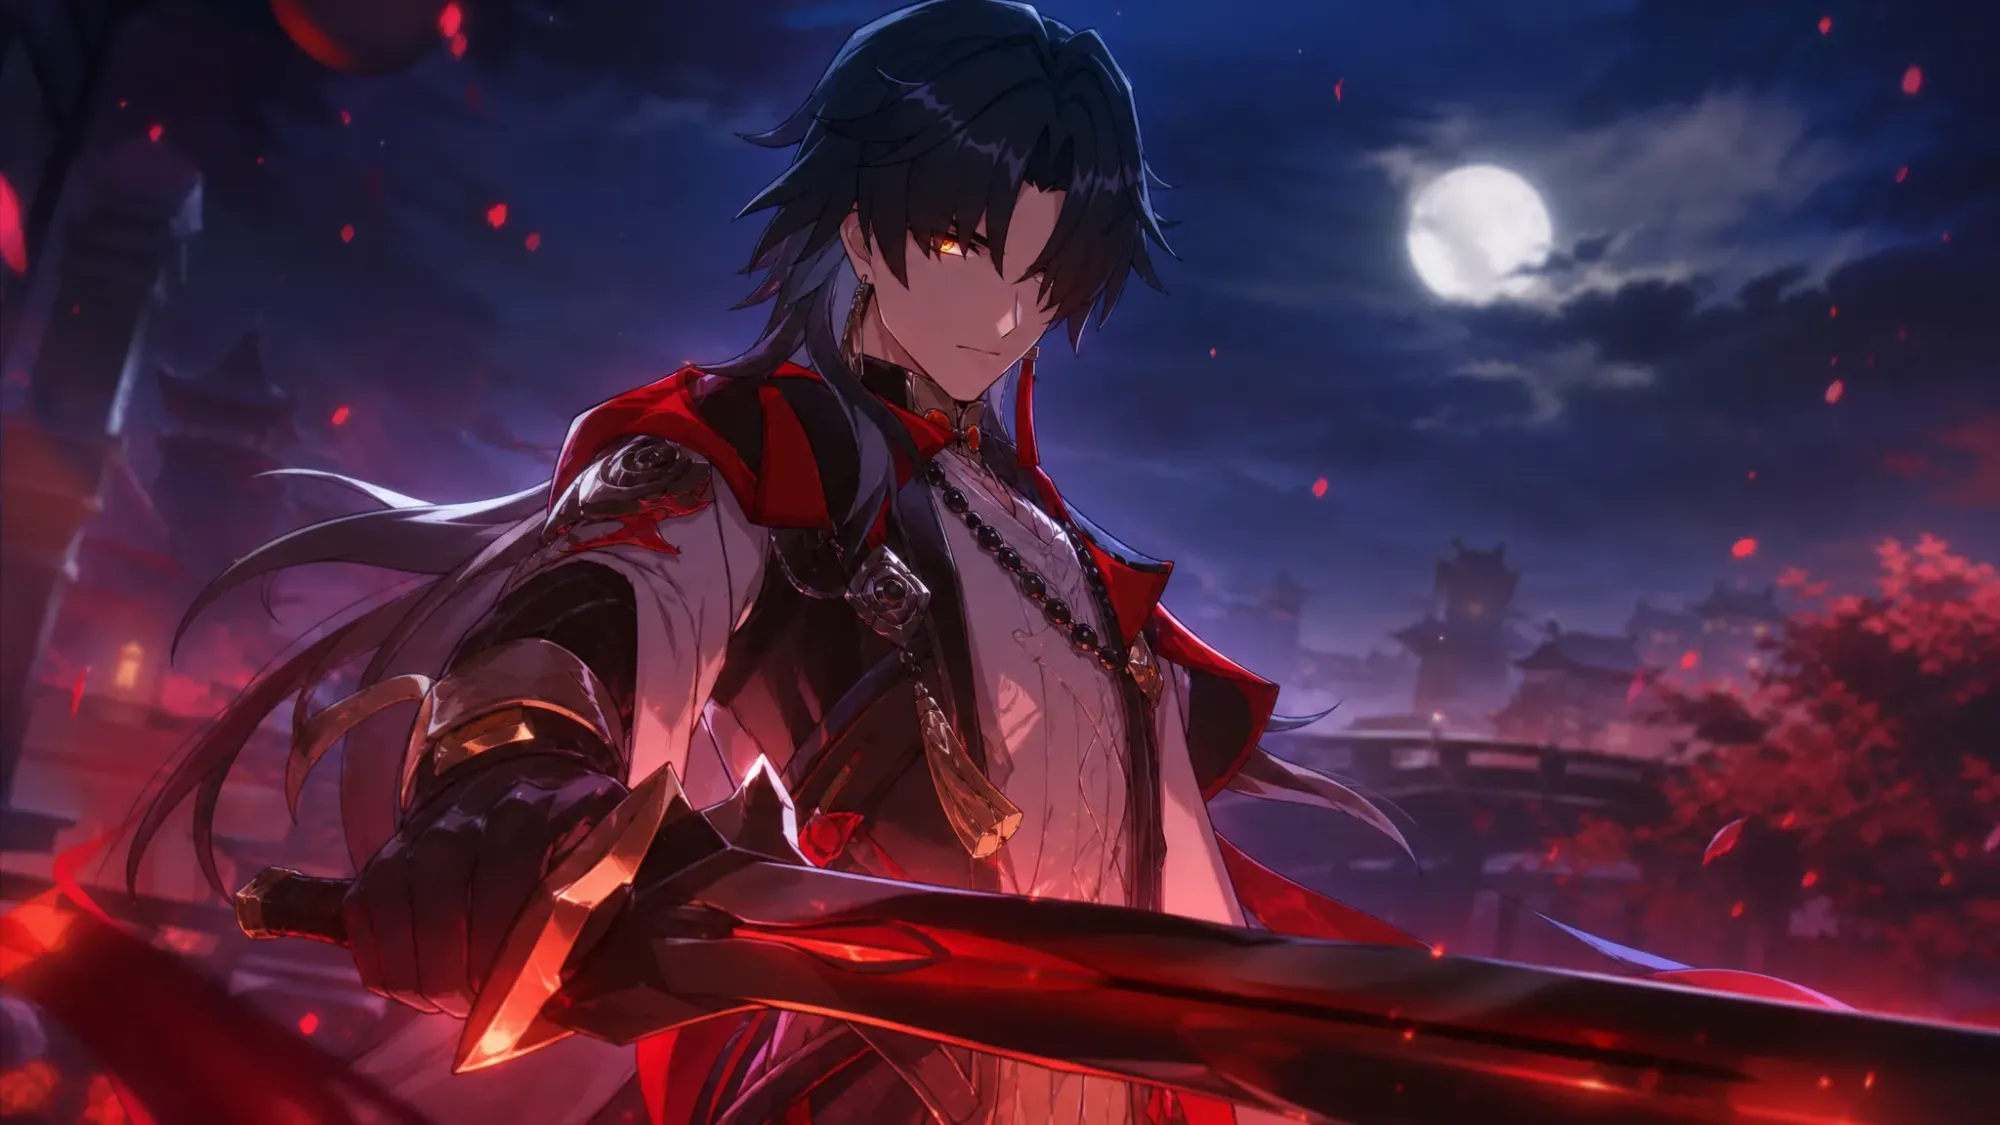
Mortenax Blade is a 5-star Fire character on the Path of Nihility, and he plays unlike most debuffers. He scales almost entirely off Max HP, spends that HP to deal damage, and swings between two modes. Before his Ultimate, he behaves like a support, dropping a Zone that lowers enemy stats and raises the damage they take. After his Ultimate, he flips into a damage role with AoE attacks and big crit bonuses. The build below is tuned to keep both halves of that loop running.
How Mortenax Blade works
His damage comes from his Skill, which deals Fire damage equal to a percentage of his Max HP to all enemies while burning 15% of his own HP. If he doesn’t have the HP to pay, the cost simply drops his current HP to 1 instead of killing him. That makes HP his single most important offensive stat.
The Ultimate, Fornax Ex Corpore, inflicts Balefire Bind on every enemy, cutting their DEF by 30% and raising damage taken by 50% for two turns. It then spends 30% of his Max HP to deploy a Zone and put him into the Infinite Fury state, granting +20% CRIT Rate and +60% CRIT DMG and unlocking his Skill plus a new Ultimate, Tenax Per Ignem, which hits all enemies for 300% of his Max HP.
His Talent, All Karma Comes Due, is the engine. While the Zone is up, every time an ally attacks an enemy, he applies Balefire Bind and gains 1 Charge. At 9 Charge, he spends it, regenerates 25 Energy, and fires an extra Skill as a Follow-Up attack that costs no HP. Fast teams and Follow-Up attackers feed that Charge loop, which is why his teammates matter as much as his gear.
Best Light Cones for Mortenax Blade
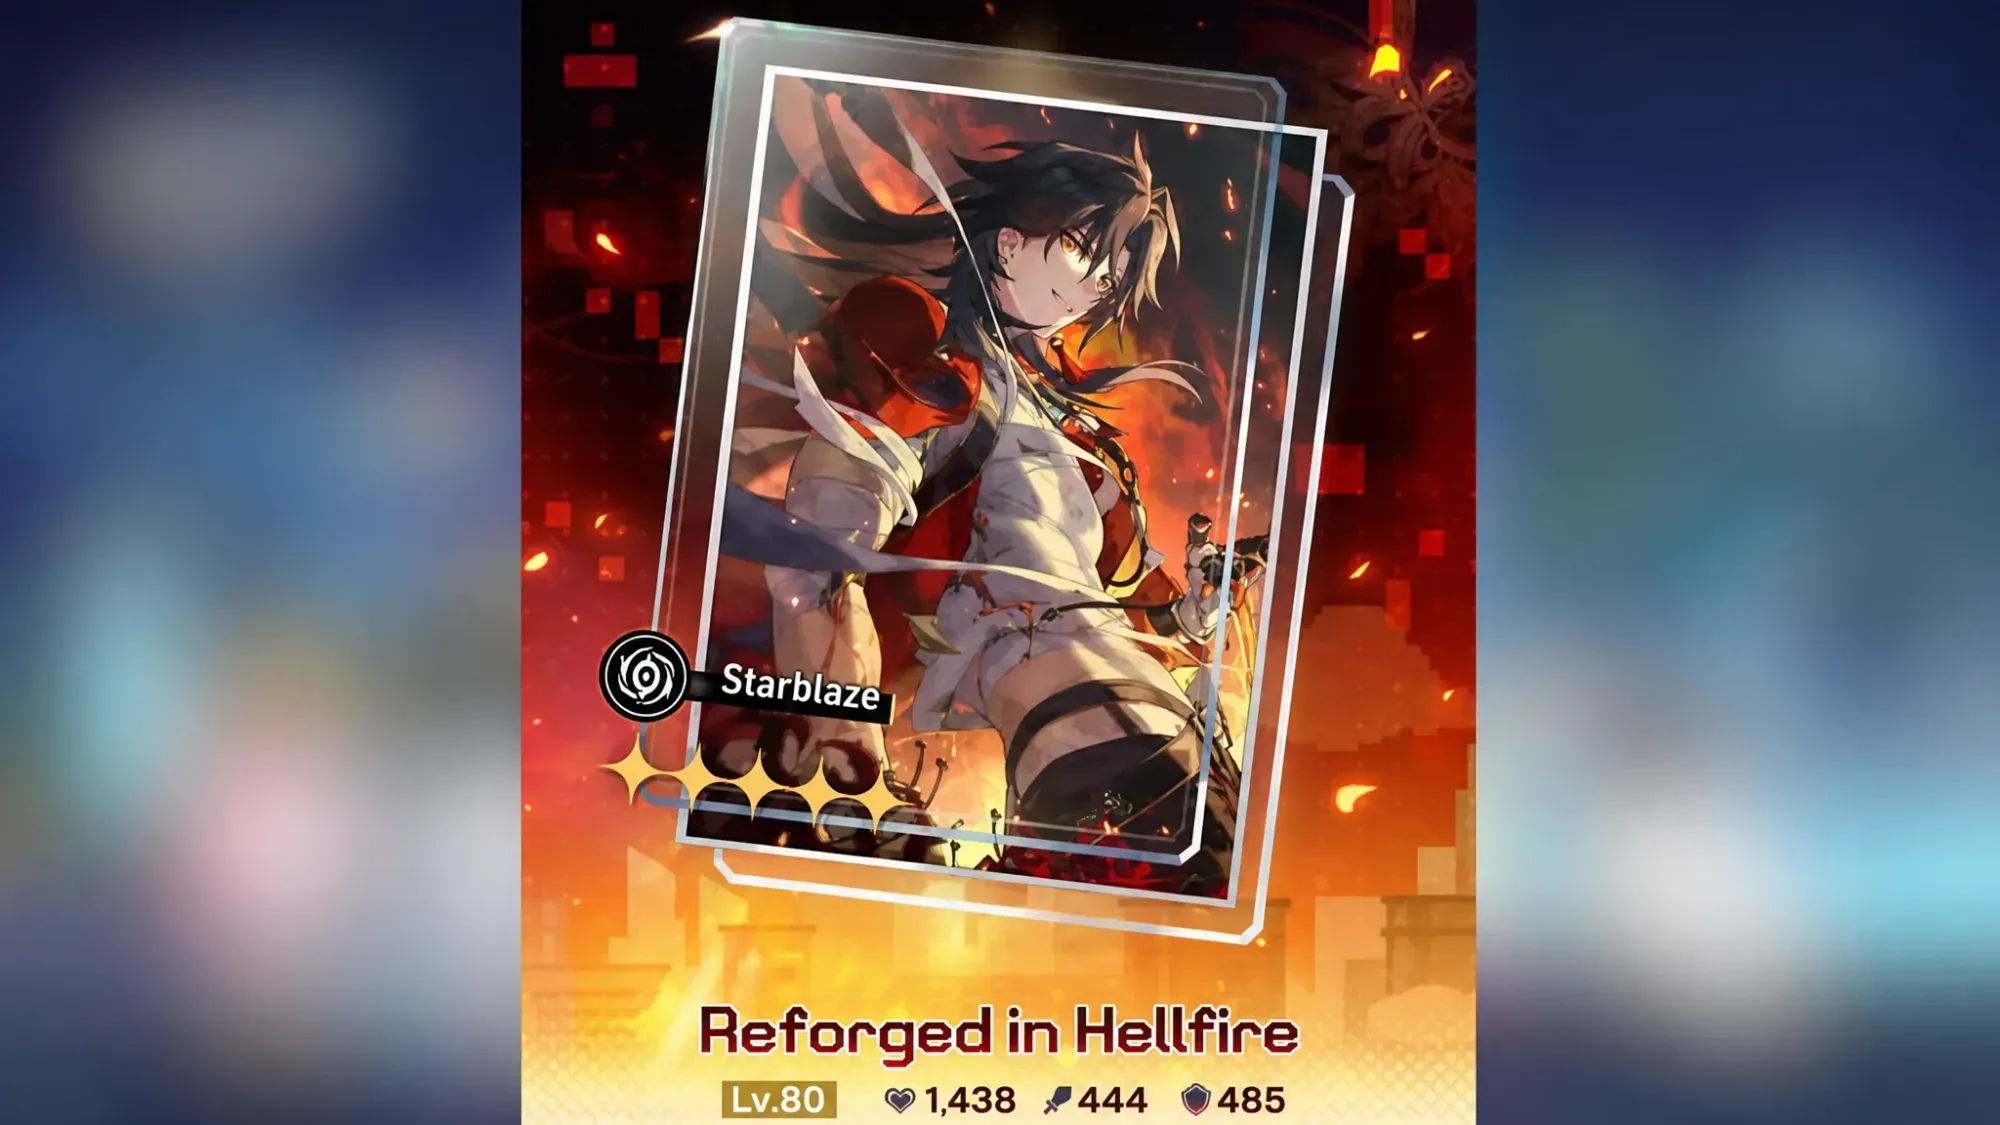
His signature, Reforged in Hellfire, is the clear top pick. The fixed Energy at the start of his turn each wave is what enables a turn-zero Ultimate, and without it his Zone uptime drops noticeably. It also stacks Max HP and adds a CRIT DMG-amplifying Purgatory debuff after his Skill. If you don’t have it, there are solid 5-star and 4-star fallbacks that lean on his debuff identity.
| Light Cone | Rarity | Why it works |
|---|---|---|
| Reforged in Hellfire | 5★ | +Max HP, fixed Energy each wave for a turn-zero Ultimate, and a 30% CRIT DMG-taken Purgatory debuff after his Skill. |
| Lies Dance on the Breeze | 5★ | +18% SPD plus stacking DEF shred via Bamboozle and Theft, rewarding high-speed setups. |
| Resolution Shines As Pearls of Sweat | 4★ | Budget option that applies Ensnare for 12% DEF reduction on hit. |
Best Relics and Planar Ornaments
The Smith’s Fire Beast Mask four-piece is his best-in-slot. It hands him the stats he wants in HP% and CRIT DMG, then spreads a 15% team damage buff through Comburent whenever he applies DEF reduction, which his kit does constantly. Pioneer Diver of Dead Waters is the strongest alternative if you’d rather chase personal damage, though you give up the team buff.
| Set | Type | Effect summary |
|---|---|---|
| Smith’s Fire Beast Mask (4-Pc) | Relic — best | +12% Max HP. +28% CRIT DMG against DEF-reduced enemies, and a 15% team damage buff via Comburent after he applies DEF reduction. |
| Pioneer Diver of Dead Waters (4-Pc) | Relic — alternative | +12% DMG to debuffed enemies, plus scaling CRIT Rate and CRIT DMG that ramp against multi-debuff targets. |
| Bone Collection’s Serene Demesne (2-Pc) | Ornament — best | +12% Max HP, and +28% CRIT DMG once Max HP hits 5,000 or higher. |
| Duran, Dynasty of Running Wolves (2-Pc) | Ornament — second | Stacking Follow-Up DMG up to 5 times, plus +25% CRIT DMG at max stacks. |
| Inert Salsotto (2-Pc) | Ornament — third | +8% CRIT Rate, and +15% Ultimate and Follow-Up DMG at 50% CRIT Rate or higher. |
Stat priority
Balance CRIT Rate and CRIT DMG on the body, then stack HP% across the rest of the build. Speed on the boots helps him act before his Infinite Fury countdown, and a touch of Energy Regen on the rope can smooth out Ultimate access if you’re short on energy.
| Slot | Main stat |
|---|---|
| Body | CRIT Rate = CRIT DMG |
| Feet | Speed > HP% |
| Planar Sphere | HP% |
| Link Rope | HP% > ERR% |
| Sub-stats | CRIT Rate = CRIT DMG > HP% > SPD |
Trace priority
Level his Ultimate first, since it triggers Infinite Fury, deploys the Zone, and applies Balefire Bind. The Skill comes next as his primary damage source, then the Talent for its supportive buffs. His Basic Attack is the last thing to touch.
| Trace | Priority |
|---|---|
| Ultimate | ★★★★★ |
| Skill | ★★★★☆ |
| Talent | ★★★★☆ |
| Basic ATK | ★☆☆☆☆ |

Best teams for Mortenax Blade
He thrives alongside allies who attack often, because every one of those hits feeds his Charge and reapplies Balefire Bind. That makes Follow-Up and high-action teams his natural home.
Acheron is one of his strongest partners. His steady debuff application accelerates her Ultimate generation, and his Zone keeps Balefire Bind flowing so she banks stacks more reliably. He also satisfies her requirement for a second Nihility teammate, which lets her A3 buff hit its higher value.
He also fits Follow-Up attack cores built around Ashveil or Feixiao. Ashveil’s frequent attacks light up his Charge system quickly, while Feixiao benefits from his debuffs and high action count. Both of those archetypes attack enough to keep his extra Skill activations coming, which means more AoE damage and cleaner rotations.
| Partner | Role | Synergy |
|---|---|---|
| Acheron | Main DPS | His debuffs speed up her Ultimate, and he meets her Nihility requirement. |
| Ashveil | Main DPS | Frequent attacks rapidly build his Charge for extra Skill Follow-Ups. |
| Feixiao | Main DPS | High action rate plus debuff synergy keep the Charge loop active. |
Build him for HP and CRIT, keep his energy topped up so the Zone never goes dark, and surround him with allies who hit early and often. Do that, and Mortenax Blade trades his own health for steady team-wide damage without ever speedrunning his own knockout.