

Drag Drive Simulator does not give bikes a separate “pipe” or “exhaust” slot the way many car games do. The sound your bike makes comes straight from its engine, so the way to change the exhaust tone is to upgrade the engine internals inside the modification shop.
Quick answer: Take your bike to the MODIFICATION shop, park in the START MODIFICATION zone, open the garage, then pick Engine → Engine Internals and buy a Stage upgrade. The exhaust sound changes as soon as the upgrade applies.
Why the exhaust sound is tied to the engine
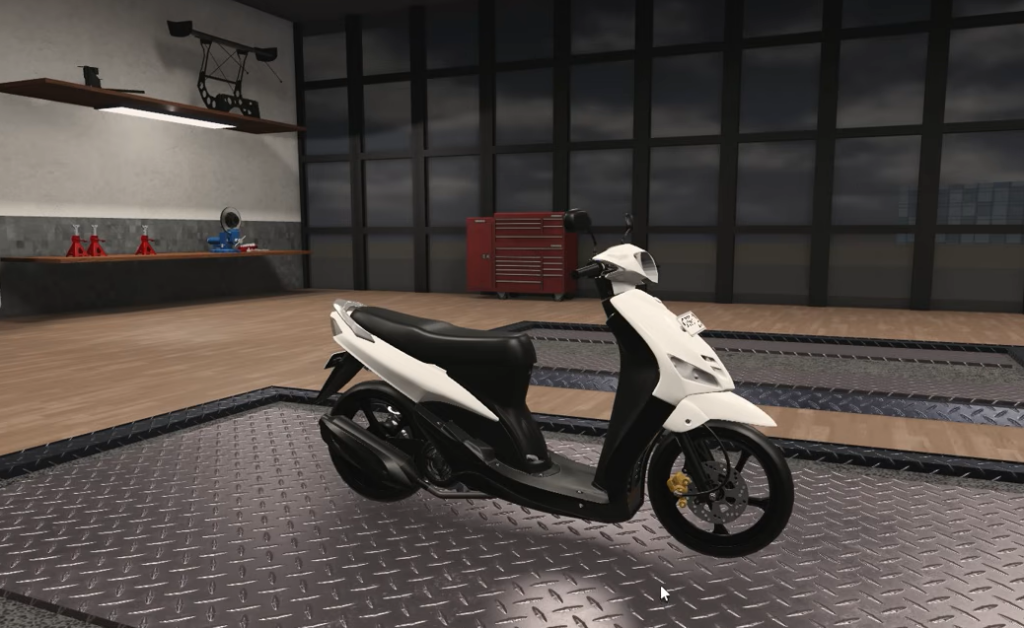
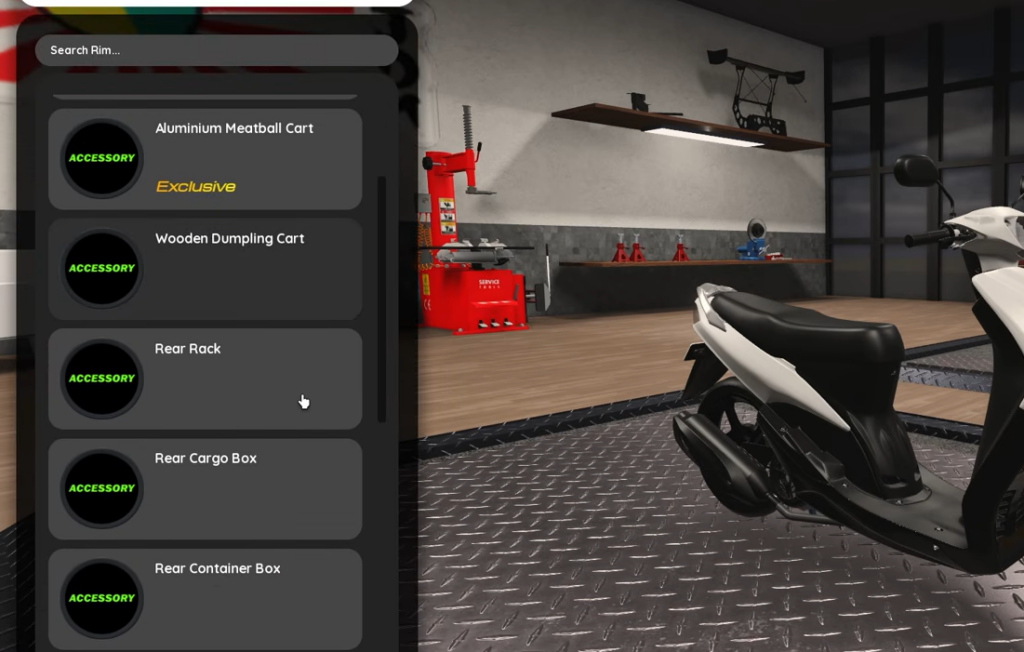
There is no standalone exhaust category in the customization garage. The options you see are Engine, Body Appearance, Wheel, Custom Plate, Lights, Suspension, Wheelbase, and Rider. The exhaust note is controlled by the engine, so changing the Engine Internals stage is what changes how loud and different the bike sounds.
Options vary from bike to bike. Some bikes support all three engine stages, while others may not offer every stage. Menu items like Brake Force and Ratio Gear can also appear, and some entries are still marked “Coming Soon!”
Change the exhaust sound through Engine Internals
Engine Internals stage costs
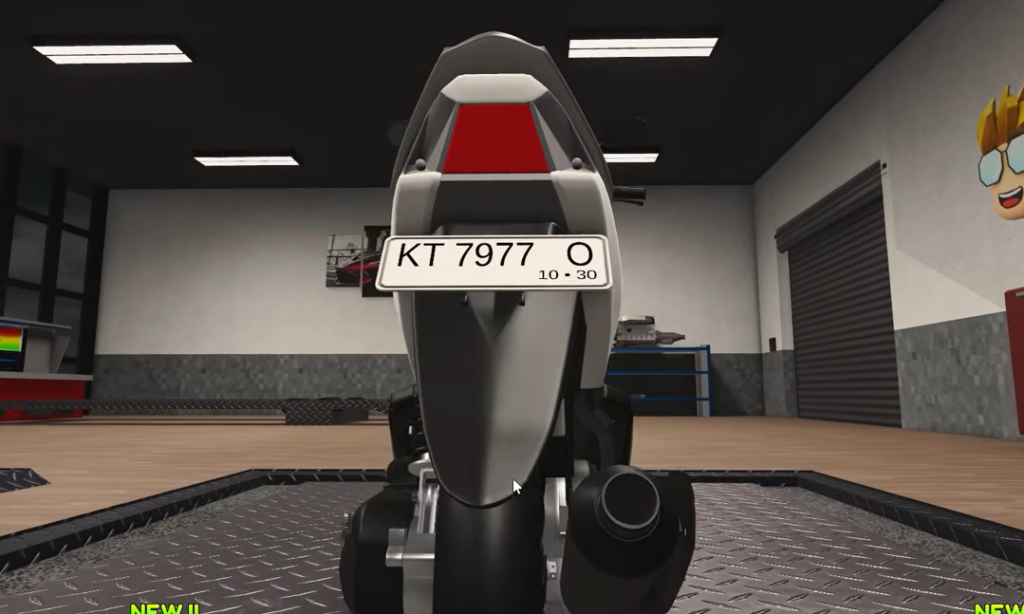
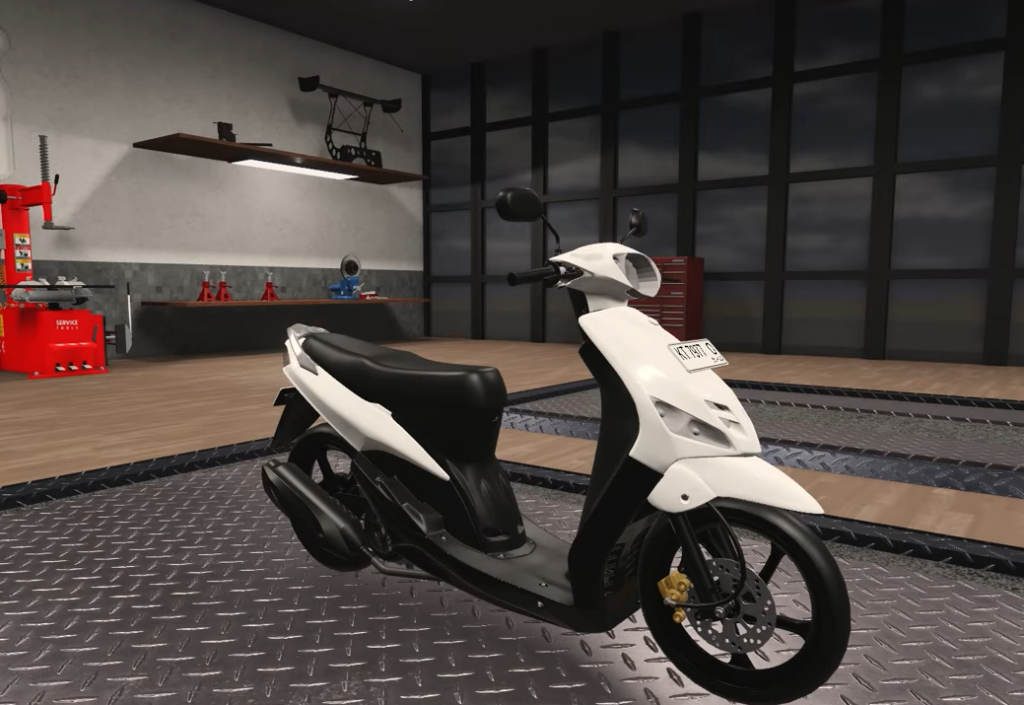
Upgrades are paid for with in-game currency (Rp). The prices below are what the Yahamax – Mio Sporty (2006) charges. Costs can differ on other bikes.
| Engine stage | Cost |
|---|---|
| Stage 1 | Rp 10,000,000 |
| Stage 2 | Rp 15,000,000 |
| Stage 3 | Rp 18,000,000 |
How to confirm the change worked
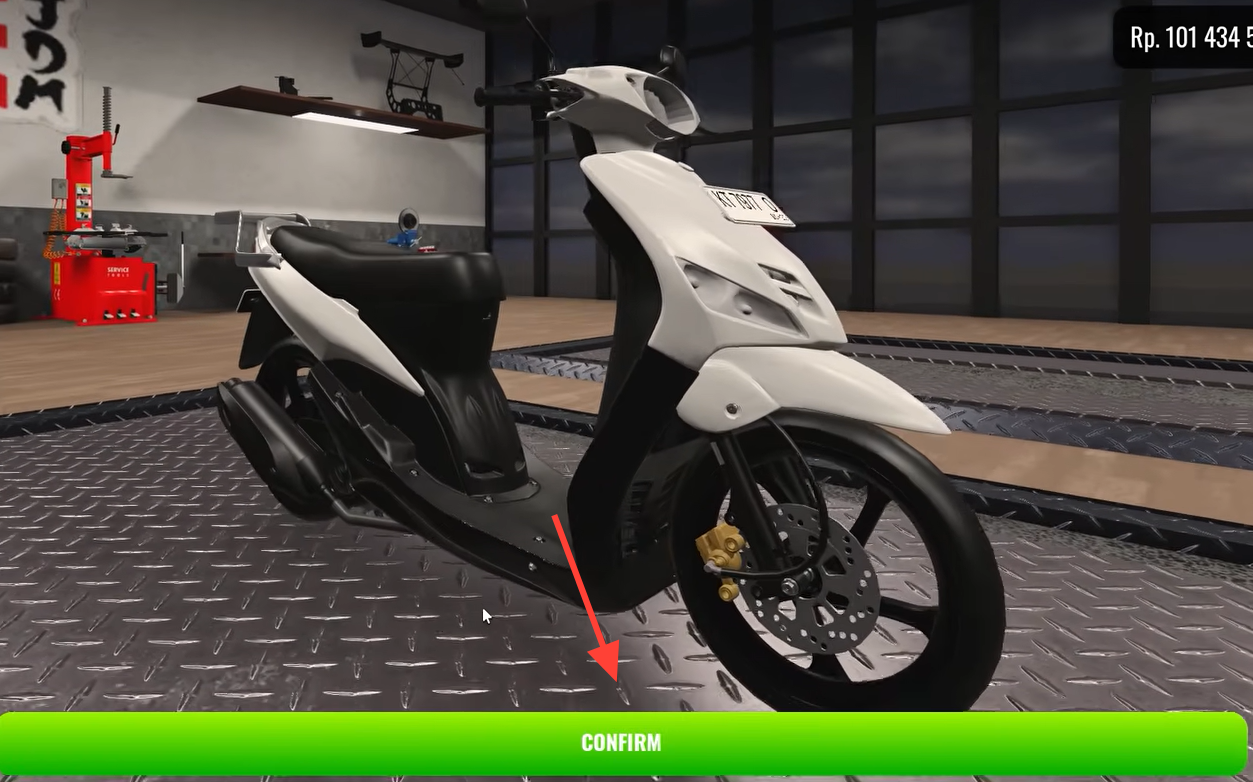
After you press YES, the game shows a “Successfully upgraded engine!” message and deducts the cost from your Rp balance. Your on-screen money drops by the stage price, so a Stage 1 purchase moves your total down by 10,000,000. Once the upgrade is applied, the bike’s exhaust note reflects the new stage.
If a stage does not apply, the most common reasons are not having enough Rp to cover the cost, or the bike not supporting that particular engine stage. In those cases, the option either cannot be confirmed or is unavailable for that model.
Getting to the right shop
The full modification garage is the larger building labeled MODIFICATION, not the small workshop found off the side streets. Head there on your bike, enter the lobby, and use the START MODIFICATION garage bay. That bay is where the Go To The Garage prompt and the Engine Internals menu live, which is the only place the exhaust sound actually changes.
Because engine and exhaust options are tied to each specific bike, keep in mind that swapping to a different model may give you a completely different set of stages and sounds. If you want a particular tone, upgrade the engine on the bike you plan to race and check the sound after each stage.





