Picking a main in Neverness to Everness comes down to a small group of standout units that carry teams through bosses and mob waves. As of Version 1.1 in June 2026, the roster spans 20 characters split across Damage, Buff, and Survival roles, and only a handful are worth chasing right away. Below is where each one lands and why.
Neverness to Everness overall tier list (Version 1.1)
The full roster ranking weighs raw power, how easily a character fits into different teams, and how much value you get for the resources spent. S Tier units are immediate priorities. A Tier units are strong but often need a specific role or playstyle. B and C Tier units still function, but they carry clear limitations.
| Tier | Characters |
|---|---|
| S | Hotori, Lacrimosa, Sakiri, Nanally |
| A | Esper Zero, Chiz, Daffodill, Baicang, Jiuyuan, Hathor |
| B | Mint, Adler, Fadia, Haniel |
| C | Edgar, Skia, Aurelia |
Tier list by role: DPS, Buff, and Survival
Characters are built for one of three jobs. Damage units carry your offense, Buff units raise team output, and Survival units keep everyone alive. Sorting by role makes it easier to fill a gap instead of stacking the same strength.
| Tier | DPS | Buff | Survival |
|---|---|---|---|
| S | Nanally, Esper Zero, Hotori, Lacrimosa | Sakiri | Adler |
| A | Baicang, Hathor, Jiuyuan, Daffodill, Chiz | Haniel | Fadia |
| B | Mint | — | Edgar |
| C | Skia, Aurelia | — | — |
S Tier characters worth pulling first
These four define the current meta. Each fills a different need, so you can take more than one without overlapping roles.
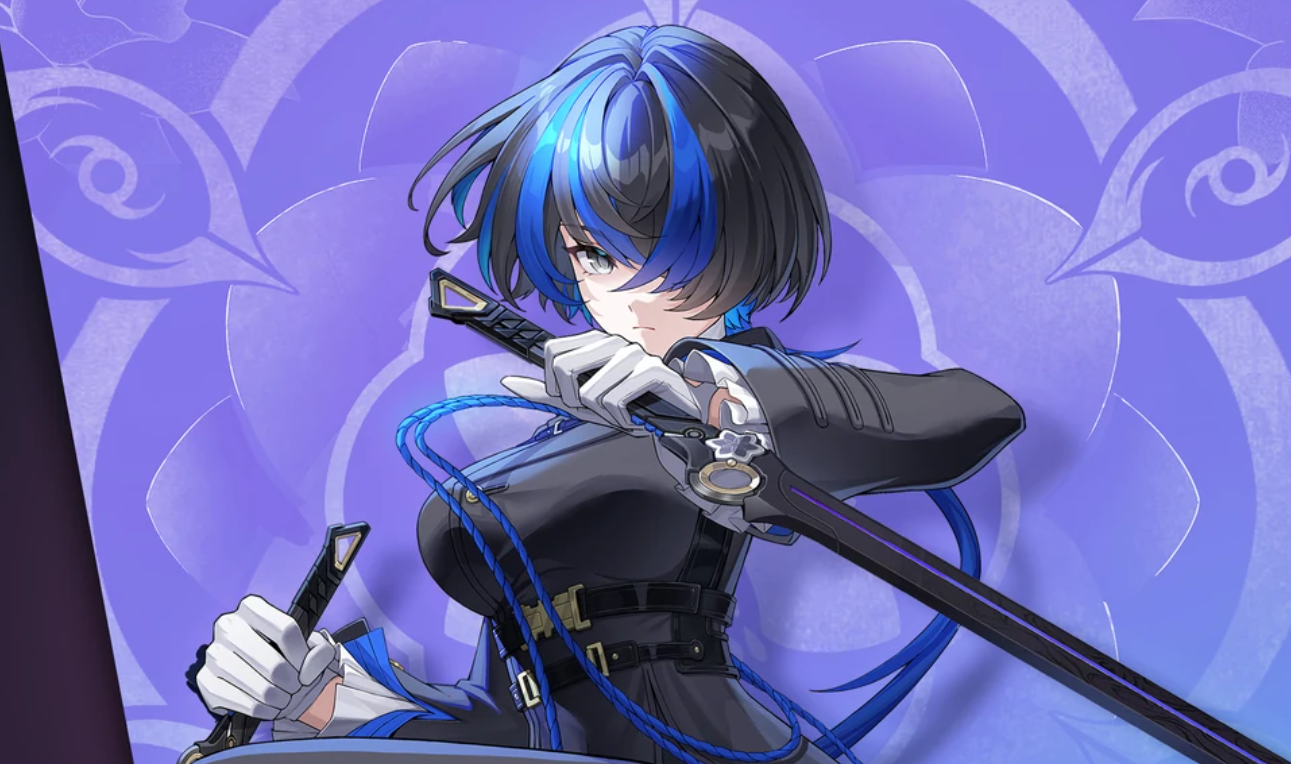
Lacrimosa: Damage-over-time main DPS
Lacrimosa is a Main DPS who stacks a damage-over-time effect on enemies and keeps refreshing it for steady, heavy damage. She can copy enemy combat techniques, which lets you reshape her skills around whatever you fight. She also swaps between Melee and Ranged modes on the fly, so she stays useful across encounters. Her DoT is strongest against high-HP targets and weaker against fragile enemies.
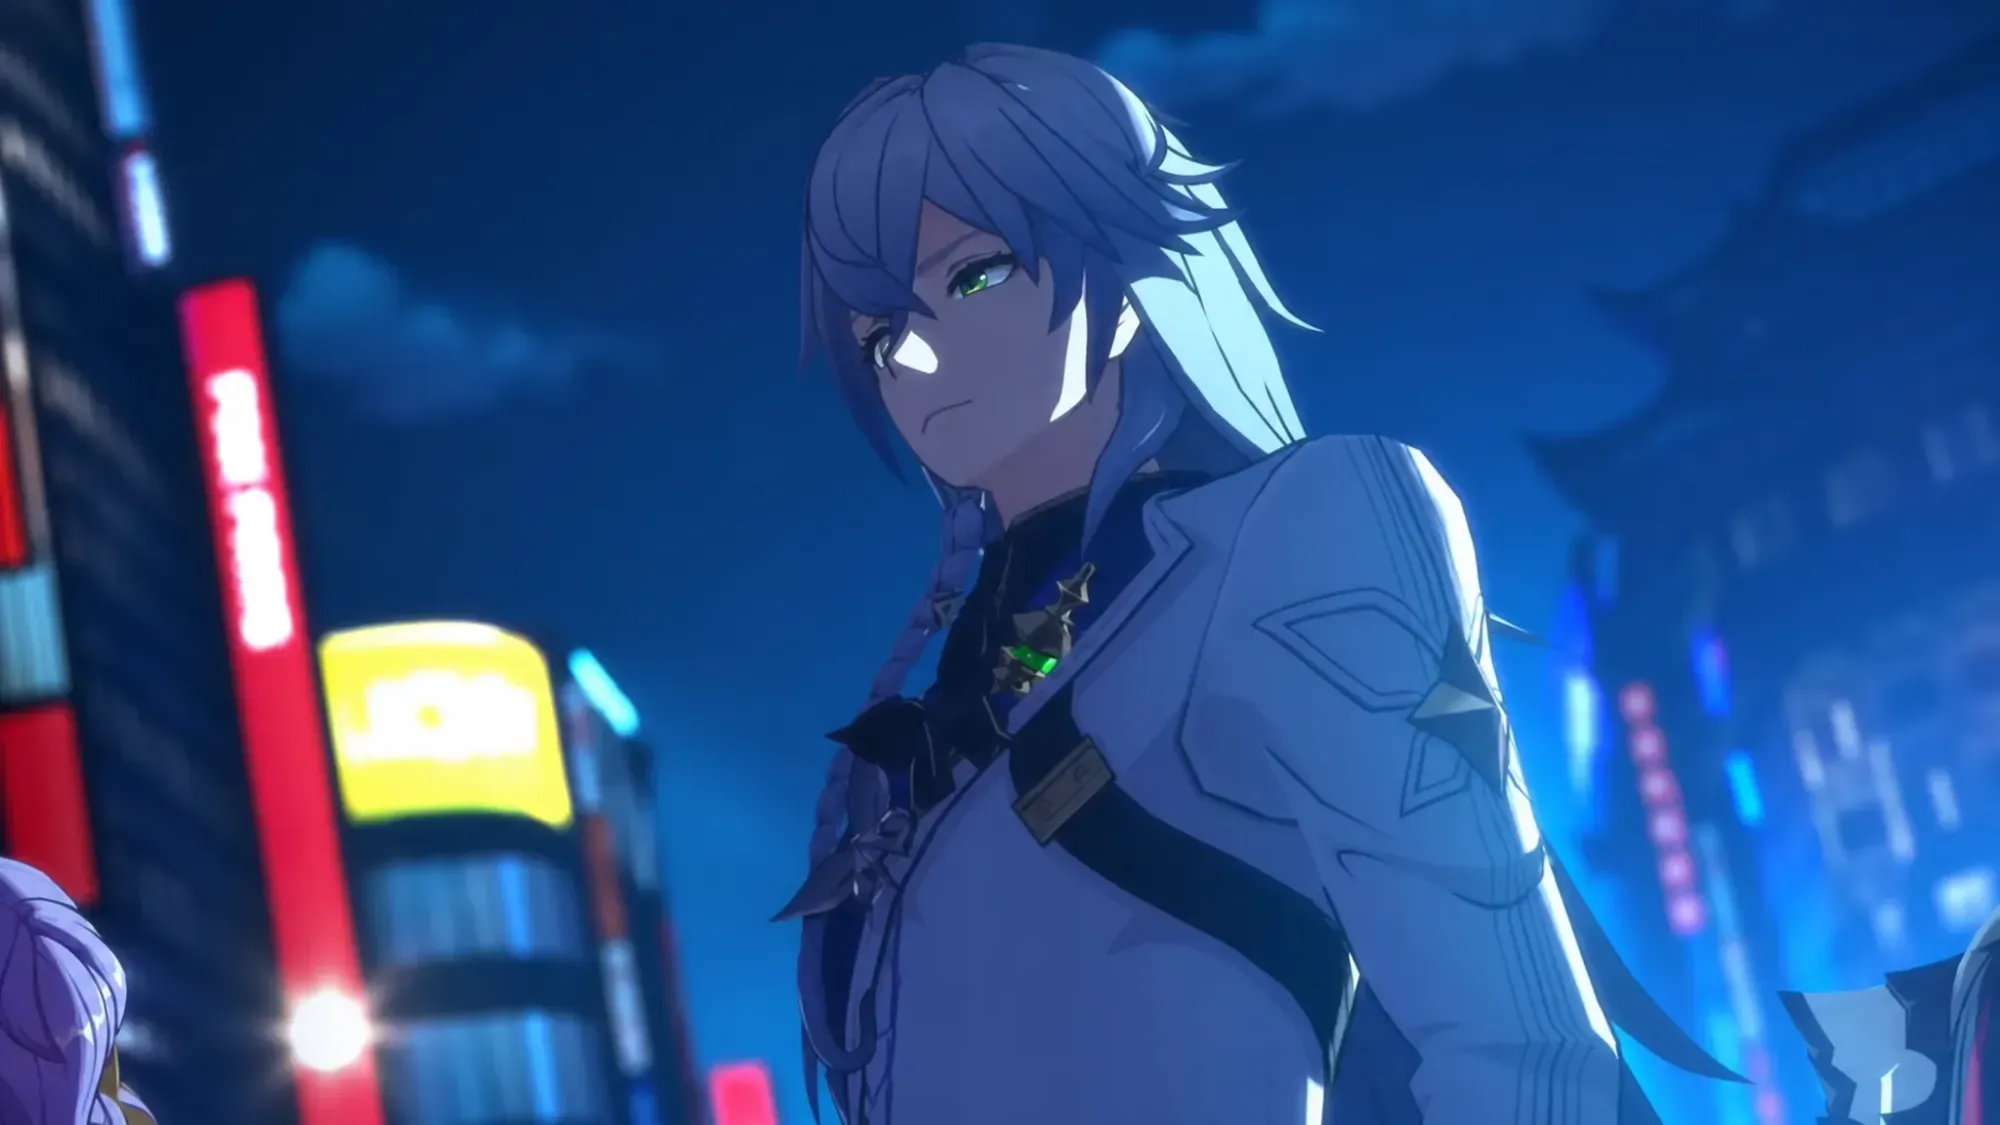
Hotori: Burst Sub-DPS that stops time
Hotori records the skills your team uses and any triggered Esper Cycles, then recasts them when she fires her Ultimate. That Ultimate also freezes time for every enemy while she draws her katana, dropping a large burst on frozen targets. Her ceiling rises further when paired with team resonance setups, making her a flexible damage amplifier.
Nanally: The strongest damage carry
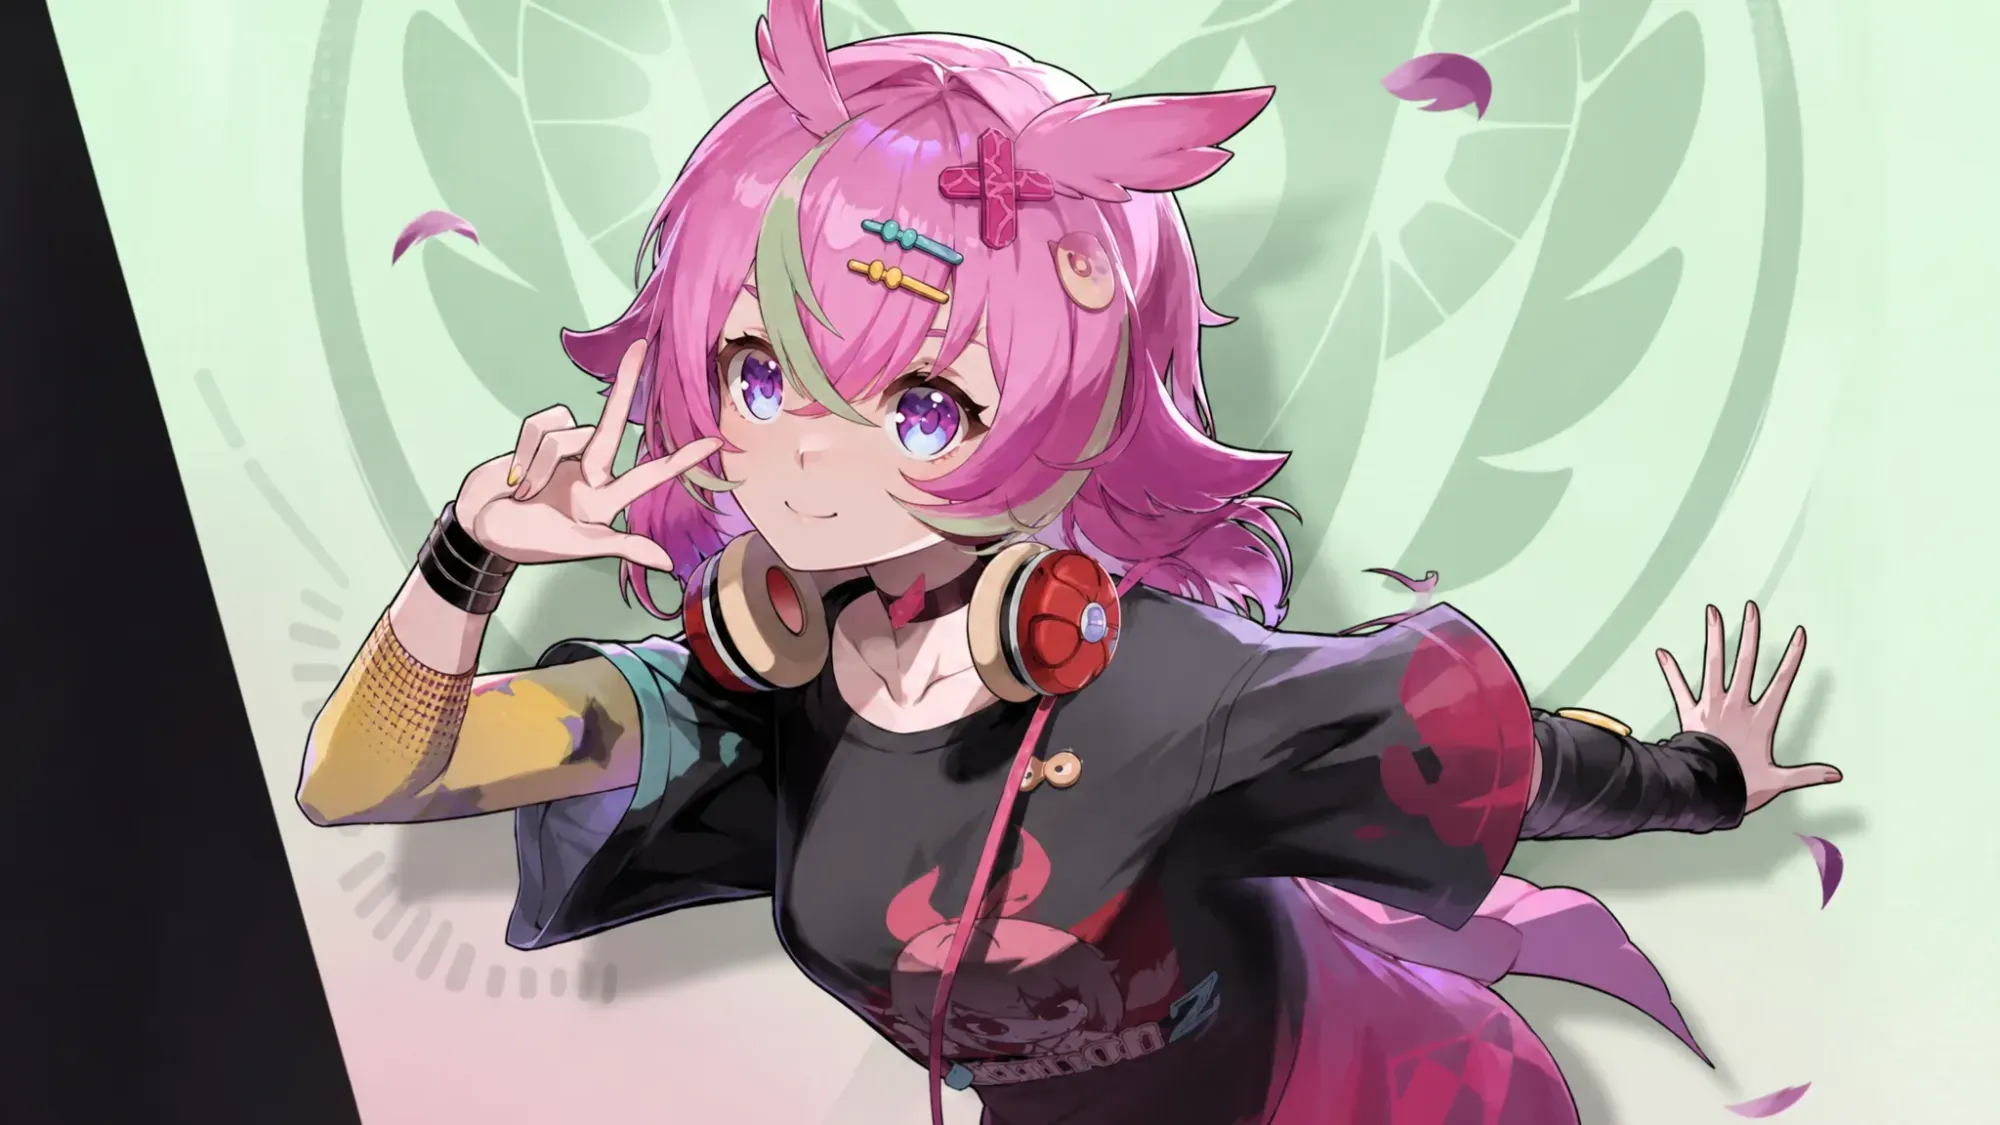
Nanally is currently the top damage character in the game. Her follow-up attacks trigger when teammates land hits, so she keeps dealing damage even off-field, then cycles into her Ultimate for a high burst. She also has an anti-gravity trait that lets her run along walls, which helps in both fights and exploration. As the S-rank unit on the Ichi-daime limited banner, she is a high-priority pull and forgiving enough for newer players.
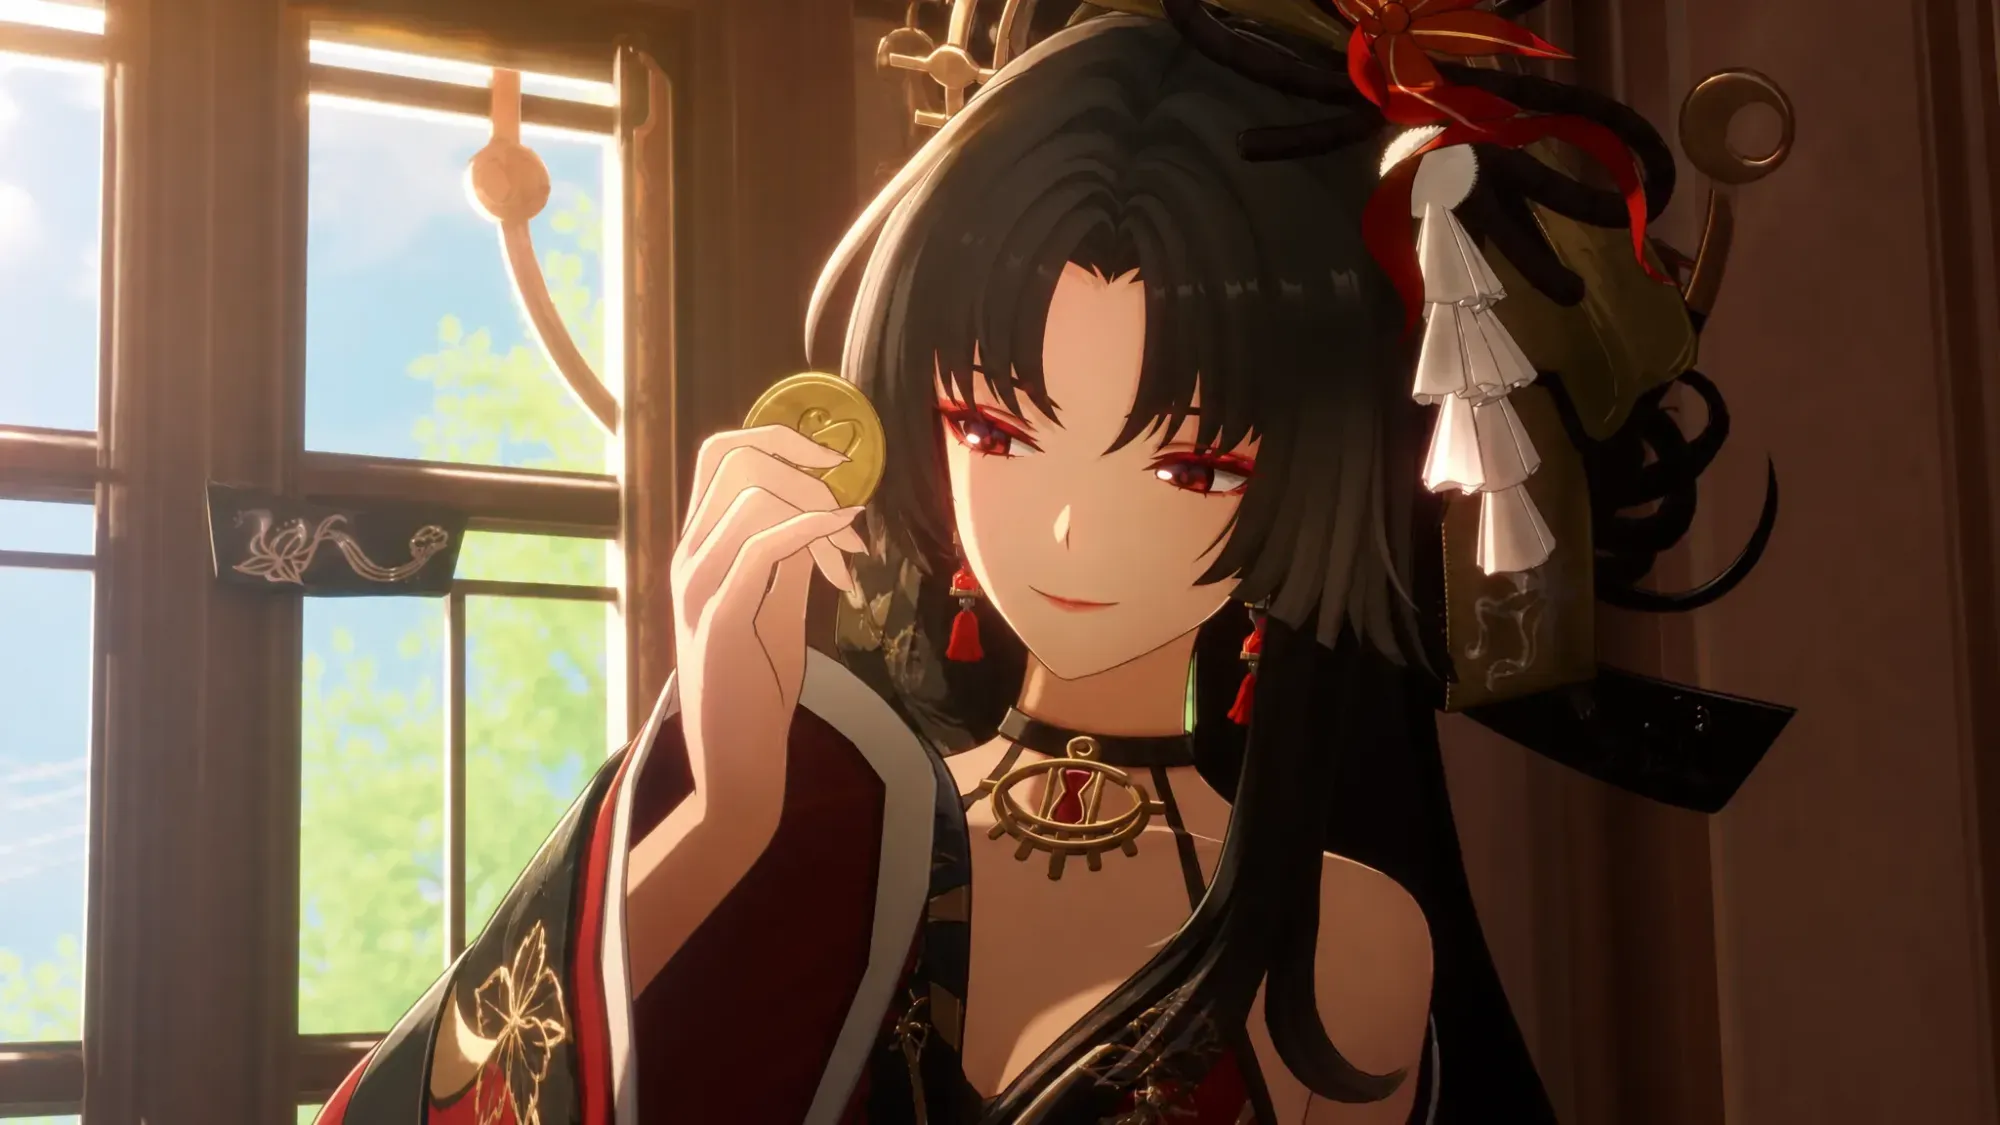
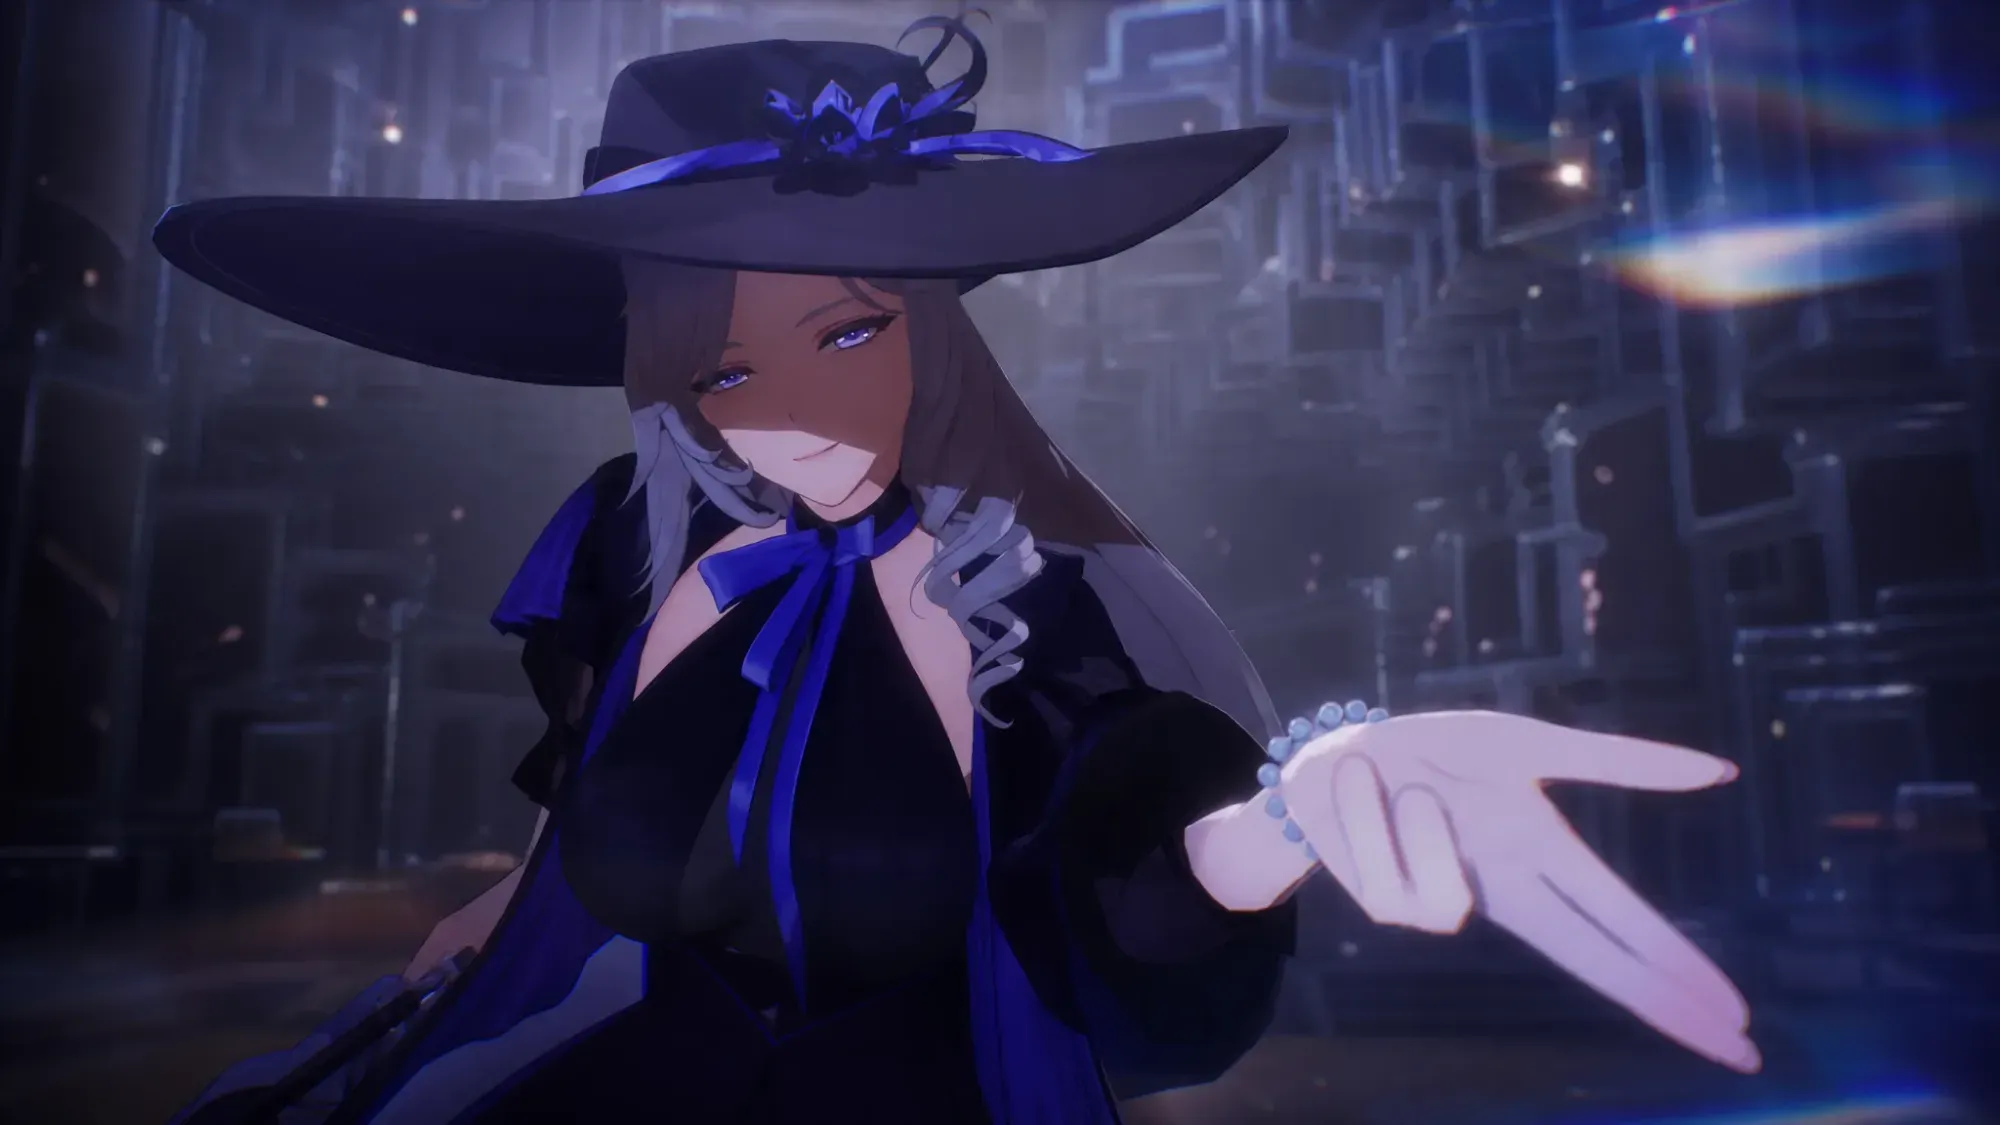
Sakiri: AoE support and crowd control
Sakiri is a summoner-style support who calls a creature to taunt, attack, and group enemies together. She layers talismans to control crowds and provides team-wide ATK buffs on top of her AoE pressure. She clears waves fast but loses value against single-target bosses. Because she is an S-class unit, she is one of the better picks from the free S-class selector.
A Tier characters: strong but role-specific
These units perform well in the right team or against the right content. They are reliable investments once your S Tier core is set.
Esper Zero: Flexible protagonist with self-heal
The protagonist fits almost any team thanks to an Esper Skill that speeds up Esper Cycles and rewards coordinated swaps. A passive self-heal gives them survivability that most damage units lack, making Zero a dependable early-game carry that later yields to specialists.
Chiz: High-skill rhythm DPS
Chiz is a free unit who can put out excellent damage early, but she runs on a rhythm-based system that demands precise timing. Played well, she rivals stronger units. Played loosely, her output drops sharply, which is why she sits below the S Tier picks.

Daffodill: Boss breaker
Daffodill specializes in white-bar Break damage, shredding a boss’s stagger meter so the rest of your team can unload. She brings strong parry and swap tools plus a long-range dodge you can use mid-combo to dodge heavy boss AoE. When she is on your team, she should be the priority swap during Support Skill parries.
Baicang: High-skill boss damage
Baicang swaps between modes for single-target hits, AoE, or self-healing, so he is flexible without mastering any one lane. His real strength is boss damage, but he leans on HP management and tight mechanics, putting his skill floor among the highest in the game.
Jiuyuan: Ranged damage with healing
Jiuyuan blends DPS and healing in one slot, letting teams stay aggressive without giving up survivability. She gathers enemies for crowd control and holds solid single-target damage in ranged mode, though she trails Sakiri on overall AoE and grouping.
Hathor: AoE damage and energy battery
Hathor charges feather stacks to release big AoE bursts, and she helps keep skill rotations flowing as an energy source. The downside is her charge animation, which leaves her open to hits while building up.

B Tier characters: usable with limits
These units still see play, but each has a flaw that keeps them out of the top brackets.
Adler: Low-effort shields and DoT
Adler hands the team shields plus damage-over-time with almost no setup, covering both defense and offense. He is about as easy to play as it gets, which makes him a strong value pick even with modest peak numbers.
Haniel: Pure buff support
Haniel is a buff-and-swap support who raises team damage and fits any lineup. Her buffs can be interrupted mid-animation, so she gets awkward in hectic fights, and she offers little outside that one job.
Fadia: The dedicated healer
Fadia is currently the only pure healer in the game. She drops protective barriers with her cross and restores ally HP through a prayer ability, and her passive shares incoming damage so a single teammate is harder to pick off. Beyond healing and some damage reflection, she brings little offense or crowd control.
Mint: Parry-focused but underpowered
Mint has good parry potential from her low skill cooldown and can handle single-target and AoE damage. She still feels like a weaker version of stronger DPS units, with limited utility and thin team synergy.
C Tier characters
Edgar, Skia, and Aurelia round out the bottom of the roster. Skia is a melee werewolf who summons shadows to bind enemies and can shift into a shadow form to dodge incoming damage, giving him decent sustained damage and crowd control. Even so, all three are generally outclassed by higher-tier options and only make sense when you lack better choices for a slot.
If you are early in the game, build around one S Tier carry, add a buffer and a survival unit, then slot in A Tier specialists like Daffodill for bosses or Sakiri for mobs as you collect them. That core covers nearly every fight in Version 1.1 without needing a full roster.