Neverness to Everness launched globally with a roster of fifteen playable Espers split across Damage, Buff, and Survival roles. The strongest picks at Version 1.0 are Nanally, Sakiri, and Esper Zero, with Haniel standing out as the rare A-Class buffer that holds an S-tier slot through pure team utility. The list below ranks every character based on raw performance, ease of use, and how well they slot into the dominant team archetypes (Nova, Scorch, Discord, Remora, Blossom, Hexed, and Charge).
Quick answer: If you can only build a few characters at launch, prioritize Nanally, Sakiri, and Zero, then add Haniel for buffs and Fadia for survivability.
NTE Version 1.0 tier list (all characters)
Tiers reflect each Esper’s overall ceiling at A0 (no duplicates) for limited S-Class units, and at their realistic free duplicate count for standard and A-Class characters obtainable through the City Tycoon mode and login rewards.
| Tier | Characters |
|---|---|
| S | Nanally, Sakiri, Zero, Daffodil, Haniel, Fadia |
| A | Baicang, Chiz |
| B | Jiuyuan, Hathor, Adler |
| C | Mint, Skia, Aurelia |
| D | Edgar |
Character roles, Esper types, and Arcs
Each Esper has a fixed element (which decides what Esper Cycle reactions they enable), a combat role, and an Arc weapon type. The table groups every launch character so you can see synergies at a glance for team building.
| Character | Esper | Role | Arc |
|---|---|---|---|
| Nanally | Anima | Damage | Plasma |
| Sakiri | Incantation | Buff | Gas |
| Zero | Cosmos | Damage | Solid |
| Daffodil | Chaos | Damage | Liquid |
| Haniel | Psyche | Buff | Solid |
| Fadia | Psyche | Survival | Synthesis |
| Baicang | Incantation | Damage | Synthesis |
| Chiz | Cosmos | Damage | Gas |
| Jiuyuan | Anima | Damage | Solid |
| Hathor | Lakshana | Damage | Plasma |
| Adler | Incantation | Survival | Synthesis |
| Mint | Anima | Damage | Liquid |
| Skia | Lakshana | Damage | Gas |
| Aurelia | Psyche | Damage | Plasma |
| Edgar | Cosmos | Survival | Liquid |
S-Tier: Must-build characters
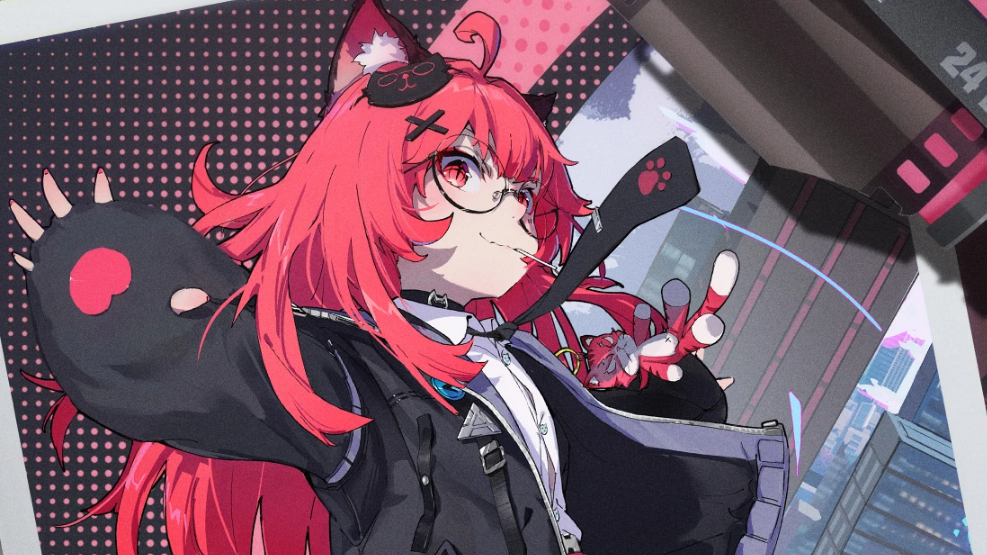
Nanally is the strongest hyper-carry in the launch roster. Her kit revolves around high ability uptime and off-field follow-up attacks from her summons, giving her consistent single-target pressure and reliable AoE. The standard rotation is Skill, then Ultimate, then basic attacks while her summons keep ticking. She also pairs cleanly with Incantation units to drive Hexed reactions, and with Cosmos and Lakshana partners to set up Charge through Anima on Remora.
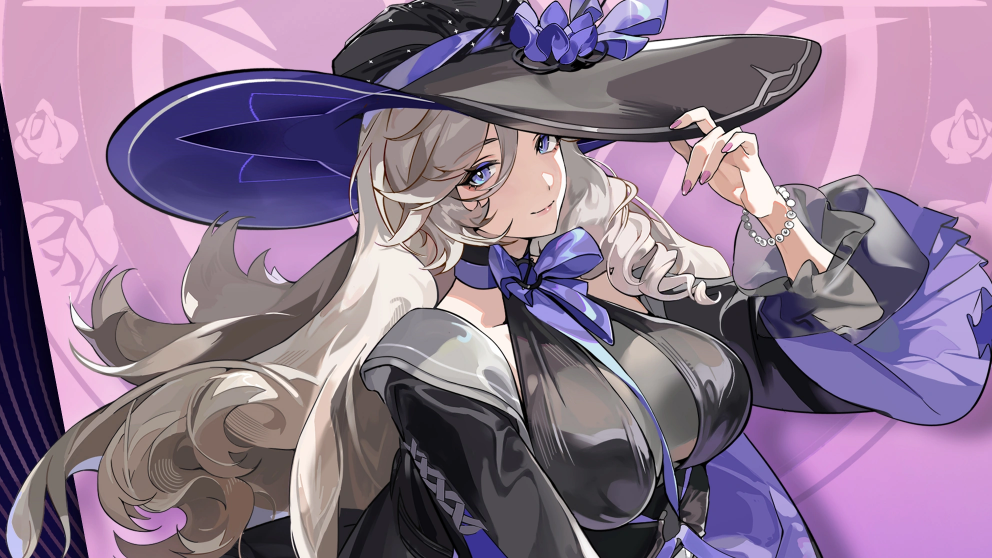
Sakiri is the best all-purpose buffer and the cleanest answer to crowd control. She levitates and groups mobs for AoE setups, and her Ultimate hands out a flat team buff. Pair her with a Chaos unit (only Daffodil at 1.0) to feed the +25% DOT bonus on Scorch states. Discord teams that apply both Scorch and Nova help recharge her Ultimate faster.
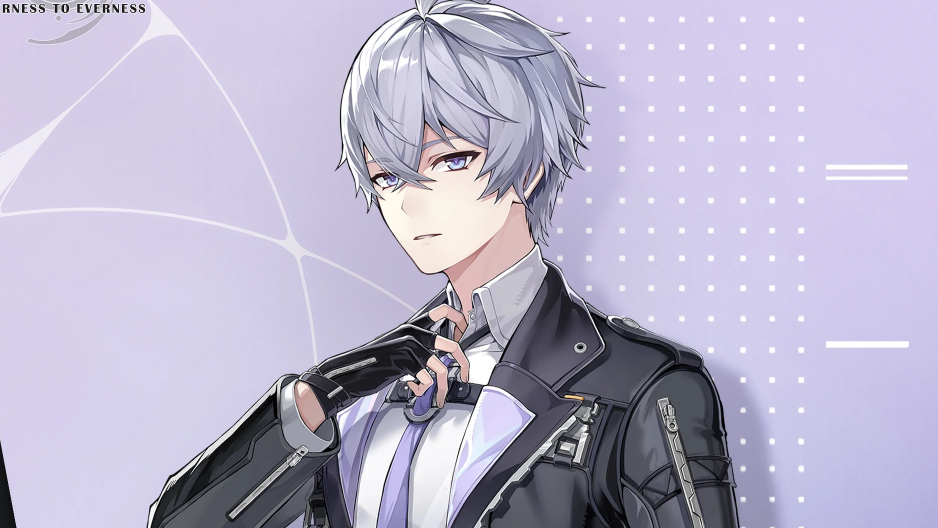
Zero, the protagonist, slots into virtually every team because the Esper Skill has a 100 Cycle Rate, which immediately triggers an Esper Cycle on press. Switch to a Lakshana ally for Remora, or to an Anima ally for Blossom. The 16-second cooldown keeps reactions rolling, and the free Awakening copies grant a team-wide attack buff that compounds with any buffer you bring along.
Daffodil is a burst sub-DPS who thrives on rapid swap rotations. Her white-bar damage breaks bosses quickly, and she is the only Chaos Esper in the game, which makes her the required enabler for any Psyche, Incantation, or Discord cycle reaction. She gains stacking buffs on swap-in, so build teams that move her in and out fast rather than parking her on the field.
Haniel is an A-Class unit that punches well above her rarity. Her passive provides Nova Enhancement, while her Skill and Ultimate deliver flat team attack buffs. She is given out for free with extra Awakening copies through pre-registration and login rewards, so virtually every account starts with her near her ceiling. Run her with a Chaos unit to enable Nova, or place her in any Lakshana or Discord team.
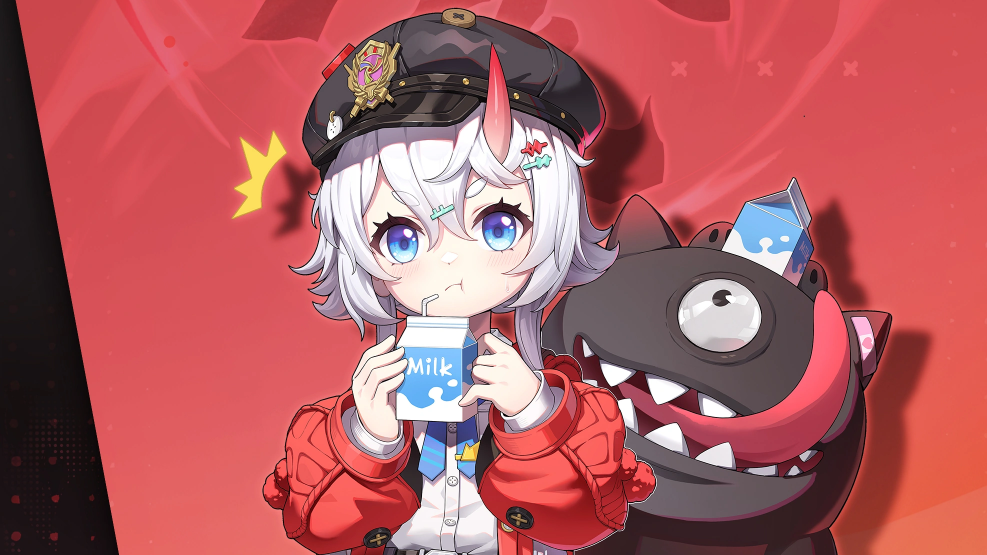
Fadia redirects damage from her teammates onto her own HP pool and self-heals through her Ultimate. When she drops to 1 HP, the redirected damage is split among the team, which makes the squad effectively unkillable until Fadia herself goes down. She is the safest pick for casual players and for harder Beyond the Rails attempts, where dodge timing slips.
A-Tier: Strong picks with conditions
Baicang is a Scorch main DPS with the highest skill ceiling at launch. The optimal loop requires holding the third basic attack against bosses (or the second against mobs) to apply specific Power Words, and saving his Skill for use after a perfect dodge to trigger silent thought. Even without the advanced execution, he clears endgame content when paired with Daffodil for Chaos and a buffer like Sakiri or Haniel.
Chiz is a free S-Class earned through the Tycoon mode, and her Awakenings come along the same track. Her damage scales off Grain stacks built from basic attacks, then dumped through three consecutive Skill casts. During her Ultimate state, watch the percentage chart that appears and aim for 50% windows to maximize her Skill damage. Strong in Remora and Blossom teams, especially with multiple free duplicates active.

B-Tier: Usable with investment
Jiuyuan is a versatile burst DPS with a forgiving kit. Her Skill pulls enemies in for crowd control, and her gun-symbol indicator at the bottom of the screen tells you when to hold basic attack for the empowered finisher. She works best in Blossom teams with a Chaos partner, and she can also enable Hexed with Incantation allies.
Hathor is a burst DPS that charges feather stacks through her motorcycle summon for big AoE windows. Her main weakness is the long charging animation, which leaves her vulnerable while she sets up. She holds value in Remora teams once charged, and her crit and damage uptime are competitive after a full setup.
Adler is a free A-Class survival unit whose Skill grants the entire team a temporary shield on a single press. His passive enhances Scorch, which makes him a budget enabler before you pick up Baicang. Personal damage is low, and he scales off defense rather than attack, so attack buffers like Haniel and Sakiri do not boost him directly.
C-Tier: Outclassed but functional
Mint is a free A-Class main DPS with a low-cooldown Skill that makes parries easy to chain. She handles single-target and AoE adequately and fits Blossom teams, but higher-tier DPS units overshadow her once you have options. Her first Awakening is required to keep her relevant in tougher fights.
Skia applies Fang Thrusts through basic attacks and his Skill, then enhances them with his Ultimate. He synergizes with Lakshana cores like Chiz, but his damage stays low until every Awakening is unlocked. AoE crowd control is his most useful contribution.
Aurelia rides a jellyfish mount that provides crowd control through her Ultimate and decent Nova synergy. Damage output and aerial mobility are limited, which hurts her against fast-moving bosses. Pull her Awakenings if you plan to invest, otherwise she is mainly a free Nova filler.

D-Tier: Skip unless you’re a fan
Edgar is a pure healer whose recovery zone is stationary, which fights against the constant repositioning required in NTE’s combat. He provides no shield, no buff, and no meaningful damage, and his element can interfere with some reaction loops. Charge teams with an Anima character applying to a Cosmos + Lakshana Remora are the only configuration where he produces real value.
How to read these tiers in practice
NTE is a team-based action game, so individual rankings matter less than how characters fit together. Three core team archetypes carry most of the launch meta. Nova teams (Chaos + Psyche) center on Daffodil, Haniel, and a flex DPS. Scorch teams (Chaos + Incantation) revolve around Baicang or Sakiri with Daffodil enabling. Remora and Blossom teams (Cosmos + Lakshana, then Anima follow-up) work best with Zero plus Nanally or Chiz.
Free-to-play accounts can clear all current content at A-Class quality, especially with Haniel buffing, Adler shielding, and Chiz scaling through Tycoon duplicates. Paid pulls deliver the biggest jump on Nanally and Sakiri, since both define the strongest team comps and do not require duplicates to function.
The roster will expand as new banners arrive, and characters such as Lacrimosa and Hotaru are confirmed for future patches. No official release date for the next character banner is currently confirmed, so this list reflects the Version 1.0 launch lineup only and will shift as new units, balance changes, and Esper Cycle interactions land.