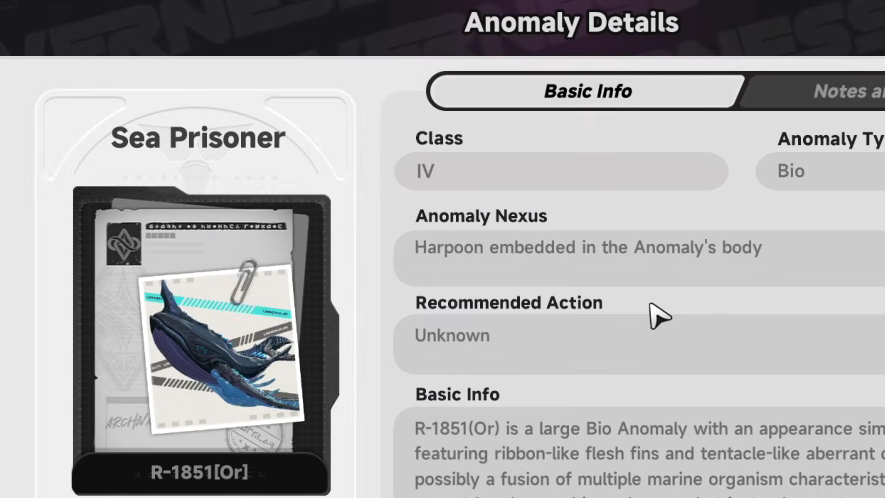
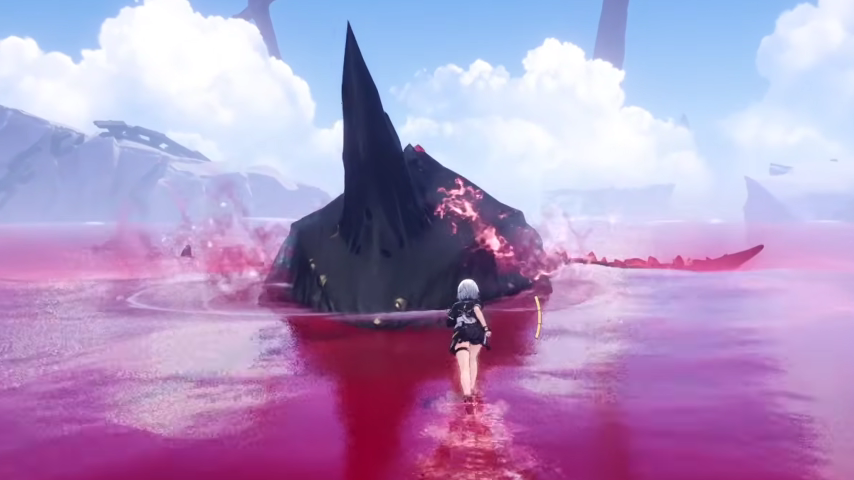
Sea Prisoner is a hidden world boss in Neverness to Everness (NTE) tied to the Deep Blue Sorrow Anomaly Commission in the New Herland District of Hethereau City. The trick is not the fight itself but the trigger: the boss only appears if you approach the arena in a 4-wheeled vehicle through Nautili Tunnel.
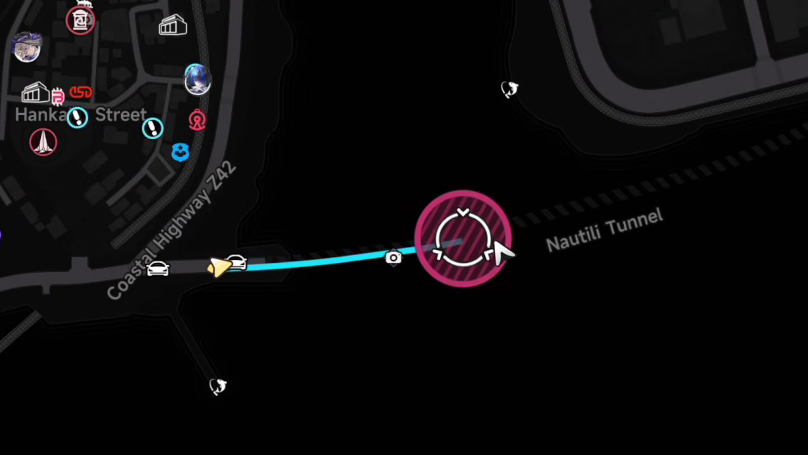
Quick answer: Drive any car eastbound into Nautili Tunnel between Bridge Crossing and New Herland District, follow the anomaly road that opens up until you reach the arena, then defeat the Sea Prisoner and interact with the blue anchor to finish the commission.
Sea Prisoner location and unlock requirements
The arena sits east of Cape Square in the New Herland District, but it can only be entered through an Anomalous Realm hidden inside Nautili Tunnel. A 4-wheeled vehicle is mandatory; motorcycles and on-foot approaches will not spawn the anomaly. After the first clear, the Sea Prisoner becomes a repeatable Anomaly Hunt boss and unlocks fast travel to the area.
| Requirement | Detail |
|---|---|
| Vehicle | Any 4-wheeled car (summon with Key Fob on the roadside) |
| Region | New Herland District, Hethereau City |
| Entry point | Nautili Tunnel (Coastal Highway Z42), eastern entrance recommended |
| Commission | Deep Blue Sorrow (Anomaly Commission menu) |
| Element weakness | Anima |
How to spawn the Sea Prisoner in Nautili Tunnel

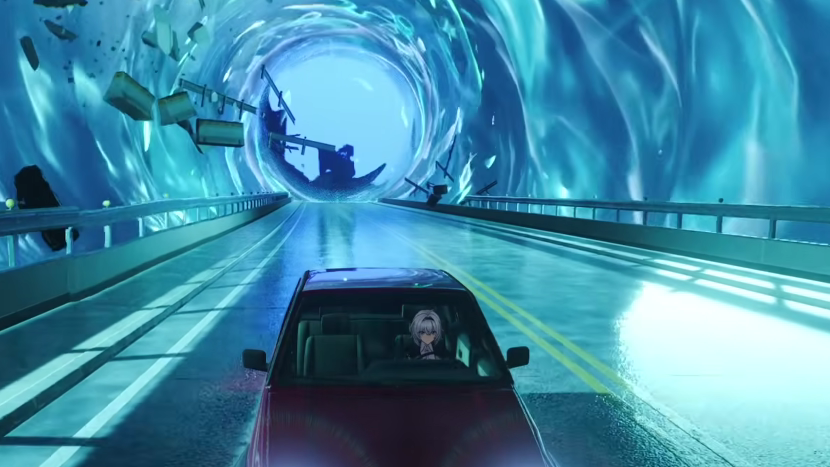
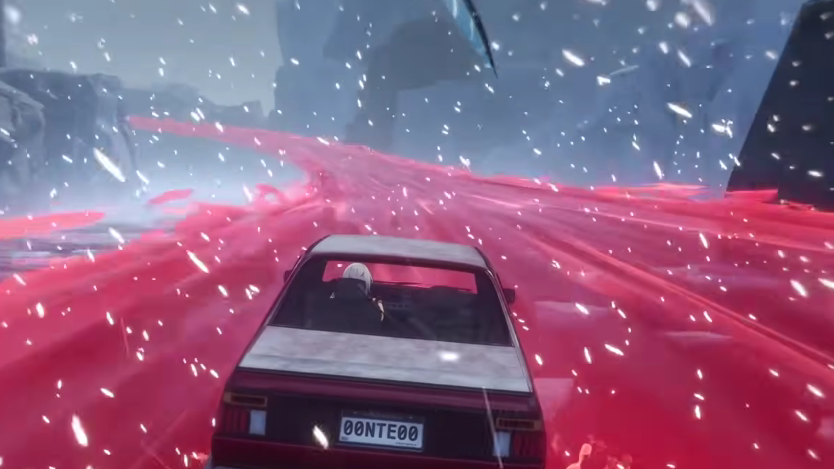
You know the trigger worked when the tunnel transitions into a stormy ocean corridor, and the boss arena loads at the end of the road.
Sea Prisoner fight: Phase 1 attacks and counters
The Sea Prisoner is large, slow, and telegraphs almost everything with a red glint. Anima damage is its hard counter, so units like Nanally, Jiuyuan, and Mint shred its health bar quickly. The cleanest damage windows come right after it dives and resurfaces.
| Attack | Counter |
|---|---|
| Red water projectiles from the air | Dodge sideways to trigger i-frames |
| Underwater dive with vortex under your feet | Dodge as it resurfaces; do not try to outrun it |
| Horn dash through a straight-line vortex | Parry with any Redirect Skill, Ultimate, or Basic Attack as it closes in |
| Slow flying lunge | Dodge on the red glint, then punish with sustained damage |
A successful parry on the horn dash leaves the Sea Prisoner vulnerable for a long window. This is the highest-value damage opportunity in the fight, so prioritize learning that timing over chasing it during dives.
Phase 2 transition and new attacks
Phase 2 starts when the Sea Prisoner loses roughly a third to half of its HP. The sky darkens, rain begins, and the boss becomes noticeably more aggressive. The fundamentals stay the same, but two new attacks enter the rotation.
- Red anchor drop: The boss hurls a glowing anchor in a straight line from high above. Side-dodge once it commits.
- Tsunami waves: Sweeping waves of red water travel toward you. Do not sprint away. Dodge through them; the i-frame window is generous.
- Geysers and whirlpools: Predictive circles appear on the ground before they erupt. Step out or dodge through them on activation.
Recommended teams
| Role | Team A (Nanally lead) | Team B (Hathor lead) |
|---|---|---|
| Main DPS | Nanally | Hathor |
| Sub-DPS | Skia | Jiuyuan |
| Sub-DPS / Support | Chiz | Mint |
| Support | Mint | Edgar |
With Team A, pairing Nanally and a Cosmos unit triggers the Blossom Esper Cycle. Following Blossom with a Lakshana unit converts it into Charge, restoring Ultimate energy across the party. Team B follows the same loop but uses Hathor as the burst window, with Edgar’s Skill or Ultimate providing both healing and a follow-up trigger.
Rewards for clearing Deep Blue Sorrow
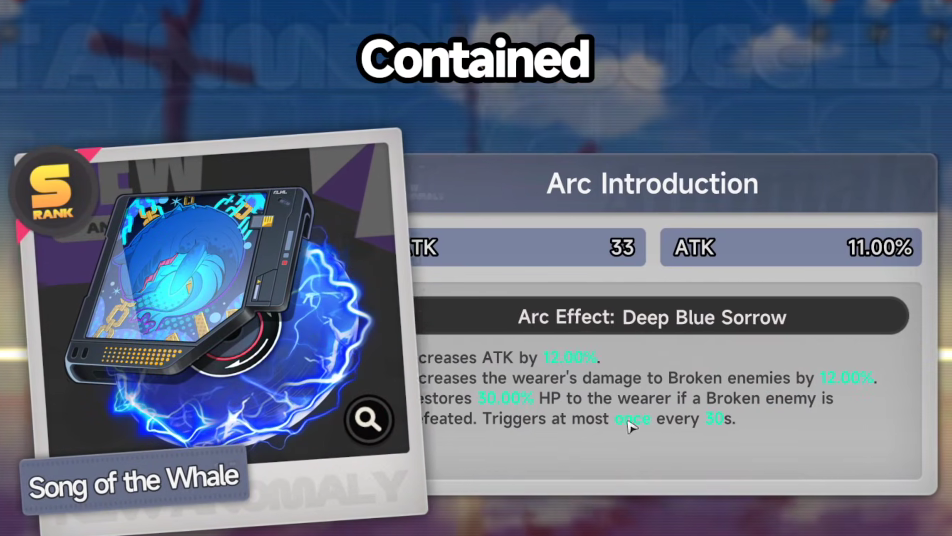
First-clear rewards arrive in two parts: the commission payout and a separate item from the blue anchor in the arena center. Pick up the anchor reward before leaving, otherwise you forfeit the S-Rank Arc.
| Reward | Amount |
|---|---|
| 52 Hertz Achievement | 1 |
| New Herland District Footprint Points | +32 |
| Hunter Level EXP | 300 |
| Annulith | 40 |
| Anomaly Material Selection Box I | 5 |
| Silver Corrota | 80 |
| Fons | 15,000 |
| U-00NE | 30 |
| Beetle Coin | 7,500 |
| Song of the Whale (S-Rank Arc) | From the blue anchor in the arena |
Repeat clears as an Anomaly Hunt drop Tear of the Sea, Hunter EXP, Beetle Coins, Arcane Thread, and Magic Thread. Tear of the Sea is a red-liquid Character Ascension Material, so this boss becomes a recurring farm target once you have characters that need it.
Common reasons the boss does not spawn
- Approaching the tunnel on foot, on a motorcycle, or in any non-4-wheeled vehicle.
- Stopping or exiting the car after the anomaly notification appears but before the arena loads.
- Driving the wrong direction through the tunnel without committing to a straight line. Entering from the west and heading east is the consistent path.
- Not having the Deep Blue Sorrow commission tracked, which can hide the anomaly trigger on some accounts.
Once the arena loads and the Sea Prisoner descends, the encounter is locked in. From there, the fight is a pure test of dodge timing and that one parry on the horn dash. Bring an Anima-heavy team, learn the red glints, and the Song of the Whale Arc is yours on the first clear.