Outbound drops you into a colorful open world with a camper van, a couple of empty workstation slots, and a vague suggestion to go explore. The early hours are gentle, but they reward players who understand how energy, recycling, and Signal Towers feed each other. The right opening moves turn a slow tutorial drive into a self-sustaining mobile base within an hour or two.
Quick answer: Pick up every piece of scrap metal, wood, and litter you pass, build the Recycler first to convert trash into Download Vouchers, then spend your earliest vouchers on the Axe and Sickle so you can harvest the wood and fiber needed for everything else.

Pick a van that fits your playstyle
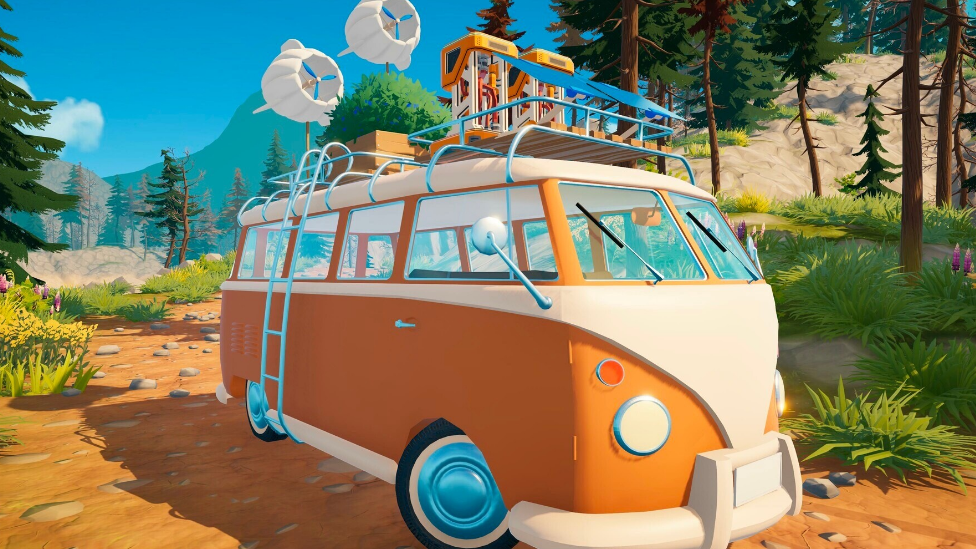
The starting choice between the small camper, the mid-size van, and the larger vehicle (the school bus arrives as DLC content) is mostly about trading speed for space. Smaller vans handle better, but cap your building area and carry weight early. The bigger options move slowly and steer loosely, but they let you stack workstations on the roof and avoid constant inventory trips.
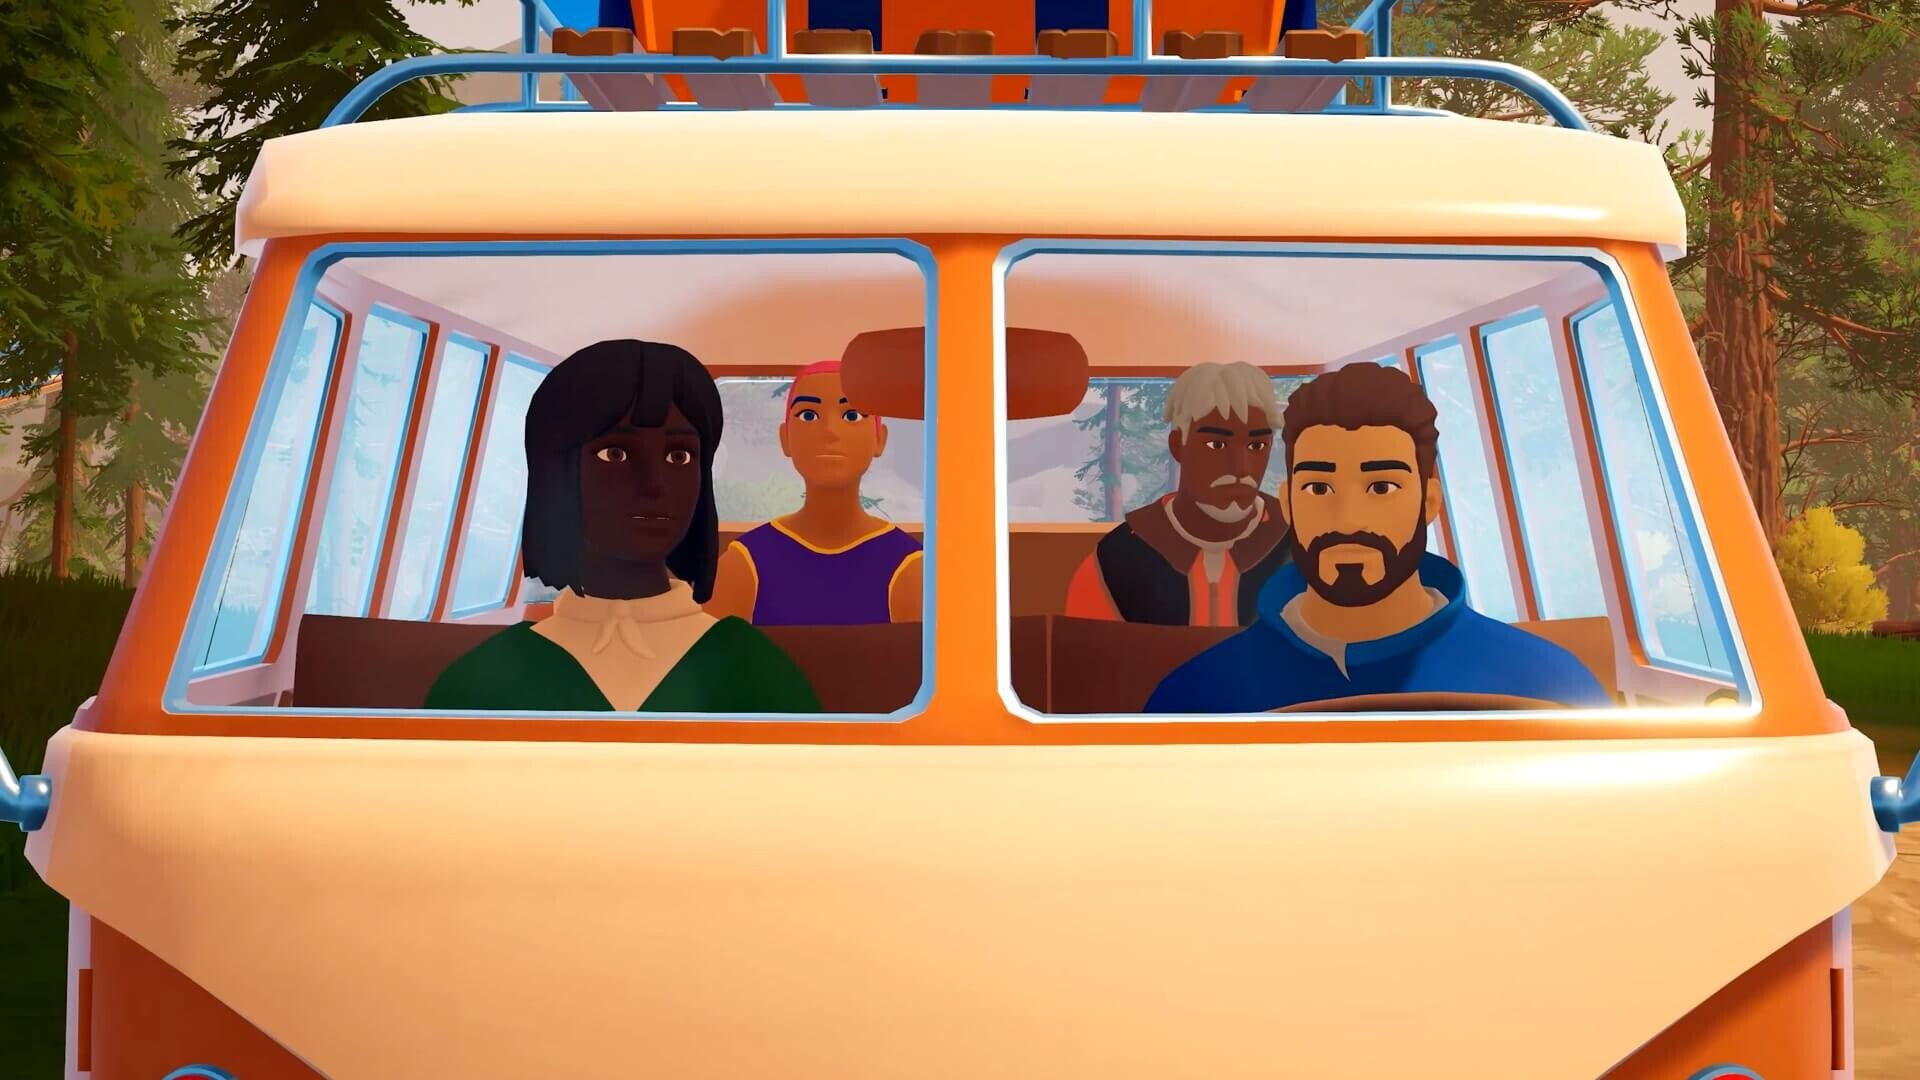
Outbound is paced around stopping, gathering, and crafting rather than racing between objectives, so handling matters less than it looks. If you plan to play solo or with up to three friends in co-op, the larger van usually pays off because you can mount more crafting benches without dismantling anything later.
Learn the first map before you upgrade anything
You start in a tutorial pocket of the first biome with a campfire, a supply crate, and a nearby Signal Tower. Light the campfire with the Everwood from the crate, then download the Basic Tools blueprint at the tower. That single download unlocks the Wrench and Building Hammer recipes, which gate almost everything else.
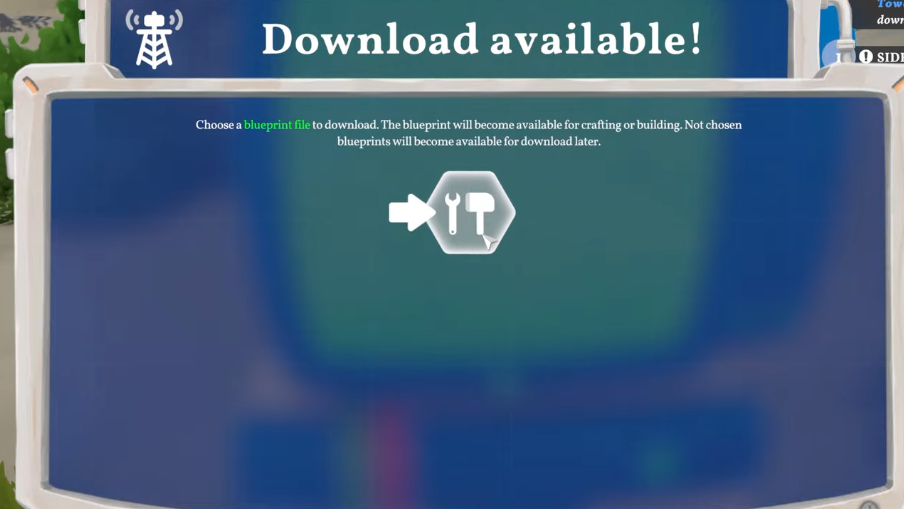
Each Signal Tower only lets you pick one blueprint per visit, and you need a Download Voucher to claim it. Plan your route so you can reach a second tower soon, because progress stalls quickly without a steady voucher supply.
Build the Recycler before any decoration
The Recycler is the single most important early workstation. Drop the litter, broken bottles, and miscellaneous trash you pick up along the road into it, and it produces Download Vouchers. Those vouchers are the currency that buys every future blueprint at Signal Towers, from the Axe to the Sawmill to the Sewing Machine.
To place it, open the van’s side canopy to enter build mode, then craft the Recycler from your workbench. Skip cosmetic items, beds, and chairs until your tool tree is filled out. Decoration looks nice, but it eats wood you will need for tools and platforms.

Prioritize these blueprints first
Signal Towers offer a rotating menu of tool, workstation, and upgrade blueprints. The strongest early picks are the ones that unblock travel and resource gathering. Spend vouchers on these before furniture, lights, or van paint.
| Blueprint | Why it matters early |
|---|---|
| Axe | Chops large dead logs blocking roads and yields five wood per swing instead of one |
| Pickaxe | Breaks moss rocks that seal off tunnels between biomes |
| Sickle | Harvests large bushes and wheat for fiber and grain seeds |
| Sawmill | Turns Everwood into planks, required to repair broken bridges |
| Sewing Machine | Crafts fabric items, including upgraded storage and backpack pieces |
| Food Processor | Cooks raw ingredients into jams and meals that restore more hunger |
Tool tiers matter too. Axe 2, Pickaxe 2, and Sickle 2 appear at later towers and let you harvest tougher nodes. If a tower offers a tier-two tool you already use constantly, take it over a new workstation.
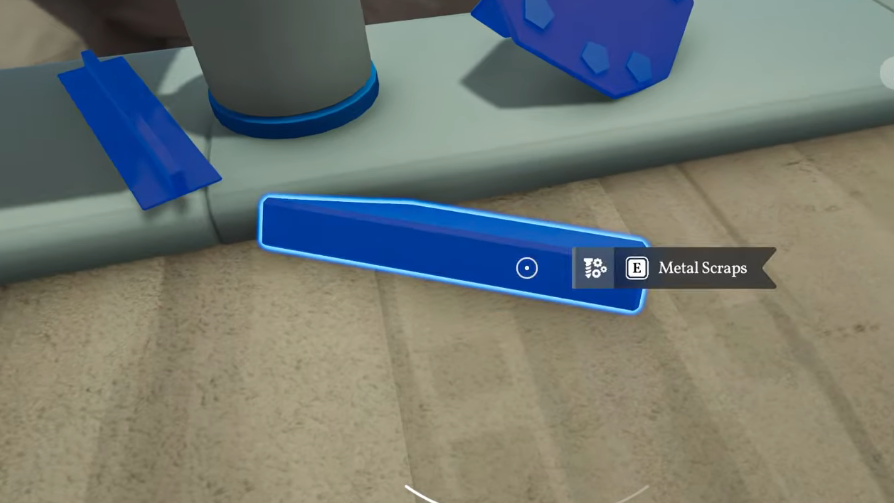
Pick up everything, especially scrap metal
Scrap metal is the most frequently bottlenecked resource in the opening hours. It gates the Wrench, basic tool repairs, and many workstation recipes. Scrap piles spawn around the bases of Signal Towers in the first, second, and fourth biomes, and they respawn every day or two, so it pays to loop back through cleared towers.
The same logic applies to litter. Every can, bottle, and piece of debris becomes a voucher in the Recycler, and vouchers convert directly into blueprints. Stop the van often, and clear visible piles before driving on.
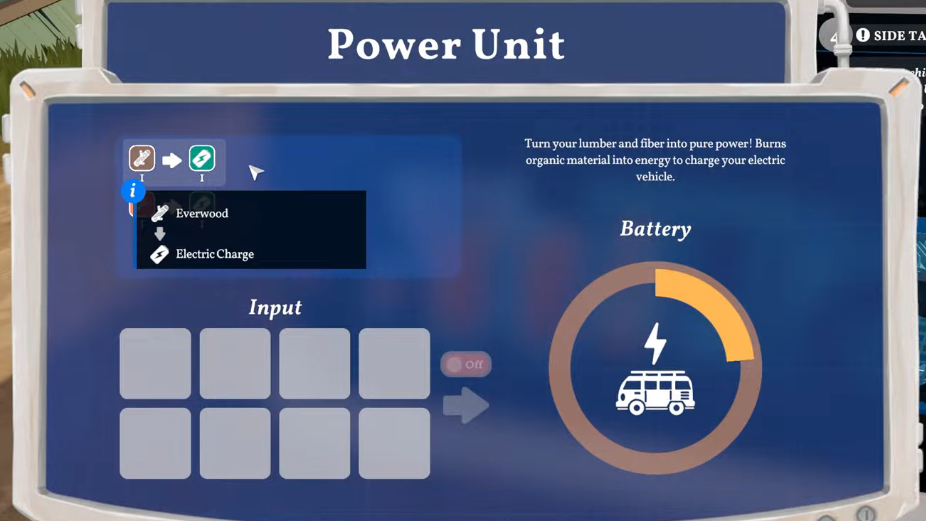
Manage energy by matching generation to load
Your van runs on a battery that powers the motor and any installed workstations. Energy comes from three renewable sources: solar panels, wind turbines, and water-driven generators. Each source performs differently depending on weather and biome, so the early mistake to avoid is bolting on a power-hungry crafting station before checking what your current setup can sustain.
If the battery drains, you can recharge at the control panel stations placed in every biome, usually near landmarks. You can also feed wood directly into the engine compartment as fuel for a slow trickle of power. Plan stops around recharge stations until you have at least one stable renewable source on the van.
Eat early, farm later
Hunger does not kill you quickly in Outbound, but once your food bar empties, your health starts ticking down. The easiest early food is roadberries, the blue berries growing on small bushes near most roads. Pick them as you pass and eat them raw until you unlock proper cooking.
Falls from height also damage health, and dying carries no real penalty beyond a respawn, so you can take risks scouting cliffs and towers without worrying about lost progress. Water from wells fills a bucket that you will need later for cooking recipes and planting crops, so grab a bucket whenever a well appears.
Repair the drawbridge to open the first map
One of the first map’s main objectives is lowering a drawbridge that blocks a coastal route. The fix needs 20 Everwood processed into reinforced planks at a Sawmill, which means you need the Sawmill blueprint downloaded first. The Sawmill schematic is sold by the forecast tower located southeast of the Fire Lookout Tower for one Download Voucher.
Once the bridge is down, you gain access to broken bridges and another stretch of road that leads toward the tunnel into the second biome. Confirmation that the repair worked is straightforward, the bridge animates down, and the tracked objective updates in your journal.
Move between biomes with the right tools ready
The world is split across four maps connected by tunnels and passes. Moss rocks block the tunnel out of the first biome, and only the Pickaxe can clear them. The second biome introduces redwood, which appears again as a key material in later areas, so stockpile it on first contact even if you do not have an immediate use.
You can return to earlier biomes at any time through the same tunnels, which matters because collectibles like gnomes and cairns are scattered widely and some need higher-tier tools to reach. Treat the first biome as a base you keep revisiting, not a level you finish and leave behind.
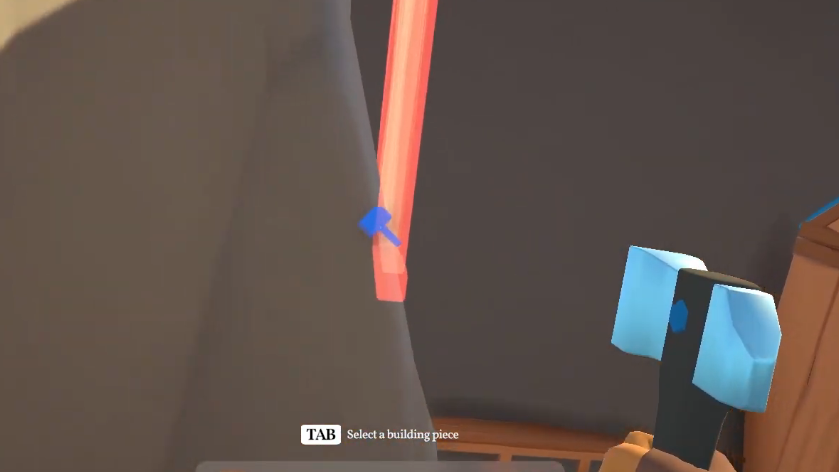
Build up before you build out
Once the canopy is deployed and you have set up camp, you can build on the roof of the van as well as inside it. Stacking workstations vertically keeps the interior clear for the bed, fridge, and storage chests while still letting you craft from a single parking spot. When you pack up camp, every roof structure collapses back into compact storage automatically, so there is no penalty to expanding.
Storage upgrades are worth crafting as soon as the recipe appears. Each one increases inventory slots noticeably and cuts down the number of return trips needed between resource nodes and your base.
The cozy pacing of Outbound hides a tight progression loop underneath. Lock in the Recycler, fund vouchers with litter, take the Axe and Sickle at your first opportunities, and the rest of the map opens up at whatever speed suits you. Pet Blaze along the way.