The Build Planner is a native feature added to Path of Exile 2 in the 0.5 update, Return of the Ancients. It reads a community-made .build file and overlays a creator’s plan directly onto your character, marking the passive tree nodes to take, the skill and support gems to cut, and the gear to look for. It does not build or edit anything for you. It only displays a file you place on your computer.
What the Build Planner does
Character progression in this game stacks several systems on top of each other. The passive tree holds hundreds of nodes, Ascendancy choices branch off it, skill gems sit on top, support gems link into those, and gear changes everything again. The Build Planner takes a creator’s finished plan and turns it into an in-game overlay so you can follow it without alt-tabbing to a browser or a second monitor.
Once a build is loaded, the client shows the creator’s selected passive nodes, Ascendancy picks, the skill gems required in each slot, recommended support gem links, and gear slots that either name an exact unique item or describe what affixes to look for. Creators can also attach short notes to individual nodes, gems, and gear pieces to explain trade-offs or upgrade priorities. You can load more than one build at the same time and toggle between them from a dropdown in each panel.
Download a .build file
Community creators export their guides as a .build file, which is a JSON document, and publish it on build sites. Many planners and guide pages include an export button that produces this file directly.
.build. You will need its location for the next step.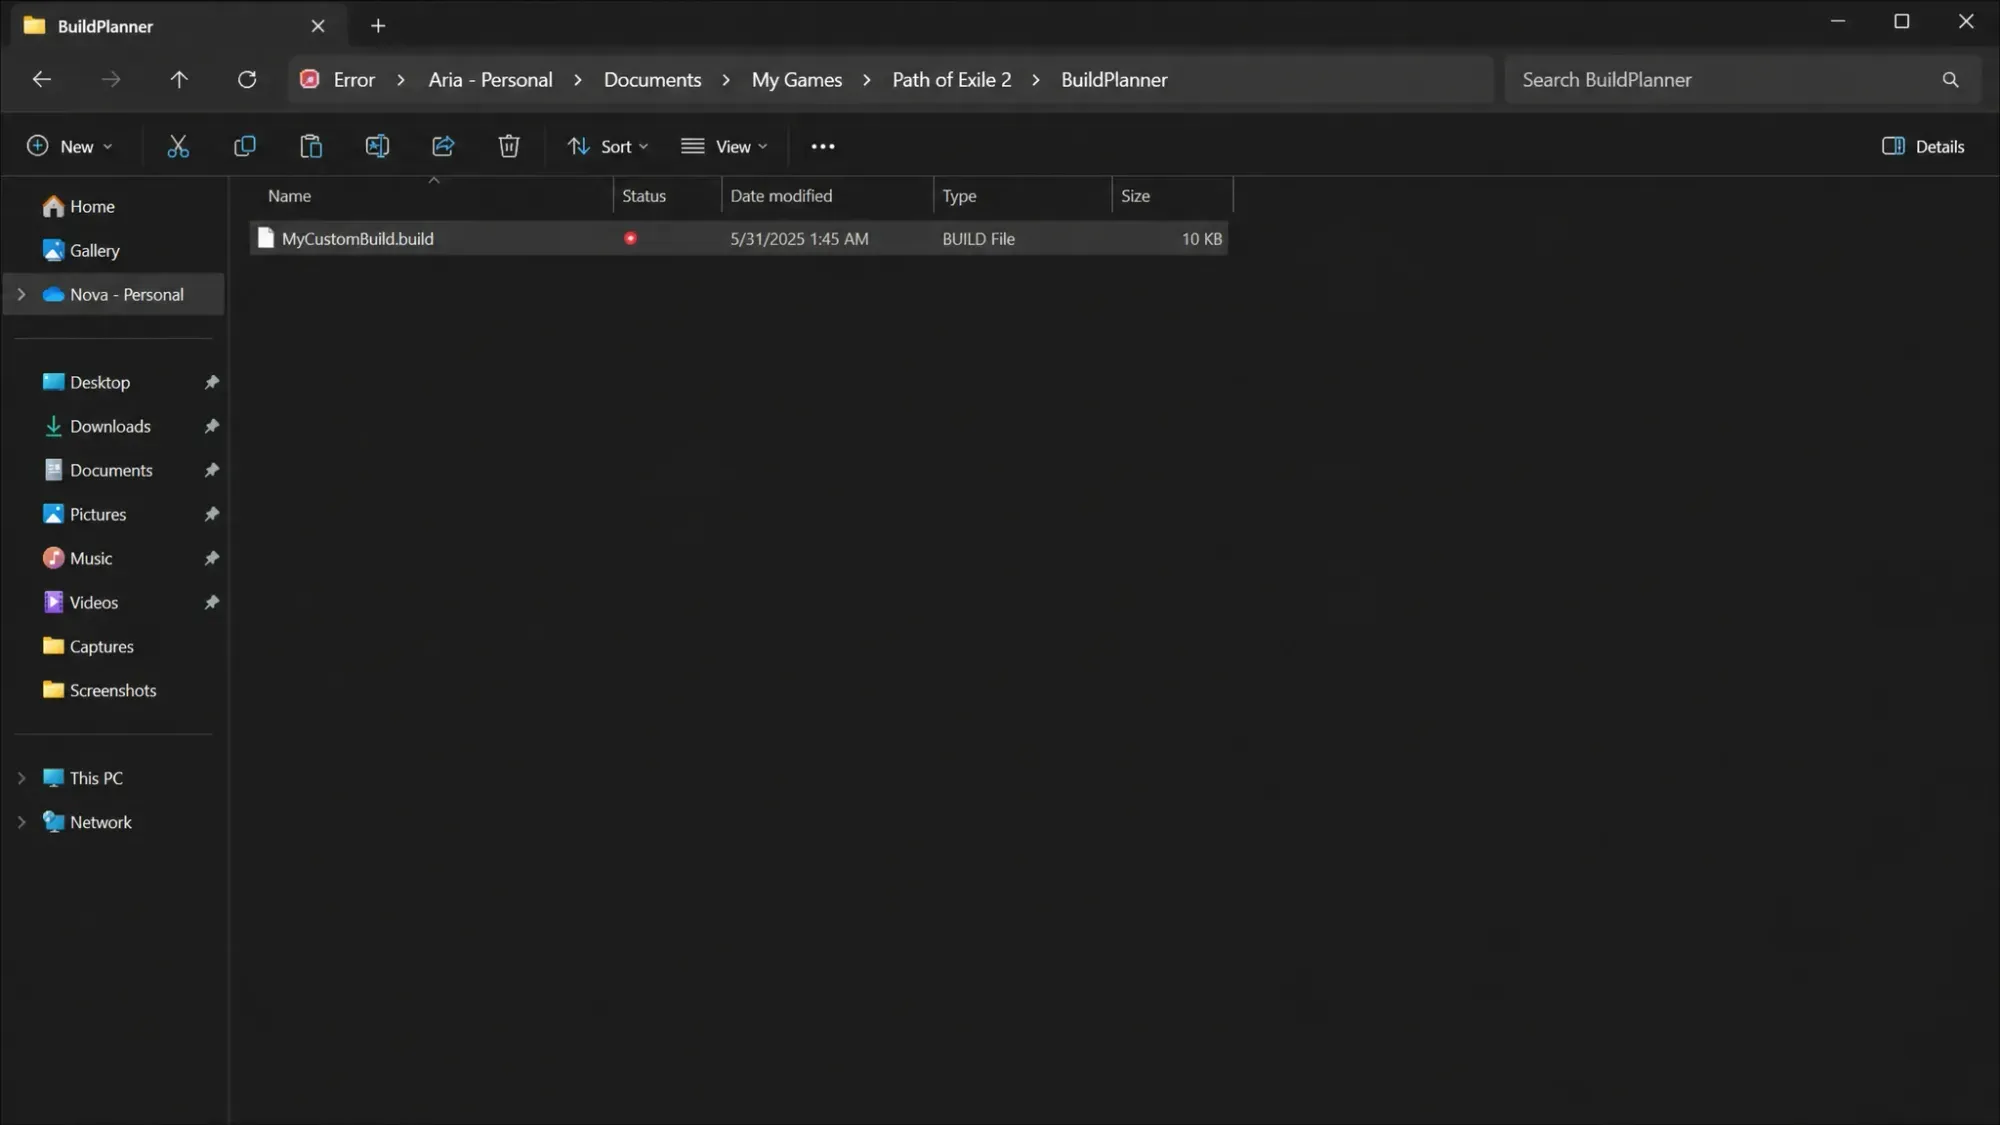
Move the file into the BuildPlanner folder
The game only reads builds from one specific folder. Putting the file anywhere else means it will not appear in the selector.
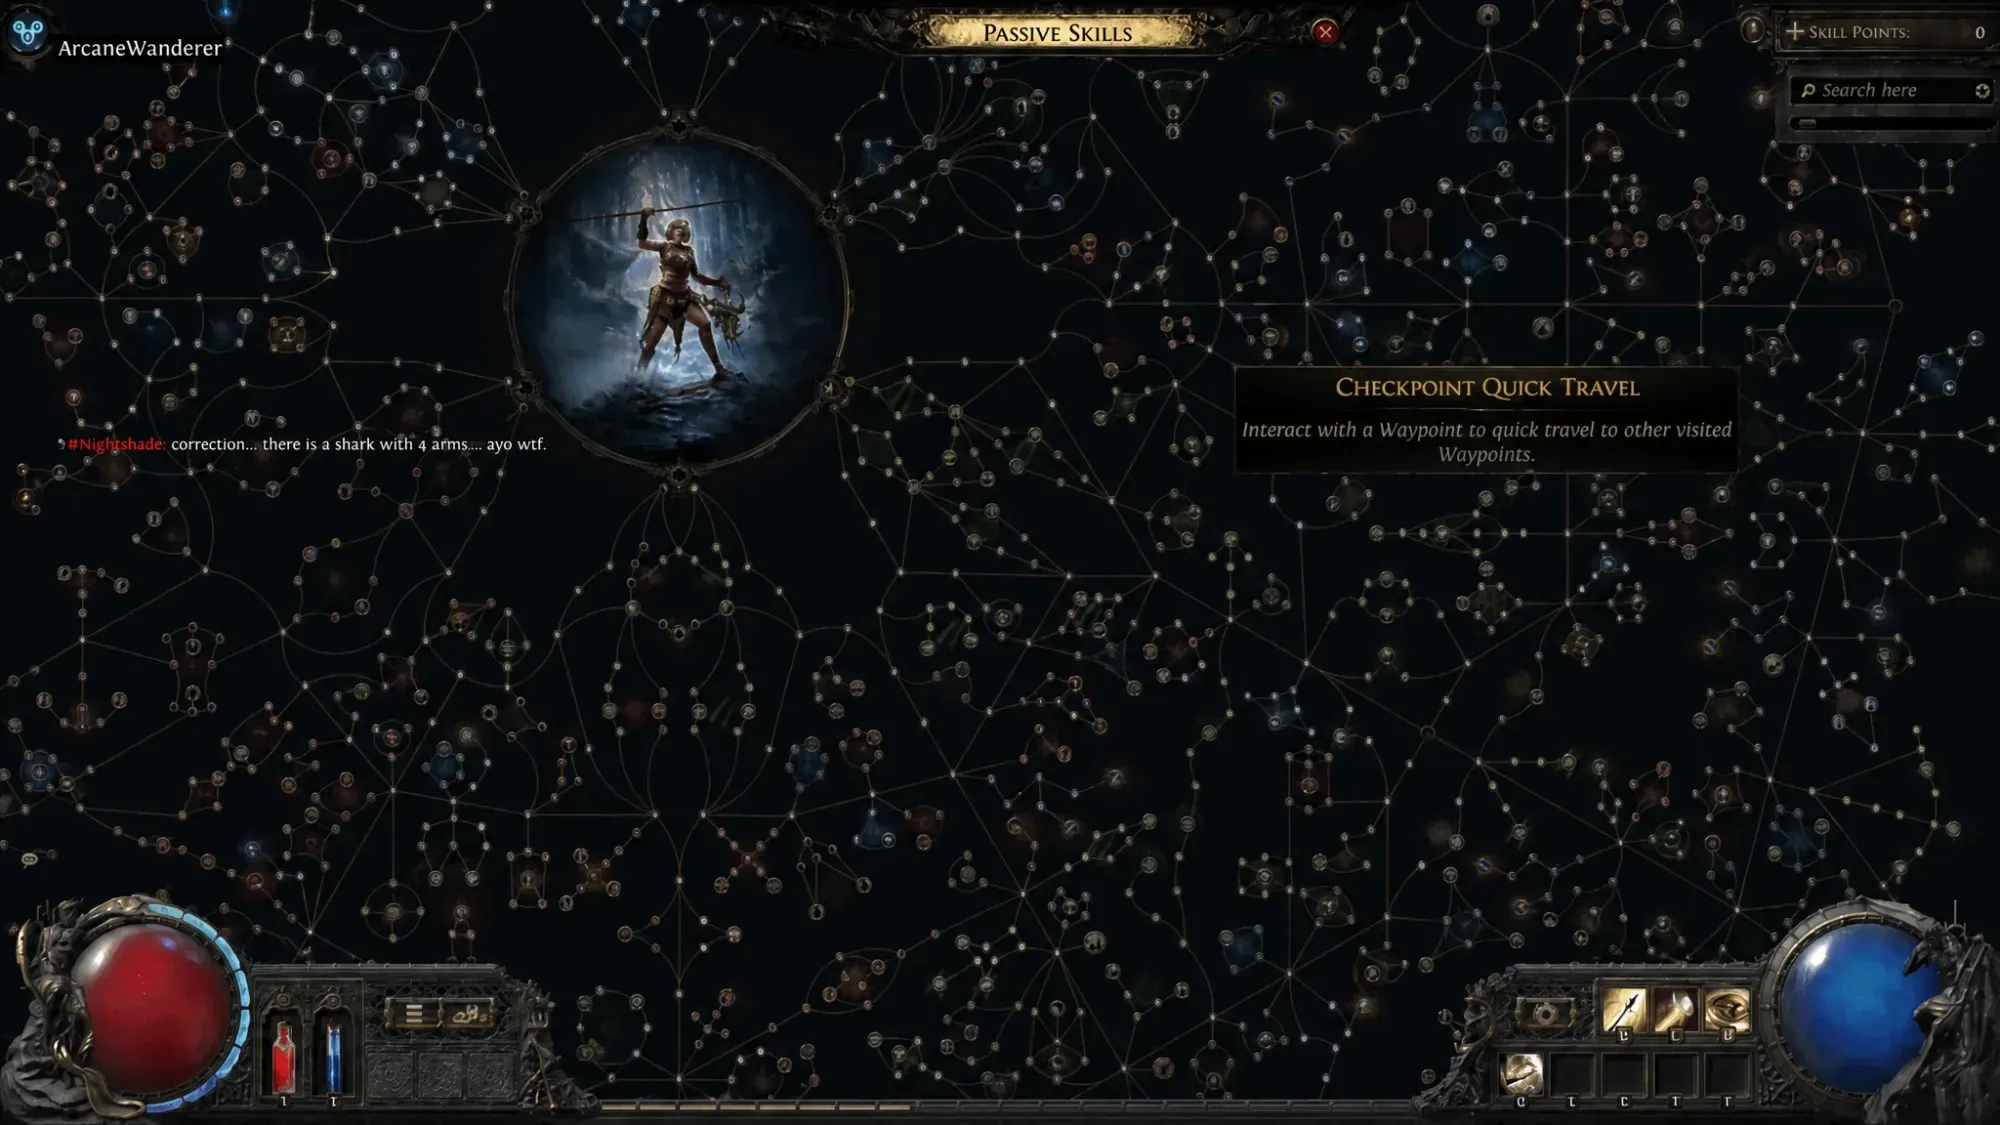
Documents\My Games\Path of Exile 2\BuildPlanner\ and paste the file inside. The full Windows path looks like C:\Users\YourUserName\Documents\My Games\Path of Exile 2\BuildPlanner.Select the build in-game
You can do this with the game already running. Some setups will show the build immediately, while others may need a client restart before it appears in the selector.
How to confirm it worked
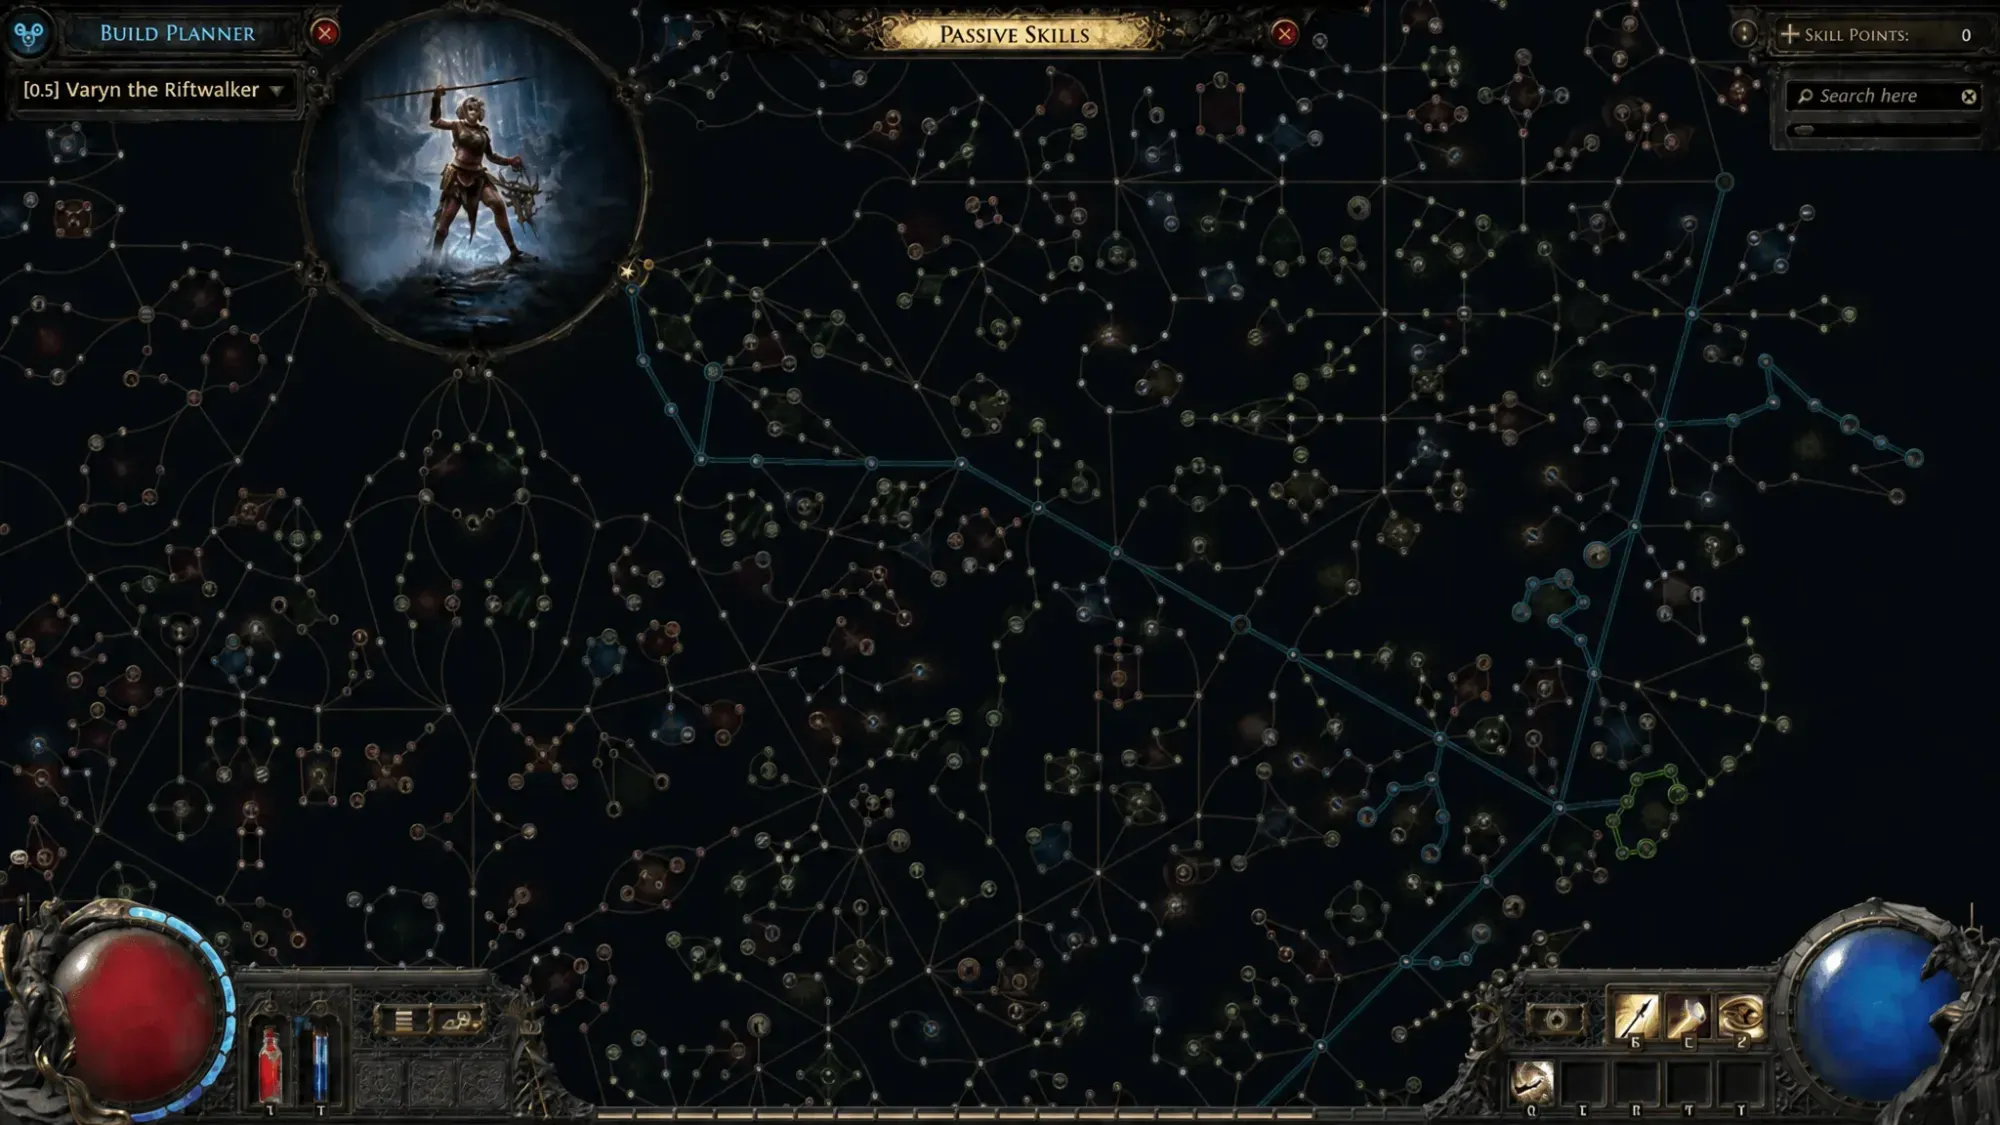
A successful import repaints the passive tree with colored lines that lead to the nodes you should allocate next. The colors tell you which set each line belongs to.
| Color / location | What it shows |
|---|---|
| Blue lines on the tree | The passive nodes to allocate, in sequence |
| Red lines | Nodes for Weapon Set I |
| Green lines | Nodes for Weapon Set II |
| Blue icon on equipped gear | Hover to read the creator’s notes and stat priorities |
| Gemcutting / skill window | A tab listing the support skills to cut for the selected build |
Follow the blue line as you level and your character takes the shape the creator intended. In your inventory, gear that the build needs is flagged, and hovering the blue icon on an item reveals notes such as a required set of weapon affixes. The Gemcutting interface highlights the support gems to unlock, grouped under the build’s name.
If the build does not appear or guide you fully
A few specific reasons cover most cases where the planner does not work as expected.
| Problem | Cause and fix |
|---|---|
| Build missing from the dropdown | The file is in the wrong folder. It must sit in Documents\My Games\Path of Exile 2\BuildPlanner. Cloud sync delays can also hide it; restart the client if needed. |
| No skill order or notes shown | Some authors include fewer notes than others. Check the original page where the build was published for the recommended order of skills. |
| Feature unavailable entirely | You are on console. Build Planner codes are PC-only at this time. |
The Build Planner will not equip items, cut gems, or spend points for you. It points to what the creator chose and leaves the trading, crafting, and clicking to you. Treat the file as a blueprint rather than a complete shopping list, since some builds are tested on expensive endgame gear and will note when a piece is budget versus endgame. For deeper damage math and stat breakpoints, tools like Path of Building still go further than the in-game overlay, which is built to handle the following experience rather than theorycrafting.