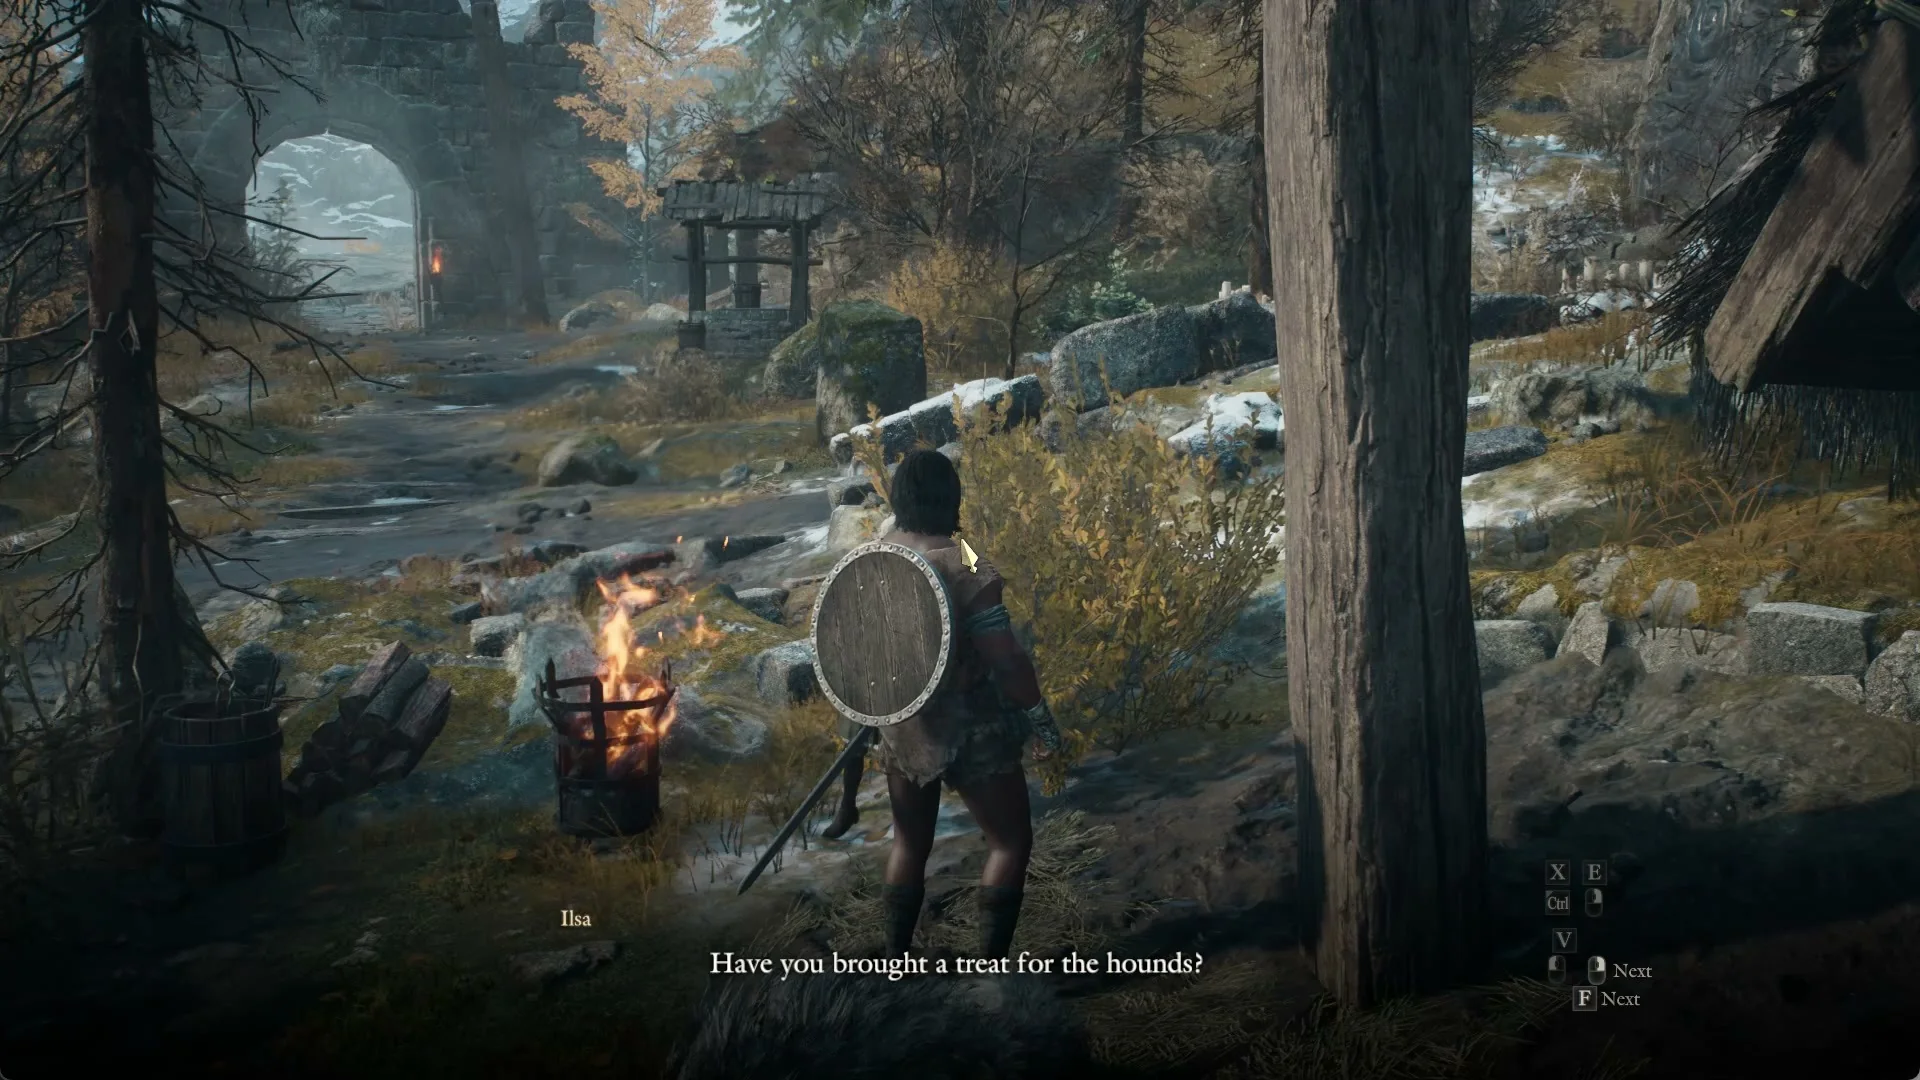
The Point of No Return marker in LEGO Batman: Legacy of the Dark Knight sits at the end of Chapter 5, right before the Joker escort sequence that recreates the opening of Batman: Arkham Asylum. Once you step through, free roam in that segment locks behind the choice, so any Cluemaster cube tied to the lead-up needs to be cleared first.
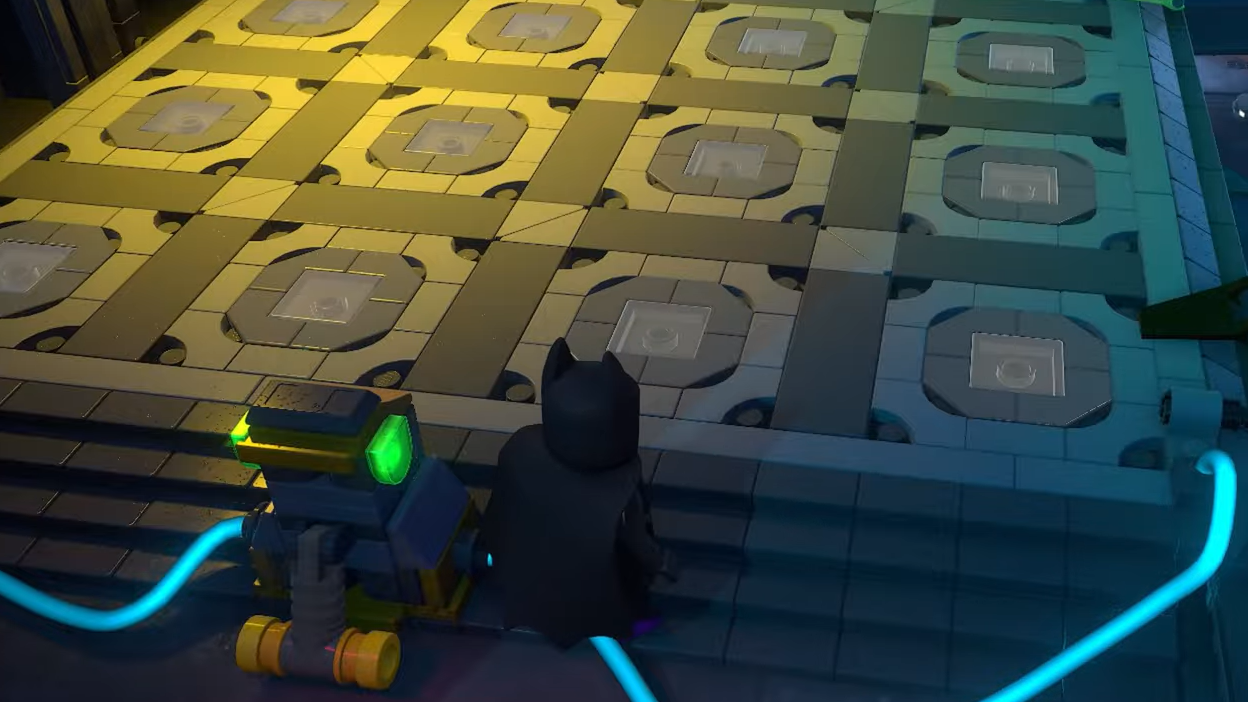
When the puzzle appears in Chapter 5
The Point of No Return prompt fires after the Kite Man section and before you escort the Joker through Arkham. The Cluemaster cube tied to this run of the chapter is housed inside the same building you fight through during Kite Man, and it uses the robot-on-tiles puzzle style introduced earlier in the Cluemaster Challenge Rooms.
If you cross the Point of No Return without grabbing it, you will need to return after the asylum sequence to mop it up for 100% completion.
Requirements before you start
The puzzle uses directional floor tiles spread across the room you are in and the rooms you already cleared on the way in. Nothing exotic is needed for the puzzle itself, but you should still be holding the standard Chapter 5 roster so you can backtrack freely.
| What you need | Why |
|---|---|
| Access to the Kite Man building interior | The cube and the tile slots live in the final room. |
| Free movement between earlier rooms | Some directional tiles are not in the cube room itself. |
| Batman with Explosive Spray (recommended) | Earlier Cluemaster rooms in the chapter hide tiles behind breakable walls. |
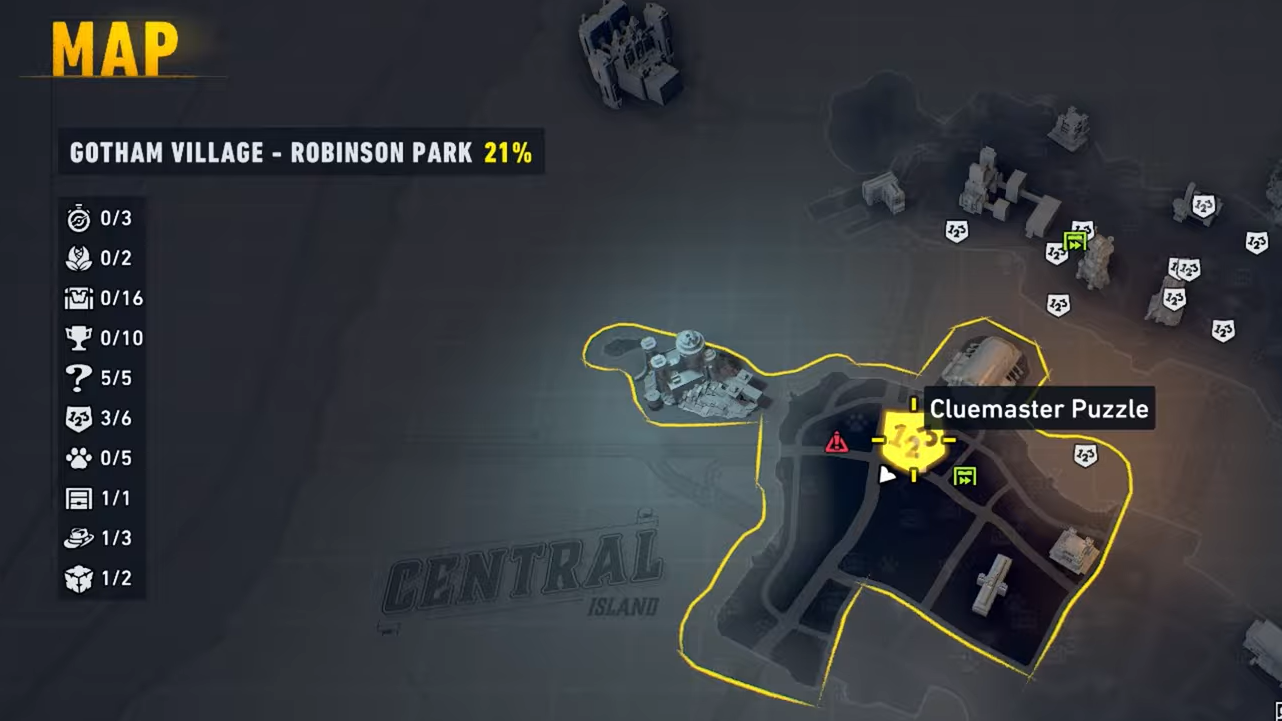
How the tile puzzle works
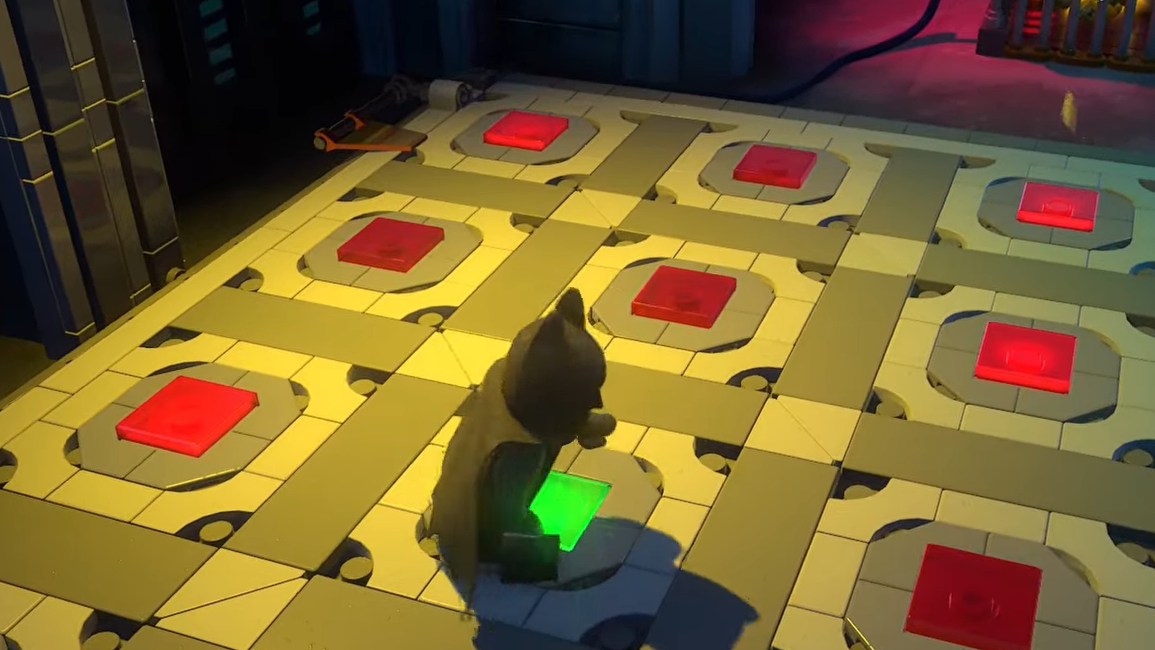
Each robot starts on a square grid and must reach a checkered finish tile. You insert directional arrow tiles (North, South, East, West) into numbered slots near the start button. When you press the red button, the robot follows the arrows in order. Hit the finish tile, and the cage holding the cube opens.
The twist for the Point of No Return room is that the tile pool is split across multiple rooms. You will be walking back through the corridor you came in from to collect the arrows you need.
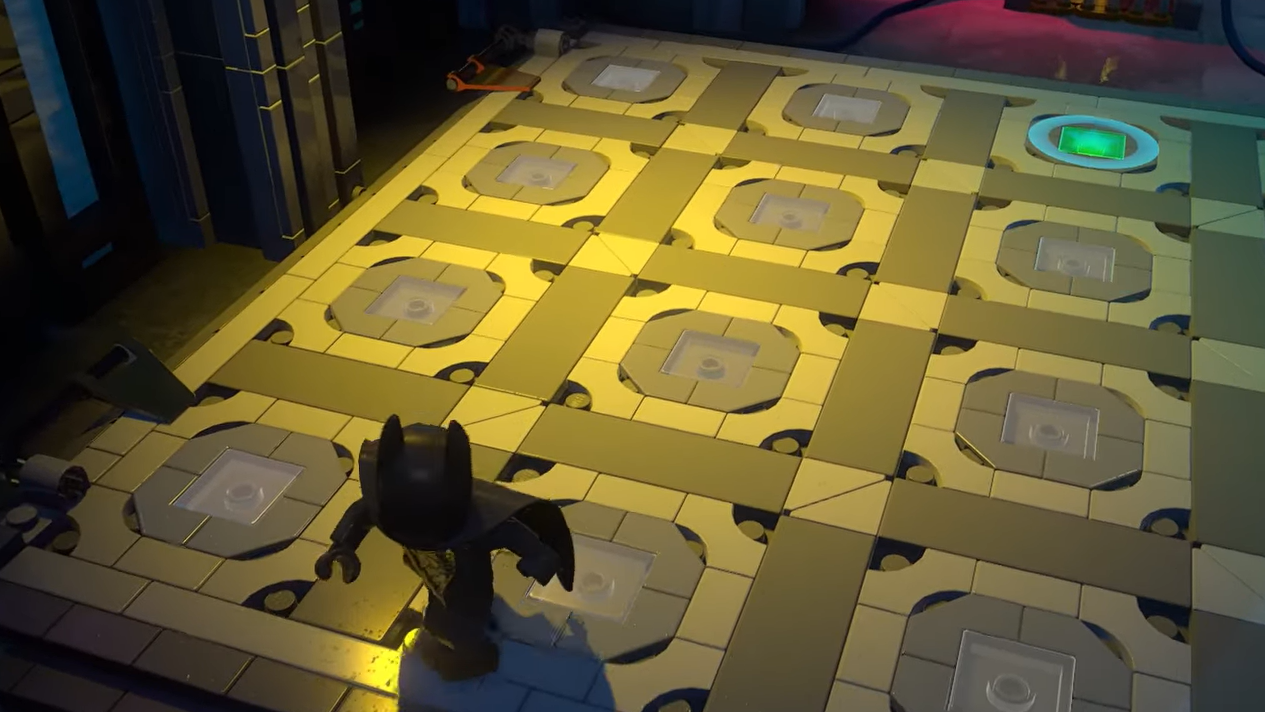
Solving the Kite Man Cluemaster cube
Confirming it worked
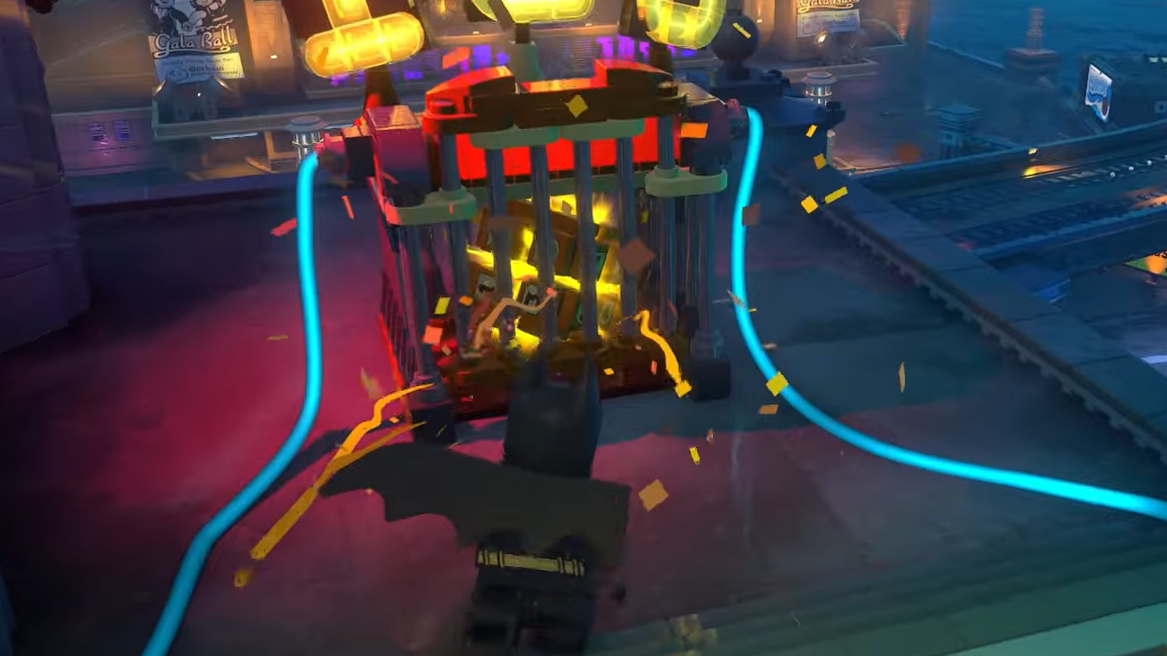
You will hear the standard Cluemaster cage chime, the cage lifts off the cube, and your collectible counter updates on pickup. The puzzle marker on the map switches from active to cleared. If the cage does not open, the robot did not reach the checkered tile — re-check the order of arrows in the numbered slots.
If you already crossed the Point of No Return
The Cluemaster cube does not disappear permanently. After the Arkham Asylum escort wraps up and free roam returns, fast travel back to the Kite Man building and run the tile puzzle the same way. Nothing about the solution changes after the chapter break.
Clear it before stepping into the asylum, and Chapter 5 closes out clean, with the Cluemaster collectible logged and one less item to chase during late-game cleanup.