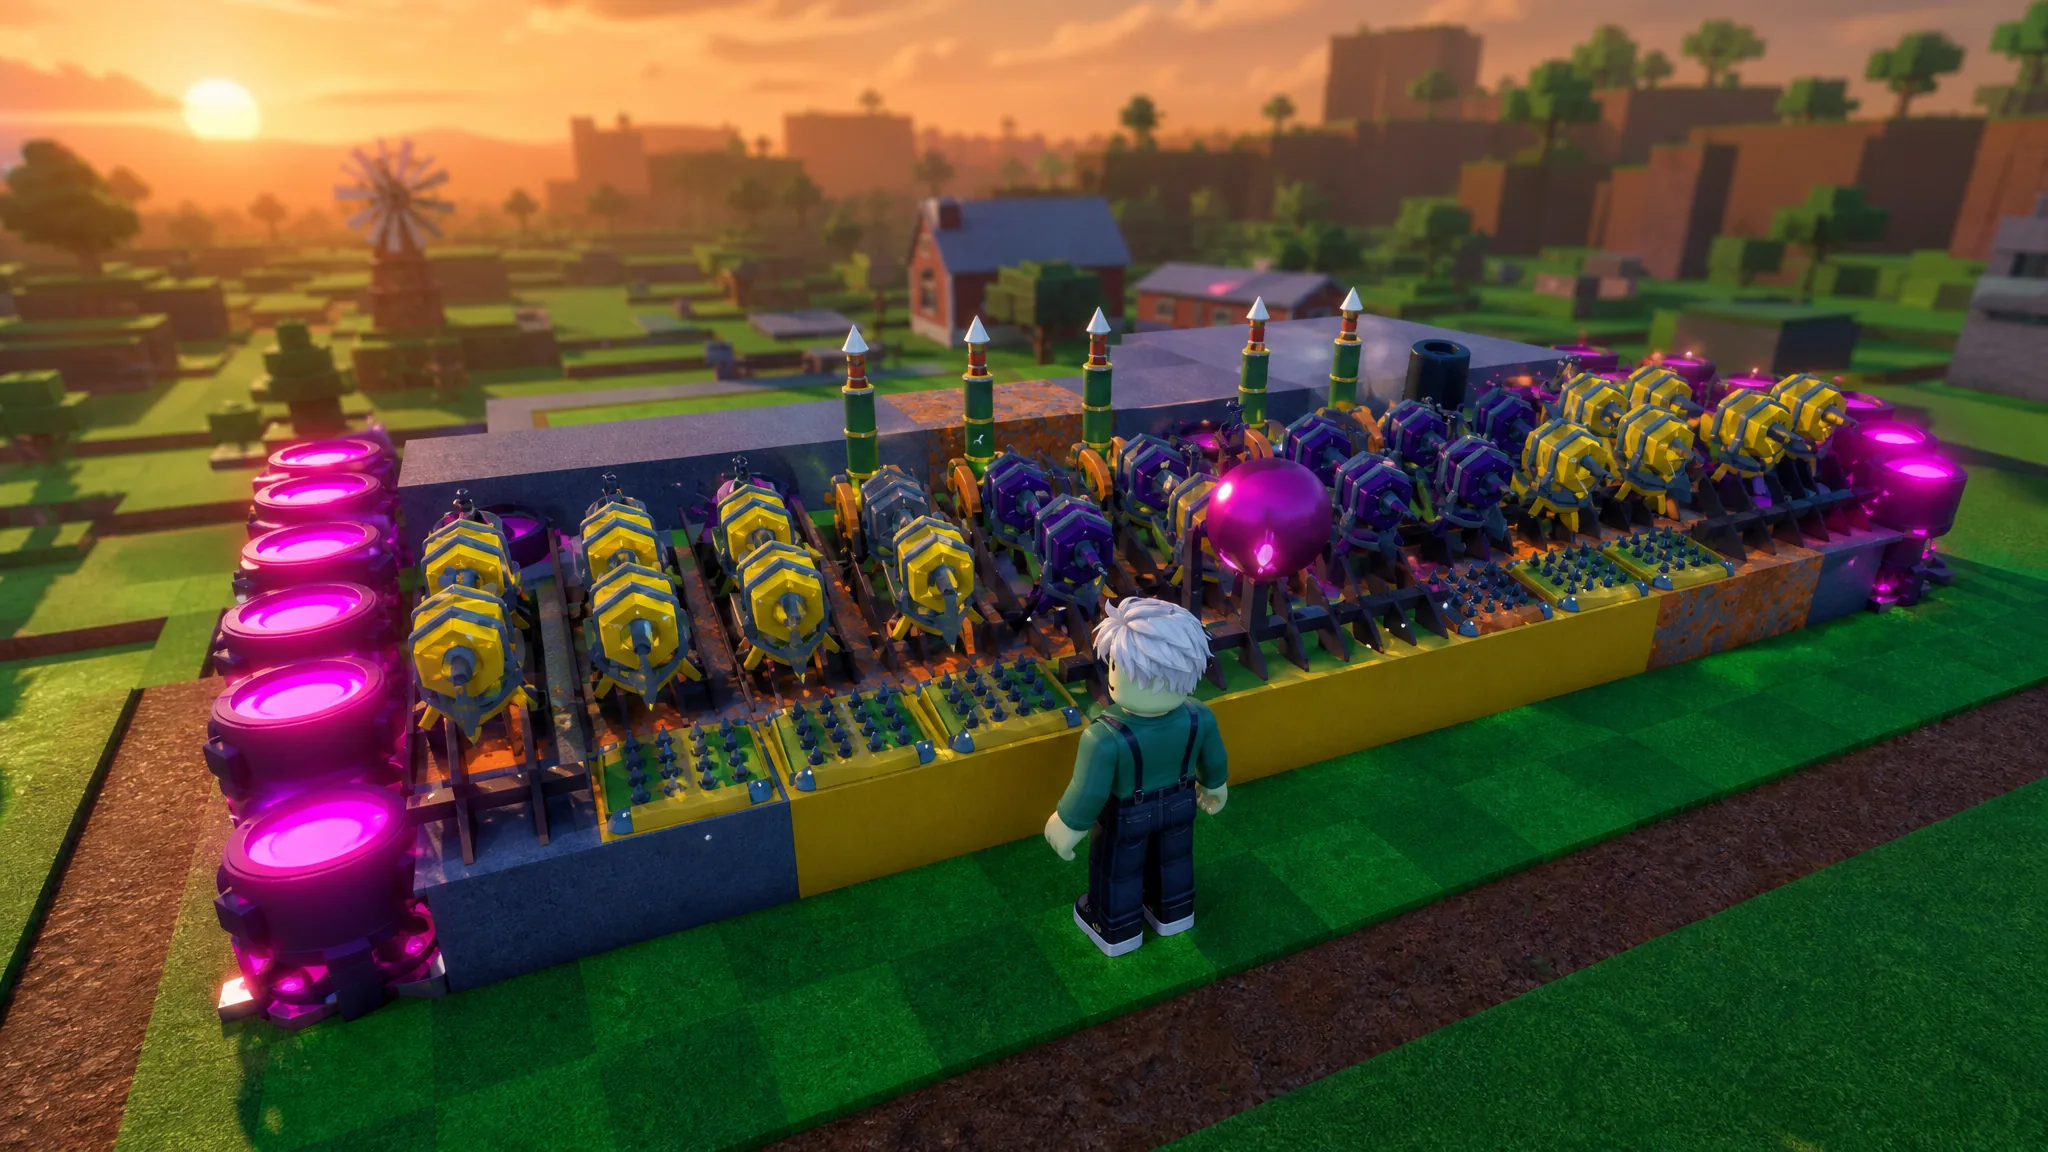
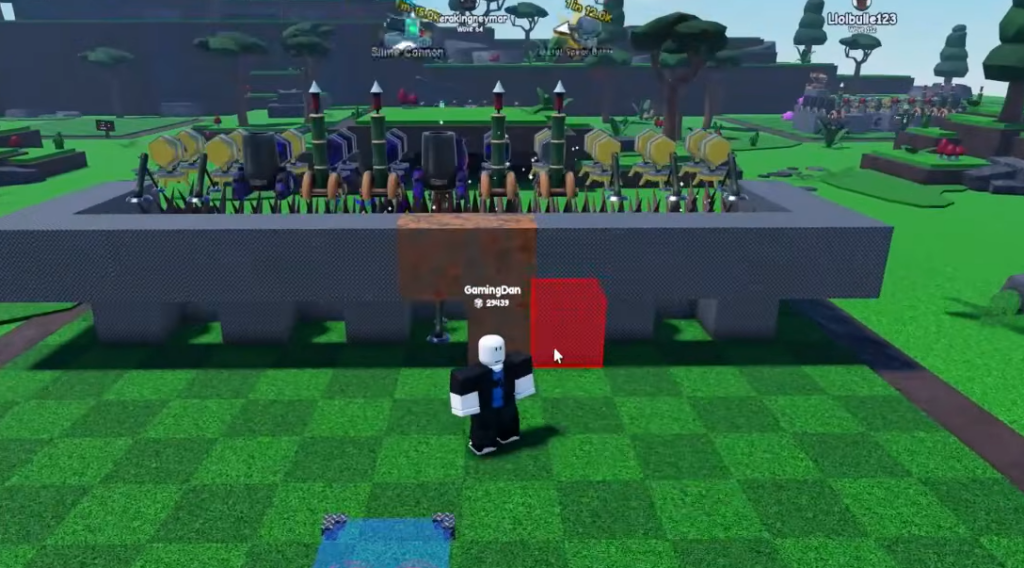
Reaching Wave 1000 and beyond in Build a Base RNG comes down to how you arrange blocks, traps, and high-damage weapons across your plot, not just what rarity you roll. A tuned defensive line channels enemies through overlapping damage, protects your most valuable weapons, and pushes back anything that leaks. The setup below layers rapid-fire weapons, area-of-effect damage, and elevated mortars into a single wall that keeps firing while you are offline.
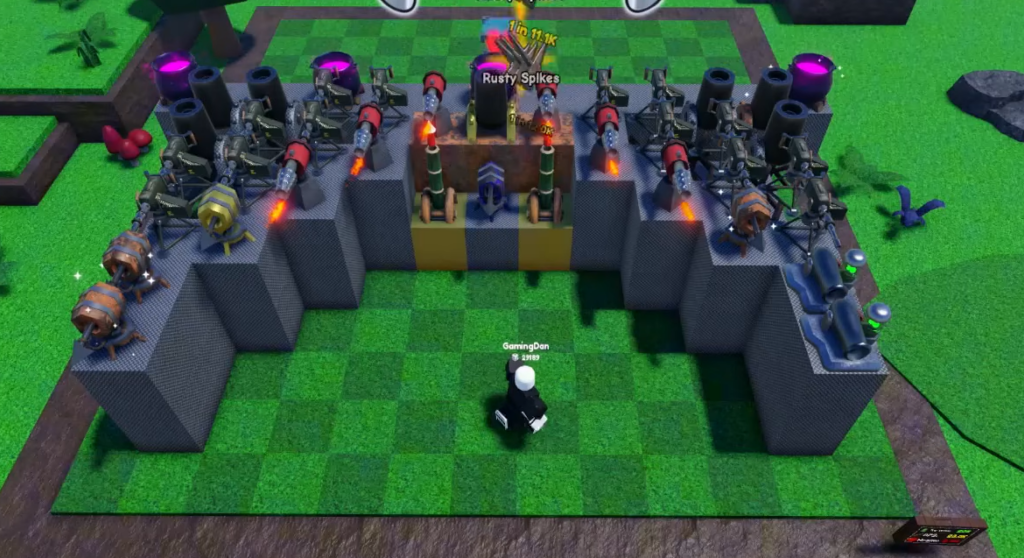
Quick answer: Clear the plot, place a front row of your strongest blocks (Gold Blocks) in the center with rapid-fire weapons on top, put a Witch Brew and a Tesla in the middle, then build a second block row holding mortars and Bamboo Shooters. Fill every gap with spikes and traps, add a spaced Cannon row and a back wall, and place Pistons directly behind all mortars to shove leaking enemies back.
Design principles behind the Wave 1000+ layout
Every placement in this build serves one of four jobs. Understanding the role of each layer makes it easy to adapt the layout to whatever items you have rolled, since the positions matter more than the exact weapon names.
| Layer | Job | What goes here |
|---|---|---|
| Front block row | Front-line health and weapon mount | Gold Blocks in center, weaker blocks on outer edges |
| Front weapons and traps | Thin the wave on approach | Spear barrels, turrets, spikes, traps, central Witch Brew and Tesla |
| Second block row | Sustained middle pressure | Mortars and Bamboo Shooters over hidden traps |
| Back row and wall | Cleanup and core protection | Cannons, Witch Brews, Pistons, elevated cannon-over-mortar stacks |
Strong blocks belong in the center of the main line because that is where the heaviest pressure lands, while weaker blocks handle the outer edges. Witch Brews and high-level Teslas sit centrally so their area attacks stack on the densest part of every wave. Pistons behind the mortars are the failsafe, shoving any enemy that slips through back into your damage zone.
How to build the layout, row by row
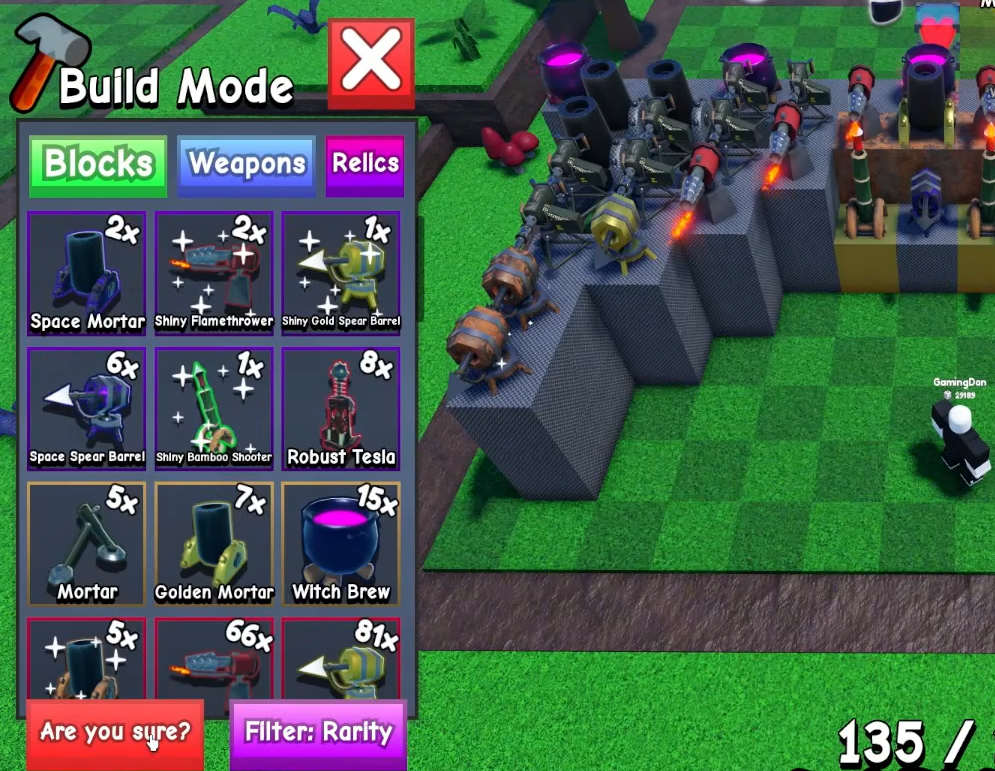
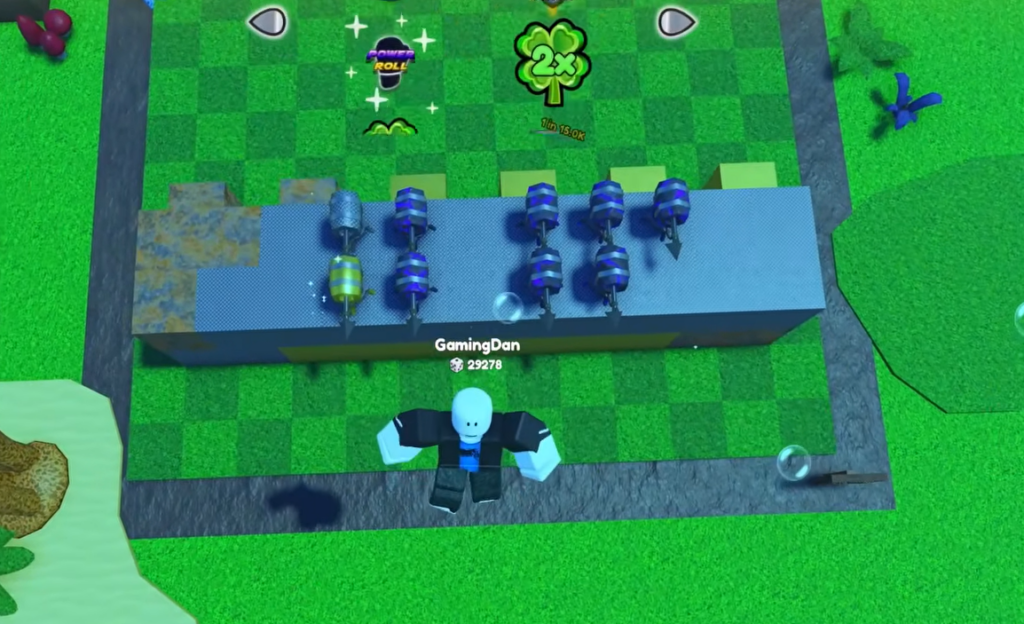
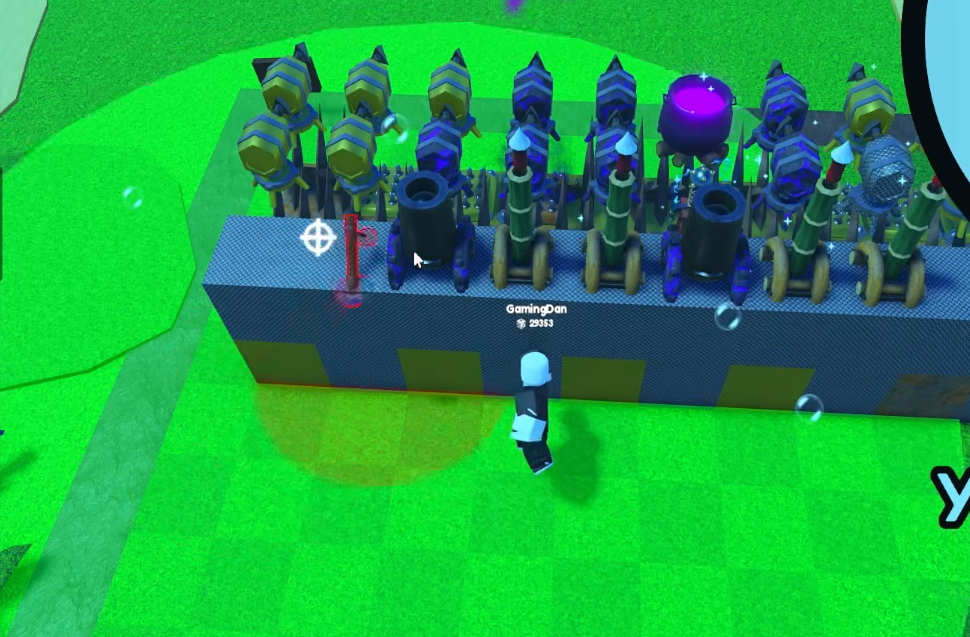
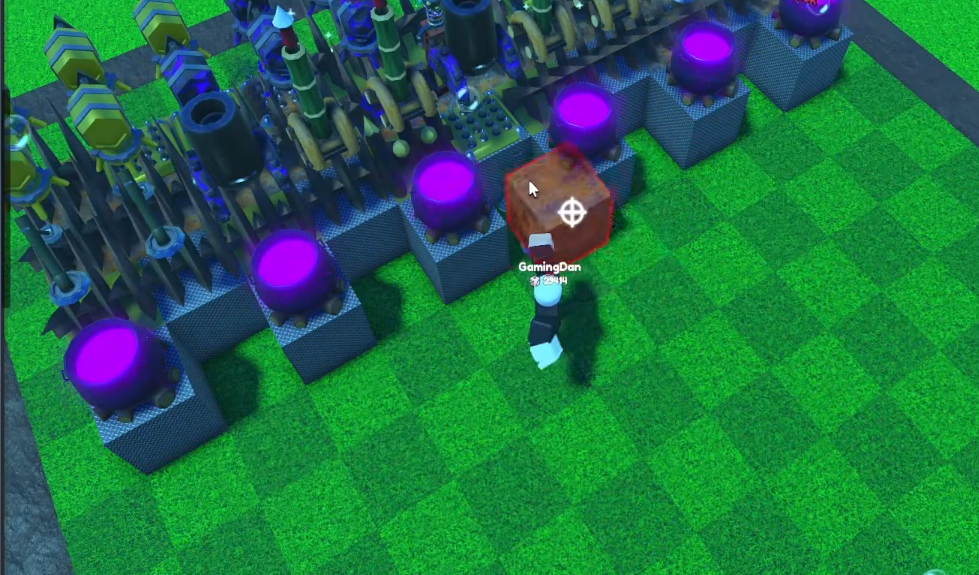
How to confirm the layout is working
Start a wave and watch where enemies die. A healthy version of this build kills most of a wave before it reaches the second block row, and the Pistons should be visibly shoving stragglers backward rather than letting them slip to the core. If enemies fall consistently and your base health bar holds steady, the layout is doing its job.
Because the base fights offline, the real test is logging back in with the plot intact and your offline earnings collected. If the layout survived while you were away, it is stable enough to leave running. Toggle Auto Wave on to keep it pushing deeper waves without manual input.
Follow the first-failure rule when a wave finally breaks through. Find the single spot where enemies leak first, upgrade or reinforce only that position, and test again. Replacing the whole layout at once hides which change actually helped.
Common reasons the layout leaks
| Symptom | Cause | Fix |
|---|---|---|
| Front wall falls fast | Weak blocks in the center | Move Gold Blocks to the middle, weaker blocks to the edges |
| Center overrun despite kills | No area damage on the main lane | Add or upgrade the central Witch Brew and Tesla |
| Enemies slip to the core | Missing push-back behind mortars | Place Pistons directly behind every mortar |
| Air units get through | No air coverage | Keep Bamboo Shooters in the second row |
| Straight open path to core | Gaps left between blocks | Fill every gap with spikes and traps |
Placement fixes most failures before rarity does. A full plot of well-arranged common and mid-tier items outlasts a handful of legendary weapons scattered with open lanes between them. Keep every slot occupied, keep your strongest blocks and area weapons centered, and let the Pistons handle whatever the front lines miss.
Once the base holds a steady wave range, pour earnings into Luck and base health upgrades, then swap in Boss-crafted relics as you unlock them. Refined one position at a time, this layout scales cleanly toward Wave 1000 and stays reliable enough to leave fighting on its own. You can jump straight into a run on the official Build a Base RNG page.