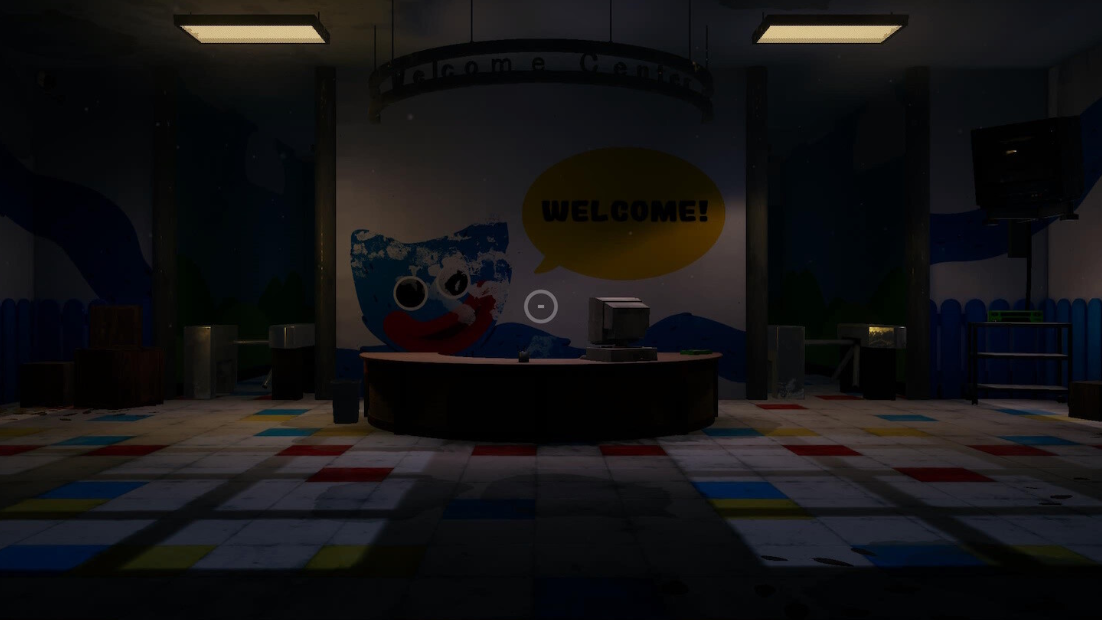
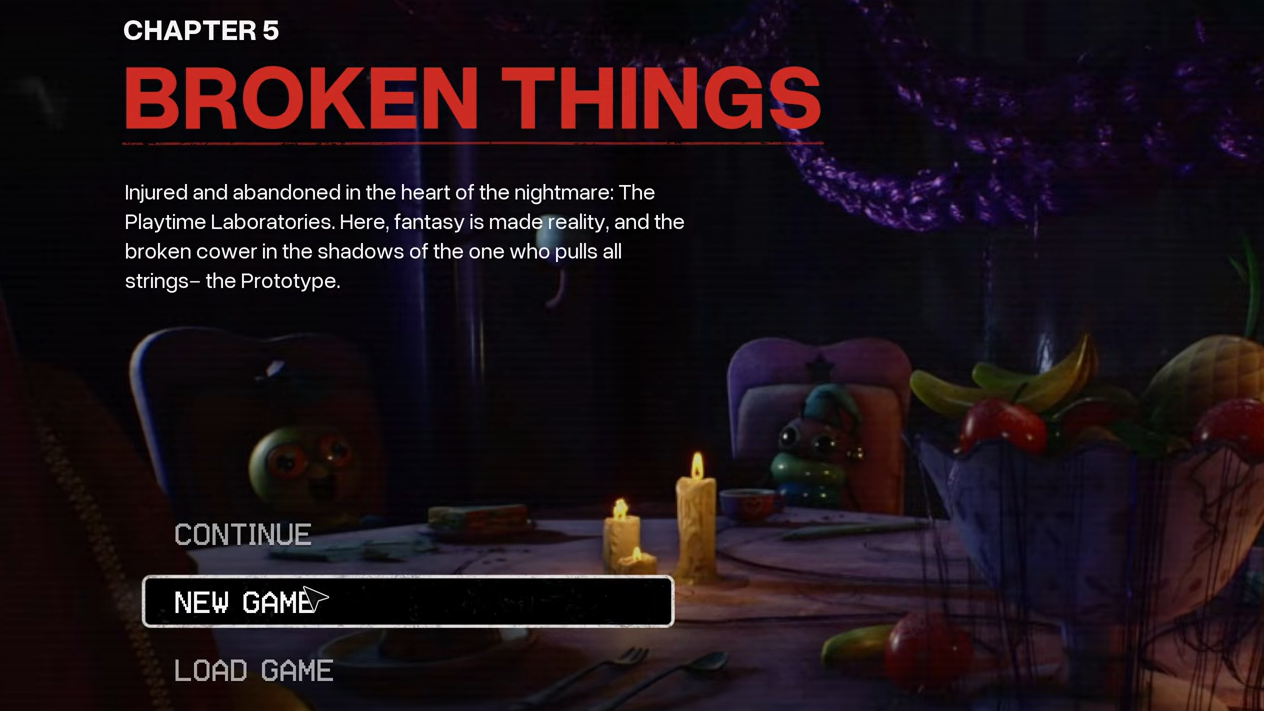
Poppy Playtime Chapter 5, titled Broken Things, drops the player into the Labs beneath Safe Haven and tracks a four-part route that ends at the data center. The chapter blends chase sequences with flashlight and grabpack puzzles, and most stuck points come from missed batteries, flashlight color steps, or rhythm-based stealth. The route below mirrors the same beats used in the popular Roblox recreations, so the same order of objectives applies.
Quick answer: Escape Huggy in the Labs, recover the new grabpack and star flashlight from Giblet’s route, survive Sweet Street and Lily Lovebraids’ tea party, then trigger the backup search that ends with the train crash and the Harley Sawyer reveal.
Image credit: Mob Entertainment (via YouTube/@BabyZone)
Part 1: Escape the Labs and meet Giblet
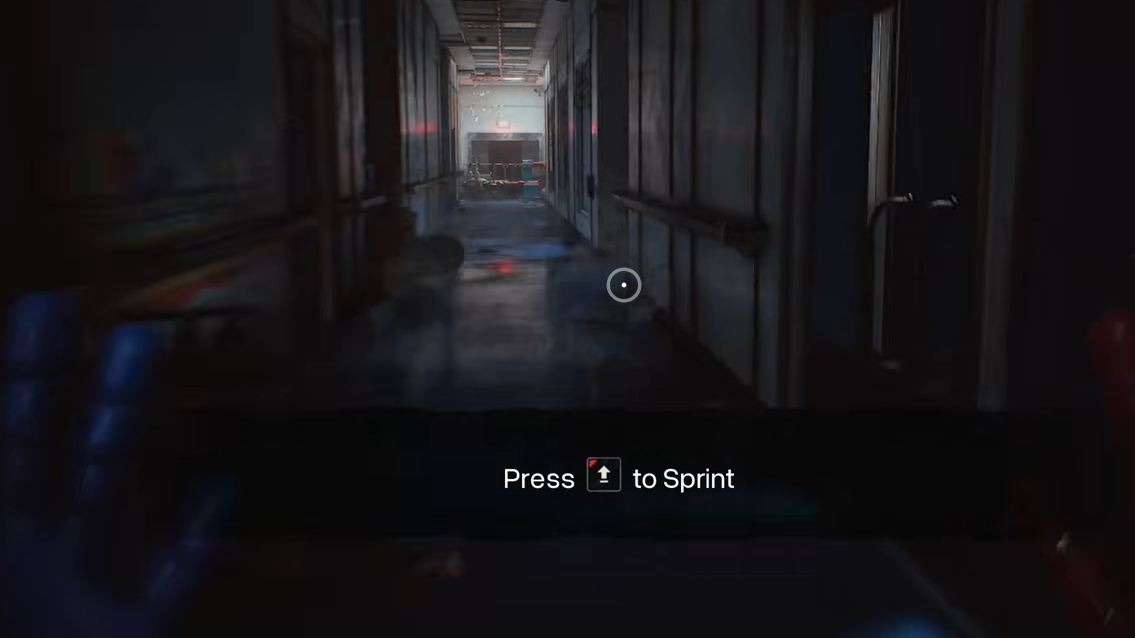
The chapter opens immediately after Huggy Wuggy corners the player in the Safe Haven elevator and rips the original grabpack away. Movement is limited to running, climbing, and basic interaction until the new pack is recovered.
Drop into the meat storage area and keep moving forward through the Wrongside Experiments. They cannot be killed at this stage, so weave around them and head toward the lit corridor where Giblet calls out.
Drop into the meat storage area and keep moving forward | Image credit: Mob Entertainment (via YouTube/@BabyZone)
Follow Giblet to his hideout, then take the route he points to for a replacement grabpack. Along the way, pick up the star-shaped flashlight on the workbench. This tool is mandatory for the color puzzles later in the chapter.
Reach the grabpack station and complete the short hand-fitting sequence. New green and orange hands attach automatically once the station powers on, restoring grip and electrical interaction.
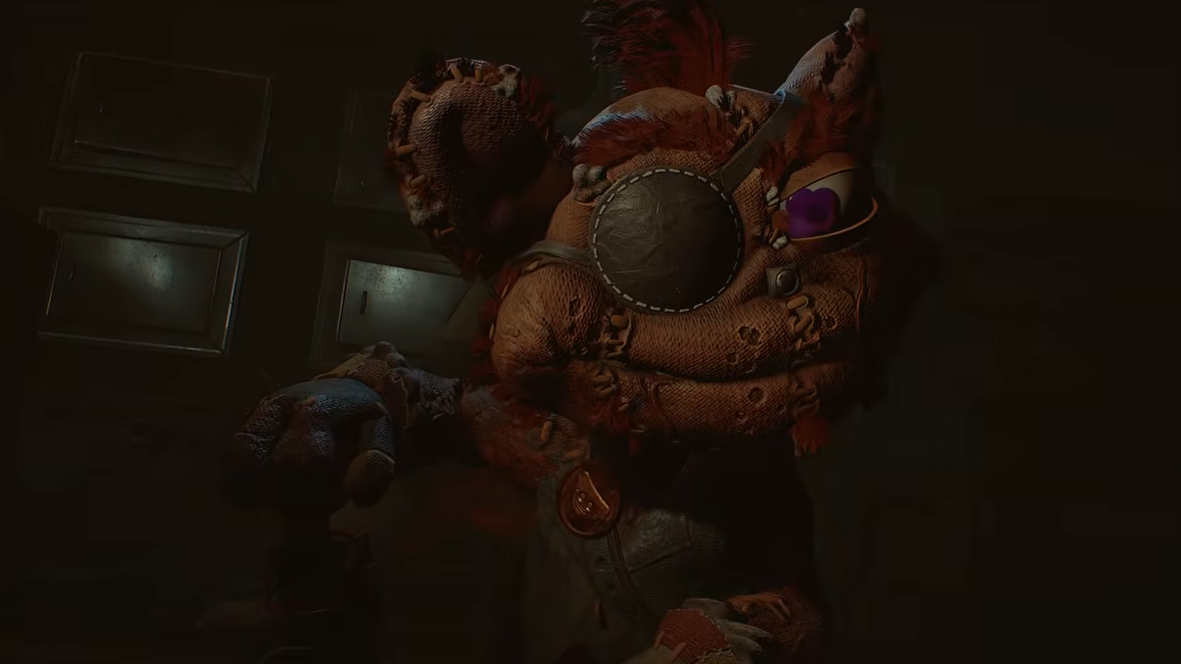
Return to Giblet. Chum Chompkins lunges on first contact, but Giblet calls him off. After the research notes are read, the Prototype enters the room, and Chum hides the player inside his mouth until the threat passes.
Return to Giblet | Image credit: Mob Entertainment (via YouTube/@BabyZone)
Verification for this part: the grabpack HUD reappears with both hand colors active, and Giblet’s marker points toward Sweet Street on the next door.
Part 2: Sweet Street and the Huggy Wuggy flashback
Sweet Street is the bridge zone between the Labs and Lily Lovebraids’ house. It contains the Huggy Wuggy training memory, which is a forced first-person section played from Huggy’s perspective.
Cross the candy-coated walkways and use the green hand on the first power node to extend the conveyor. The conveyor delivers the battery needed for the Sweet Street gate.
Image credit: Mob Entertainment (via YouTube/@BabyZone)
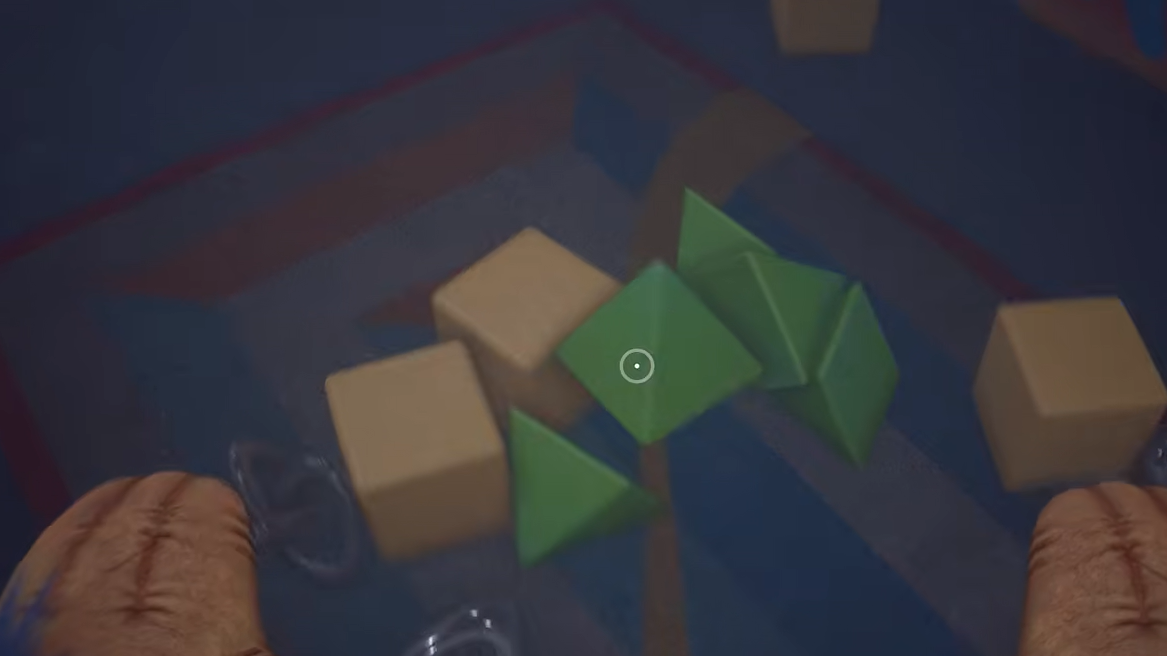
Enter the memory room when prompted. The Huggy training game requires sorting blocks into matching holes, then a freeze-and-pose dance where the player must stand inside the spotlight whenever the music stops. Stepping outside the light forces a restart.
After the memory ends, Huggy Wuggy begins a live chase through Sweet Street. Vault the candy crates, slide under the lowered shutters, and break line of sight at every corner. There is no combat option here.
The chase ends when Lily Lovebraids snares the player and drags the scene into her dollhouse. Control returns inside her foyer.
The chase ends when Lily Lovebraids snares the player | Image credit: Mob Entertainment (via YouTube/@BabyZone)
Part 3: Lily Lovebraids’ dollhouse and the tea party
This is the longest puzzle stretch in Chapter 5. Lily holds Poppy and Kissy Missy in the basement and forces the player to prepare her tea party before the Prototype arrives as her guest of honor.
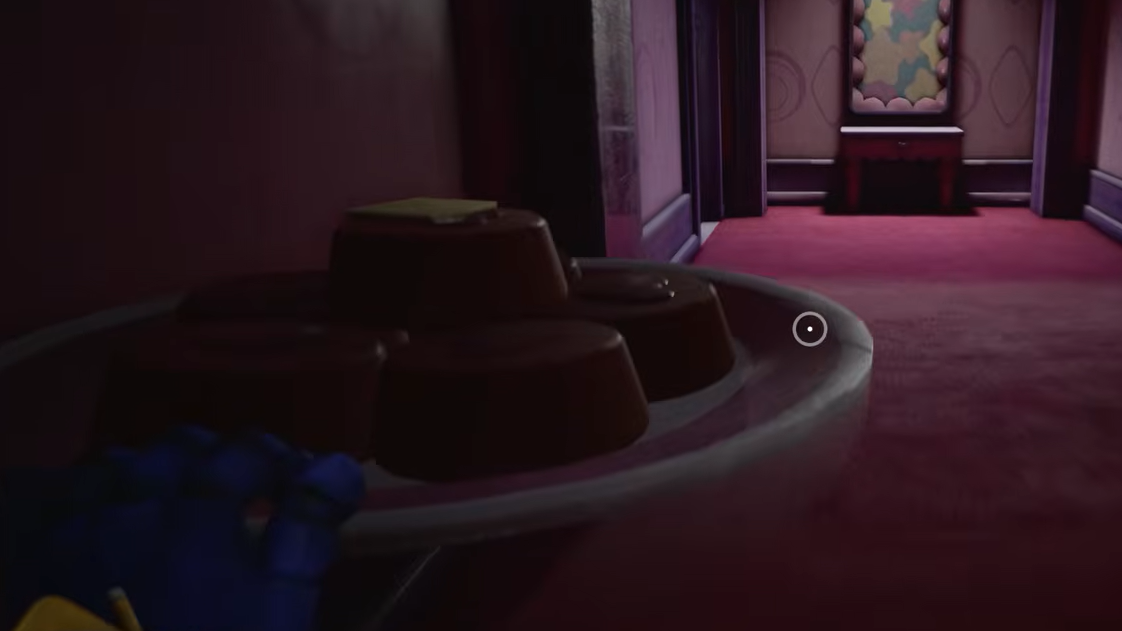
Retrieve the crumpets from the basement oven. Poppy and Kissy are visible in a locked cell here, but the door cannot be opened yet. Take note of the room layout for the return trip.
Retrieve the crumpets from the basement oven | Image credit: Mob Entertainment (via YouTube/@BabyZone)
Return Lily’s recipe book to the nook upstairs. The nook sits past the locked hallway door, which opens after the recipe trigger fires from the kitchen counter.
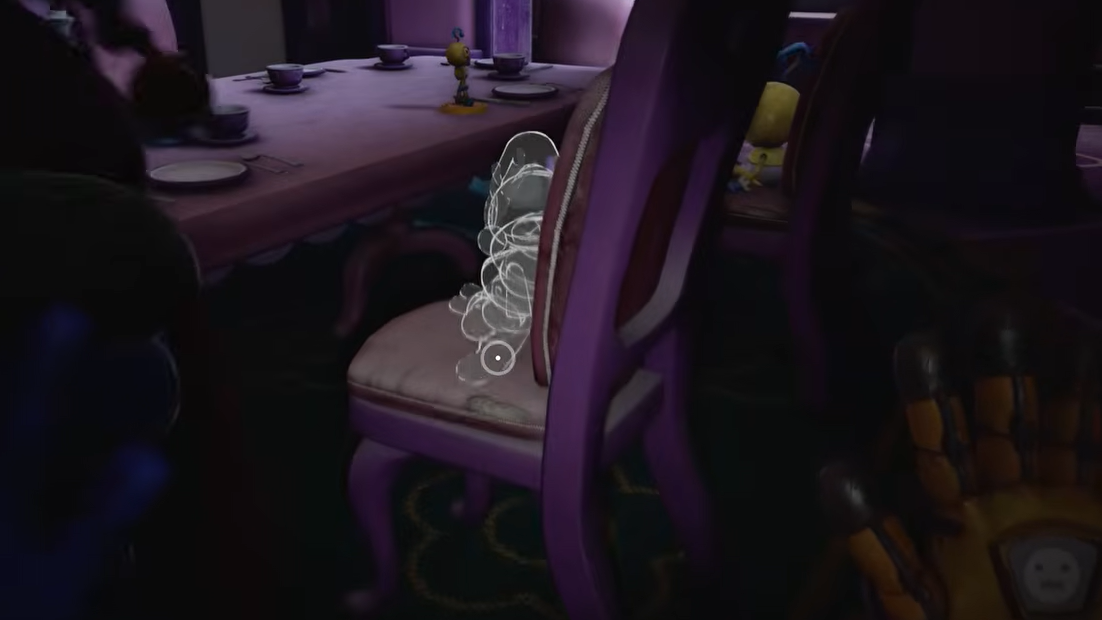
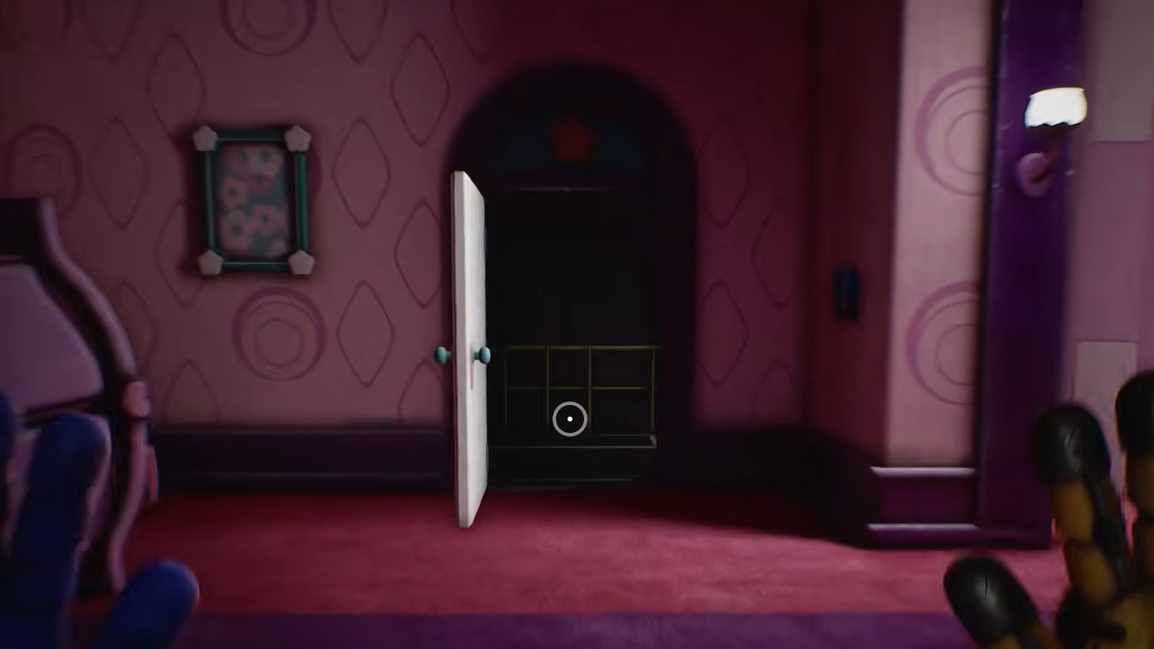
Gather the friends scattered through the dollhouse. Each toy is in a themed room, including the garage, the bathroom, and the upstairs landing. The locked upstairs door uses a symbol code shown on the framed picture nearby. The correct sequence is star, diamond, flower, heart.
Gather the friends scattered through the dollhouse | Image credit: Mob Entertainment (via YouTube/@BabyZone)
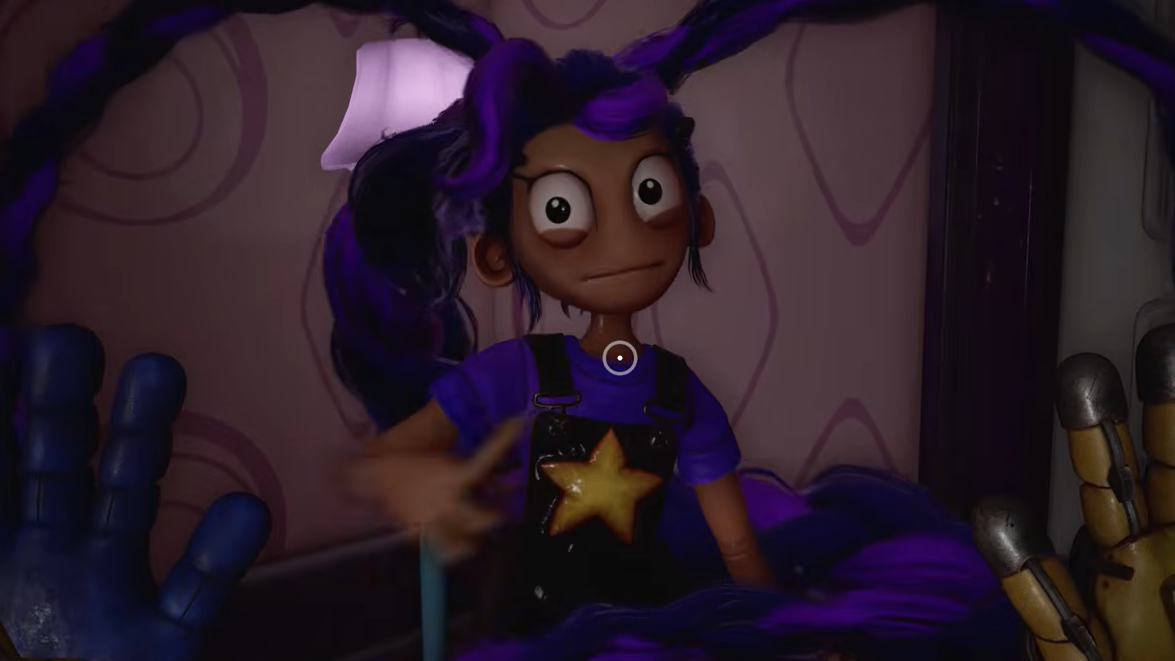
Enter Miss Gracie’s bedroom to find her body and the key. The collectible tape here confirms that Lily was Miss Gracie before being converted into a toy. Use the key to free Poppy and Kissy from the basement cell.
Attempt the attic escape. Lily intercepts the group and forces everyone to the tea table. The Prototype arrives, badly wounds Poppy, and Kissy Missy counterattacks to create an opening.
Survive the red light, green light chase. Lily sings while the player runs and freezes the moment she stops. Three checkpoints lead to the nursery exit. The chase ends when a falling fixture crushes Lily and clears the path back to Giblet.
Common reasons this part fails:
Moving during a silent beat in the red light, green light sequence.
Entering the symbol code in the wrong order. The picture frame must be read left to right.
Trying to free Poppy and Kissy before collecting Miss Gracie’s key.
Image credit: Mob Entertainment (via YouTube/@BabyZone)
Part 4: The backup hunt, the train crash, and the data center
The final stretch starts at the tram in reanimation and ends with the Harley Sawyer reveal. The Grand Stitchery light puzzle and the train disconnect sequence are the two failure points most players hit.
Reach reanimation with Giblet’s directions. Kissy Missy intercepts a wandering Huggy Wuggy and calms him in a scripted scene. The Prototype then stabs both Kissy and Huggy, removing them from the chapter.
Solve the Grand Stitchery battery puzzle. Locate the loose battery on the lower platform, slot it into the wall socket, then use the star flashlight to turn all four indicator lights green. Each light cycles through red, blue, and green based on flashlight color, so apply the matching beam and confirm green before moving to the next.
Solve the Grand Stitchery battery puzzle | Image credit: Mob Entertainment (via YouTube/@BabyZone)
Board the train toward the data center. The Prototype gives chase across the cars. Pull every disconnect lever along the right-side walkway to drop cargo cars and slow him down. Missing a lever lets the Prototype close the gap and triggers a one-hit kill.
Survive the crash cinematic. The Prototype kills the player on impact and drops the body into a vat of goo. Giblet revives the player in the next scene, no input required.
Enter the data center and run the prototype data code puzzle. The terminal accepts the code shown on the adjacent monitor, and the backup unlocks a hidden chamber. Inside, a Harley Sawyer backup activates and delivers the closing line that sets up Chapter 6.
The chapter ends on that scene. The save file marks Broken Things as complete once the Sawyer cutscene plays through to the credits.
Image credit: Mob Entertainment (via YouTube/@BabyZone)
Chapter 5 segment reference
Part
Location
Key objective
Main threat
1
The Labs
Recover grabpack and star flashlight
Wrongside Experiments, Prototype
2
Sweet Street
Complete Huggy memory and chase
Huggy Wuggy
3
Lily’s dollhouse
Tea party and red light chase
Lily Lovebraids, Prototype
4
Reanimation, train, data center
Grand Stitchery puzzle, train disconnects, backup retrieval
Prototype
Run length and difficulty notes
A clean story run of Broken Things lands between two and a half and three hours. Adding collectible tapes, documents, and the optional Biodiversity Labs detour pushes total time closer to four or five hours. The Roblox recreations compress some segments, especially the Huggy memory and the train chase, but the puzzle solutions and key sequences match the official chapter.
Note: the symbol code, the flashlight color order, and the disconnect lever count can shift between Roblox fan versions. If a Roblox map uses a different order, check the in-game hint sheet near the puzzle, since fan creators usually mirror the original layout but occasionally swap symbols to reduce copying.
The Prototype, identified in-game as Experiment 1006, is positioned as the main antagonist going forward, and the Harley Sawyer backup confirms that the story carries directly into Chapter 6. Finishing all four parts as outlined above completes Broken Things at 100 percent for the main path, with collectibles available on a second pass through the Labs and the dollhouse.