
Gmail displays the warning "Be careful with this message. The sender hasn't authenticated this message so Gmail can't verify..." when an email fails basic authentication checks. This warning helps protect users from phishing or spoofed messages by flagging emails that lack proper authentication, such as SPF (Sender Policy Framework) or DKIM (DomainKeys Identified Mail). Correctly setting up these protocols for your domain ensures your messages are trusted and prevents Gmail from showing this alert to your recipients.
Configure SPF and DKIM for Your Domain
Step 1: Access your domain's DNS management panel. This is typically available through your domain registrar or web hosting provider. You may need to log into your account and locate the DNS or zone editor section.
Step 2: Set up an SPF record. SPF allows mail servers to verify that messages sent from your domain come from authorized servers. Create a new TXT record in your DNS with the following format, replacing yourdomain.com and mail servers as needed:
v=spf1 include:_spf.google.com ~allThis example authorizes Google Workspace. Adjust the value to fit your actual mail provider. Save the record and allow up to 48 hours for DNS propagation.
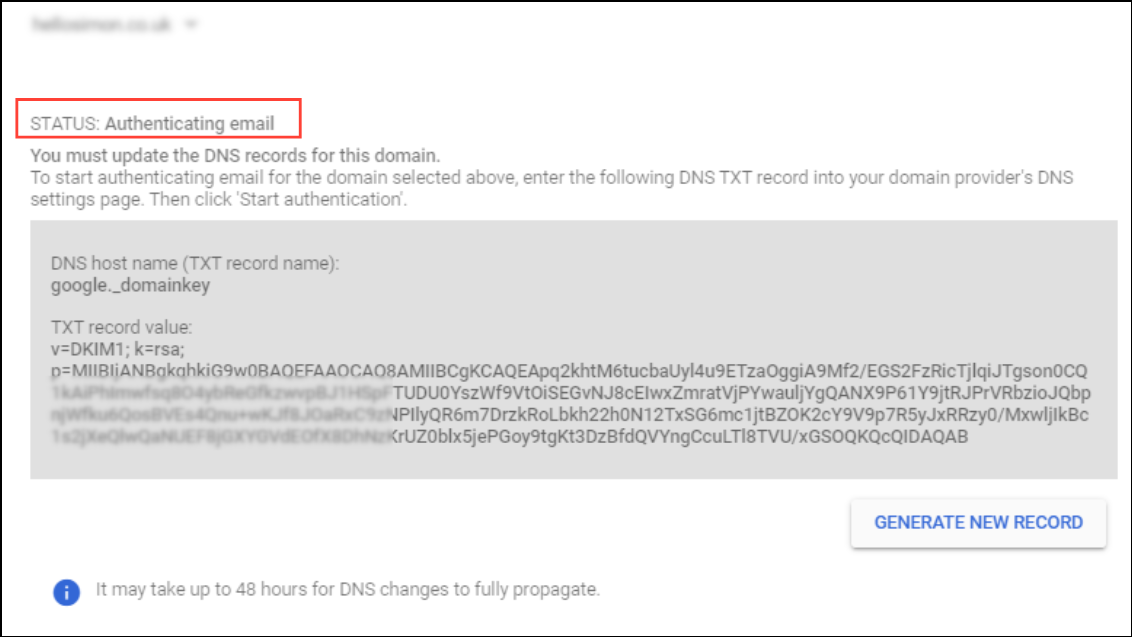
Step 3: Generate and add a DKIM record. DKIM attaches a digital signature to your emails, allowing recipients to verify that the message was not altered. If you use Google Workspace or another email provider, follow their instructions to generate a DKIM key. Add the provided TXT record to your DNS, typically under a selector such as google._domainkey or similar.
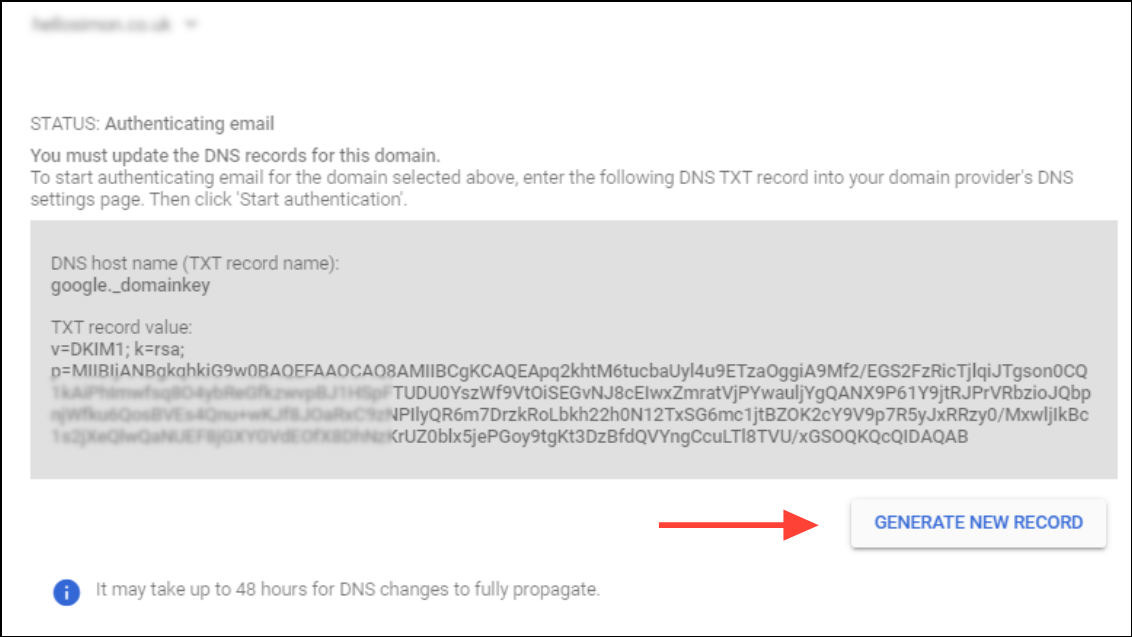
Step 4: Activate DKIM signing in your email provider's admin console. For Google Workspace, go to Apps > Google Workspace > Gmail > Authenticate Email and enable DKIM using the selector and domain you configured. This ensures outgoing emails are signed.
Step 5: Test your setup. Send an email from your domain to a Gmail address. Open the message, click the three-dot menu, and select "Show Original." Look for "PASS" next to SPF and DKIM in the authentication results. If both pass, Gmail will not display the warning message to recipients.
Add a DMARC Record for Additional Protection
Step 1: Create a DMARC record in your domain's DNS. DMARC builds on SPF and DKIM, telling receiving servers how to handle unauthenticated messages. Add a TXT record with a value like:
v=DMARC1; p=none; rua=mailto:your-email@yourdomain.comThis record requests reports about authentication failures. You can later change p=none to p=quarantine or p=reject to instruct servers to send suspicious messages to spam or reject them entirely.
Step 2: Monitor your DMARC reports. These reports help you identify unauthorized sources trying to send mail from your domain, allowing you to adjust your SPF and DKIM settings as needed.
Use a Trusted Email Sending Service
Step 1: If you send emails through a third-party service (such as Mailchimp, SendGrid, or similar), follow their documentation to authenticate your domain. This usually involves adding SPF and DKIM records provided by the service to your DNS settings.
Step 2: Verify authentication is working by sending a test email to a Gmail account and checking the authentication results as described earlier.
Check for Email Forwarding Issues
Step 1: Understand that forwarding emails between servers can sometimes break SPF checks, since the forwarding server may not be authorized in your SPF record. This can cause Gmail to show the warning even if your original setup is correct.
Step 2: To minimize issues, use SRS (Sender Rewriting Scheme) on forwarding servers if possible, or ensure DKIM is correctly configured, as DKIM signatures are less likely to be affected by forwarding.
By setting up SPF, DKIM, and DMARC records, and ensuring your emails are sent through authorized servers, you can stop Gmail from displaying sender authentication warnings for your domain. Regularly review your DNS settings and authentication reports to keep your email delivery secure and reliable.