
App installations on non-system drives in Windows 11 can lead to scattered files, unexpected storage usage, and potential security concerns. By configuring system policies, administrators can limit app installations strictly to the primary system drive, ensuring that new apps from the Microsoft Store or other sources only install to C:. This approach streamlines management and prevents users from moving or installing apps to other drives.
Restricting App Installations Using Local Group Policy Editor
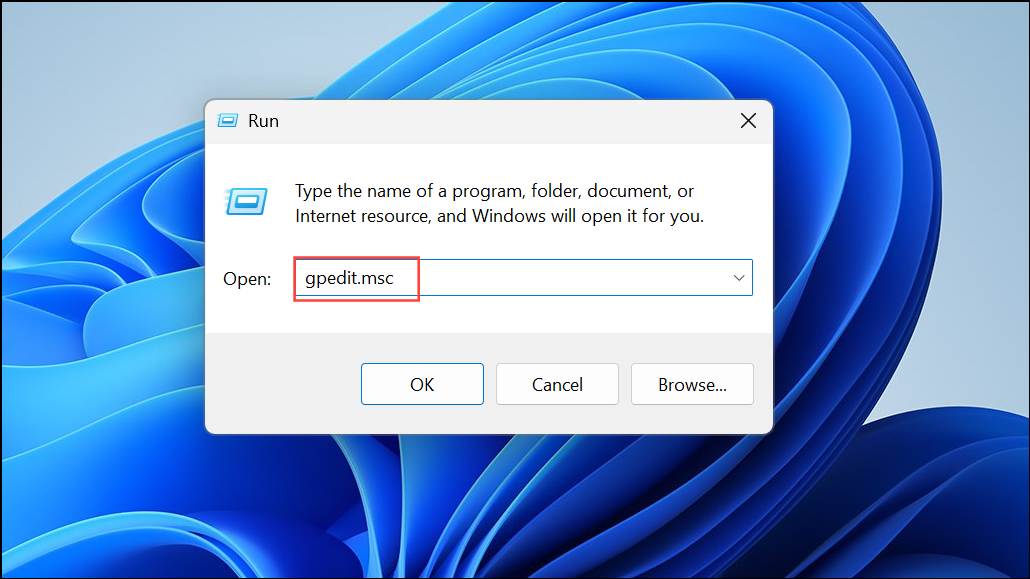
Step 1: Launch the Local Group Policy Editor by pressing Windows + R, typing gpedit.msc, and pressing Enter. This tool is available in Windows 11 Pro, Enterprise, and Education editions.
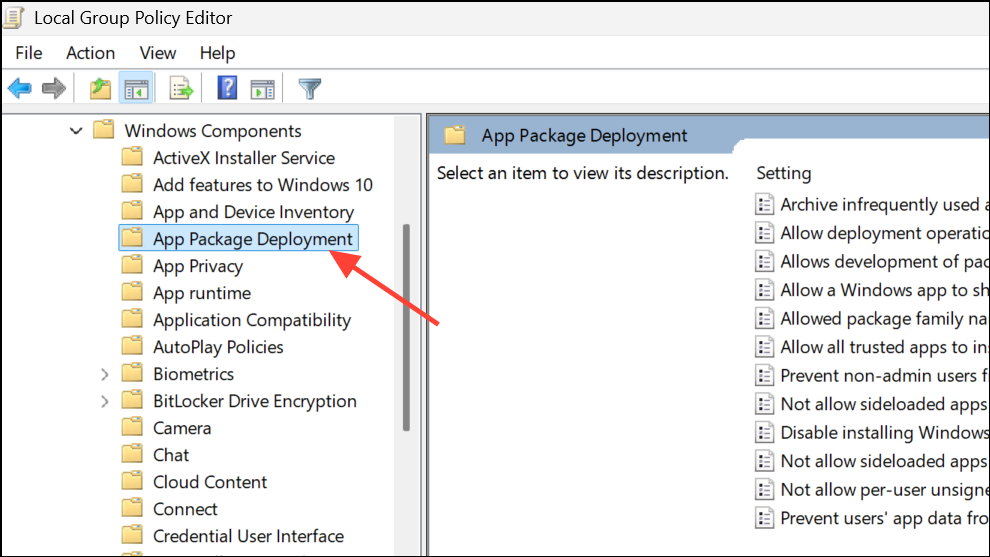
Step 2: In the left pane, navigate to Computer Configuration > Administrative Templates > Windows Components > App Package Deployment.
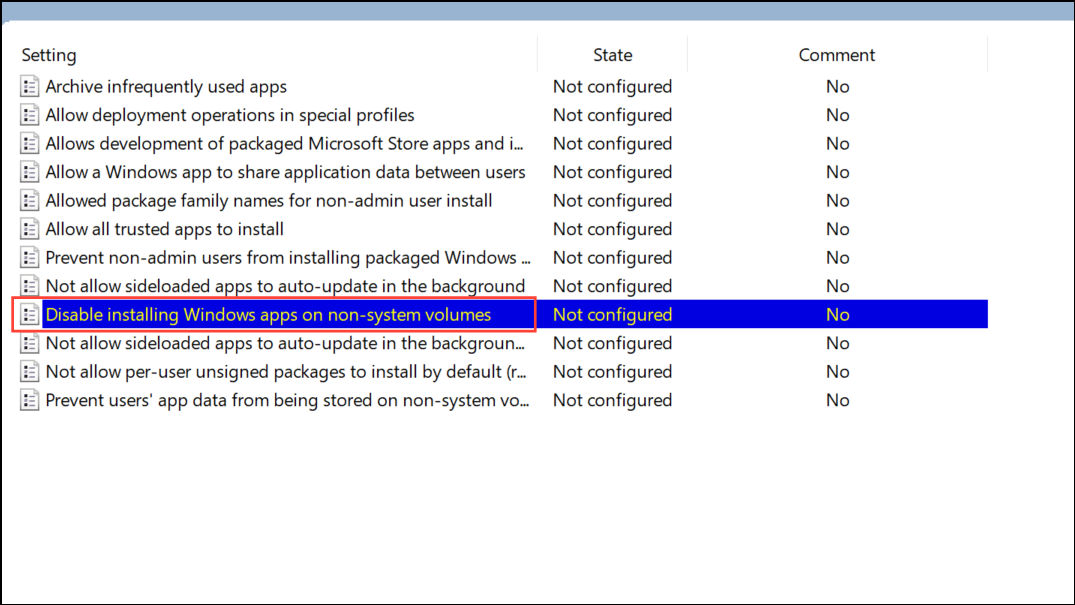
Step 3: Locate the policy named Disable installing Windows apps on non-system volumes in the right pane and double-click it to open its properties.
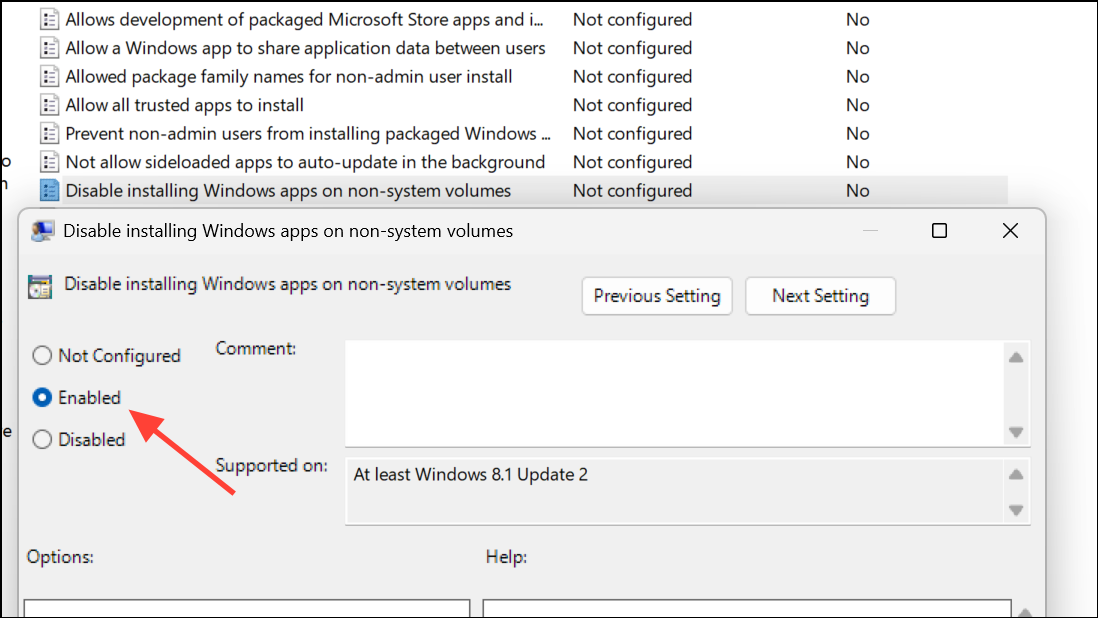
Step 4: Select Enabled to activate the restriction. This setting prevents users from installing or moving apps to drives other than the system drive.
Step 5: Click OK to save changes and close the editor. The change takes effect immediately, but a restart may be required for some systems.
By setting this policy, any attempt to move or install new apps to non-system drives will be blocked. Existing apps previously moved or installed on other drives remain unaffected.
Applying Restrictions with the Registry Editor
For users on Windows 11 Home or those who prefer direct registry changes, the same restriction can be set by editing the Windows Registry. Always back up your registry before making changes to avoid accidental system issues.
Step 1: Open the Registry Editor by pressing Windows + R, typing regedit, and pressing Enter.

Step 2: Navigate to the following path:
HKEY_LOCAL_MACHINE\SOFTWARE\Policies\Microsoft\Windows\Appx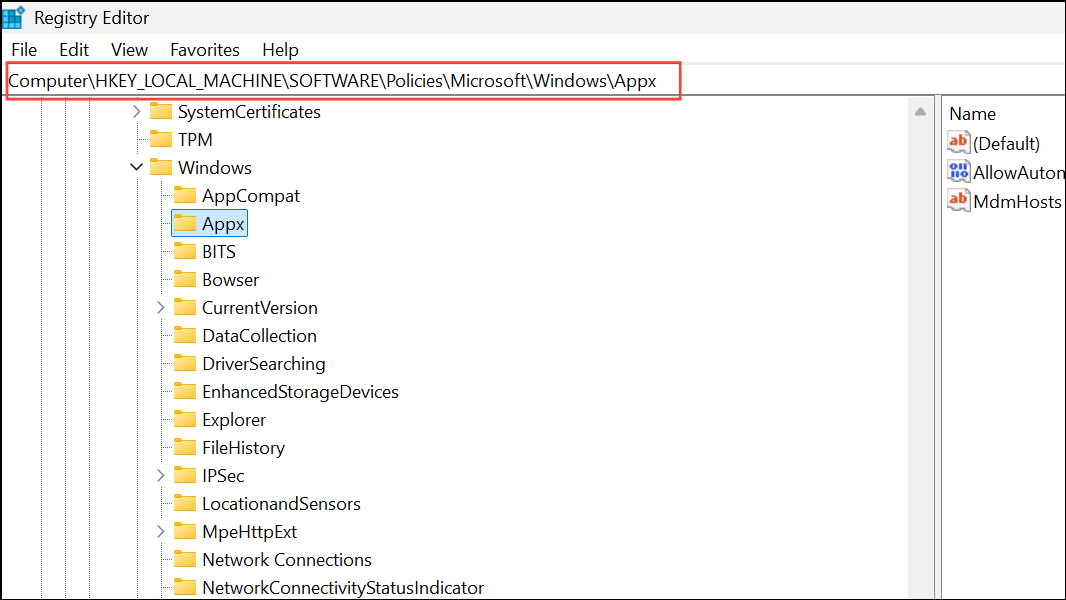
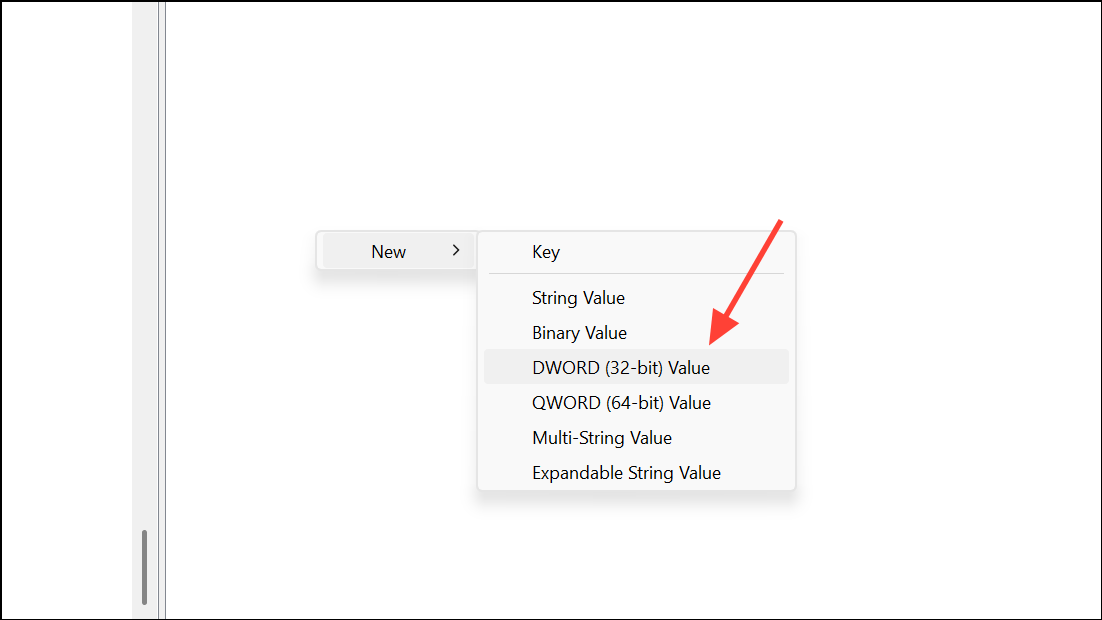
Step 3: Right-click in the right pane and select New > DWORD (32-bit) Value. Name the new value RestrictAppToSystemVolume.
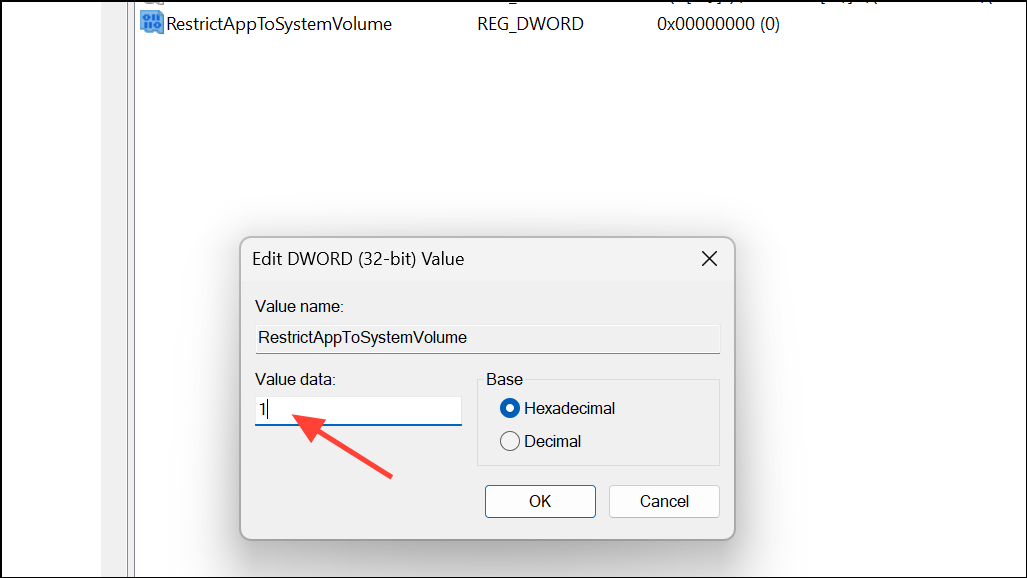
Step 4: Double-click the new value and set its data to 1. This enforces the restriction, preventing app installations or moves to non-system drives.
Step 5: Close the Registry Editor and restart your computer to apply the changes.
To remove the restriction in the future, simply delete the RestrictAppToSystemVolume value or set its data to 0.
Additional Considerations and Tips
Blocking app installations on non-system drives applies only to new installations and moves. Apps already present on other drives will continue to function as before. Administrative privileges are required to change either Group Policy or registry settings. If you are managing multiple systems, consider using Group Policy for centralized control.
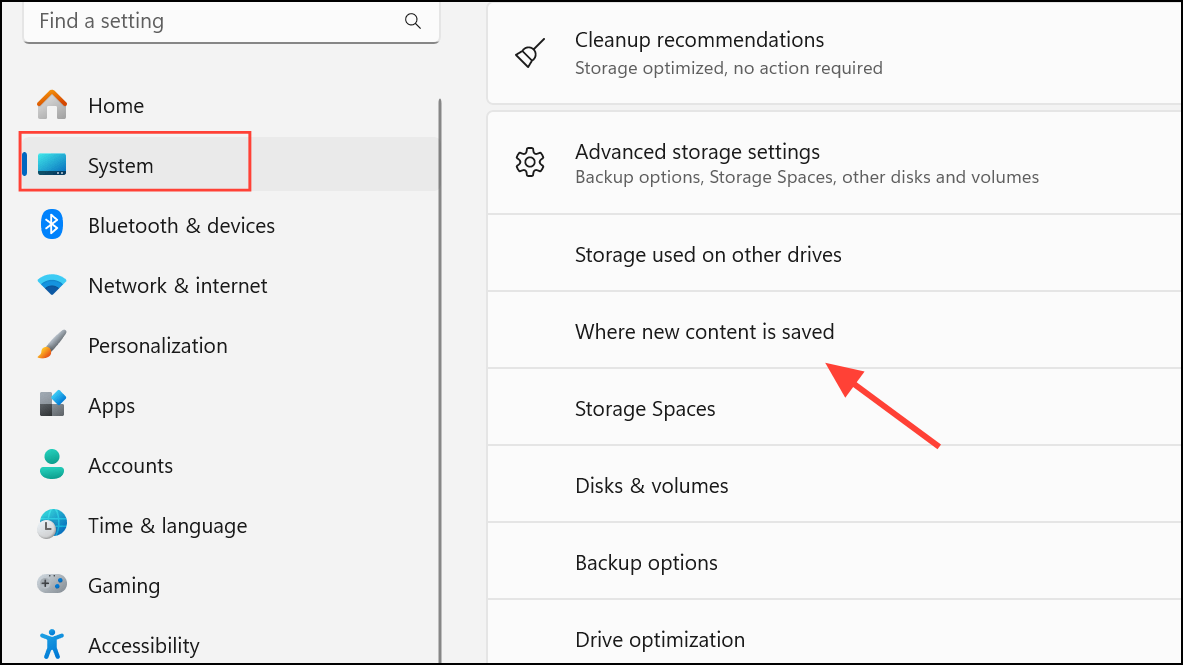
It’s also recommended to periodically review app storage settings in Settings > System > Storage > Advanced storage settings > Where new content is saved to confirm that the system drive remains the default location for new app installations.
For organizations or advanced users seeking further automation, registry files can be created and deployed to multiple machines to enforce this policy quickly.
Limiting app installations to the system drive improves storage management and reduces the risk of unwanted files cluttering secondary drives. These methods give administrators and users clear control over where apps reside in Windows 11.