
Systems running Windows 11 can become unbootable if the Boot Configuration Data (BCD) file is missing or corrupted. The BCD file contains critical information about installed operating systems and boot parameters, and its integrity is essential for Windows to start properly. When the BCD is damaged, users may encounter errors such as "The Boot Configuration Data for your PC is missing or contains errors" or specific error codes like 0xc000000f or 0xc000014c. Rebuilding the BCD restores the boot process and allows Windows 11 to load as expected.
Rebuilding BCD Using Windows Recovery Environment (WinRE)
Accessing the Windows Recovery Environment is the most effective way to address BCD corruption. This process uses built-in command-line tools to scan, repair, and regenerate the BCD store.
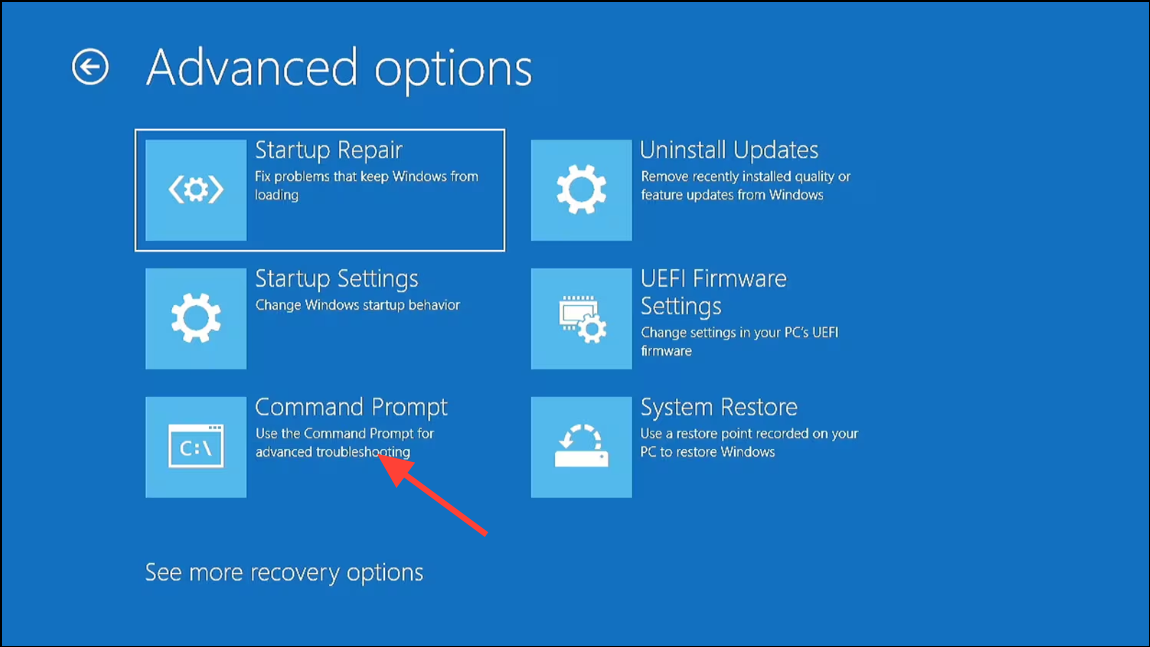
Step 1: Boot into the Windows Recovery Environment. If Windows cannot start, use a bootable USB or DVD with Windows 11 installation media. On the initial setup screen, press Shift + F10 to open Command Prompt, or navigate through Troubleshoot > Advanced Options > Command Prompt.
Step 2: Identify the drive letter where Windows is installed. In the Command Prompt, run:
bcdedit
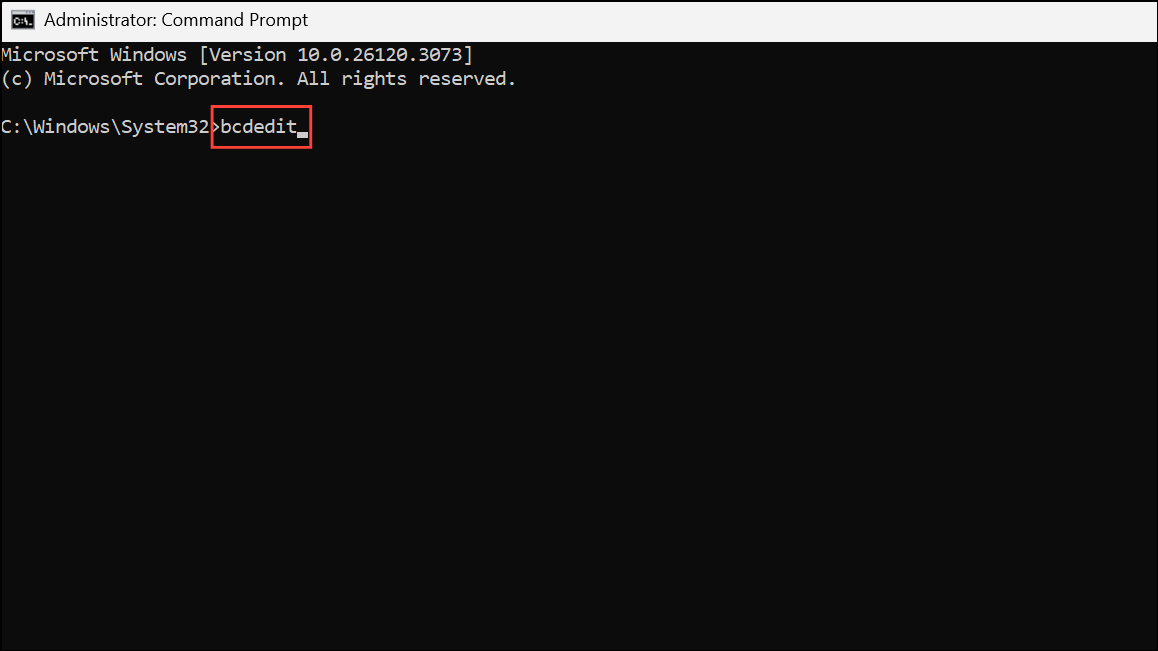
Look for entries like osdevice or device to confirm the correct drive letter (often C:, but it may differ in WinRE).
Step 3: Run the command to scan for Windows installations and rebuild the BCD:
bootrec /rebuildbcd
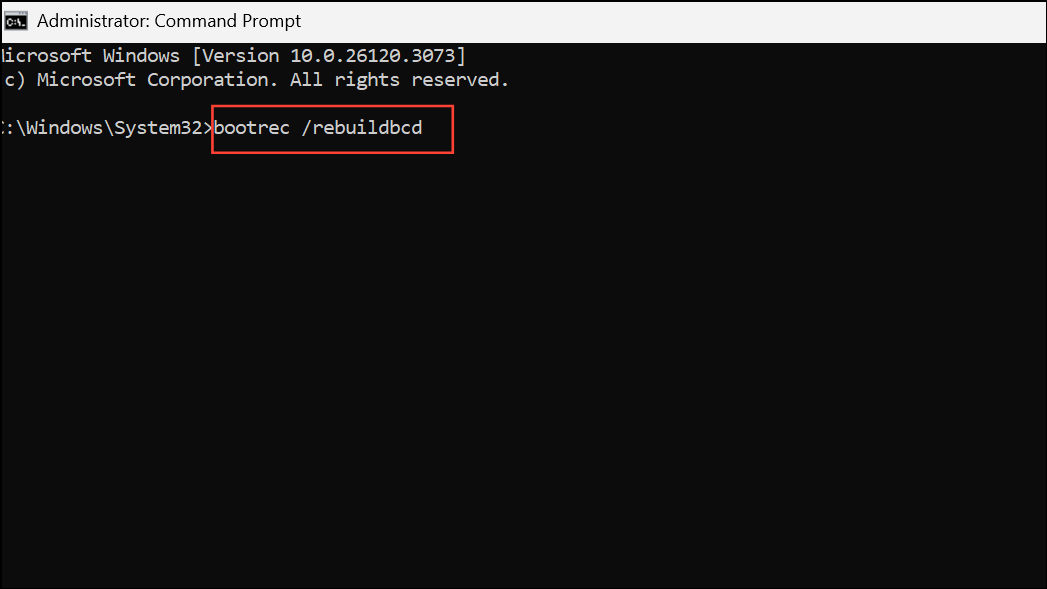
This command scans all disks for Windows installations not currently in the BCD store. If installations are found, you’ll be prompted to add them. Type Y for Yes or A for All, then press Enter.
If you see a message stating "Total identified Windows installations: 0", it means no new installations were found, and further steps are needed.
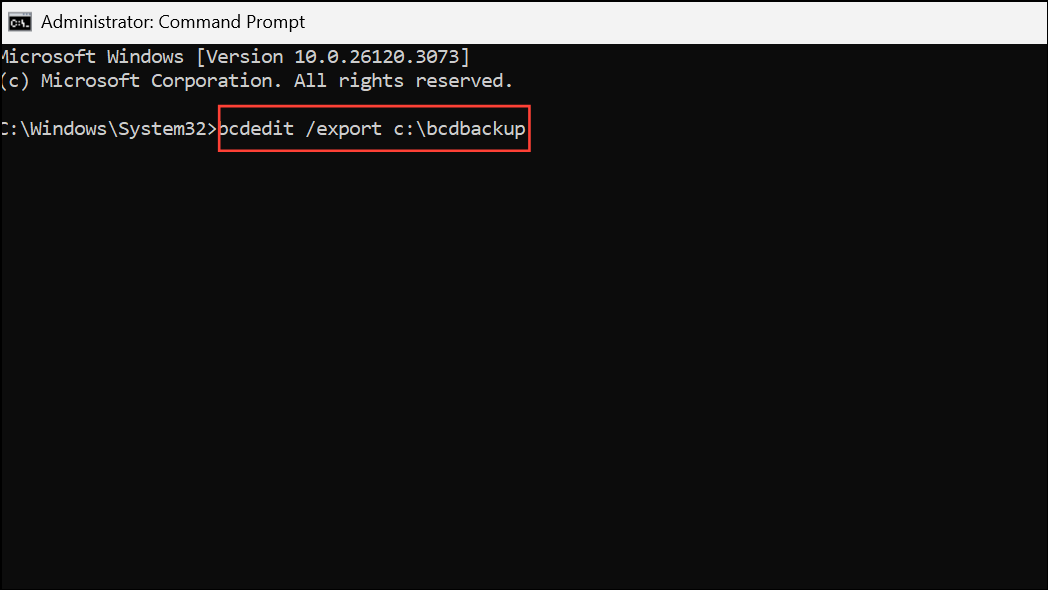
Step 4: If the BCD store exists but is corrupted, back up the current BCD and remove restrictive file attributes. Enter each command separately:
bcdedit /export c:\bcdbackup
attrib c:\boot\bcd -h -r -s
ren c:\boot\bcd bcd.old
This sequence exports the current BCD for backup, removes hidden, read-only, and system attributes, and renames the old BCD file.
Step 5: Run the BCD rebuild command again:
bootrec /rebuildbcd
When prompted to add installations, confirm by typing Y or A and pressing Enter.
Step 6: Restart the computer. Remove the installation media if necessary, and allow Windows to boot normally. If the BCD was the source of the problem, the system should now load without error.
Restoring BCD Using the bcdboot Command
If rebuilding BCD with bootrec does not resolve the issue, or if the BCD file is missing entirely, the bcdboot utility can generate a new BCD store from scratch.
Step 1: In Command Prompt within WinRE, run the following command, substituting C:\Windows with the correct Windows directory if necessary:
bcdboot C:\Windows /s C: /f UEFI
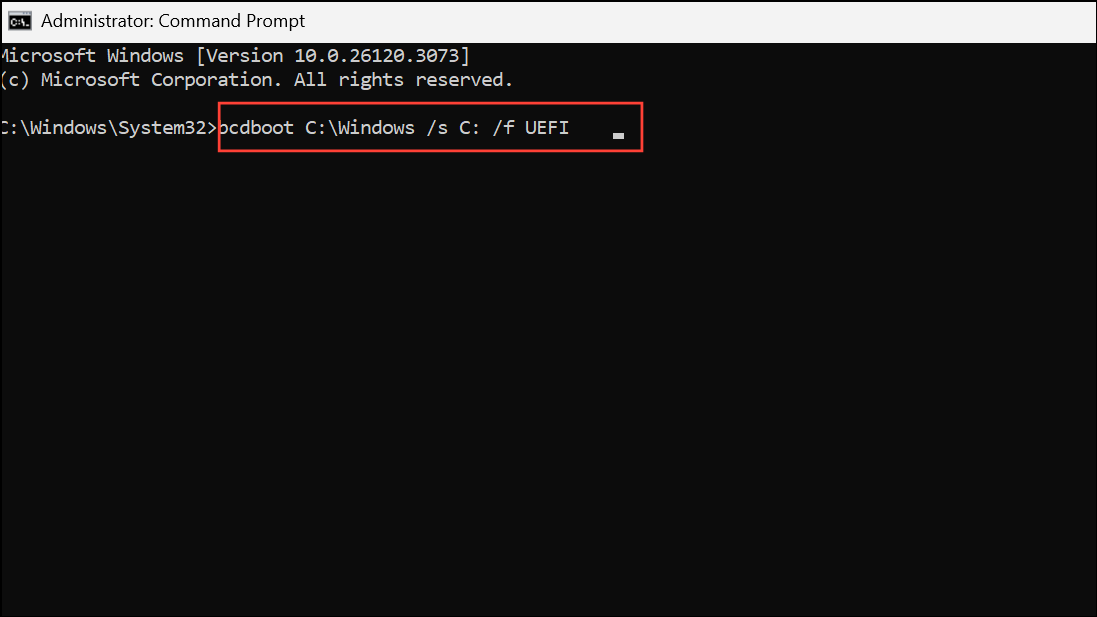
This command copies boot files from the Windows partition to the EFI system partition and creates a new BCD store. If your system uses BIOS/MBR instead of UEFI/GPT, use /f BIOS instead of /f UEFI.
Step 2: Wait for the confirmation message "Boot files successfully created." If you receive an error such as "Failure when attempting to copy boot files," double-check the drive letters and partition types using diskpart and list vol.
Step 3: Reboot the computer and verify that Windows loads correctly.
Rebuilding BCD on UEFI Systems by Repairing the EFI Partition
On UEFI-based systems, the boot process relies on a dedicated EFI partition formatted as FAT32. If this partition is missing or damaged, Windows will not boot, and BCD repair must include EFI partition restoration.
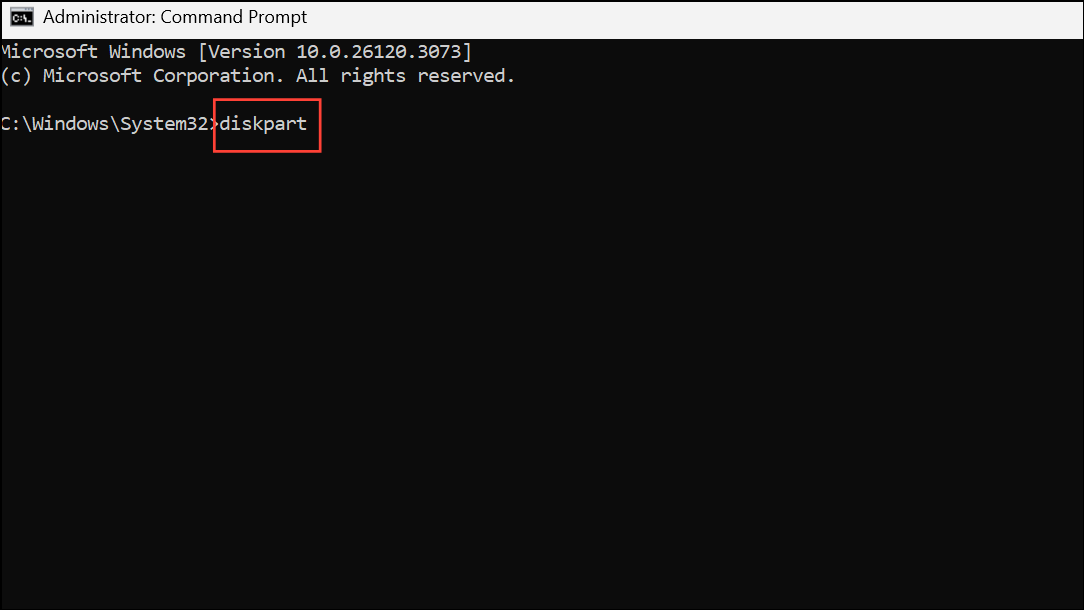
Step 1: Open Command Prompt in WinRE. Use diskpart to list volumes and identify the EFI partition (usually 100–500 MB, FAT32):
diskpart
list volume
select volume #  (replace # with the EFI partition number)
assign letter=Y
exit
Step 2: If the partition is corrupted, format it as FAT32:
format Y: /fs:FAT32 /q
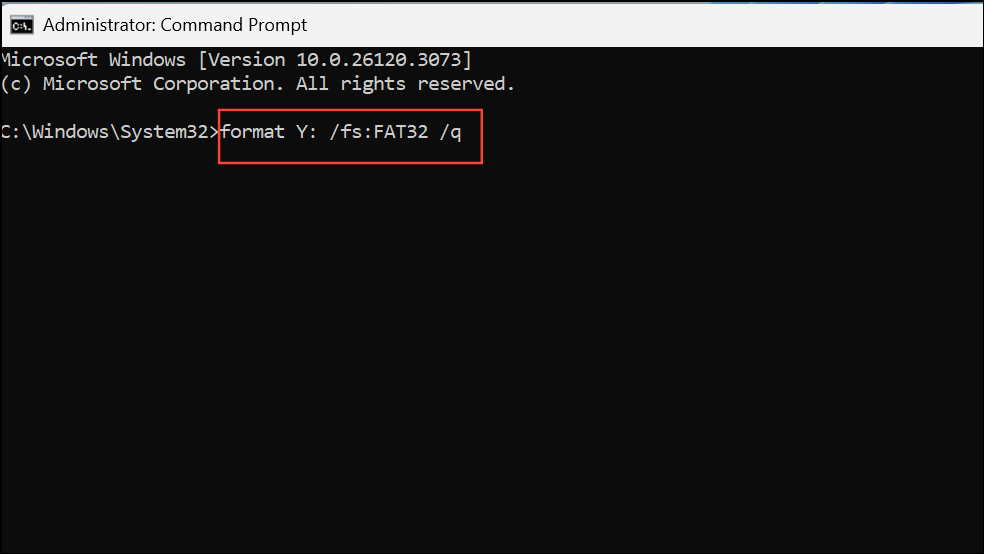
Assign a new volume label if prompted (e.g., EFI).
Step 3: Rebuild the boot files and BCD store:
bcdboot C:\Windows /s Y: /f UEFI
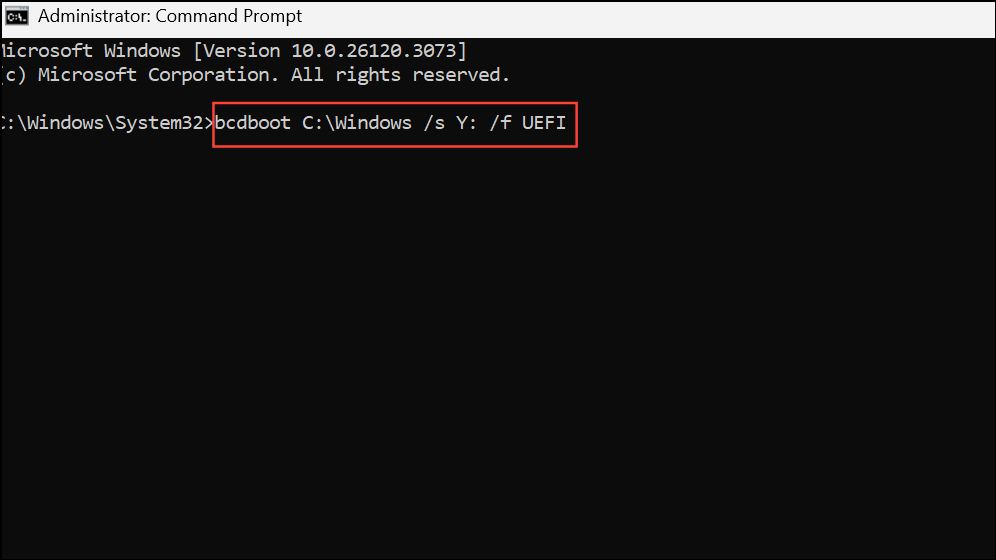
This command copies necessary boot files to the EFI partition and creates a new BCD store for UEFI systems.
Step 4: Optionally, run bootrec /rebuildbcd to scan for additional Windows installations and add them to the boot menu.
Step 5: Restart the computer and confirm that Windows boots successfully.
Backing Up and Restoring BCD Store
Before making changes to the BCD, create a backup to allow easy restoration if needed. This is especially important when manually editing or recreating boot entries.
Step 1: Open an elevated Command Prompt (as administrator) in Windows or WinRE.
Step 2: To back up the current BCD store, run:
bcdedit /export "C:\path\to\backup\MyBCDEdit.bcd"
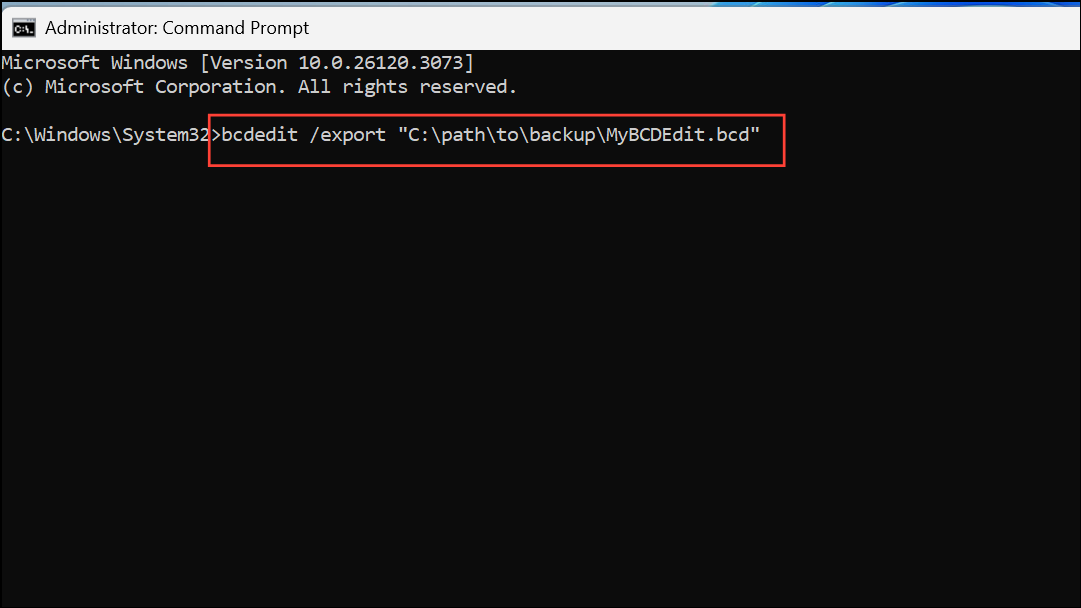
Replace C:\path\to\backup with your preferred backup location.
Step 3: To restore the BCD from a backup, use:
bcdedit /import "C:\path\to\backup\MyBCDEdit.bcd"

This command overwrites the current BCD store with the contents of your backup file.
Additional Troubleshooting and Tips
- If
bootrec /fixmbrorbootrec /fixbootare needed (for MBR systems), run these before rebuilding the BCD. - If you encounter "Access Denied" or "The requested system device cannot be found," ensure the correct partition is active and assigned a drive letter. Use
diskpartto make the system or EFI partition active on BIOS/MBR systems. - For dual-boot scenarios, always add all detected Windows installations to the BCD when prompted.
- Third-party tools like EasyBCD or Dual-Boot Repair can provide a graphical interface for BCD management if command-line methods are challenging.
- Rebuilding the BCD does not affect user files or installed programs—it only repairs boot configuration data.
Restoring the BCD file using these methods resolves most Windows 11 boot problems quickly and safely. Regularly backing up the BCD and understanding your system’s partition layout makes future recovery much simpler.