
Windows 11 displays a default user account picture—often a generic silhouette—on the sign-in screen for both local and Microsoft accounts. For some users, this placeholder image is unnecessary or visually distracting, and removing it can simplify the sign-in experience. Achieving a completely blank or invisible user picture is not natively supported in all builds of Windows 11, but several practical workarounds exist. These range from replacing the image with a transparent file to editing system policies or registry entries. Below, you’ll find the most effective solutions, organized by reliability and ease of use.
Replace the Default User Picture with a Transparent Image
Replacing the default user account image with a transparent PNG or JPEG is the most consistent way to remove the visible profile picture from the Windows 11 sign-in screen. This method does not remove the placeholder area entirely, but it makes the image itself invisible, resulting in a cleaner appearance.
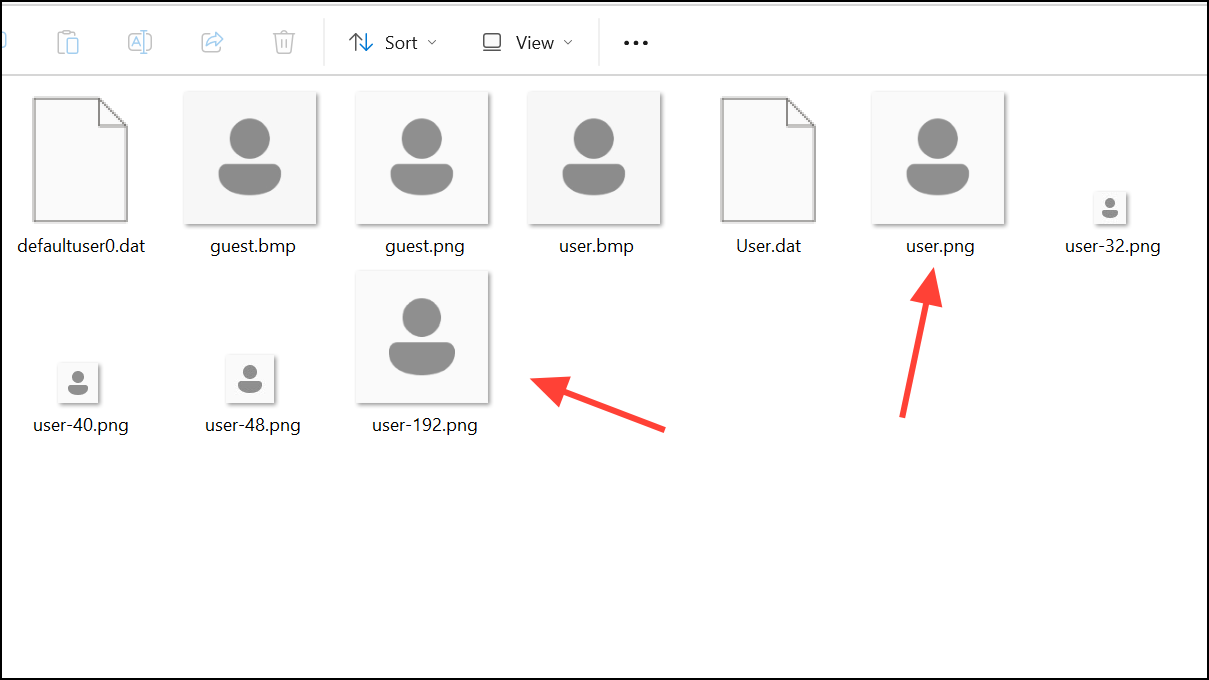
Step 1: Create a fully transparent image file. Use an image editor to make a 192x192 pixel PNG file with a transparent background. Save it as user-192.png.
Step 2: Convert the PNG to a JPEG if necessary. Some Windows versions reference user.jpg as the default image. Use an online converter to create a transparent user.jpg from your PNG file.

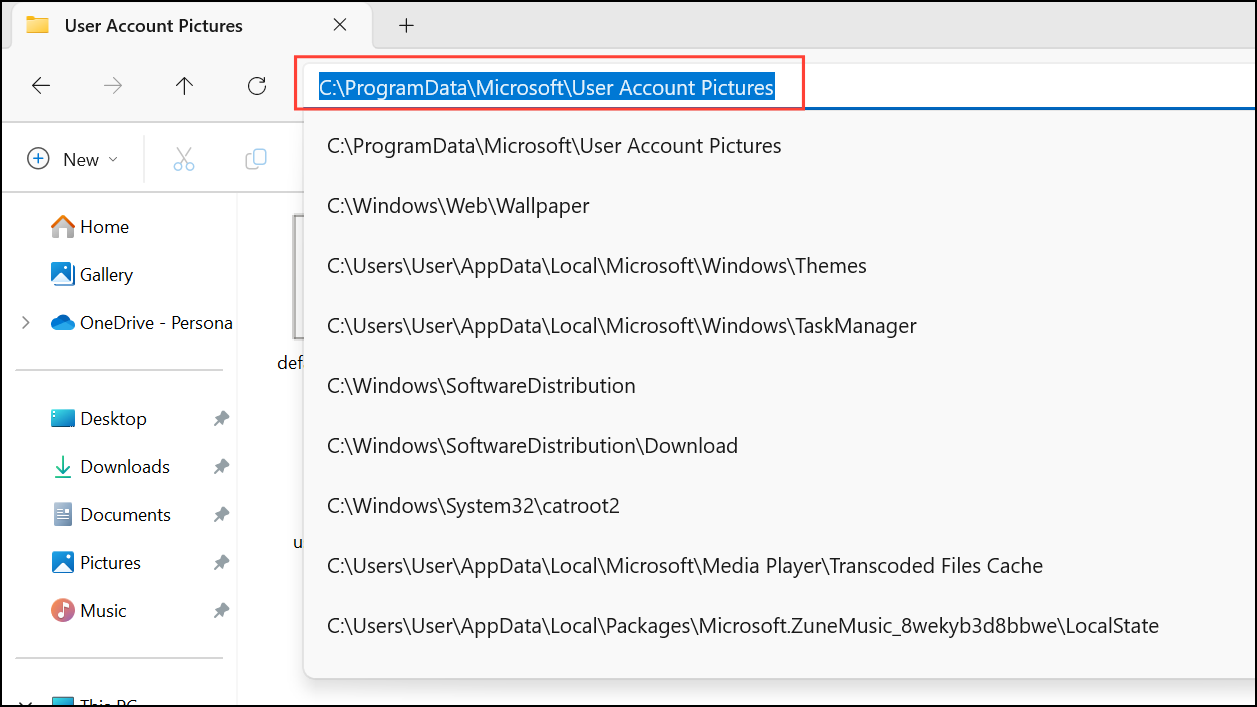
Step 3: Navigate to the system image folder. Open File Explorer and go to C:\ProgramData\Microsoft\User Account Pictures. You may need administrator rights to modify this folder.
Step 4: Replace the existing user-192.png and user.jpg with your transparent versions. Rename your files to match the originals and overwrite them. If Windows blocks the action, adjust file permissions by right-clicking, selecting ‘Properties’, going to the ‘Security’ tab, and granting your account full control.
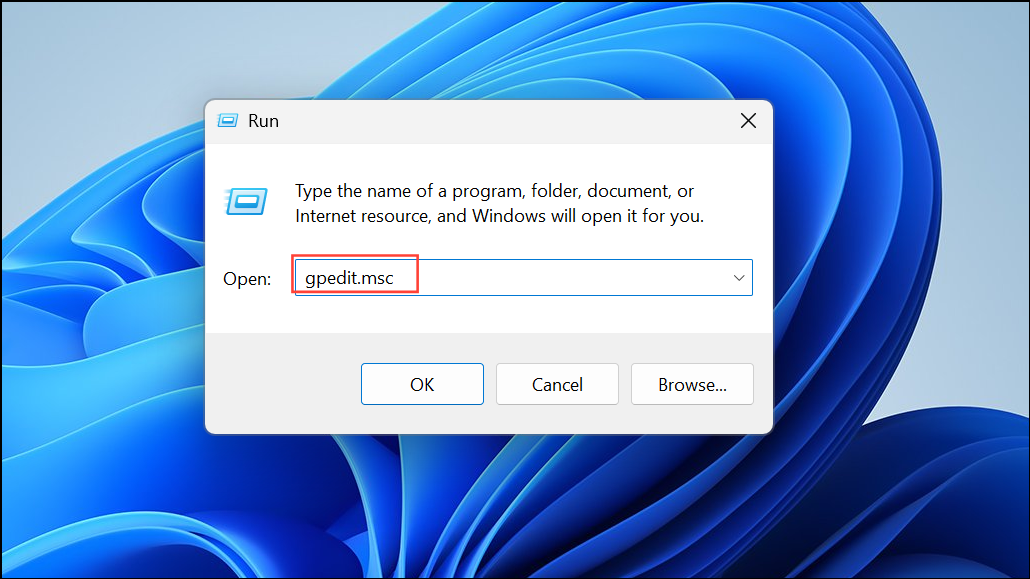
Step 5: Open the Local Group Policy Editor (gpedit.msc).
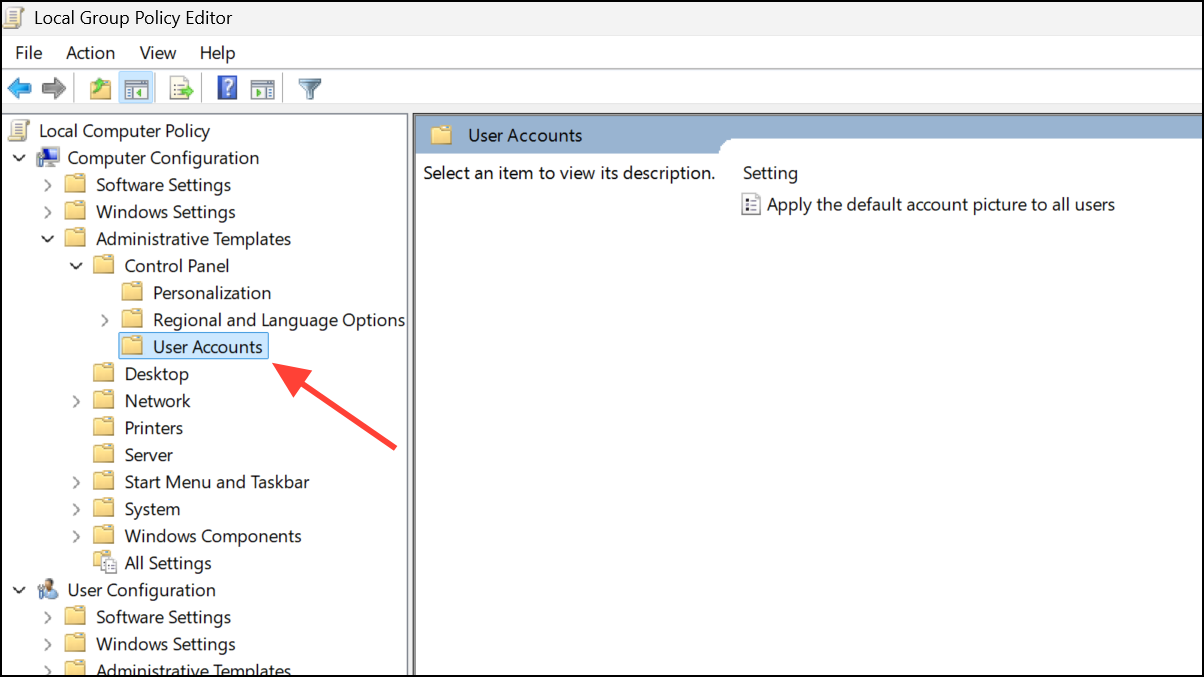
Step 6: Go to Computer Configuration > Administrative Templates > Control Panel > User Accounts. Find the policy ‘Apply the default account picture to all users’ and set it to ‘Enabled’ to force the use of your transparent image for all accounts.
Step 7: Restart your computer or sign out and back in. The sign-in screen should now display an empty or invisible user image, with only the placeholder circle remaining (or, in some builds, the circle may disappear entirely).
Delete Profile Picture References from the Registry
For users who want to completely reset the user account image—including removing persistent image references—editing the Windows Registry can restore the default picture, including the transparent version in recent Windows 11 builds. This method is advanced and requires careful handling of system files.
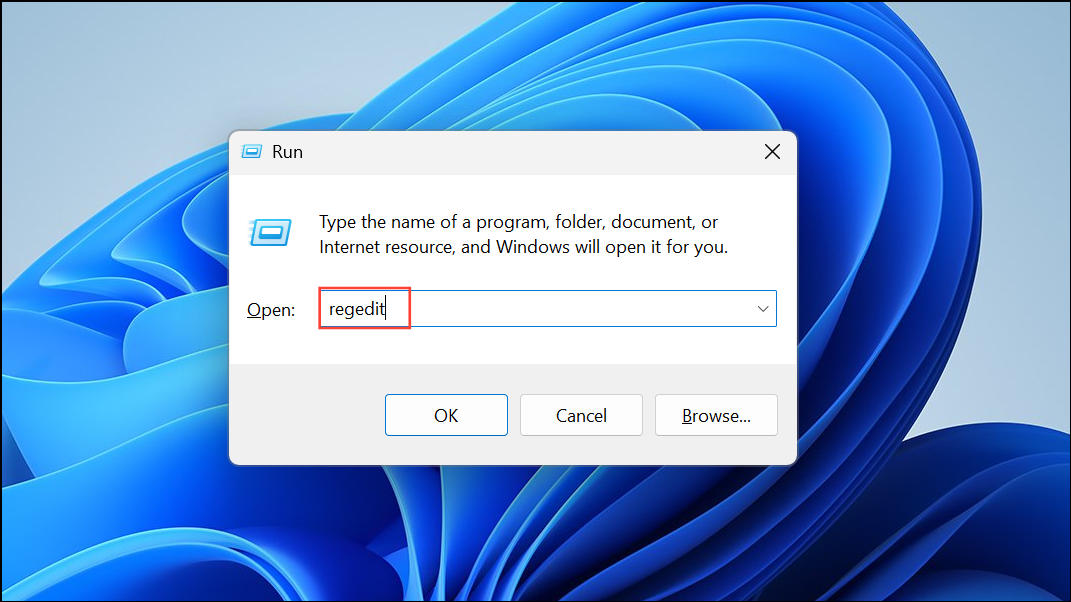
Step 1: Open the Registry Editor (regedit.exe) as an administrator.
Step 2: Navigate to HKEY_LOCAL_MACHINE\SOFTWARE\Microsoft\Windows\CurrentVersion\AccountPicture\Users. Under ‘Users’, you’ll see one or more subkeys named with long strings (these are user security identifiers).
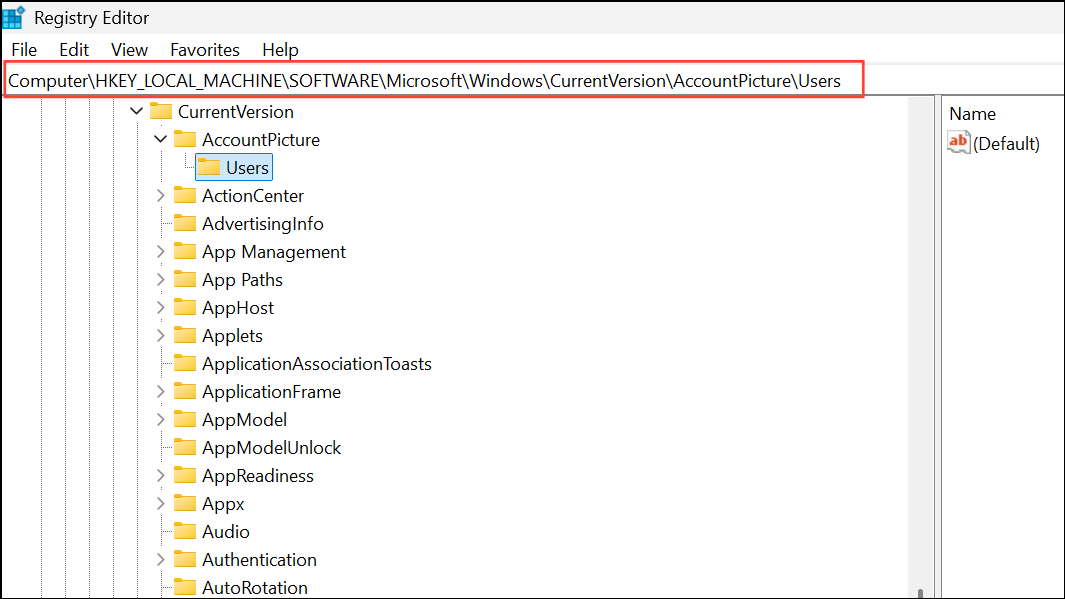
Step 3: Each subkey contains values pointing to image files (e.g., Image96, Image448). These are the current and previous profile pictures. To remove them, you must delete these values.
Step 4: To gain permission to delete protected registry keys, download and extract PsExec from Microsoft Sysinternals. Open an elevated Command Prompt and run:
psexec -i -s regedit.exe
This launches the Registry Editor with system privileges, allowing you to delete protected keys.
Step 5: Delete the image value entries under each user’s subkey. Close the Registry Editor once finished.
Step 6: Sign out or restart your computer. Windows 11 will now revert to the default account picture, which may be the transparent version if you haven’t set a new image.
Switch to a Local Account and Remove Account Pictures
Switching from a Microsoft account to a local account can reset the user profile picture to the Windows default. This is useful if your Microsoft account image continues to sync across devices or stubbornly reappears after deletion.
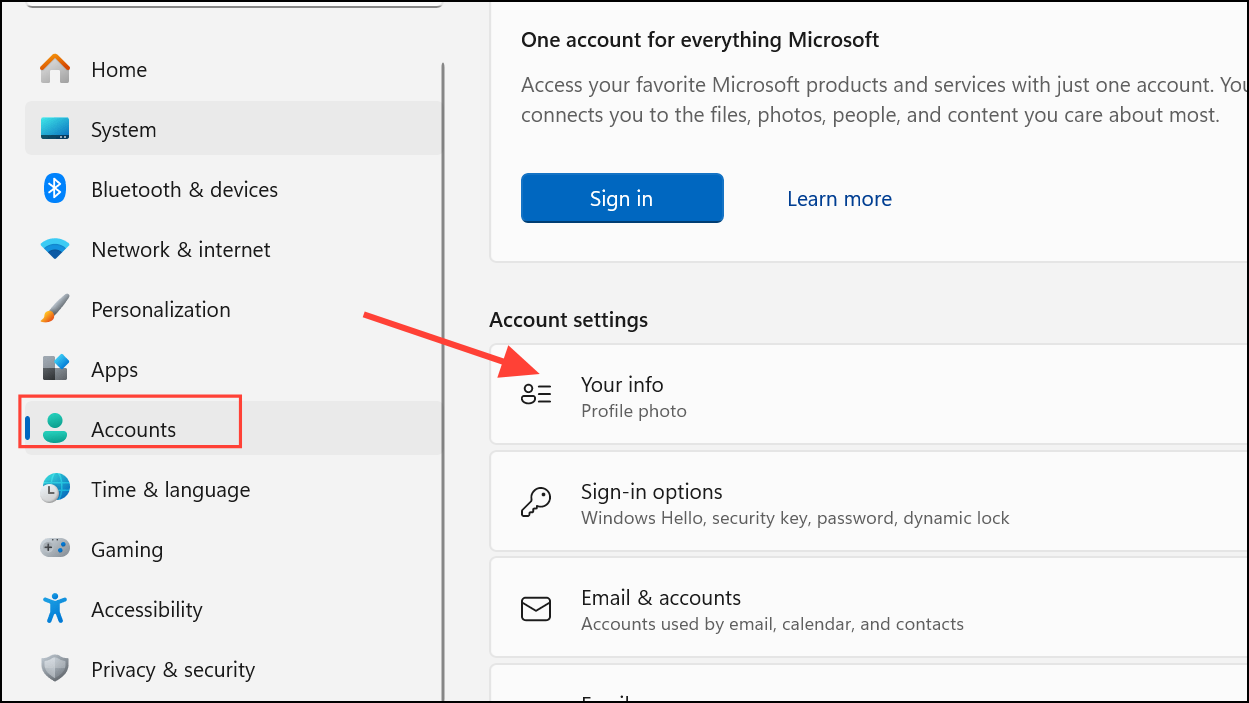
Step 1: Open the Settings app (Windows key + I), then go to Accounts > Your info.
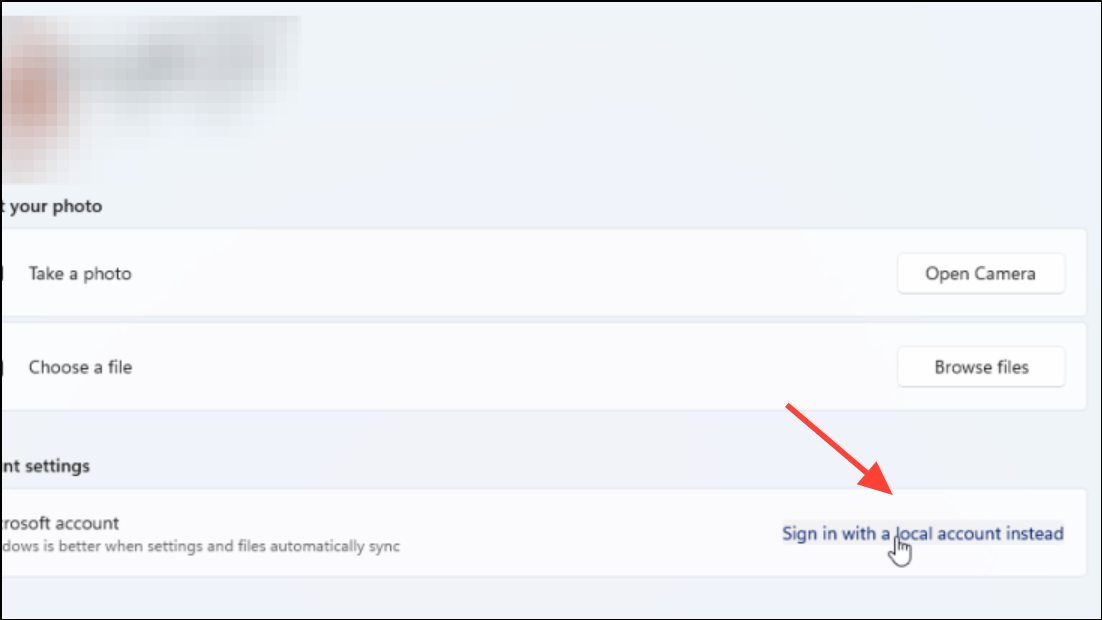
Step 2: Select Sign in with a local account instead and follow the prompts to create a local user profile. You will be logged out and prompted to sign in with the new local account credentials.
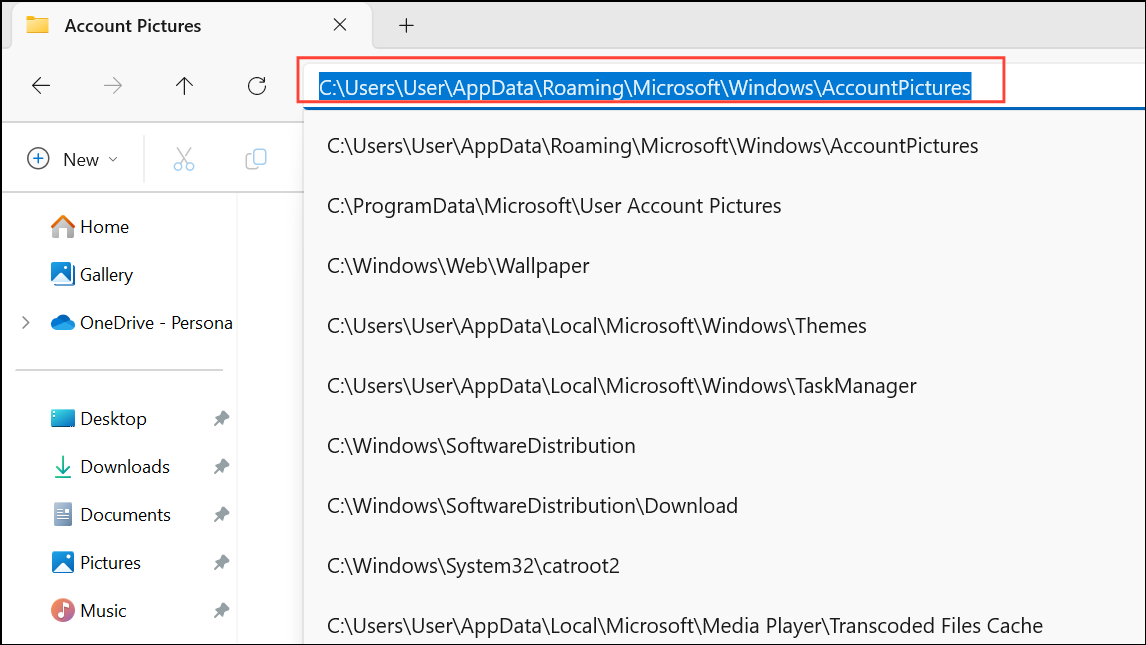
Step 3: After switching to a local account, open File Explorer and navigate to C:\Users\YourUsername\AppData\Roaming\Microsoft\Windows\AccountPictures. Delete any images in this folder to remove previously used account pictures.
Step 4: Restart your computer. The sign-in screen should now display the default Windows avatar or the transparent image, depending on your system configuration and group policy settings.
Restore Default User Picture from System Folder
If you want to revert to the standard default profile image (not a transparent version), you can copy the original image from the system folder and set it as your account picture.
Step 1: Open File Explorer and navigate to C:\ProgramData\Microsoft\User Account Pictures.
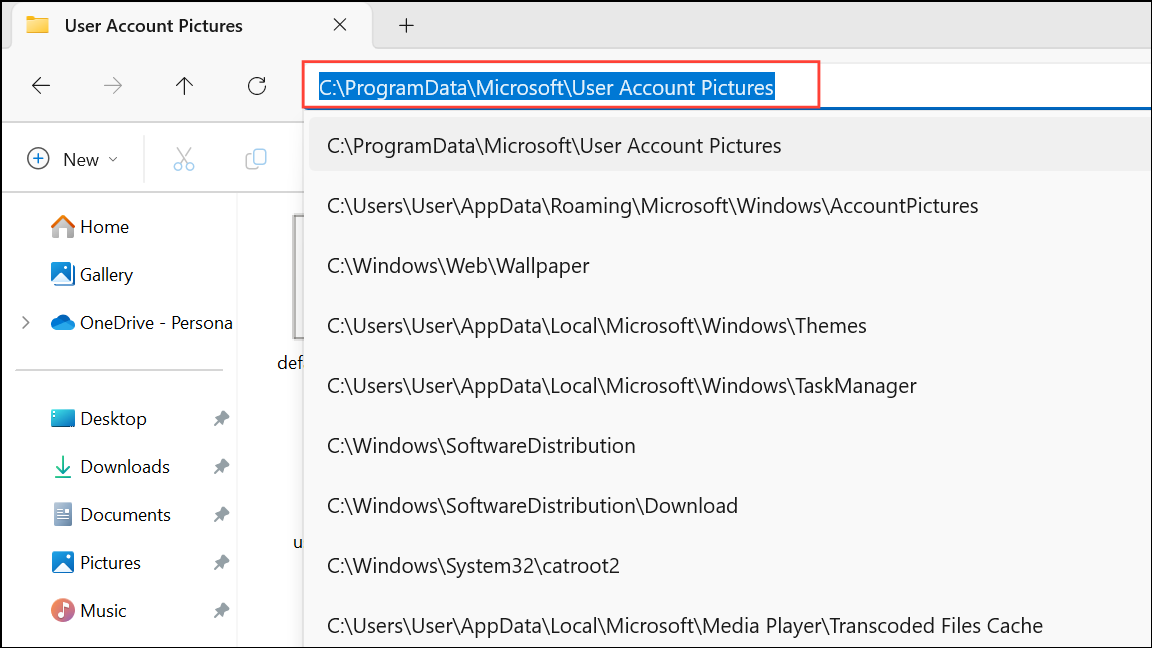
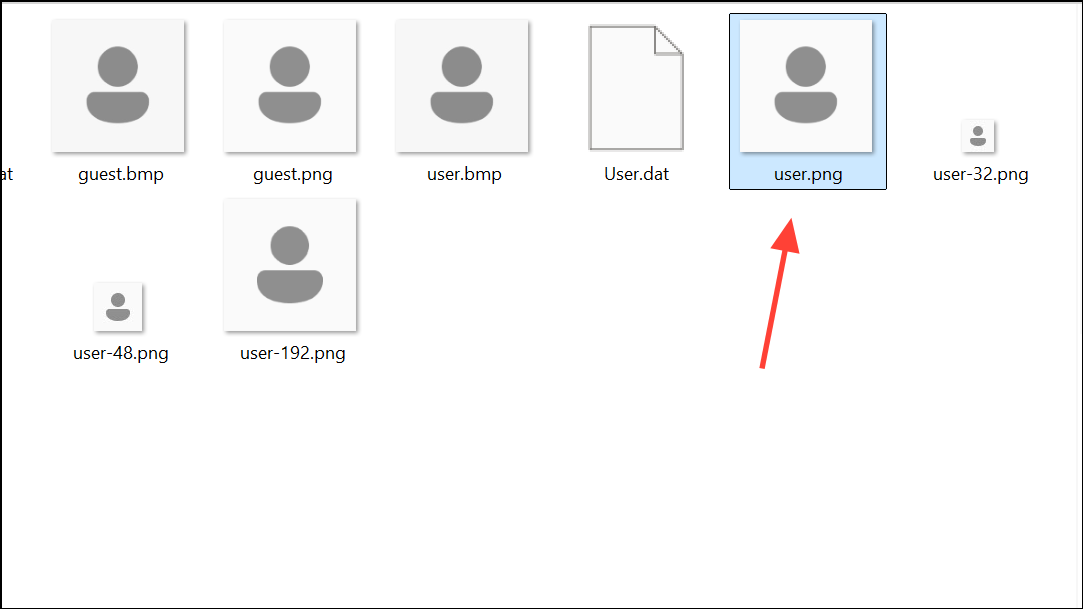
Step 2: Locate the file user.png or user.jpg. Copy this file to your desktop or another accessible location.
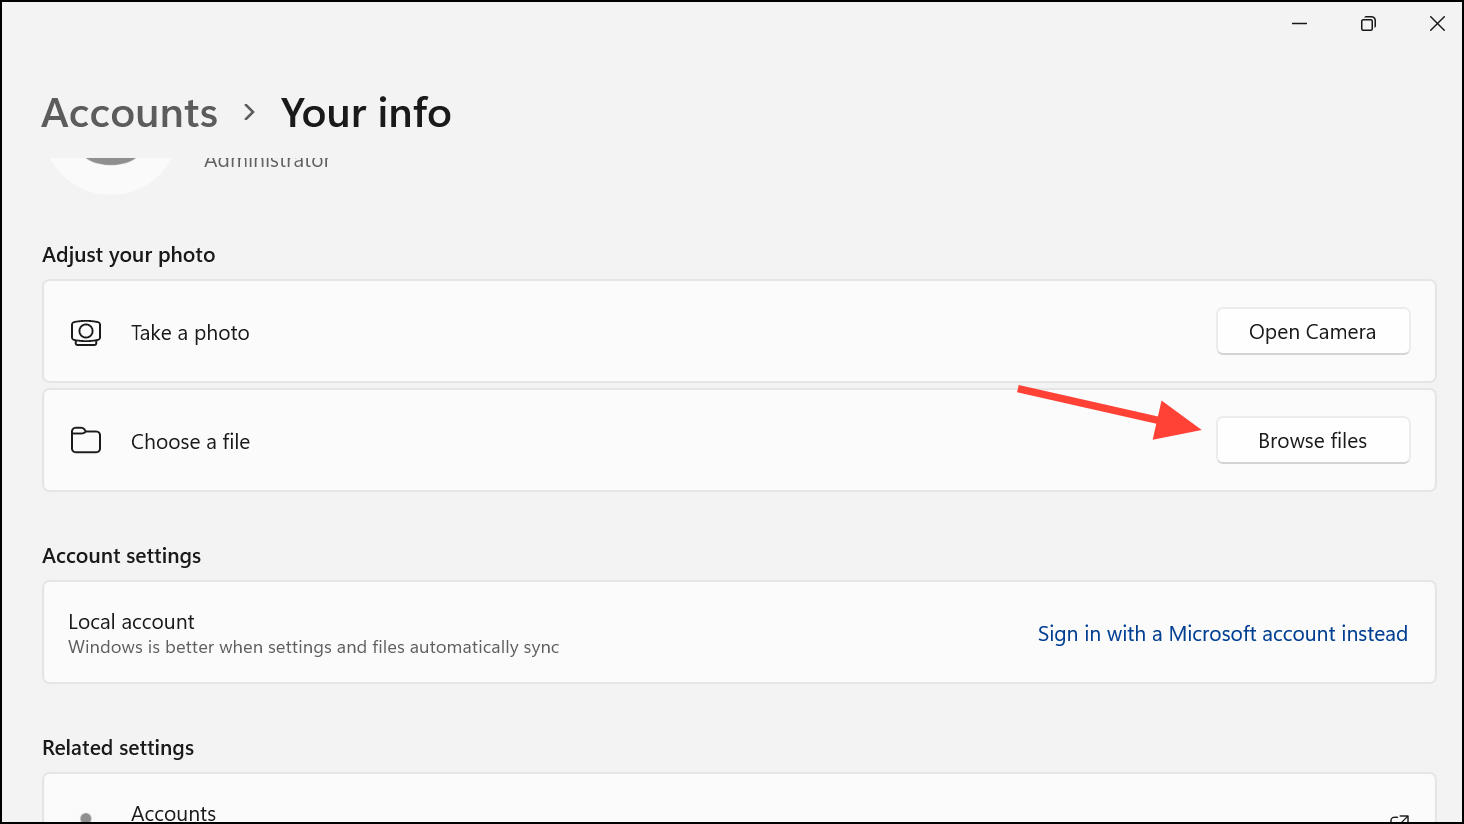
Step 3: Go to Settings > Accounts > Your info, select Browse files in the Choose a file section, and choose the default image you copied.
Step 4: Confirm the change. The original default avatar will now appear on the sign-in screen.
Additional Tips and Troubleshooting
Some Windows 11 builds use a new transparent or blurred default avatar, but the actual image file may be difficult to locate. If you cannot find the transparent version, you can create your own using an image editor as described above. Additionally, if the placeholder circle remains after these steps, it is a UI element that cannot be removed through standard settings or file replacement. In some cases, advanced registry edits or third-party tools may alter this behavior, but such modifications are not officially supported and could break after future updates.
For persistent issues where the Microsoft account picture keeps reappearing, ensure you are fully signed out of your Microsoft account and that your device is not syncing profile information from the cloud. Clearing cached images in C:\Users\YourUsername\AppData\Roaming\Microsoft\Windows\AccountPictures and removing references in the registry typically resolve these sync issues.
Removing the default user account picture in Windows 11 streamlines the sign-in experience, but the process may require a combination of image replacement, policy tweaks, and registry edits. Always back up your system before making changes, and test each method to see which works best for your setup.