
Disabled apps listed in the Windows Startup menu can clutter your system configuration and make it harder to manage which programs actually launch at boot. Even though these apps are not running, their presence can slow down troubleshooting and create confusion about what is active when Windows starts. Removing these disabled entries improves system clarity and can marginally speed up the boot process.
Remove Disabled Startup Apps Using Task Manager
Step 1: Press Ctrl + Shift + Esc to open Task Manager. If Task Manager opens in compact mode, click More details at the bottom to expand the view.
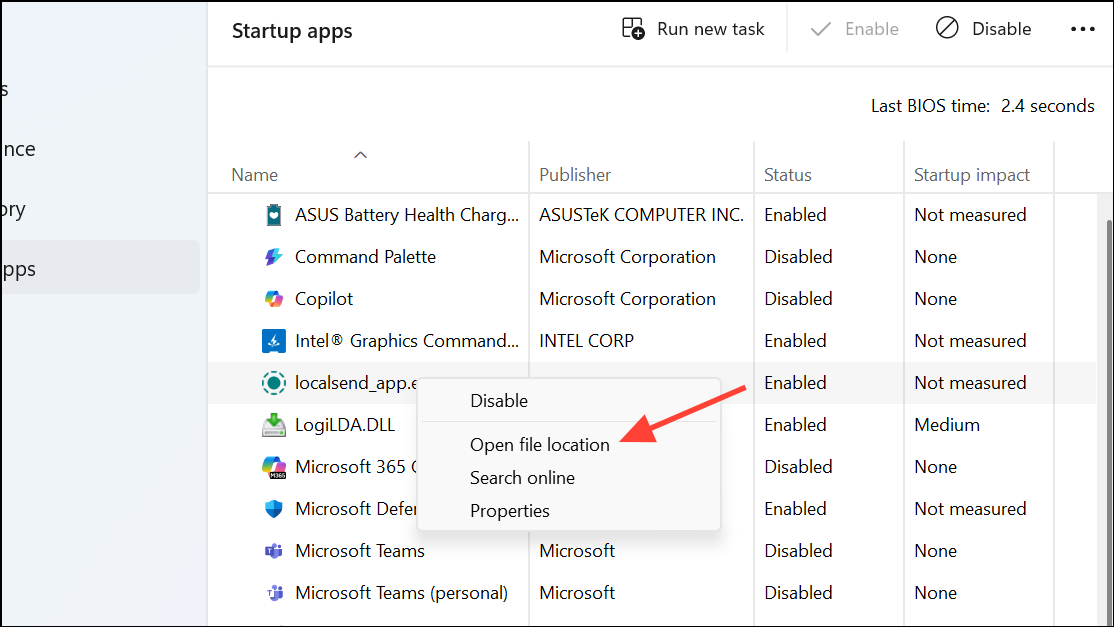
Step 2: Click the Startup apps tab. Here, you’ll see a list of all programs configured to start with Windows, including those that are disabled.

Step 3: Right-click any disabled app you want to remove and select Open file location. This will open the folder containing the shortcut or executable responsible for launching the app at startup.
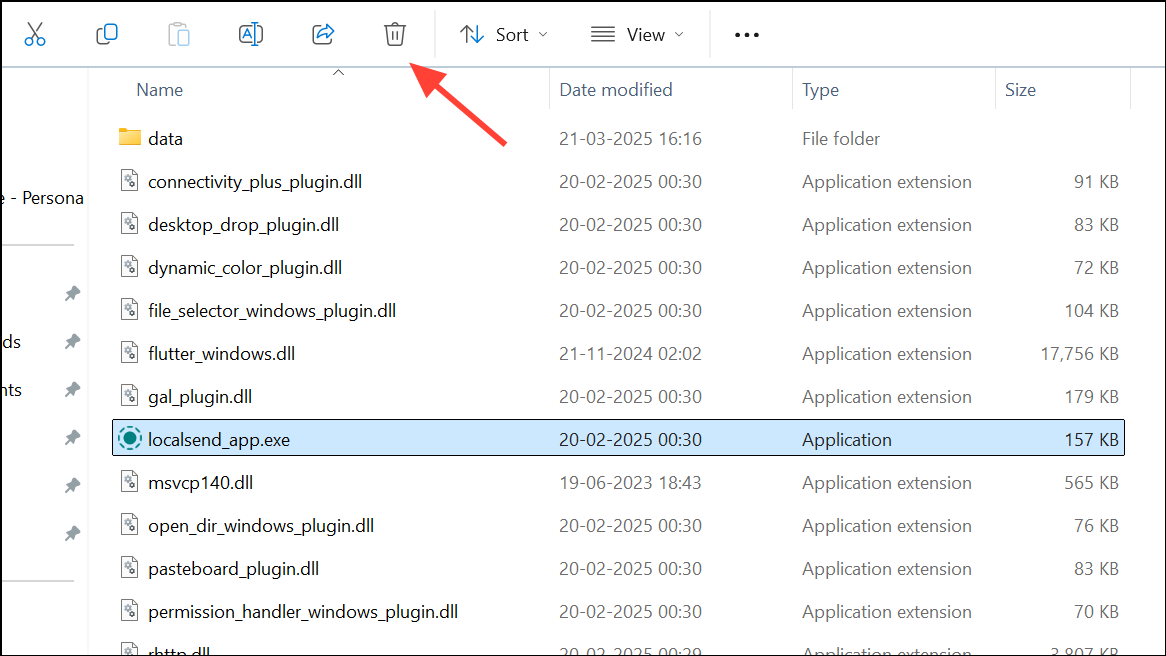
Step 4: Delete the shortcut or file from the Startup folder. This action removes the entry from the Startup tab, so it will no longer appear as enabled or disabled.
Step 5: Close Task Manager and restart your computer. Upon reboot, check the Startup tab again to confirm the disabled app no longer appears.
Remove Disabled Startup Apps via the Startup Folder
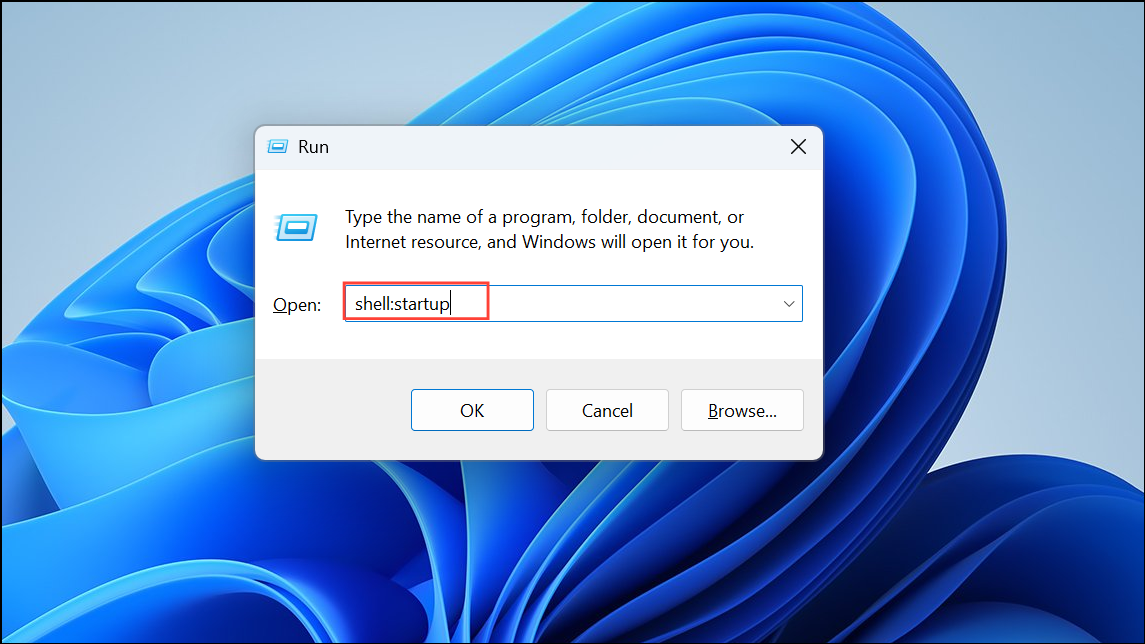
Step 1: Press Win + R to open the Run dialog. Type shell:startup and press Enter to open the user-specific Startup folder.
Step 2: Review the list of shortcuts in this folder. Identify any shortcuts that correspond to apps you have disabled in Task Manager and wish to remove completely.
Step 3: Delete the shortcuts for disabled apps. This prevents them from appearing in the Startup menu and from launching at boot.
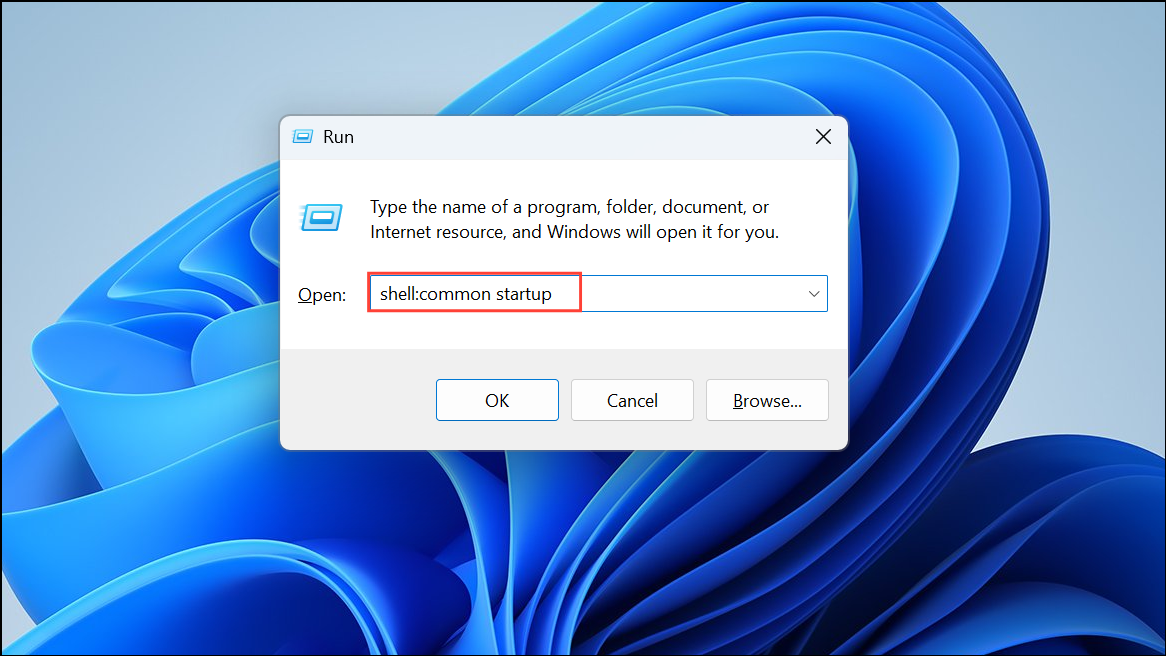
Step 4: If you want to remove startup items for all users, repeat the process with shell:common startup in the Run dialog.
Remove Disabled Startup Entries Using System Configuration (msconfig)
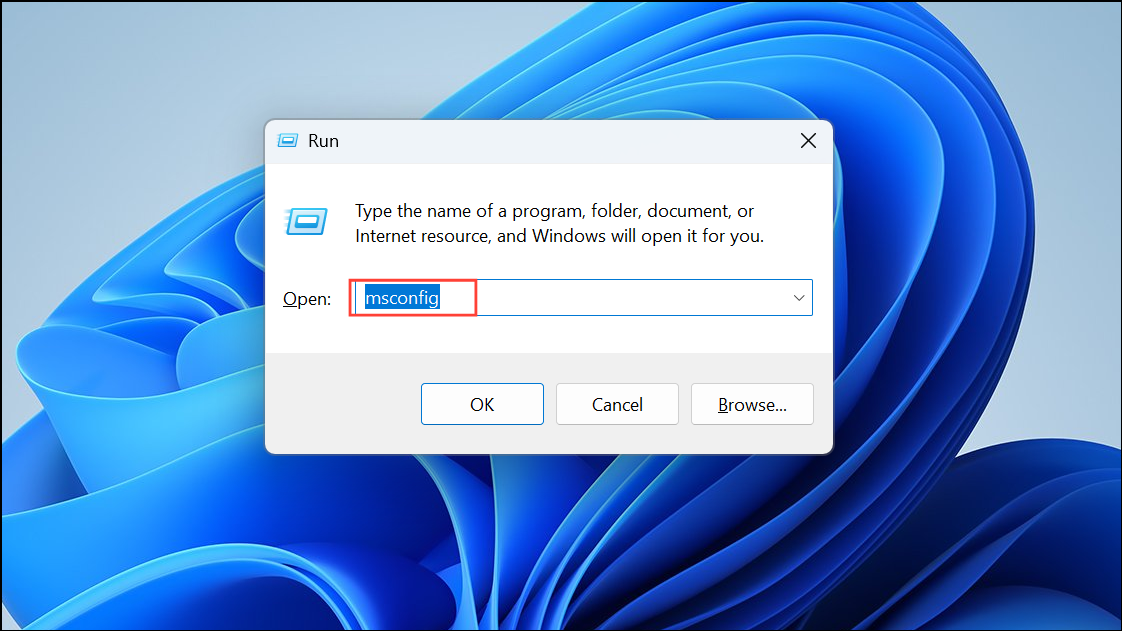
Step 1: Press Win + R, type msconfig, and press Enter.
Step 2: Go to the Startup tab. In recent Windows versions, this tab will redirect you to Task Manager. In older versions (Windows 7 and earlier), you can directly manage startup items here.
Step 3: Uncheck or remove any disabled entries you no longer need. For direct removal, you may need to delete the corresponding registry entry or shortcut manually.
Step 4: Click OK and restart your computer to apply changes.
Remove Disabled Startup Apps from the Windows Registry (Advanced)
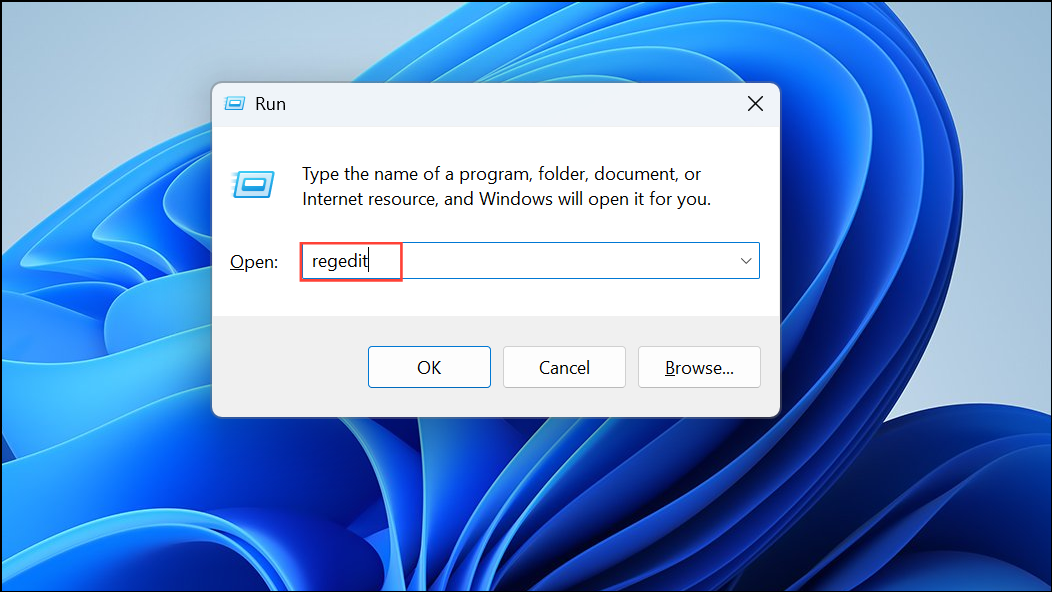
Step 1: Press Win + R, type regedit, and press Enter to open the Registry Editor. Grant permission if prompted.
Step 2: Navigate to the following key for user-specific startup items:
HKEY_CURRENT_USER\Software\Microsoft\Windows\CurrentVersion\Run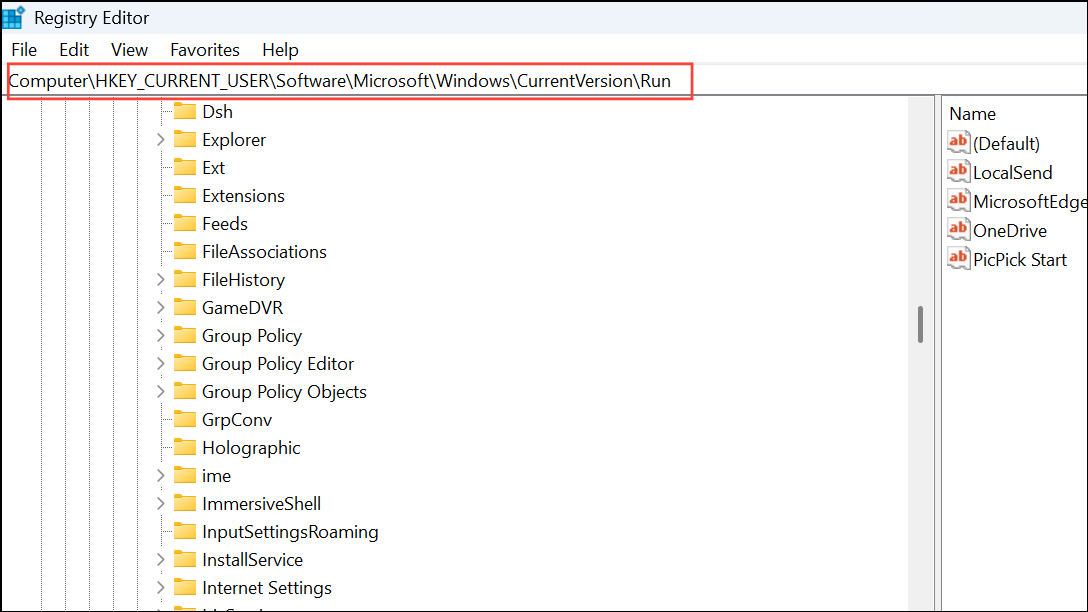
For system-wide startup items, go to:
HKEY_LOCAL_MACHINE\SOFTWARE\Microsoft\Windows\CurrentVersion\Run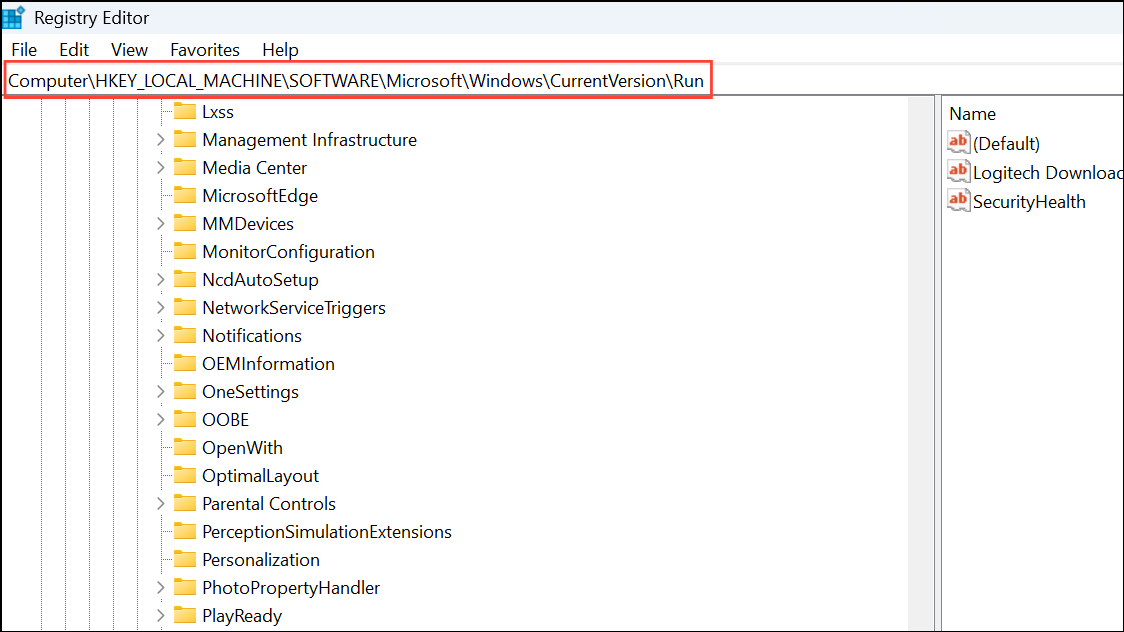
Step 3: Carefully review the entries. Right-click and delete any value that matches the disabled startup app you want to remove. Be cautious—deleting the wrong entry can affect system behavior.
Step 4: Close the Registry Editor and restart your computer to finalize changes.
Always back up your registry before making changes. Editing the registry incorrectly can cause system instability.
Cleaning up disabled apps from your Startup menu keeps your system organized and can slightly improve startup speed. Regularly reviewing your startup items helps maintain a tidy and efficient boot process.