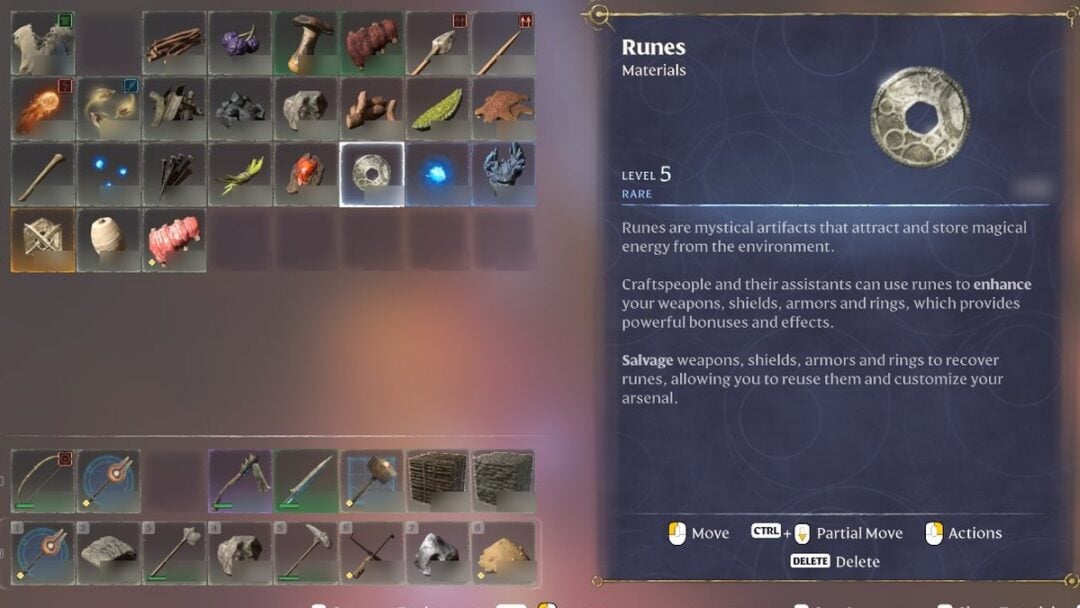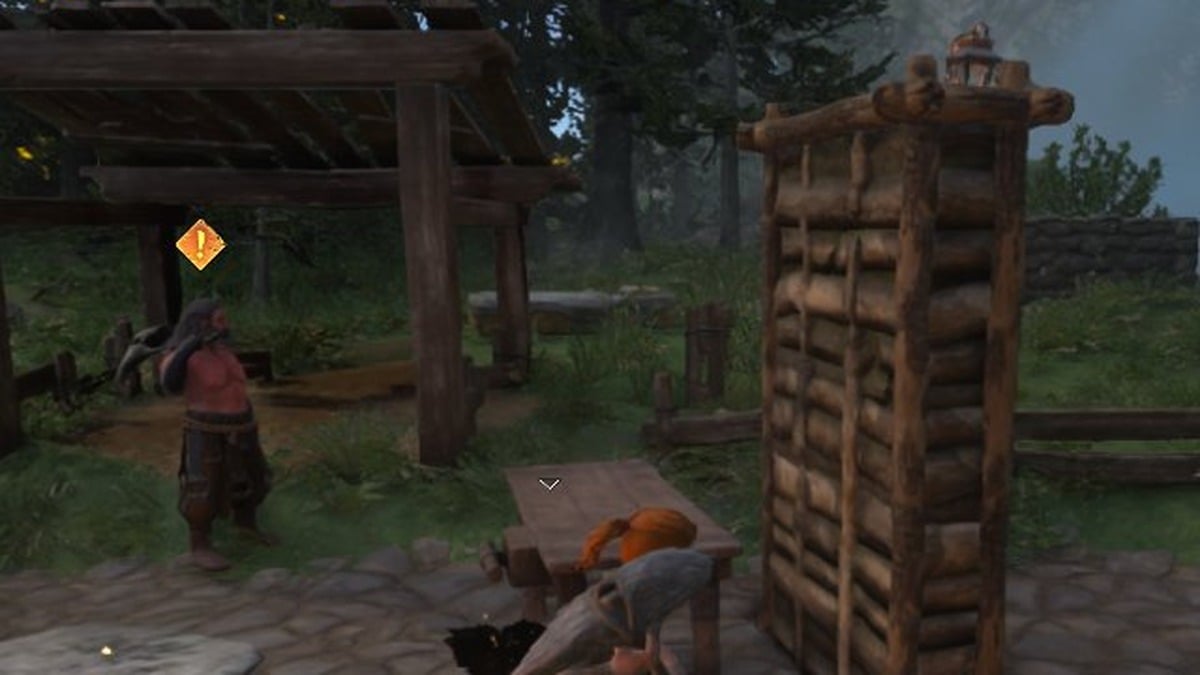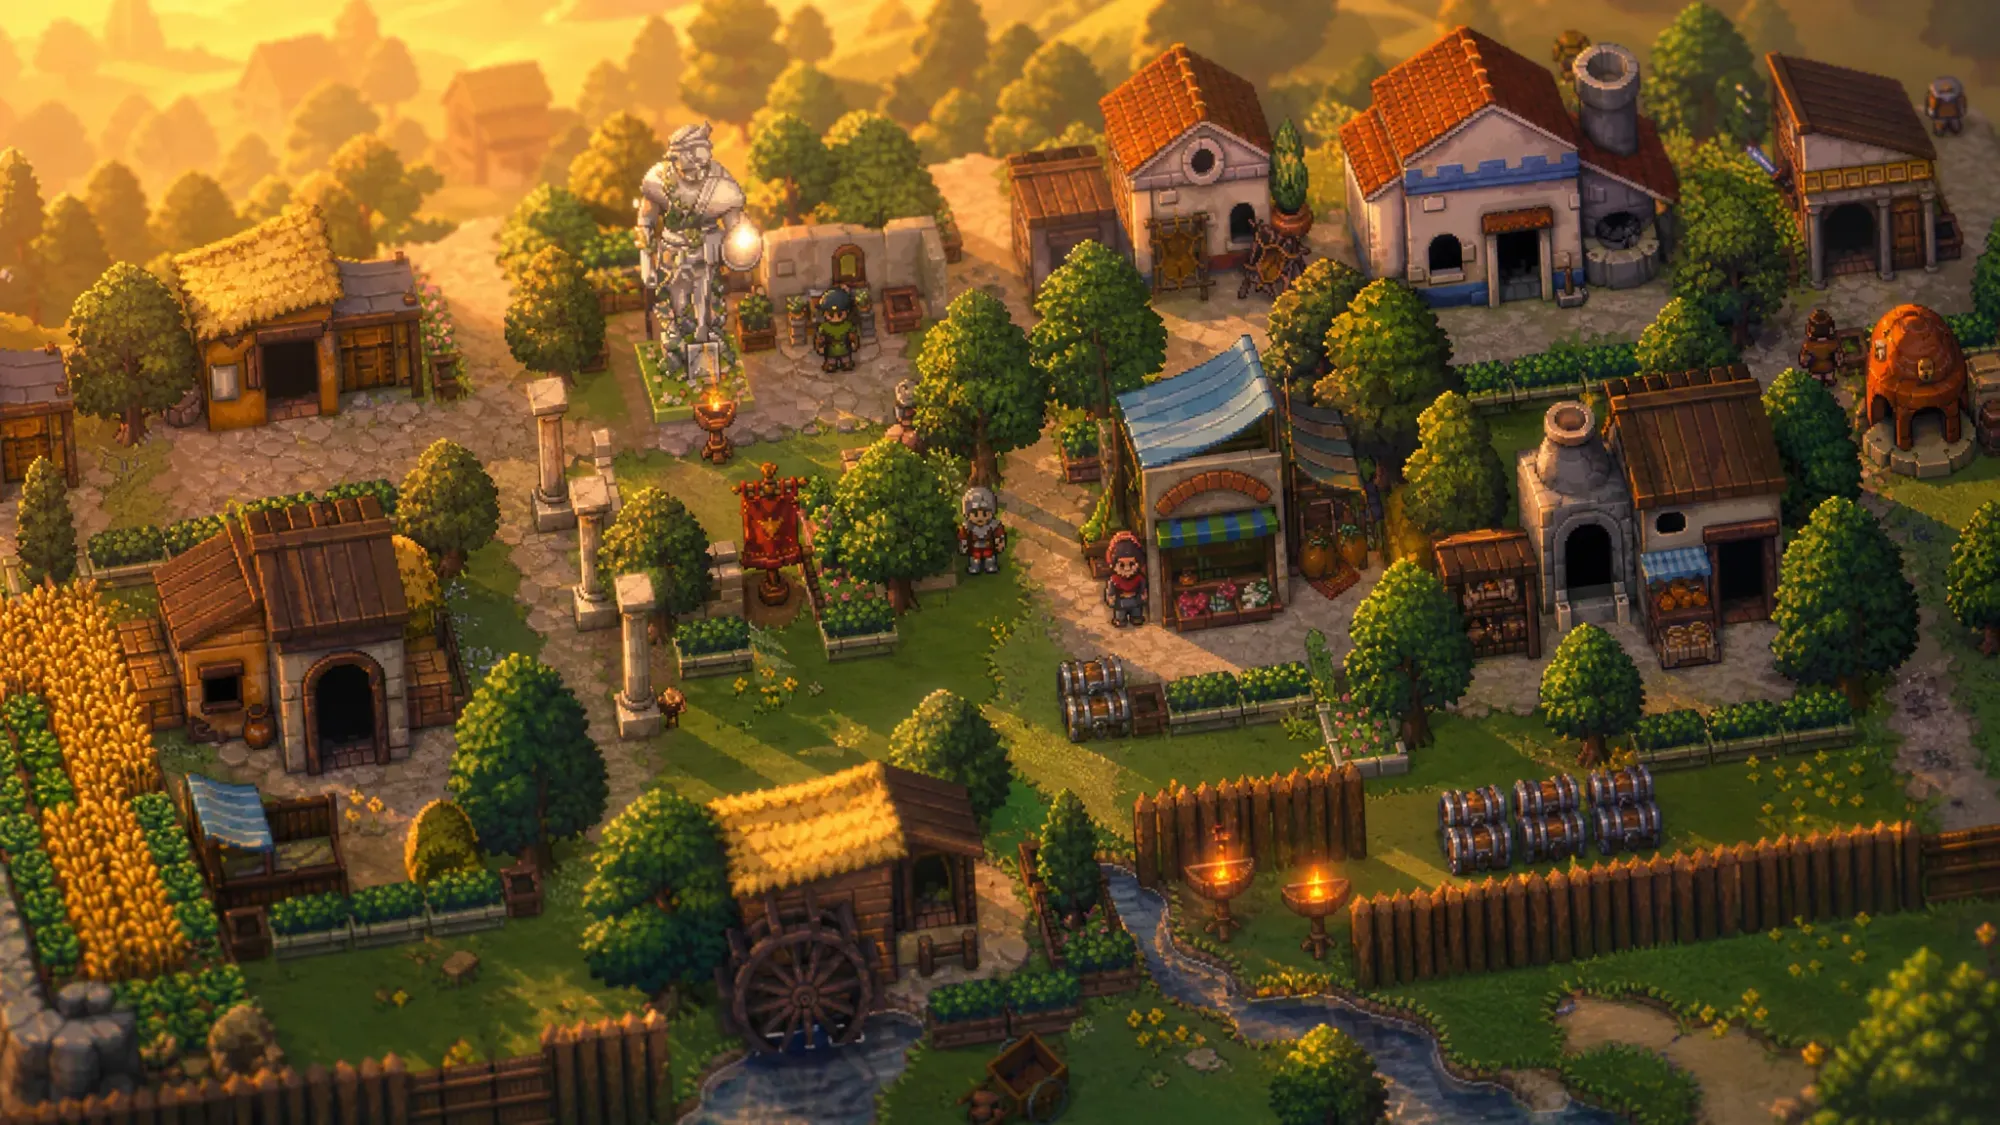
Romestead drops you into a fallen Roman world with dozens of overlapping systems and very little explanation. The early hours punish bad decisions hard, especially around where you build, who you recruit, and how you feed yourself. The fastest way to a stable settlement is to fix the systems that quietly waste your time before they snowball.
Romestead is a 2D survival town-builder from Beartwigs and Three Friends, currently in Steam Early Access for 1–8 players. The carry-and-throw resource system and lack of weapon durability change how you plan, but the real bottlenecks are location, citizens, and food logistics.
Don’t settle where you spawn
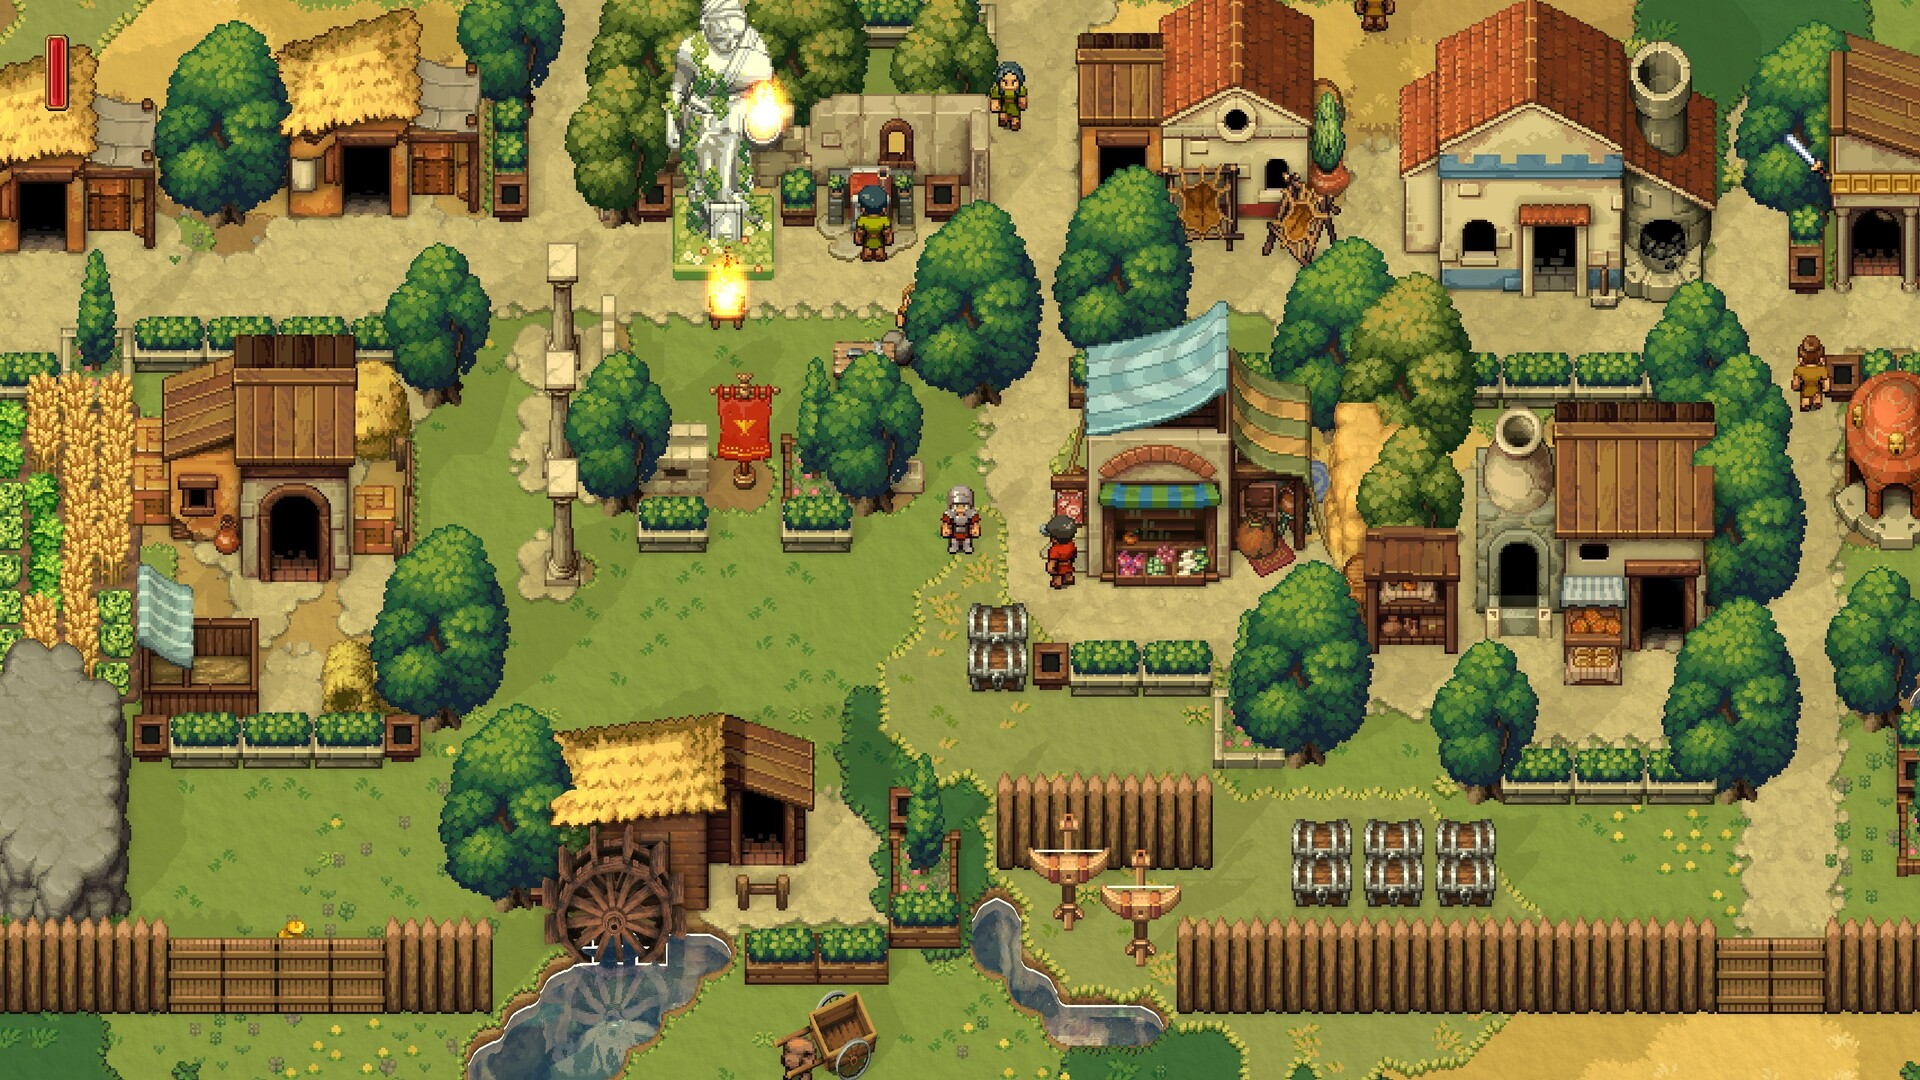
Your spawn point is rarely a good home. A town placed right where you start often ends up far from coal, away from suitable water for mills, and a long trek from the desert and volcano biomes, which makes hauling materials a constant chore.
Instead, scout toward the center of the map and look for a spot that touches multiple biomes at once. That placement cuts down travel time for the rest of your run. A trading post that moves resources between towns does exist, but it is late-game tech, so you can’t rely on it to fix a bad first location.
Avoid citizens with bad perks
You grow your town by venturing out and recruiting lost Romans, but not every citizen is worth bringing home. Two perks in particular can quietly sabotage your progress, and they get worse the longer you ignore them.
| Perk | Effect | Why it hurts |
|---|---|---|
| Gluttonous | Increases the citizen’s food consumption | Brutal in the early game when food is already hard to manage |
| Disloyal | Reduces loyalty gain by 50% | Doubles the time to reach +20 expertise, which you need for legendary crafting |
Don’t assign a disloyal citizen to a key role like blacksmith. Citizens level up individually in their job, so if you realize the mistake late, you’ve lost a lot of progress and have to start that worker over.
You can respec your favors, so experiment early
Your build is not permanent. Try different weapons and scrolls and settle on what fits your playstyle. A dual crossbow setup works well, but there are many viable approaches.
Later, a level two merchant sells the Canteen of Youth, which resets your favor points when you drink it. Level the merchant by buying goods, and do it early, because the merchant is the main way to buy health potions. There is currently no recipe to craft base potions, so the merchant, dungeons, and camps are your only sources.
Search for hidden chests
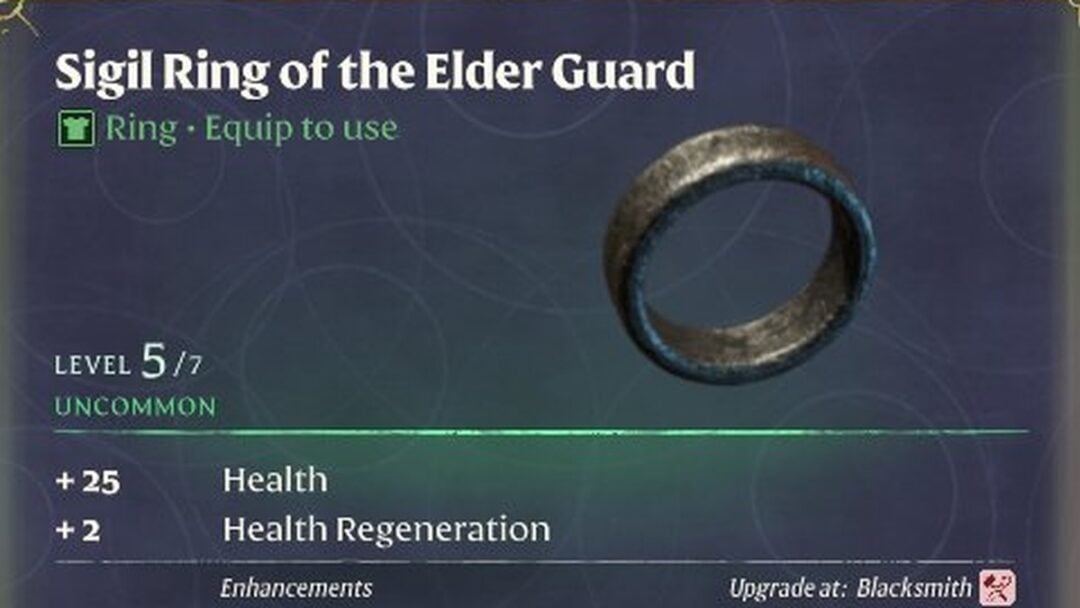
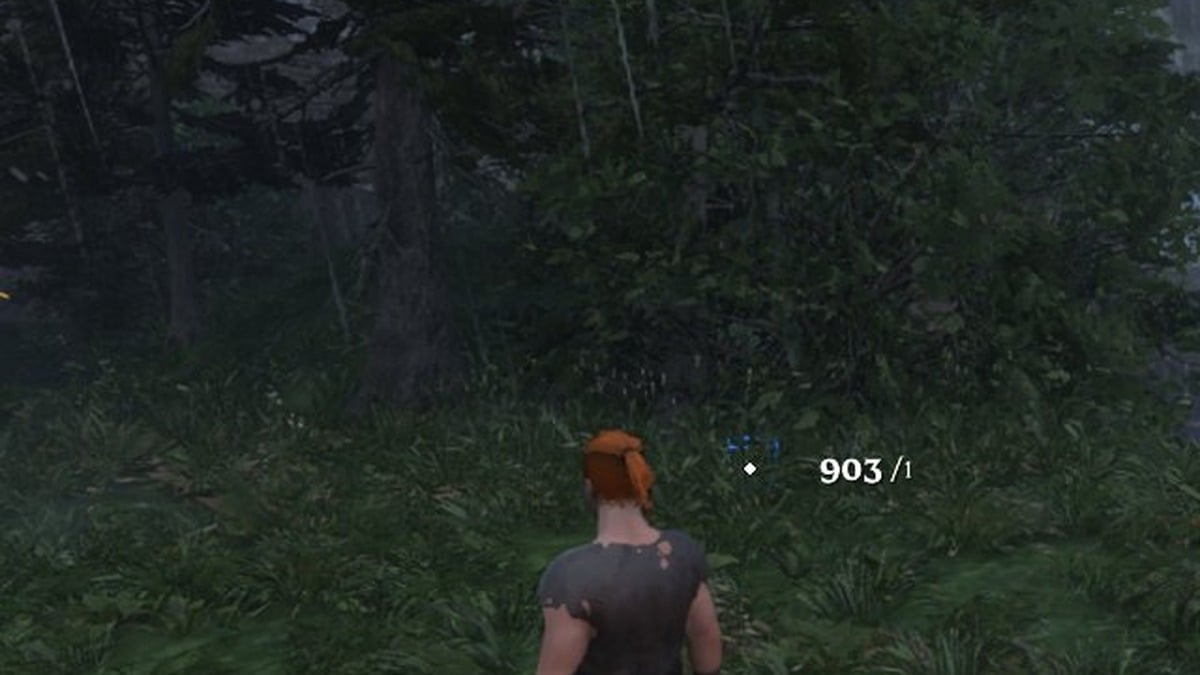
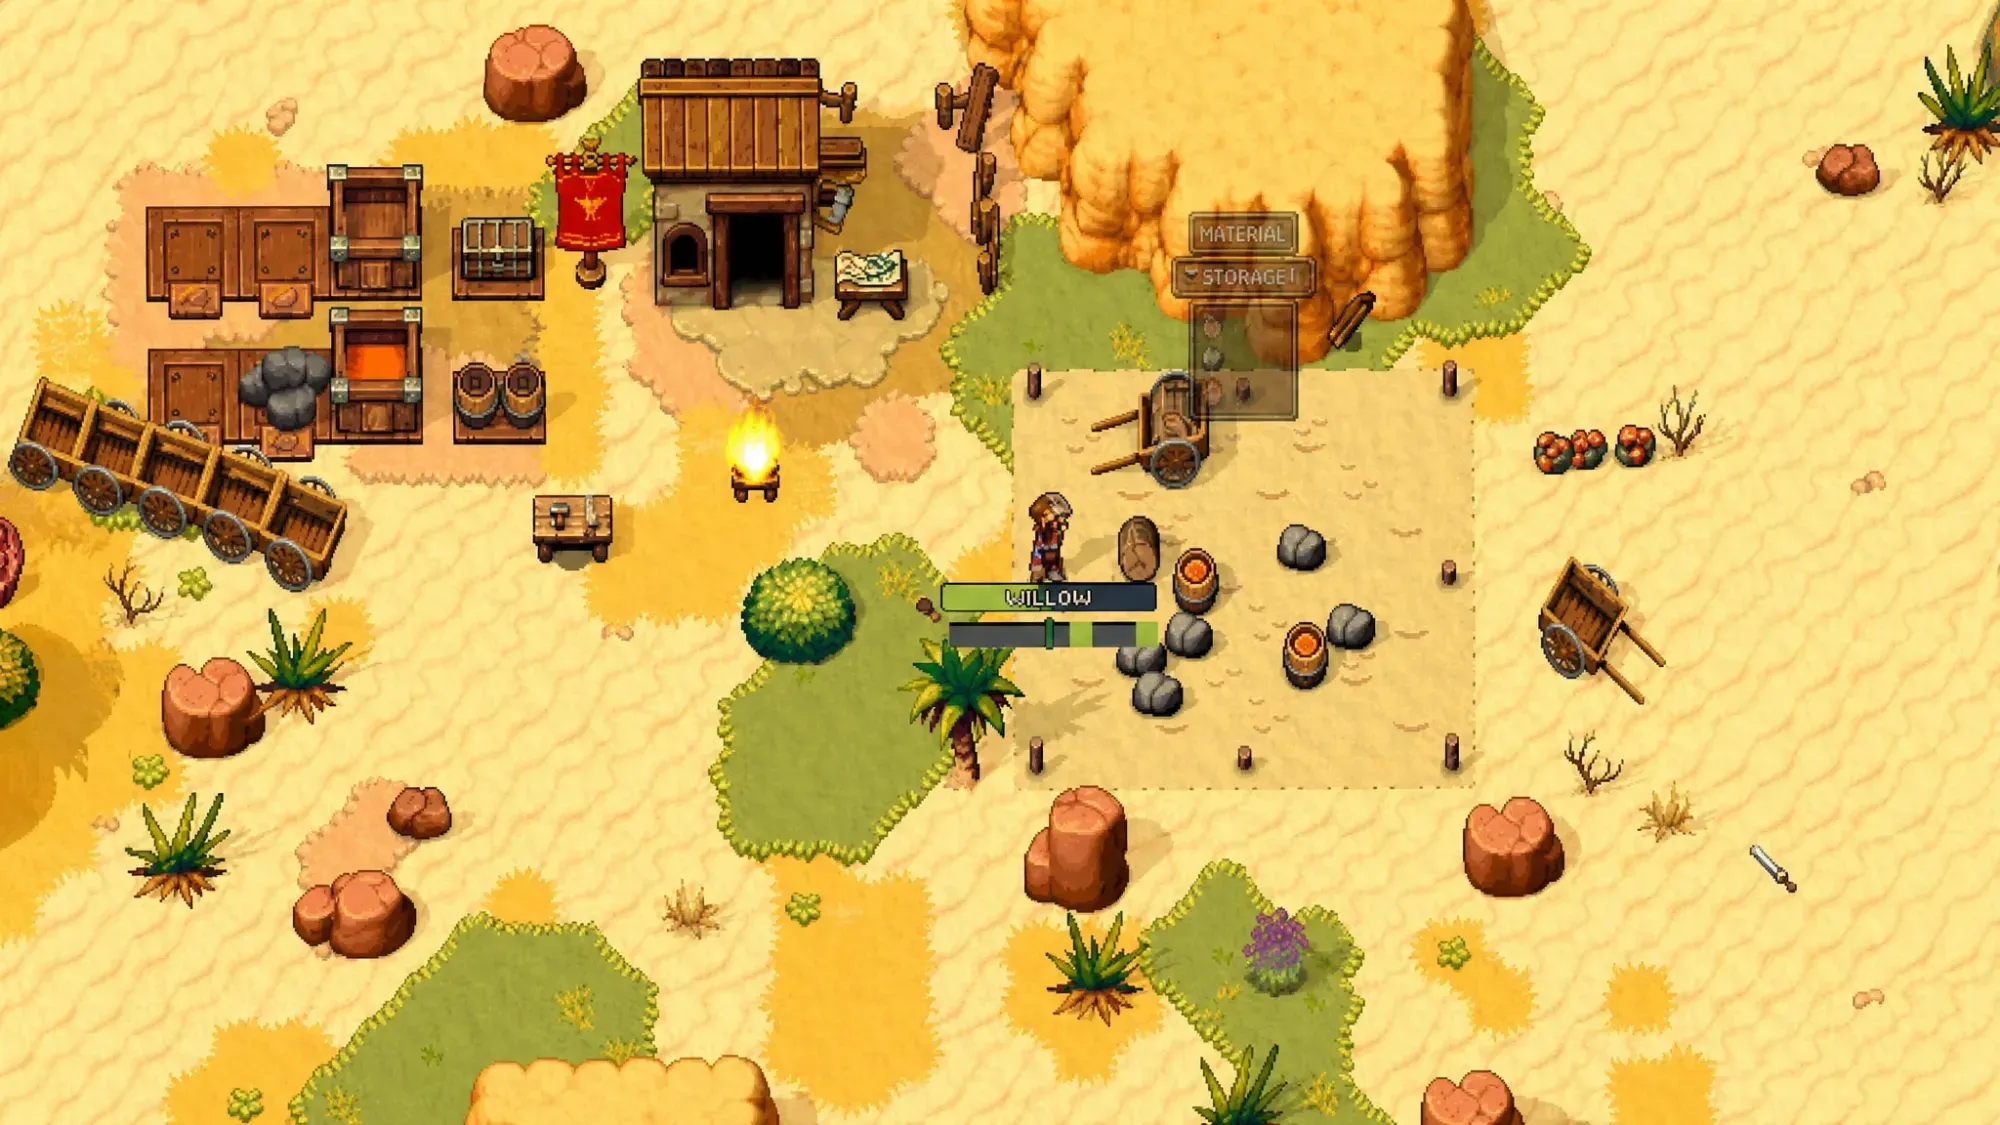
Some of the best accessories and rare items are tucked inside hidden chests scattered around the world. They blend into the environment, so you have to go looking. Bash anything that looks slightly out of place. If a chest is there, the game plays a distinct magical sound to confirm loot.
| Where chests hide |
|---|
| Inside fallen logs |
| Inside monster spawners in dungeons |
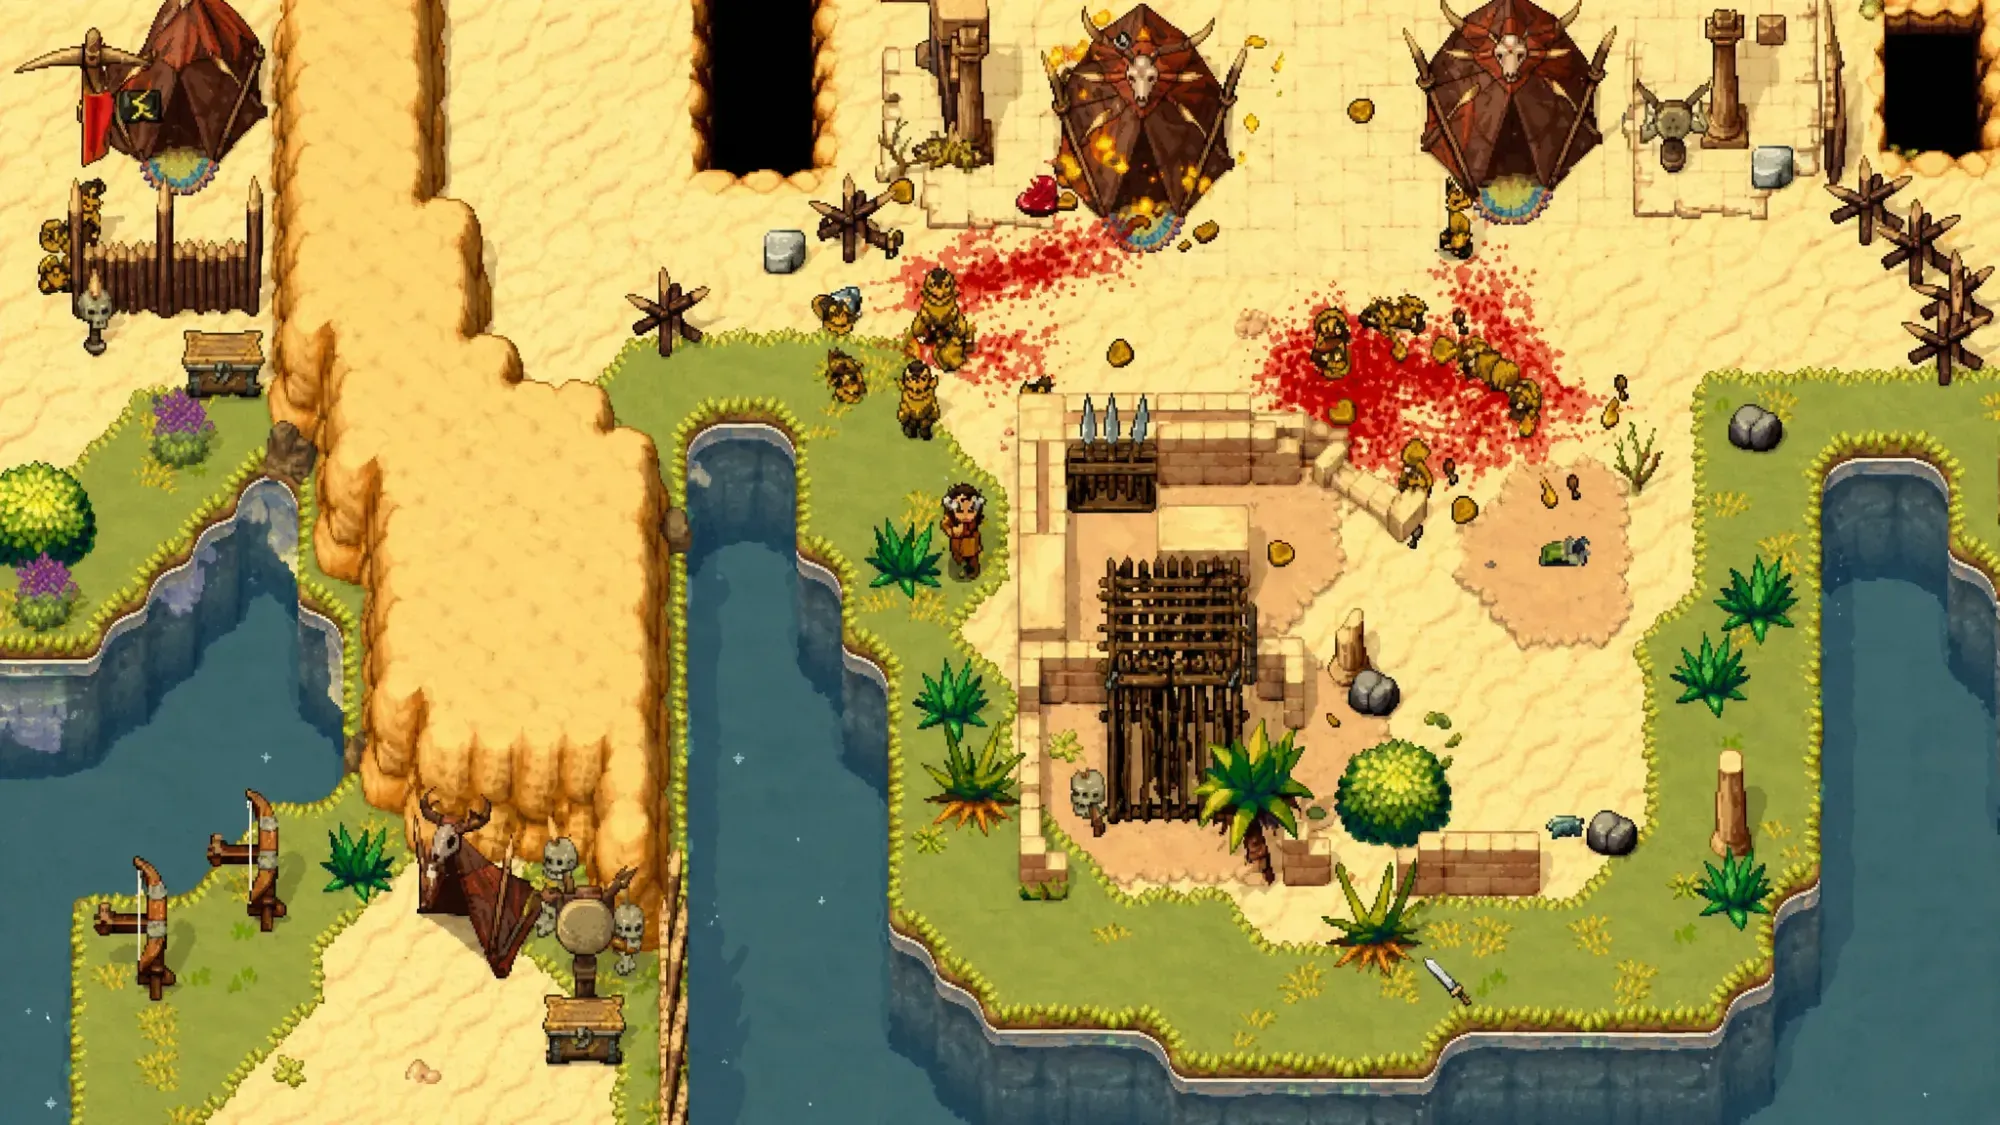
| Inside tents |
| Inside bushes |
Keep upgrading your gear
Solo play is unforgiving, and you get punished repeatedly if your gear falls behind. Move up the armor tiers steadily rather than sitting on starter equipment, and lean on endgame materials like fire scales for the strongest sets.
| Armor | Tier | Source |
|---|---|---|
| Leather Set | Tier 1 | Leatherworker (crafted) |
| Copper Set | Tier 2 | Blacksmith (crafted) |
| Bronze / Iron Set | Tier 3 | Blacksmith (crafted) |
| Legendary gear | Endgame | Citizens with expertise above 20 |
Once a citizen passes expertise level 20, they can craft legendary items, which carry extra perks and are the best in the game. Playing solo, you’ll likely need legendary gear to clear the volcano biome, since it is extremely difficult without a group.
Build roads to cut travel time
Roads feel slow to start, but they pay off across the whole run. They cost nothing to place and build quickly, so connect distant resource nodes like a far-off clay deposit early.
Pick up the Road Maker favor to speed this up. With it, every road tile you lay also builds a second tile next to it at the same time. Since favors can be reset later, it’s worth slotting in temporarily just for the road work.
Always carry a tent
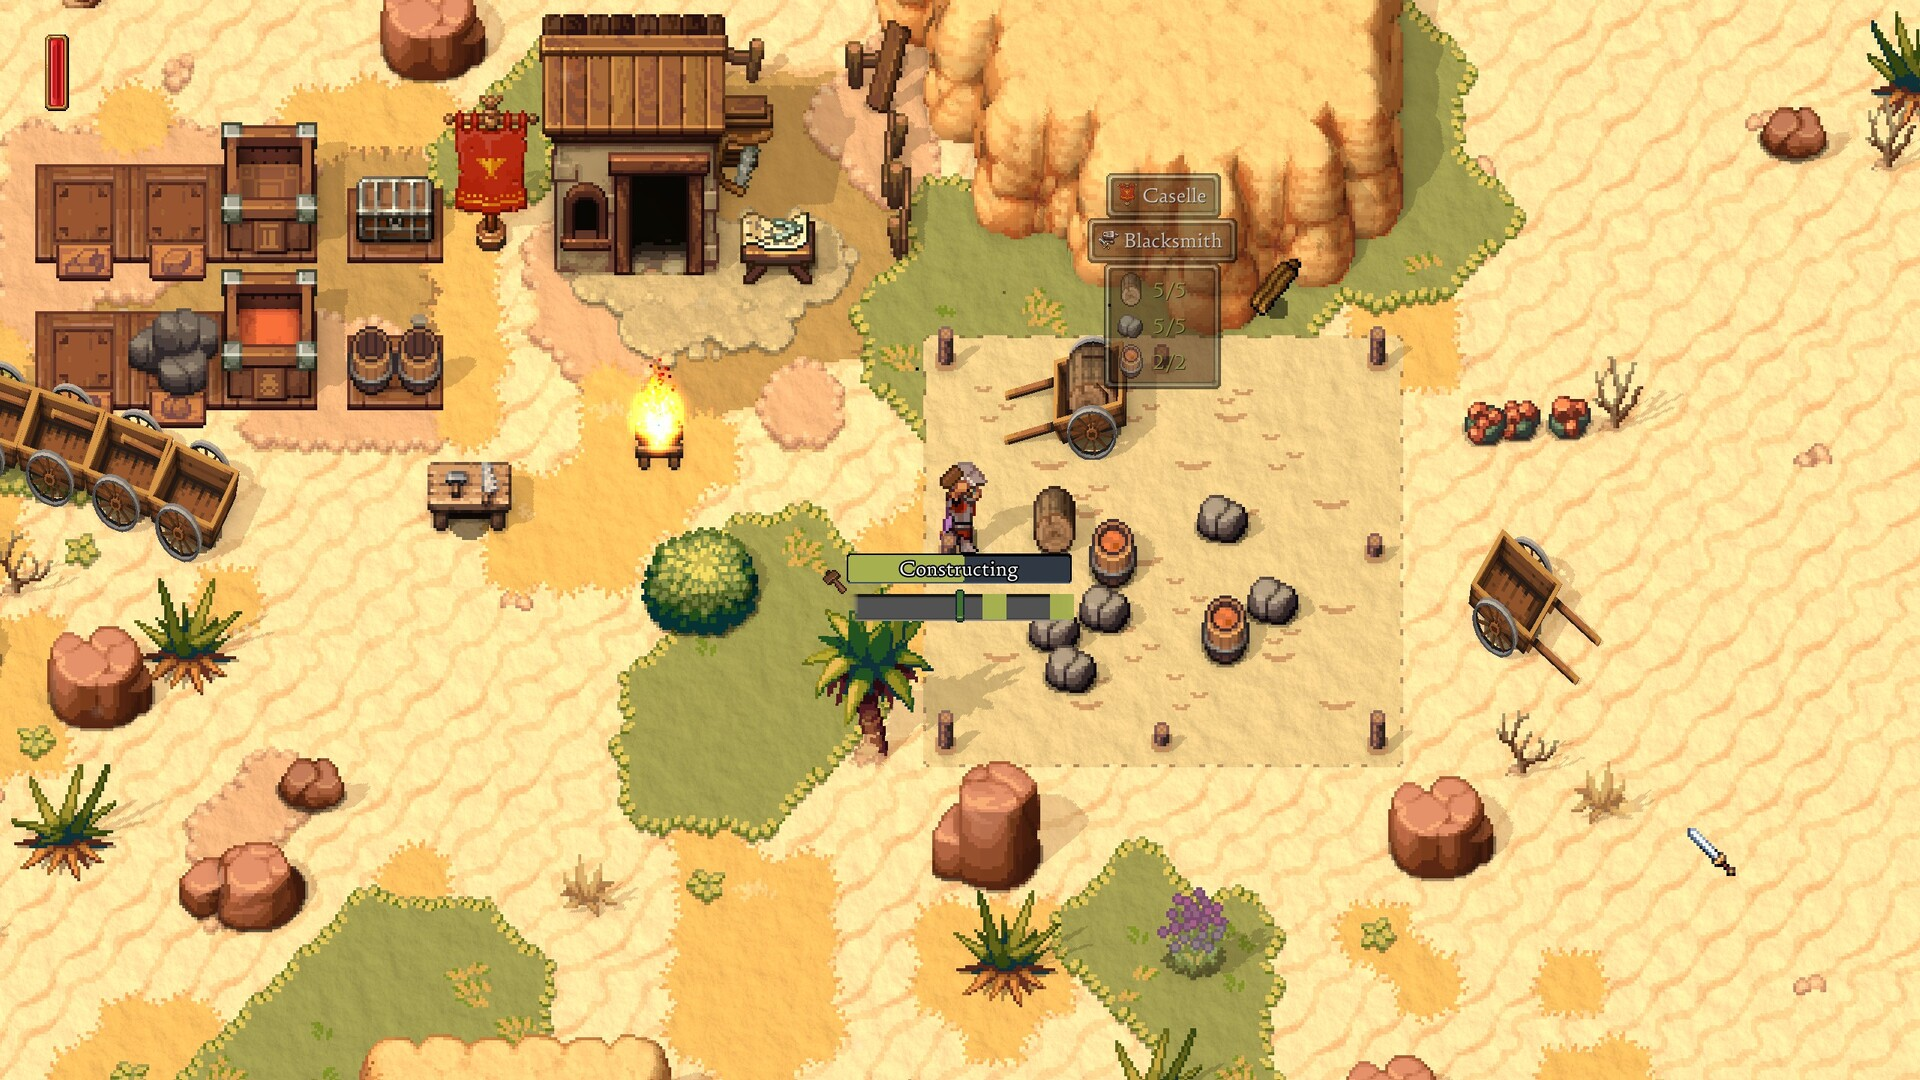
The tent crafted at the leatherworker is one of the most useful items in the game. Placing it sets your spawn point wherever you are on the map.
Before a dungeon or boss fight, drop the tent right outside the entrance. If you die, you respawn next to where you fell instead of running back across the map. When you’re done, switch to Furniture Mode and pick the tent back up rather than abandoning it.
Set up satellite towns with level two Altars for fast travel
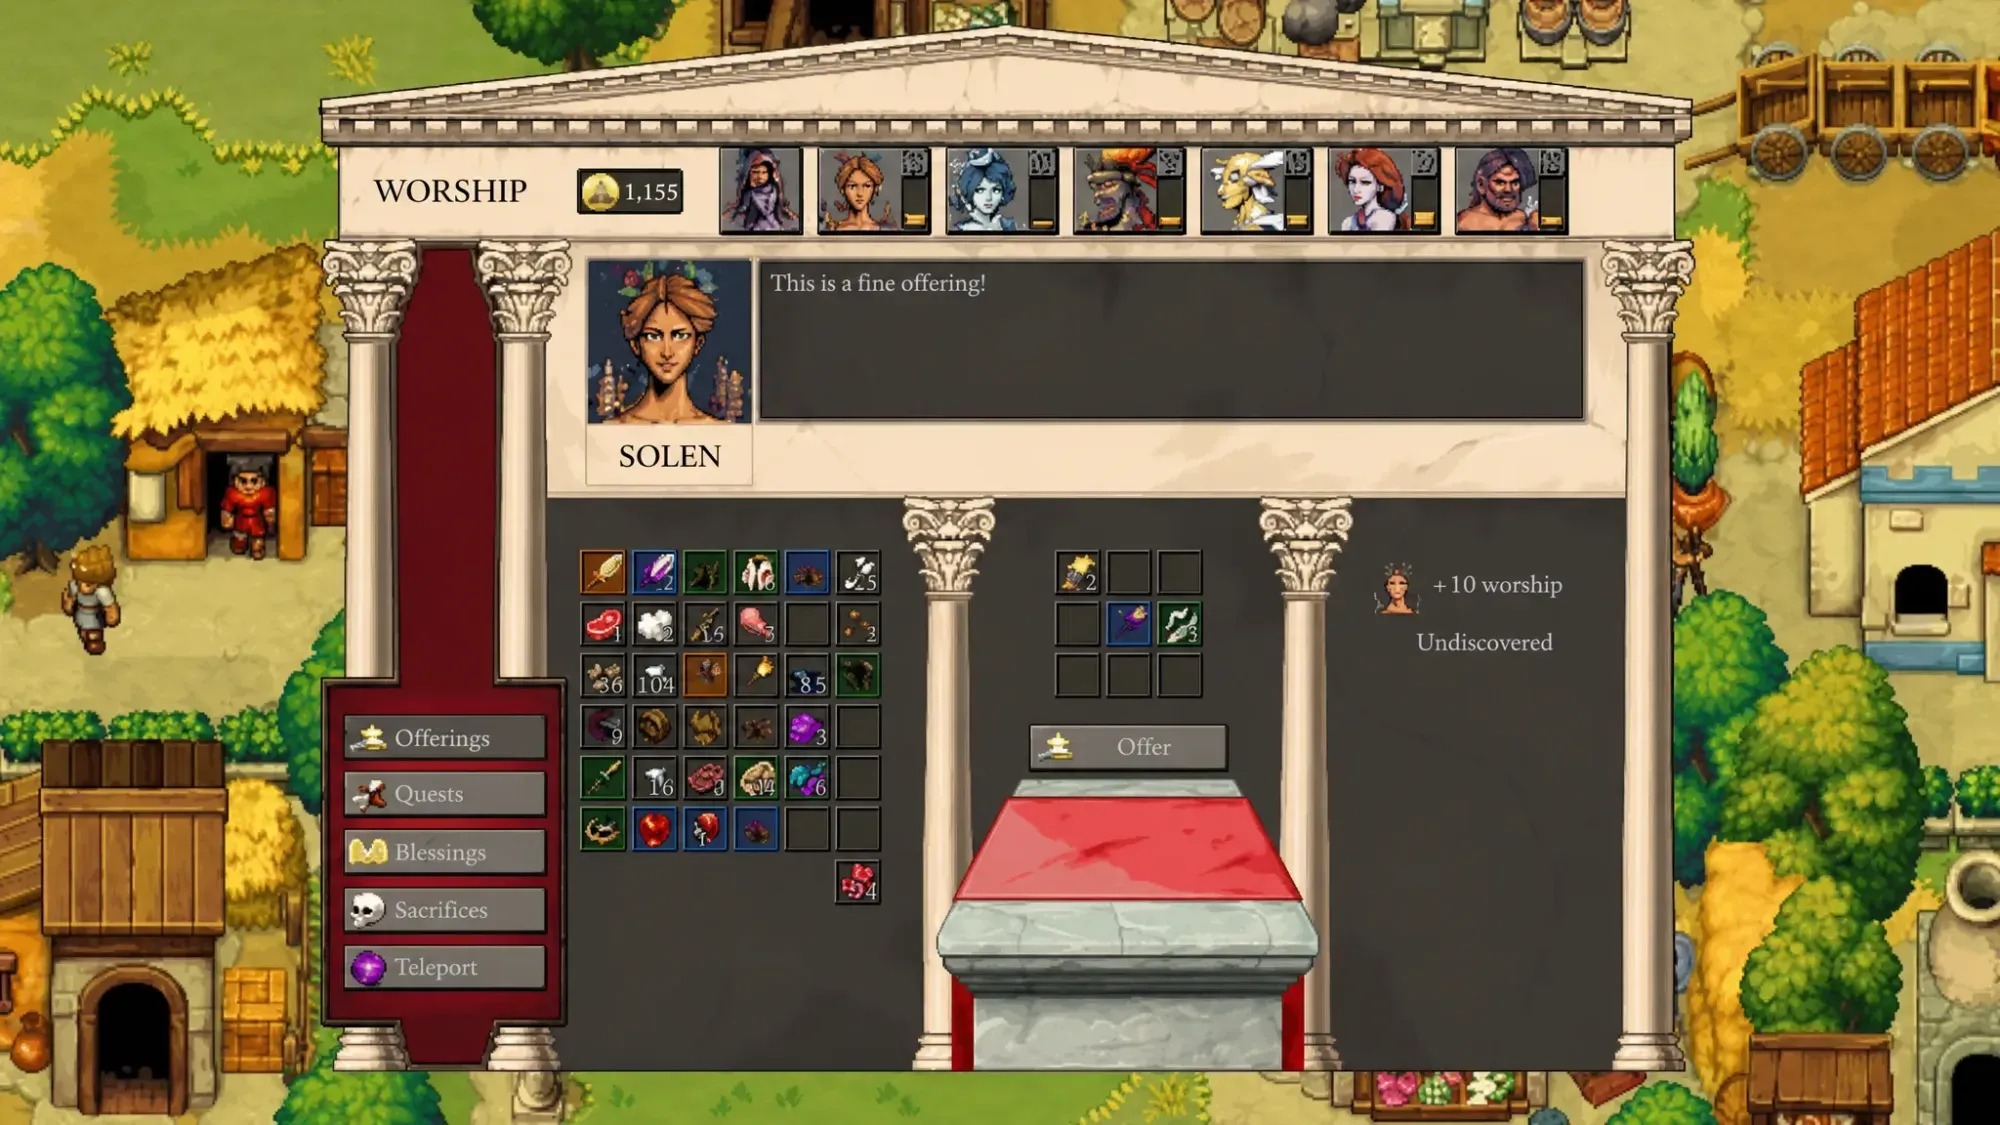
Fast travel removes a huge amount of tedium, but it takes setup. Once you have level two Altars and have unlocked teleportation, you can instantly move between two Altars.
It is a long process, but linking two Altars permanently shortens every cross-map trip afterward.
Prioritize food buffs over scavenged scraps
Snacking on dead rats won’t keep you alive in tougher fights. Work toward better food produced at your bakery, and start planning early, because the strongest dishes need many ingredients.
Ischia Marina, for example, gives strong health regeneration and natural resistance, but it requires dates, honey, garum, and strange crab meat. That means a date farm, a dolium producing garum, and beehives for honey. Pick one high-value food to chase and build the supply lines for it rather than spreading thin. In a group, you can split these chains across players.
Automate production with the Logistics tent
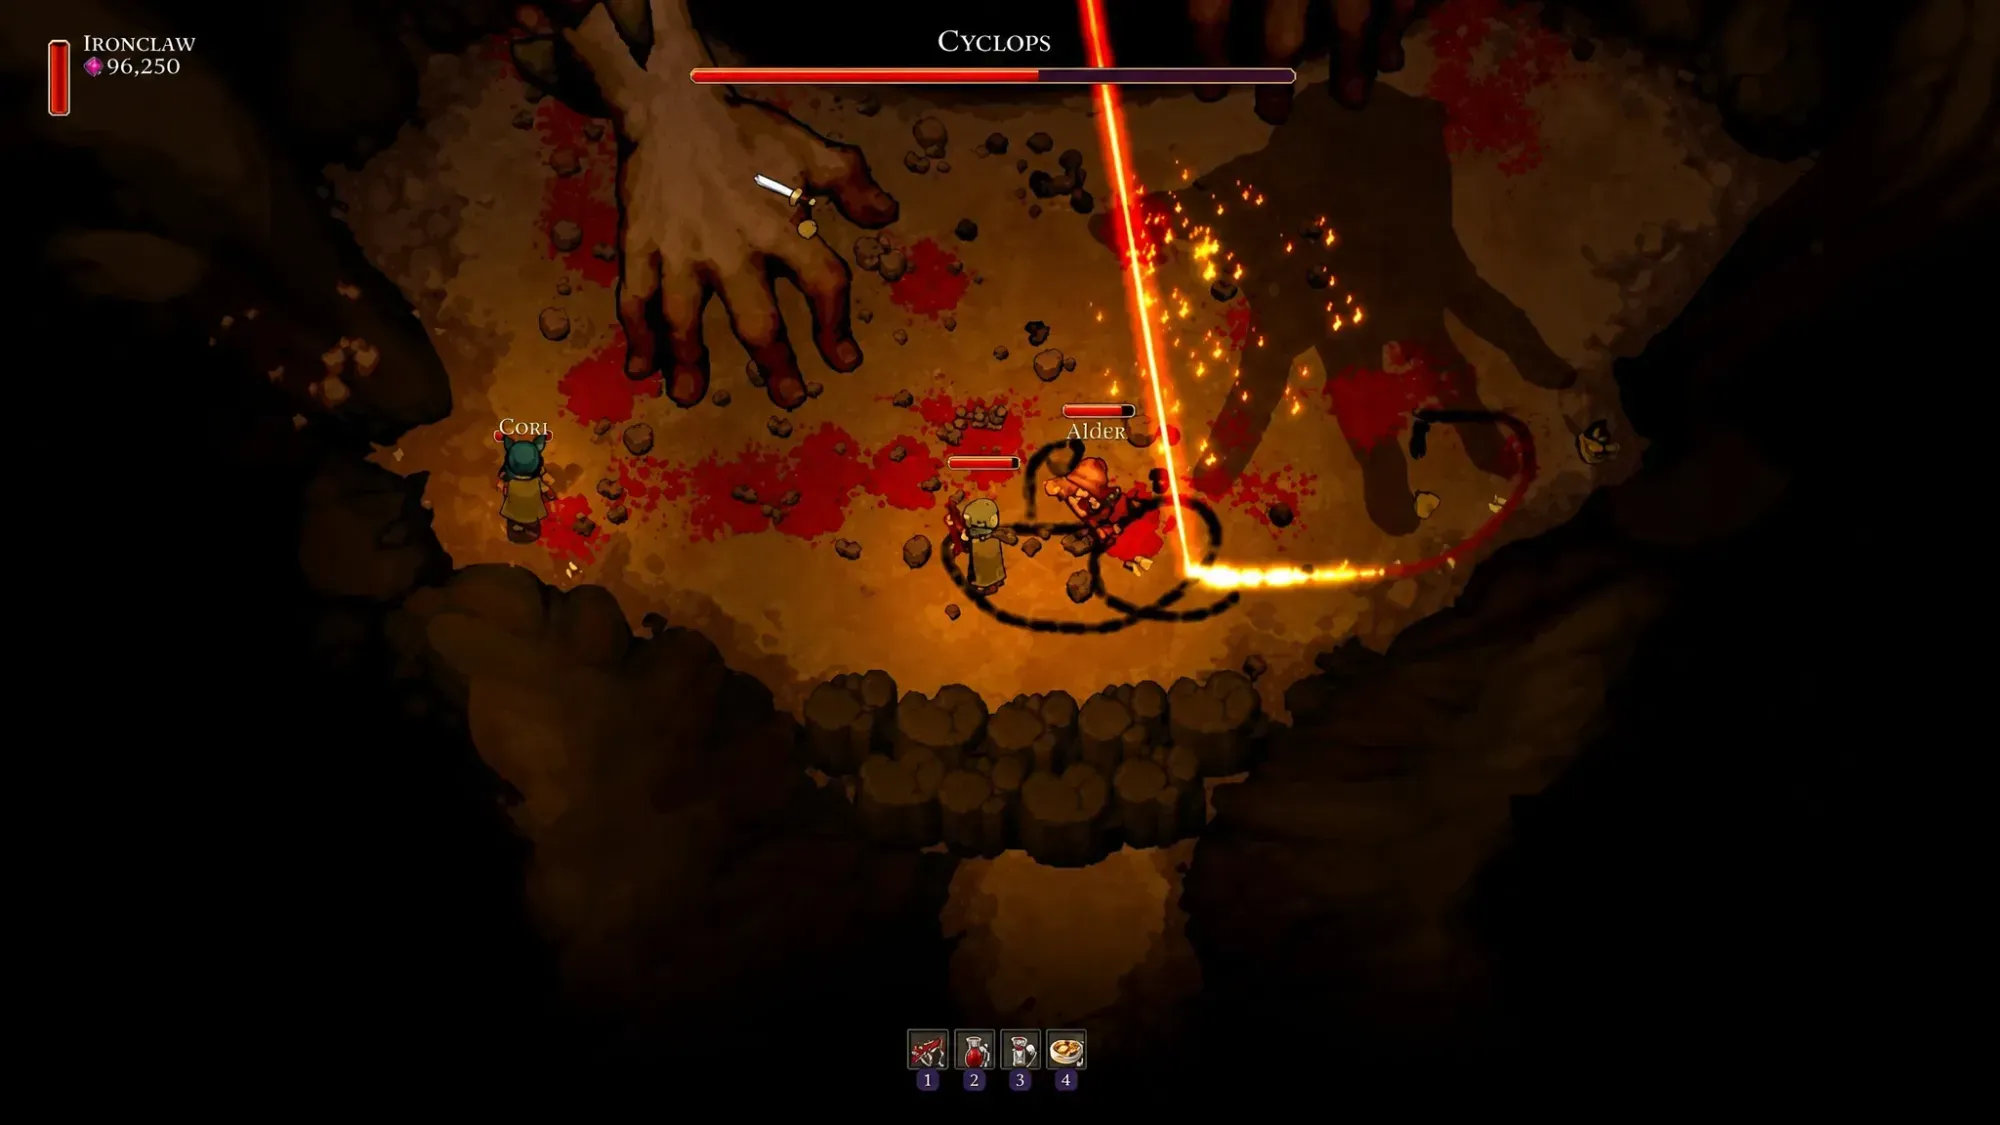
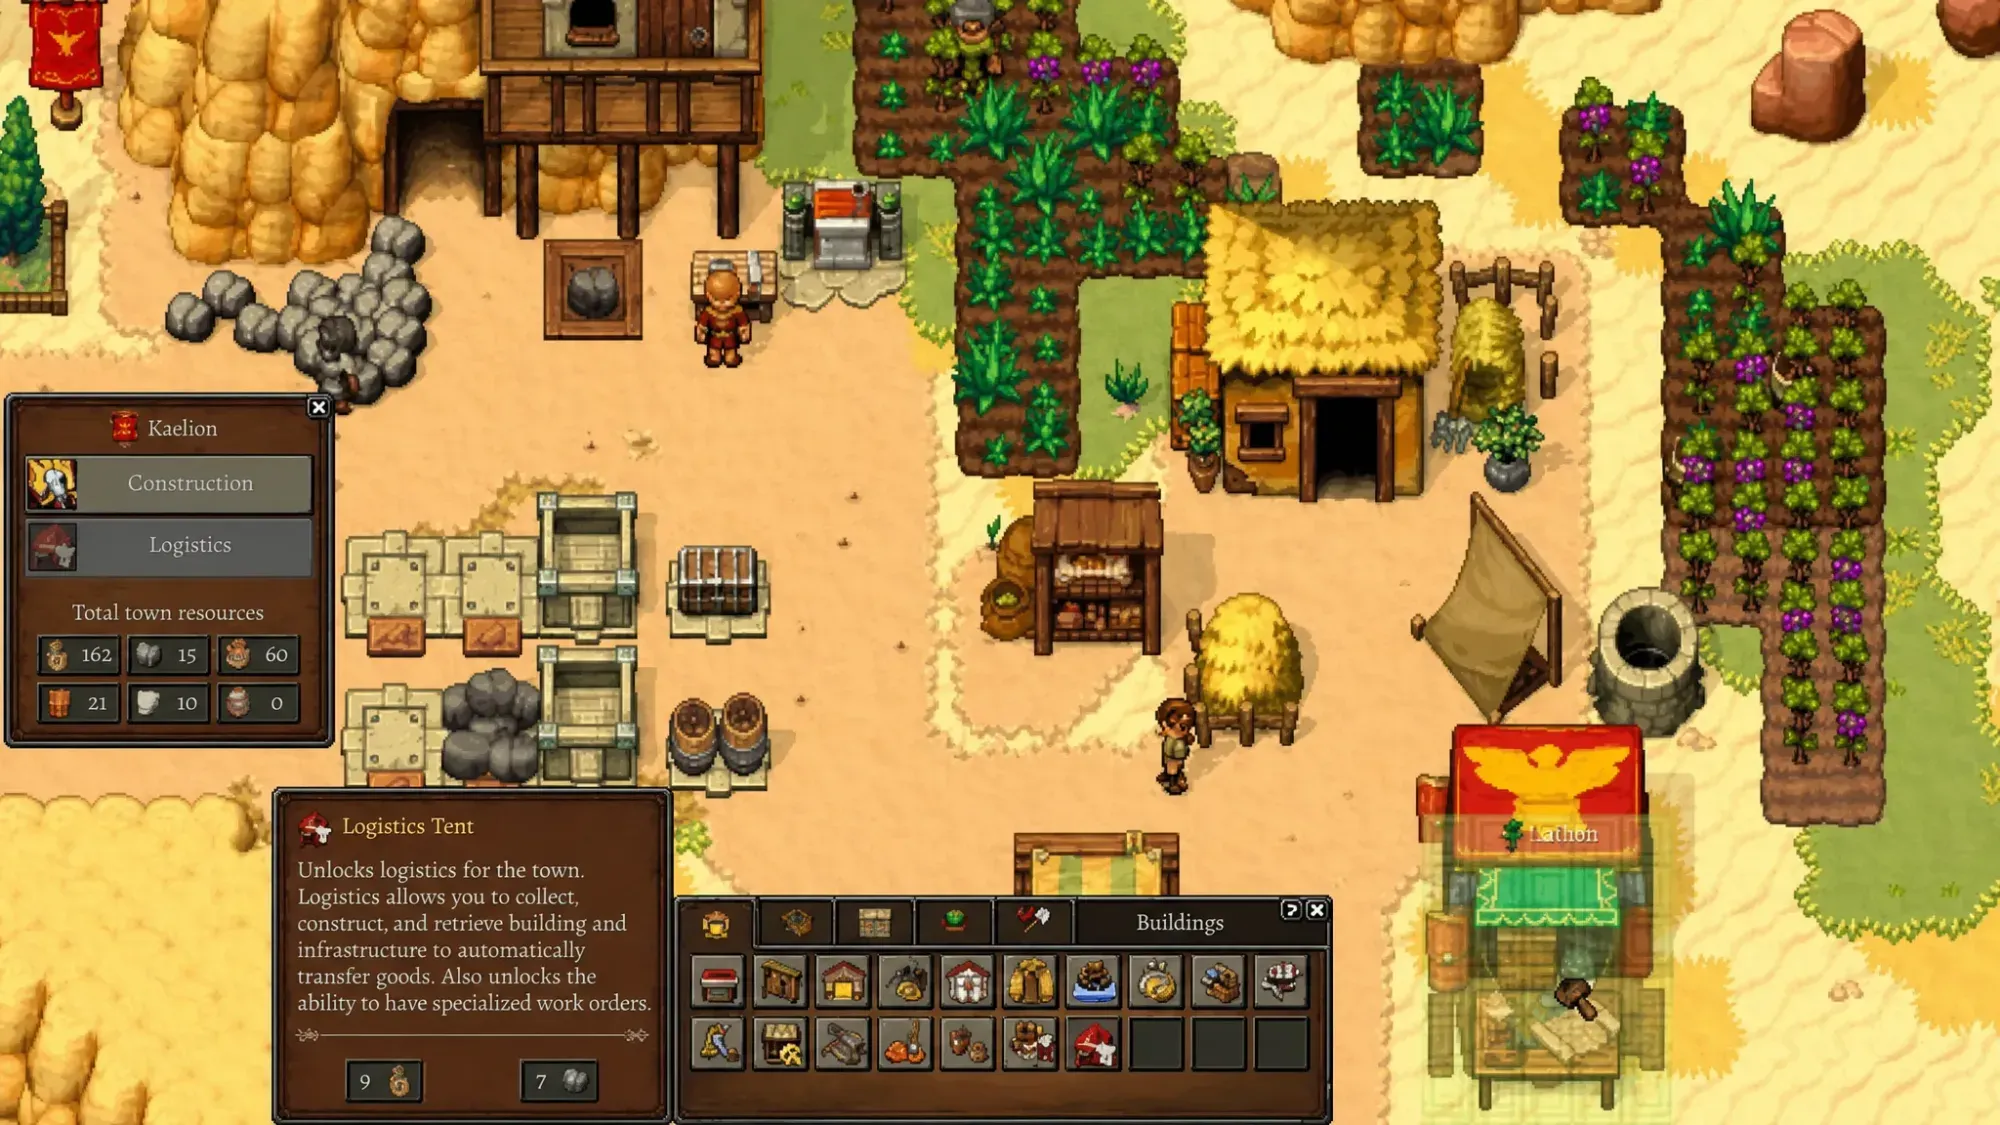
Everything gets easier once you unlock the Logistics tent, which drops after you defeat the Cyclops boss in the desert. It links buildings so they automatically pass resources down a chain while you’re out exploring.
| Step | Building | Output |
|---|---|---|
| 1 | Farmstead | Produces wheat |
| 2 | Watermill | Grinds wheat into flour |
| 3 | Bakery | Turns flour into bread |
| 4 | Food Storage | Fills with bread automatically |
Pair this with a level two quarry producing coal to keep your buildings fueled. Once the food loop runs on its own, expand automation to olive oil, which sells for a strong profit at the merchant, and other crafting chains to keep your progression moving.
Keep working the Altar quests
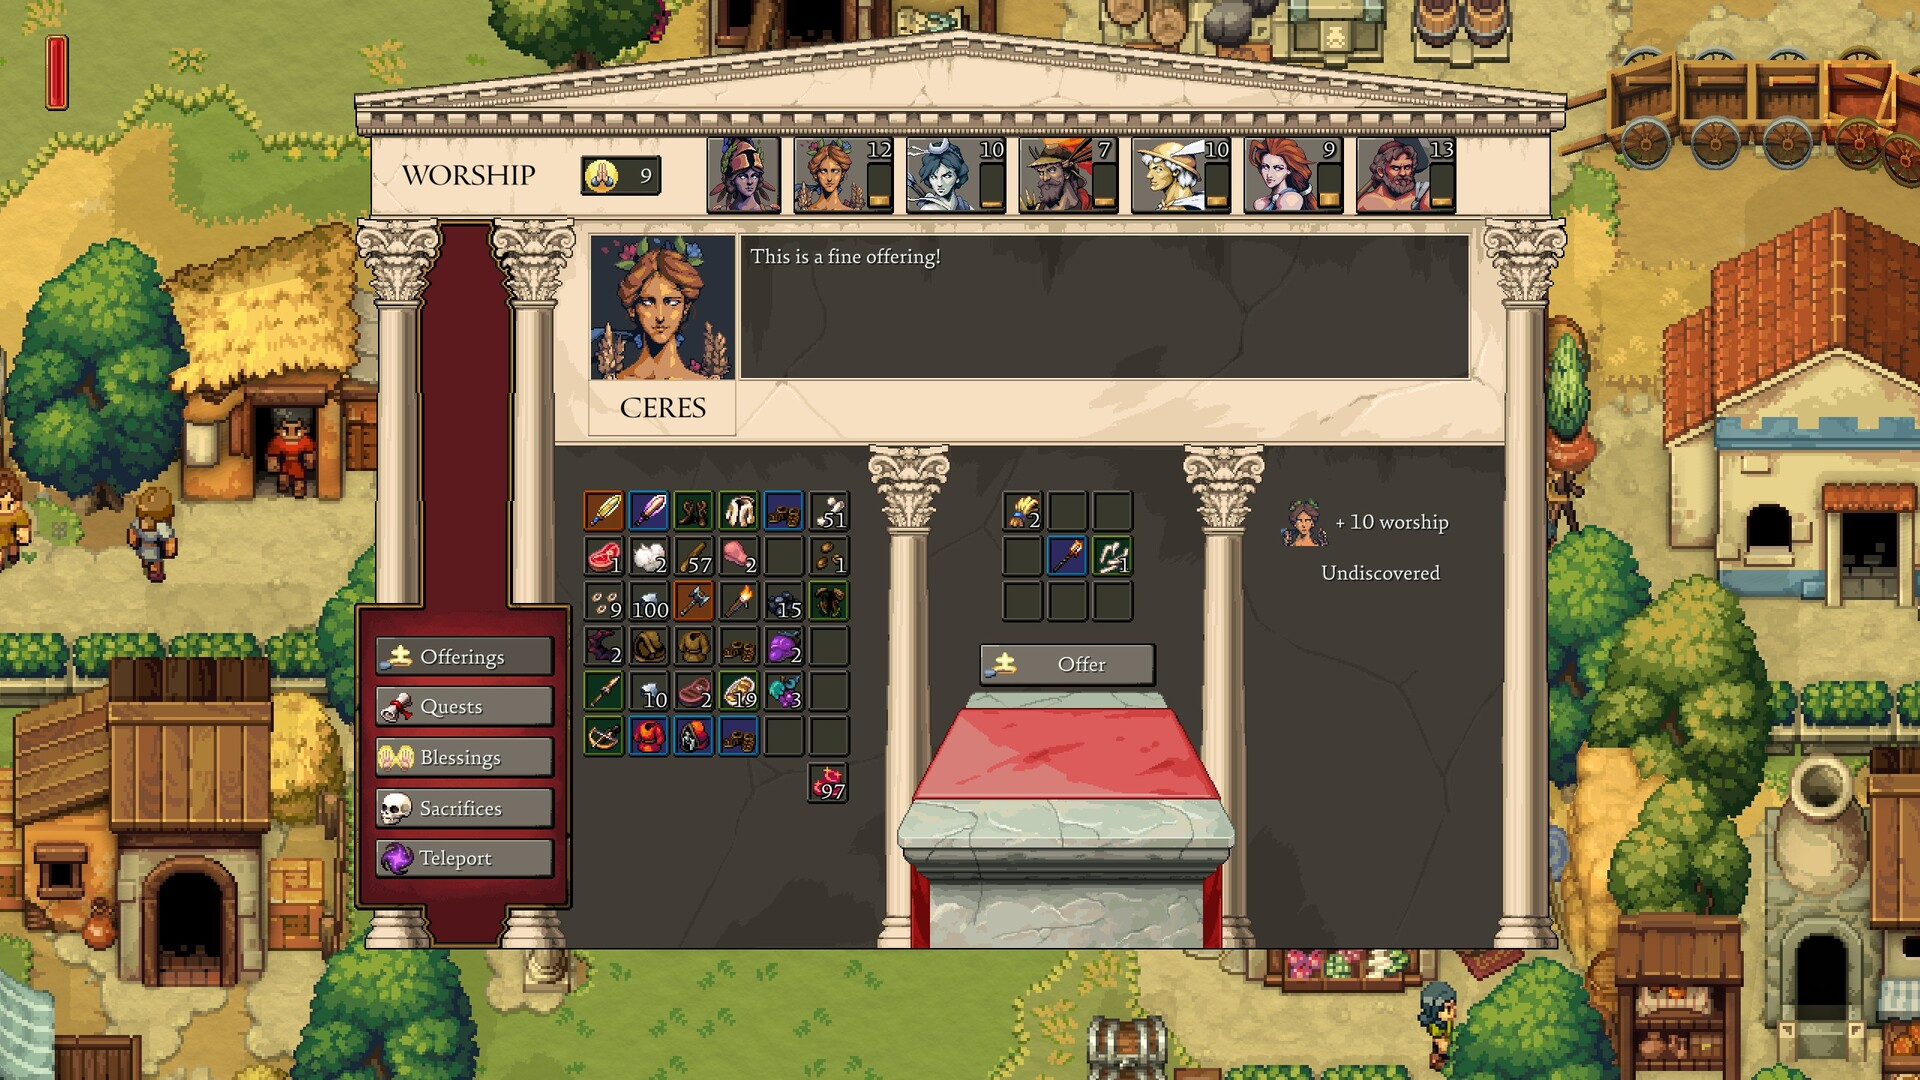
The Altar is your main progression gate, not just a place to dump spare items. Read the active objective, offer the right item, then claim the reward and check your Workbench for newly unlocked buildings. Many essential facilities are locked behind these tasks, and unlocking more gods opens more quests. The Clay Pit, for instance, comes from completing the Declaration of War quest.
Progression eventually stalls until you beat the first boss, the Guardian of Minerva. Defeat the giant owl, offer its Eye at the Altar, and you’ll open up new crafting recipes that let you push deeper into the world.
Get these foundations right early: the location, the citizens you recruit, a tent in your pack, and a working food chain, and Romestead shifts from a constant scramble into a settlement that runs itself while you explore.