

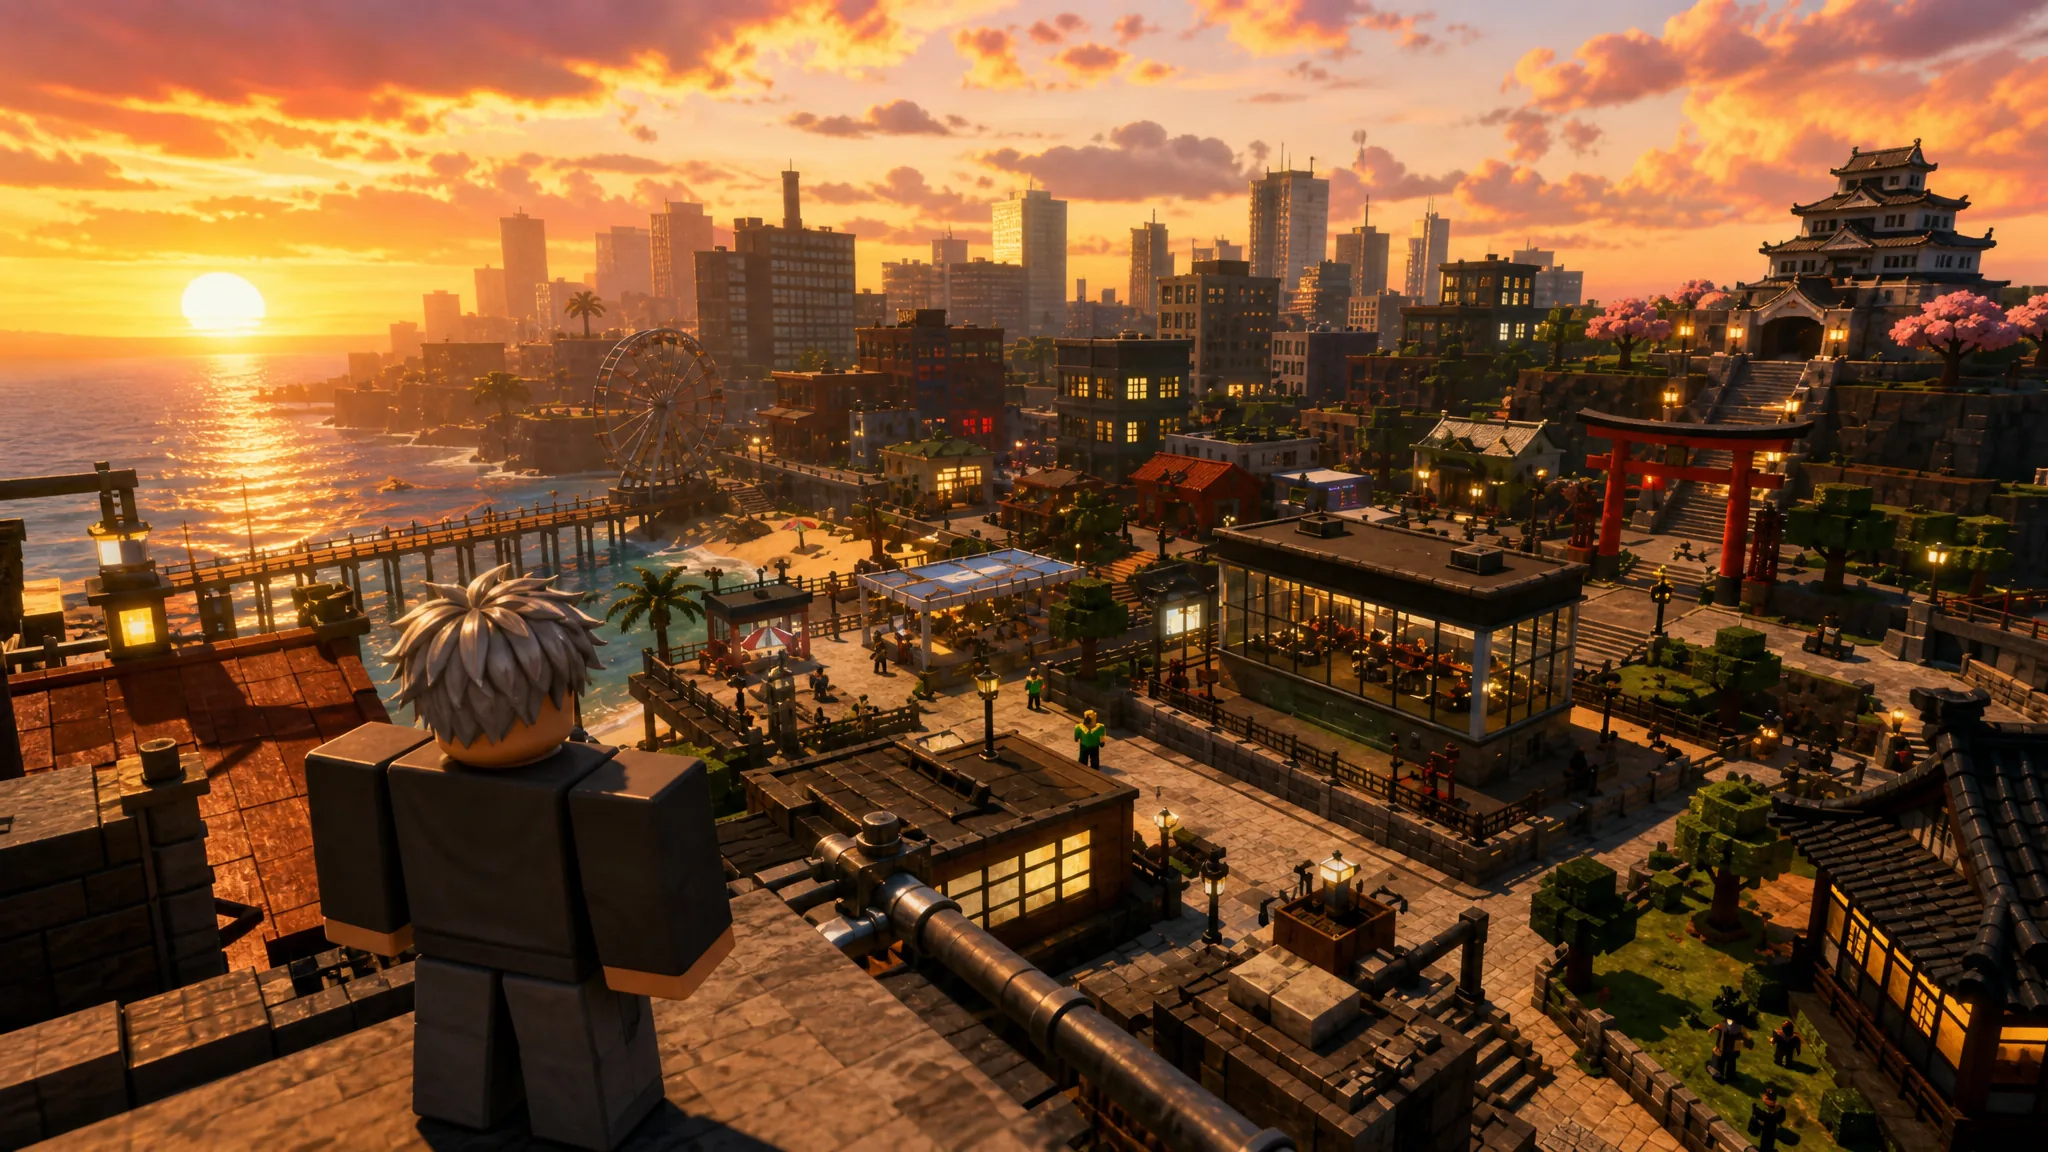
The city in Ryujin packs gyms, shops, quest NPCs, hidden trainers, and fast-travel stops into a dense layout that rewards players who know exactly where to go. Learning the map cuts down on wasted running time when you are grinding stats, farming money, or chasing a specific fighting style. Below is a full breakdown of every location that matters and what you can do at each one.
Quick answer: Start at the Wrestling Gym next to Twister’s Bank for the free jump rope, grab the Breathing Mask and a weighted vest from Lazy Proteins, and use bus stops to fast-travel between gyms, food shops, and quest NPCs.
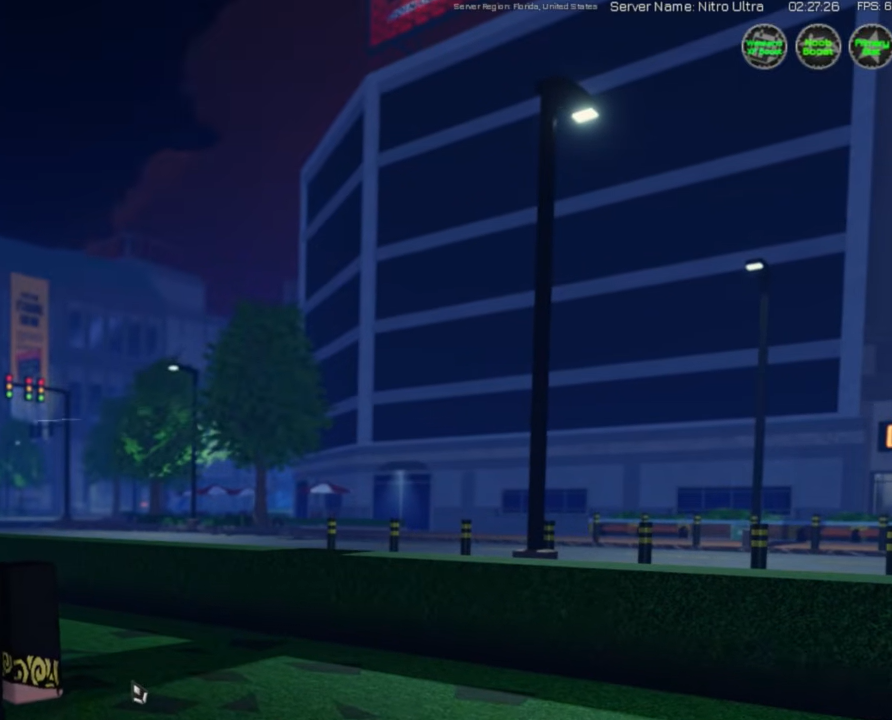
Every Ryujin location and its purpose
Here is the full map at a reference level. Use it to plan a route based on what you need right now, then dig into the detailed sections below.
| Location | Main use |
|---|---|
| Nitro Gym | Strength, durability, situps, pushups |
| Goose Dojo | Combat training and martial arts |
| Wrestling Gym | Free stamina training via jump rope |
| Outdoor Arena | Boxing training |
| Gang Base | 25% training boost and passive income |
| Lazy Proteins | Training gear and supplements |
| Twister’s Bank | Banking and insurance |
| Construction Area | Box delivery quests, gang NPC, card reroll |
| Beach Area | Summer Coin exchange |
| Warehouse | Robbery quests, Infinity Tech trainer |
| Abandoned Building | Assassination quests, Hidden Cap |
| 24 Market | Cheapest food |
| Subaru Coffee | Coffee |
| Birb Maid Cafe | Food and Trance State trainer |
| Ham Burger | Food and Eating Food quest |
| Ramen Shop | Food, Aikido and Body Slam trainers |
| Aforaf Clothing | Clothes and outfit loadouts |
| Rein Barber | Hair customization |
| Ichigo Tattoo | Tattoos |
| Infirmary | Fatigue recovery and appearance edits |
| Honrade | Psyche rerolls and special training |
| Fight Club | Height changes, Bite trainer |
| Sewers | Street Fighting trainer |
| Sumo Arena | Sumo fighting style |
| Shinto Shrine | Multiple trainers and quests |
| Haw Nightshow | Basic Combat trainer, Boss Shards |
| Bus Stops | Fast travel |
Gyms and training facilities
Training is how you move up the ranks, so gyms will take up most of your early and mid-game time. Each facility offers different exercises and trainers.
Wrestling Gym
The Wrestling Gym is the best free stamina spot in the game thanks to its jump rope. It also offers jumping jacks and one-hand pushups. Because the jump rope costs nothing beyond the food you eat while training, grab it first. The Wrestling King here teaches the Wrestling fighting style, and the gym sits right beside Twister’s Bank for a convenient double stop.
Nitro Gym
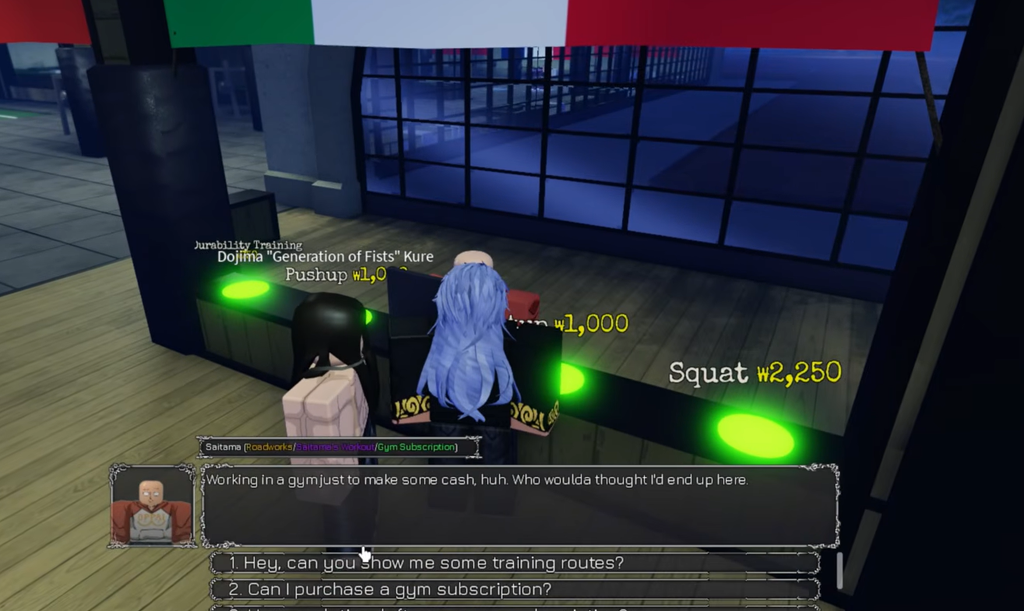
Nitro Gym covers squats, situps, pushups, and durability training, with free water fountains on-site. Saitama gives the Roadworks quest, and Euntae Lee teaches Muay Thai.
Goose Dojo
Goose Dojo leans into combat training with shadow boxing, striking logs, handstand pushups, and durability work. Lidia Sobieska teaches Karate and Mikey Sano teaches Nuclear Kick.
Outdoor Arena
The Outdoor Arena handles boxing training and sells Boxing Gloves for ₩2,500. Saito Genzo teaches the Boxing fighting style here.
Gang Base
Once you belong to a gang, a Gang Base becomes the most efficient place to train. Working out inside your gang’s base gives a 25% boost to training gains, and the base also generates passive income. To claim one, break the Vault in the Laptop Room. Vaults respawn every 4 to 5 minutes. Only the gang leader can buy permanent upgrades from the laptop in the leader’s office, and any other gang can attack the base while you hold it.
| Upgrade | Cost (Yen) | Ryujin Coins | Max |
|---|---|---|---|
| Beds | ₩250,000 | 15 | 5 |
| Punching Bags | ₩100,000 | 5 | 9 |
| Punching Logs | ₩500,000 | 25 | 7 |
| Vault Capacity | ₩15,000,000 | 1,500 | 4 |
Lazy Proteins: gear and supplements
Lazy Proteins is the shop you will visit most as a serious trainer. The Breathing Mask costs ₩5,000 and grants Stamina XP while you run with it equipped, making it one of the first purchases worth saving for. The shop also stocks supplements and workout consumables.
- Breathing Mask: ₩5,000
- Fat Burner 7000: ₩750
- Muscle Gain 7000: ₩1,000
- Workout Drink: ₩1,500
Weighted vests raise Stamina, Durability, and Strength gains during pushups, but slow you down based on your Upper Muscle stat. Leg weights raise Agility gains and slow you based on your Lower Muscle stat. Both come in four tiers.
| Weight | Vest | Leg Weight |
|---|---|---|
| 5kg | ₩1,500 | ₩750 |
| 10kg | ₩3,500 | ₩2,000 |
| 20kg | ₩10,000 | ₩5,000 |
| 50kg | ₩30,000 | ₩20,000 |
Money-making and quest spots
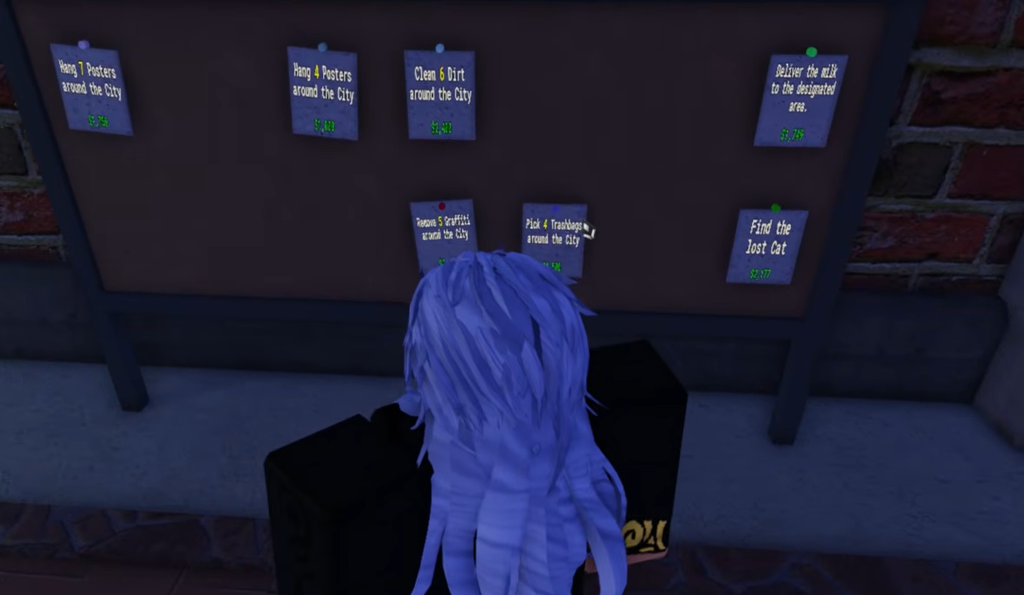
You need yen for gear, food, and cosmetics. The fastest early income comes from phone-based jobs, which are more convenient than the physical quest boards that often push you into fights with thugs.
- Delivery quests
- Graffiti cleanup
- Poster quests
- Dirt patch cleaning
- Cat delivery, which adds a visual satchel to your character
Quests vanish from the board when another player accepts them, so stay flexible and cancel crowded ones like trash pickup.
Beach Area
The Beach NPC exchanges Summer Coins for yen. Trading 250 coins returns roughly ₩200,000 to ₩275,000, which makes it a strong early cash injection right after you redeem codes.
Twister’s Bank
Twister’s Bank lets you open a bank account and buy Credit Cards and Insurance Cards. An Insurance Card costs ₩50,000 and is a one-time-use item that protects your gear if you lose it through grip or combat logging.
Construction Area
The Construction Worker here offers box delivery quests that pay yen. This area also houses Yujiro, the gang shop NPC, plus a card reroll station.
Warehouse and Abandoned Building
The Warehouse hosts cash register robbery quests and Johan Seong, who trains the Infinity Tech fighting style. The Abandoned Building requires breaking down its doors to enter. Inside you will find the Shady Man selling the Hidden Cap and the Mysterious Woman who hands out assassination quests.
Food and consumable vendors
Food keeps your training sessions running, so stock up before long grinds. The 24 Market is the cheapest option, while a few shops double as trainer locations.
| Vendor | Items and prices | Extra |
|---|---|---|
| 24 Market | Apples, bananas, grapes at ₩50 each | Cheapest food |
| Subaru Coffee | Coffee at ₩75 | — |
| Birb Maid Cafe | Boba Tea ₩90, Dangos ₩100 | Birb teaches Trance State |
| Ham Burger | Fried Chicken ₩100, Burger ₩125 | Peter gives the Eating Food quest |
| Ramen Shop | Ramen ₩150 | Aikido and Body Slam trainers |
Customization and recovery
Several shops handle appearance changes and fatigue recovery rather than combat. Aforaf Clothing is a three-floor building where the first floor sells shirts and pants, the top floor manages accessories and titles, and the second floor holds your wardrobe with outfit loadouts. A saved loadout preserves your tattoos, face, facemarks, eye color, hair color, aura color, hair IDs, shirt, pants, accessories, and accessory colors, so you can restore a look after rolling off it. Custom clothing uploads cost ₩30,000 or 3 Ryujin Coins.
| Location | Service | Cost |
|---|---|---|
| Aforaf Clothing | Clothes, custom outfits, loadouts | Custom clothing ₩30,000 or 3 Ryujin Coins |
| Rein Barber | Hair color and styles, bald option | Color ₩5,000; Style 5 Ryujin Coins |
| Ichigo Tattoo | Tattoos | Varies |
| Infirmary | Faces, eye color, muscle and fat removal, eye drops | Eye Drops ₩750 |
| Honrade | Psyche rerolls and special training | Varies |
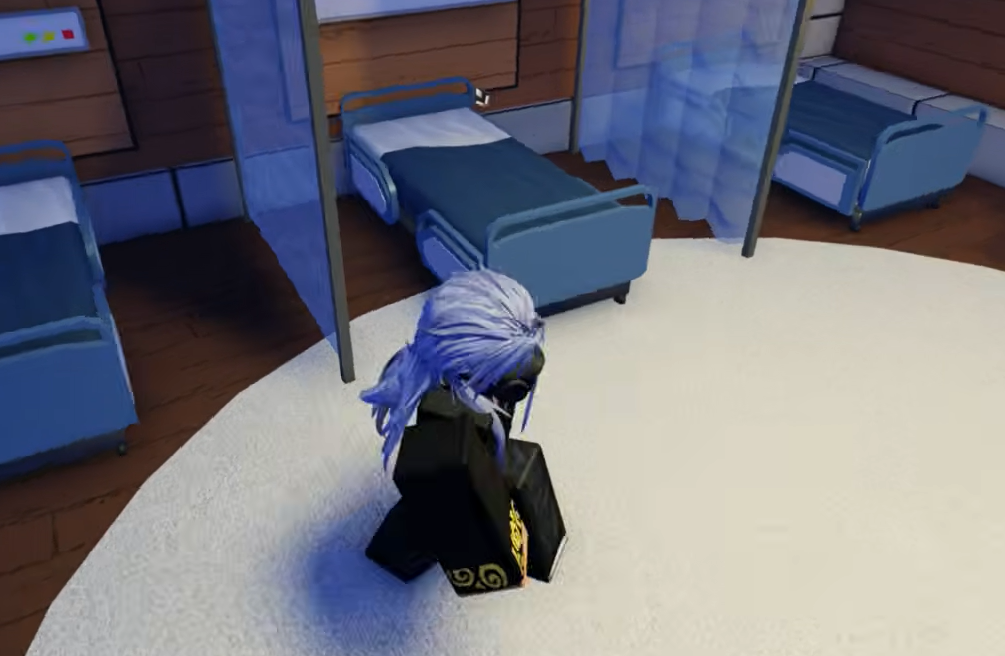
For fatigue, the Infirmary has beds on the upper floor that lower fatigue over time. Note that stat gains are completely disabled inside the Infirmary, so use the beds for recovery only. Lofi’s Massage removes fatigue much faster for ₩10,000 per session, but you need at least 50% fatigue to use it, and open spots can limit access. Once your Stamina climbs toward 50,000, fatigue stops being a real concern.
Hidden trainers and secret areas
Some of the most useful trainers are tucked out of sight. These spots hold unique fighting styles and endgame items you will not find on the surface streets.
| Location | How to reach it | What is inside |
|---|---|---|
| Fight Club | Secret passage beneath the Library | Kureha Shinogi (height changes), Jack Hanma (Bite) |
| Sewers | Open manhole across from the Shinto Shrine | Muteba Gizenga (Street Fighting) |
| Sumo Arena | Alley next to the Playground | Raiden Tameemon (Sumo) |
| Playground | Open area near the Sumo Arena | Todo (Boogie Woogie) |
The Library above the Fight Club also holds Yoru, who gives quests to defeat stronger players.
Shinto Shrine
The Shinto Shrine packs several key NPCs into one hub, which makes it worth learning early.
- Yoruichi: Flashstep trainer
- The Punisher: Gripping People quests
- Master Wu: Style Mastery shop
- Retsu Kaioh: Situps quest NPC
Haw Nightshow
Haw Nightshow looks like a nightclub but hides useful services. Jamal Jackson dances inside, King teaches Basic Combat in the VIP room, and Farlyu sells Boss Shards from a side room. Boss Shards matter most during endgame progression, which makes this a late-game destination.
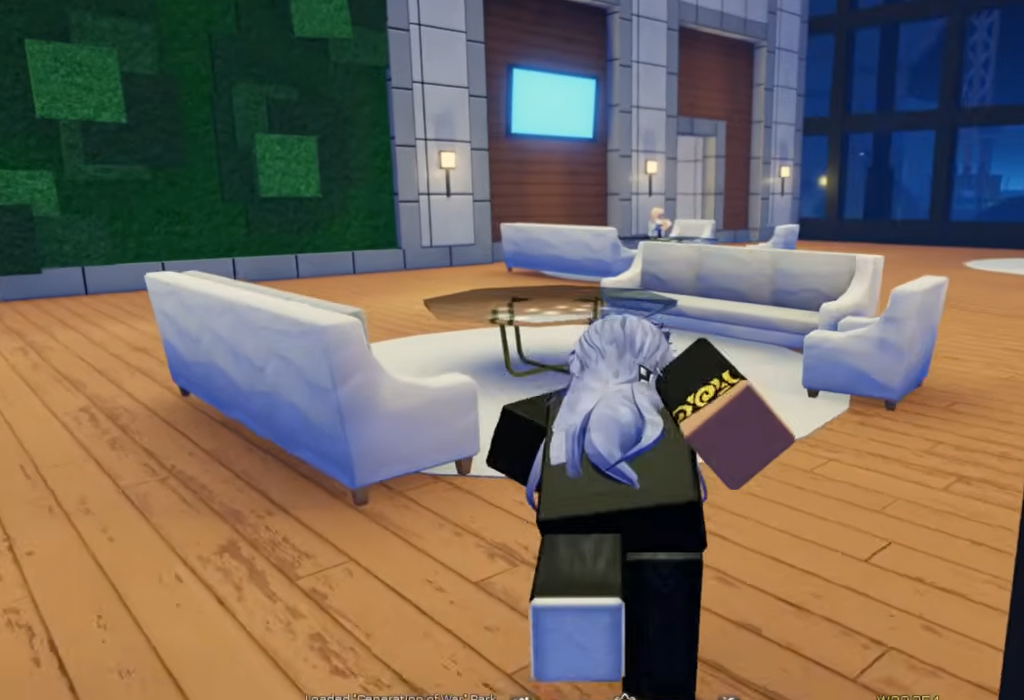
Psyche rerolls at Honrade
Your Psyche directly changes how fast you gain stats, so rerolling it is one of the highest-impact things you can do. Head to Honrade and find Toga in the back of the shop to reroll. You earn Ryujin Coins for rerolls naturally each time you grade up in rank.
| Psyche | Rarity | Effect |
|---|---|---|
| Perfected Genes | Mythic | Gain stats 33% faster |
| Muscleman | Legendary | Gain Muscle 33% faster, lose it 15% slower |
| Bodybuilder | Rare | Gain Muscle 25% faster |
| Enhanced Genes | Rare | Gain stats 5% faster |
Fast travel with bus stops
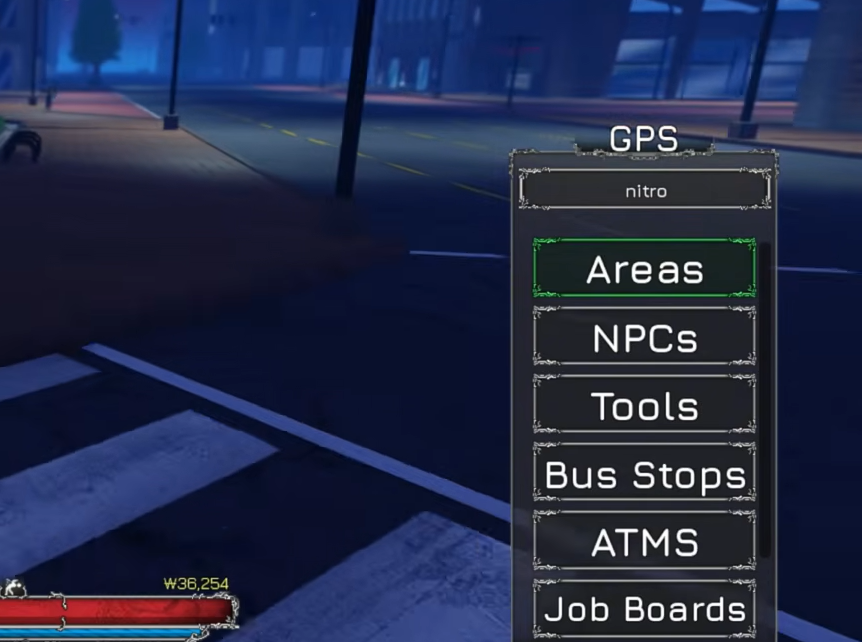
Bus Stops are spread across the city and act as the fast-travel system. Walk up to one and interact with it to open a destination menu, then pick another stop. The travel cost scales with distance. Learning where the stops sit near your main gyms, food shops, and quest NPCs saves a large amount of running between grind sessions.
Where to prioritize by progression stage
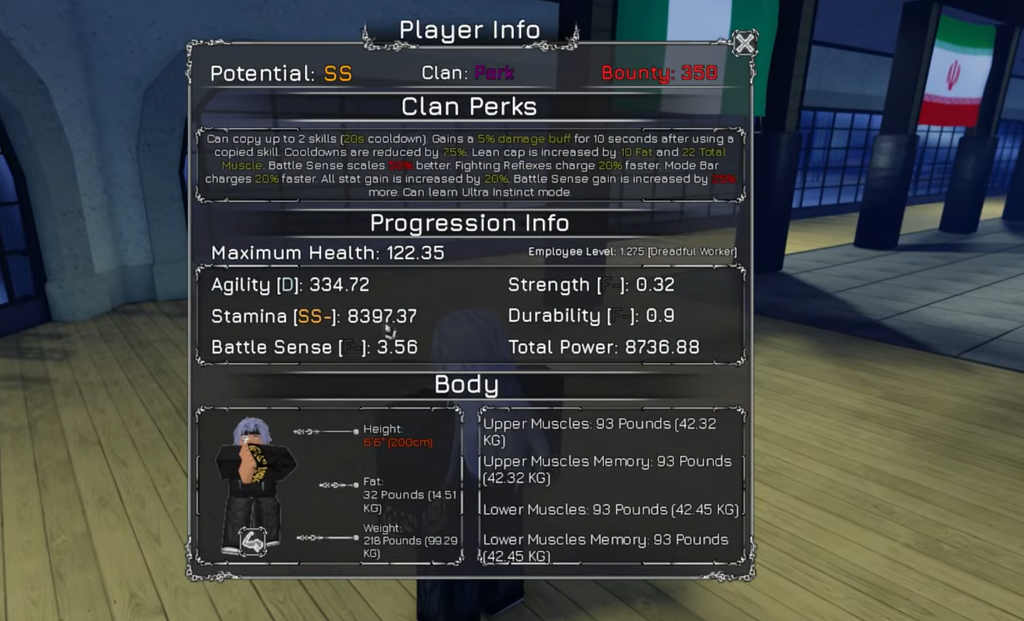
You do not need to visit every location at once. Focus on the spots that match your current goal, then expand as your stats climb. A common path is pushing Stamina to 6,000 (Double S-) so you can join a gang, reaching 500 total Muscle to speed up Stamina farming, then climbing to 15,000 to 20,000 Stamina before specializing your build.
| Stage | Goal | Priority spots |
|---|---|---|
| Early game | Rank and basic stats | Quest boards, Twister’s Bank, 24 Market |
| Mid game | ~6,000 Stamina | Wrestling Gym, Lazy Proteins, Nitro Gym |
| Transition | 500 total Muscle | Goose Dojo, Nitro Gym, Outdoor Arena |
| Late game | 15,000–20,000 Stamina | Gang Base, Lazy Proteins, Lofi’s Massage |
| Endgame | Optimize build | Honrade, Fight Club, Haw Nightshow |
Learn the handful of spots that fit your goal first, lean on bus stops to cut travel time, and the rest of the map will fall into place as you grade up and start chasing specialized trainers and Boss Shards.





