Fishing in Neverness to Everness is handled by a Hethereau Hobby called Sea Angler, accessed through the City Tycoon app on your in-game phone. The activity has its own currency (Scale Points), its own shop (the Fishing Tackle Shop), and a daily Fish Market that pays a premium for specific species. Catching fish does not cost City Stamina; only selling them does.
Quick answer: Reach City Tycoon Level 3, complete the quest “Re:Zero—Starting Life as a Fisher”, then open City Tycoon → Hethereau Hobbies → Sea Angler, tap Go Fishing, equip a rod and bait, cast with F, and keep the yellow indicator inside the green zone until the fish’s stamina hits zero.

Unlock requirements for Sea Angler
Sea Angler unlocks at City Tycoon Level 3, the same tier that opens Swift Travel. Hitting that level requires a few prerequisites that you can grind in parallel.
| Requirement | Detail |
|---|---|
| City Tycoon Level | Level 3 |
| Lifetime Fons earned | 118,300 |
| Vehicle | Own a four-wheeled car (e.g., the C2000 from Novus Vehicle Dealership) |
| Story quest | Complete “Legendary Driver” |
| Tutorial quest | Complete “Re:Zero—Starting Life as a Fisher” at Caltrop Lake |
The unlock chain typically runs: complete “A Stroke of Luck” → reach Tycoon Level 2 → buy a four-wheeled vehicle from Kaylee at Novus → win Challenge Sunday Stage 1 (Unheard Shores Circuit A) → reach Tycoon Level 3 → finish the fishing tutorial at Caltrop Lake.
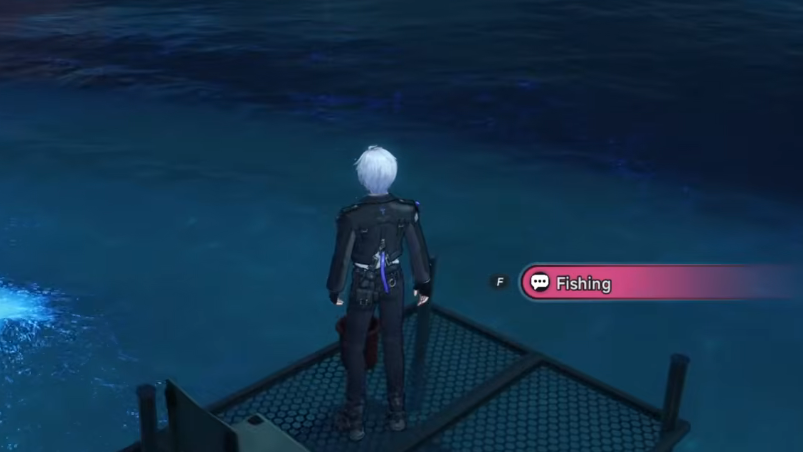
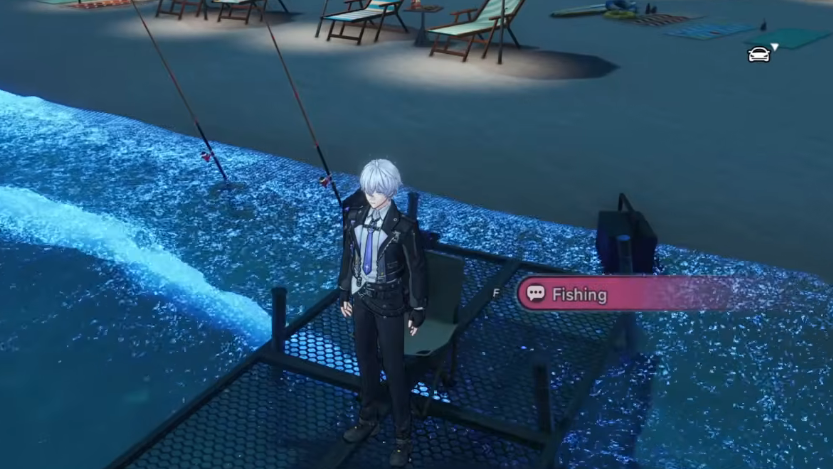
Starting a fishing session
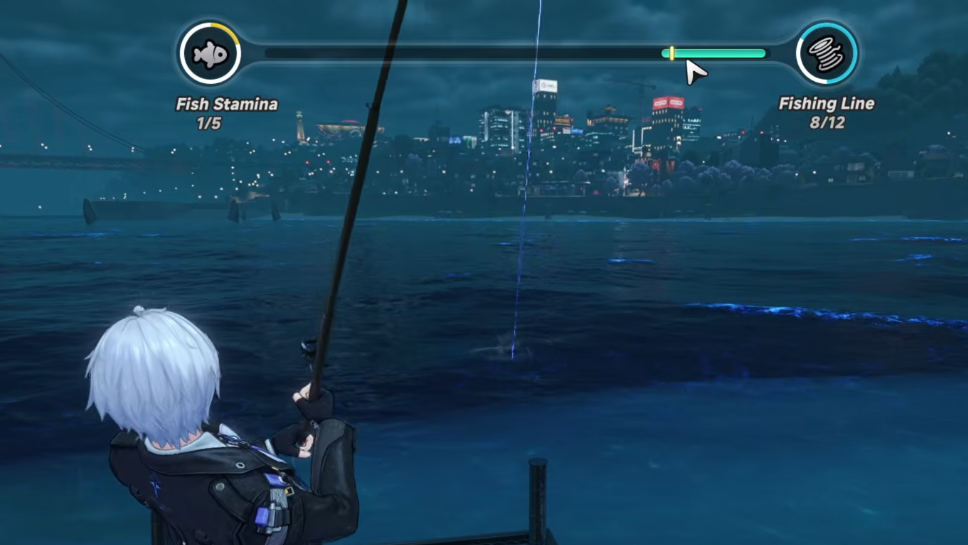
The reel-in mini-game
Once a fish is on the line, a horizontal meter appears at the top of the screen. A green segment moves erratically across the bar, and you steer a smaller indicator to track it using A and D on PC (left/right on controller). Two values matter during the fight:
| Value | Behavior | Outcome |
|---|---|---|
| Fish Stamina | Drops only while your indicator is aligned with the green zone | Hits 0 → fish is caught |
| Fishing Line | Drops every second regardless of alignment | Hits 0 → fish escapes |
Better rods raise line durability and the maximum weight you can land, which directly affects whether high-tier species stay on the hook. Specialized bait increases the odds that a specific species bites in the first place.
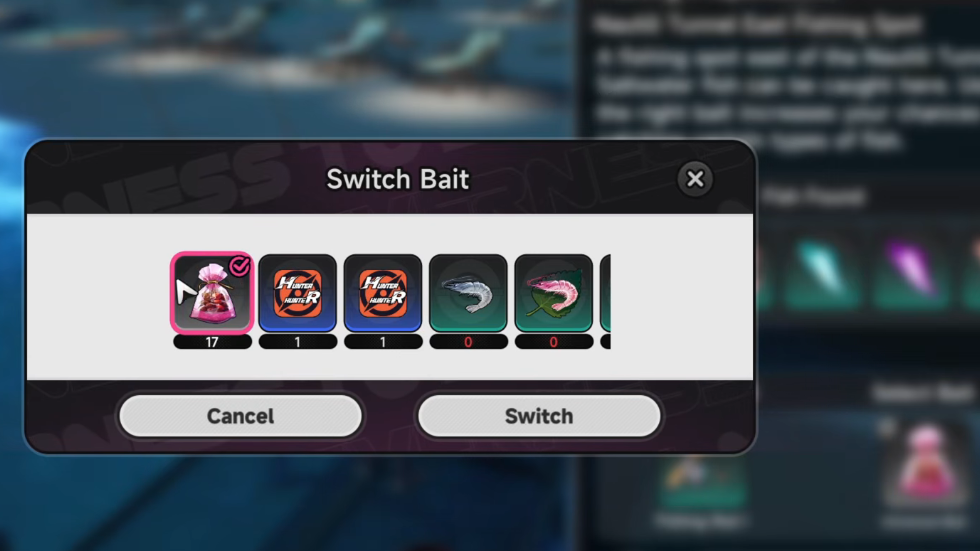
Bait, rods, and the Tackle Shop
Bait determines which fish can bite. Universal Bait works on the broad pool, while species-specific baits are bought with Scale Points and pull rarer fish. Scale Points come from selling catches at the Fishing Master, so early on you’ll have very few of them.
The Fishing Tackle Shop also stocks a daily allotment of Universal Bait that you can buy with Fons instead of Scale Points. Clearing that daily stock is one of the cheapest ways to keep fishing without burning Scale Points.
| Resource | Source | Best use |
|---|---|---|
| Universal Bait | Tackle Shop (daily Fons stock) | Everyday fishing and grinding Fishing EXP |
| Special Bait | Tackle Shop (Scale Points) | Save for the daily in-demand species |
| Fishing Rods | Tackle Shop (Scale Points) | Upgrade as Fishing Level rises for heavier fish |
| Scale Points | Selling fish | Tackle Shop purchases |
| Fons | Selling fish (costs City Stamina) | City Tycoon progression |
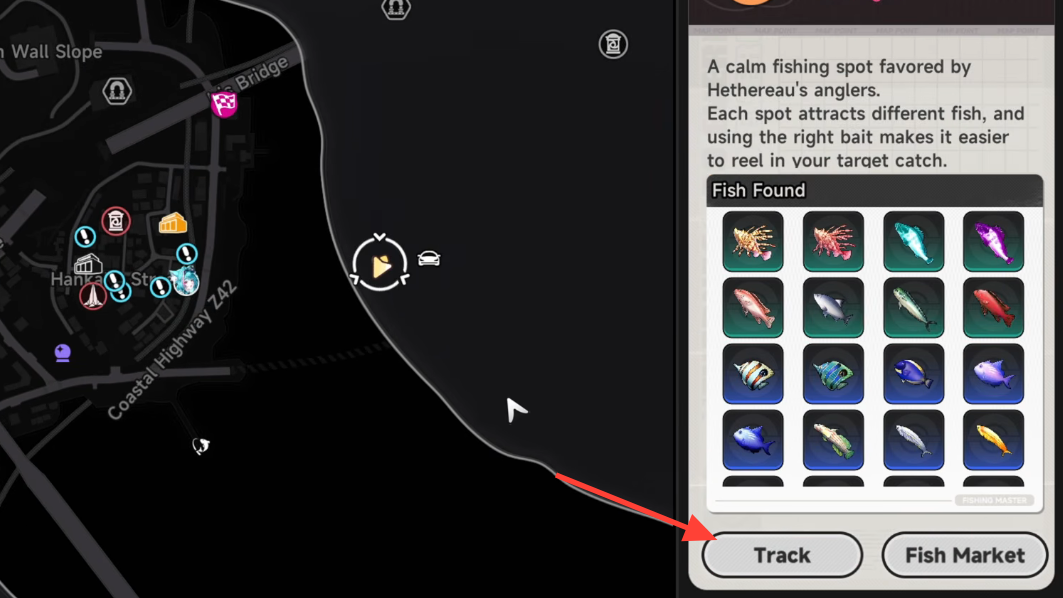
The Fish Market and the daily premium
Open the Fishing Master menu to find the Fish Market. Each day a rotating set of species is flagged as in demand and pays 300% of its normal Scale Point value. Only two of each in-demand species qualify for the bonus per day, so there’s no benefit to hoarding stacks of the same fish.
Inside the Fish Market, the “Go to Daily Rec. Fishing Spot” button points you to the location with the best odds for that day’s in-demand species. The recommended spot rotates with the demand list, so check it before you leave for a session.
Stamina rules: catch freely, sell carefully
Sea Angler is unusual among Hethereau Hobbies because the act of fishing itself does not consume City Stamina. You can fish as long as bait holds out, and Fishing Experience comes from catching fish (you don’t need to sell them to level up).
Selling fish is what costs City Stamina, at a rate of 1 stamina per 1,000 Fons earned. That makes timing important: dump high-value catches when you can spare the stamina, and use no-stamina sessions purely to push your Fishing Level and stockpile inventory.
Where the fish actually live
Spots are split between freshwater (lakes, ponds) and seawater (coastal areas, marinas, tunnels). Species pools are tied to specific maps, so chasing a particular fish means going to the right water.
| Spot | Water type | Notable catches |
|---|---|---|
| Caltrop Lake | Freshwater | Living Jade, Koi, Kohaku Koi, Golden Arowana, Lightning Eel |
| Raindrop Court | Freshwater | Piranhas, Neon Tetra, Silver Arowana, Red Arowana, Thunder Dragon |
| Nautili Tunnel West | Seawater | Puffball Fish, Yellow Tang, Icy Angelfish, Purple Queen Angelfish |
| Azure Vista | Seawater | Angry Puffball Fish, Peppermint Angelfish, Cyan Queen Angelfish |
| Imaginist | Seawater | Sunfish, Knight Angelfish, Flame Angelfish, Emerald Flame Angelfish |
| Stellar Marina | Seawater | Red Sunfish, Red Tang, Sunset Ripple, Dawn Ripple |
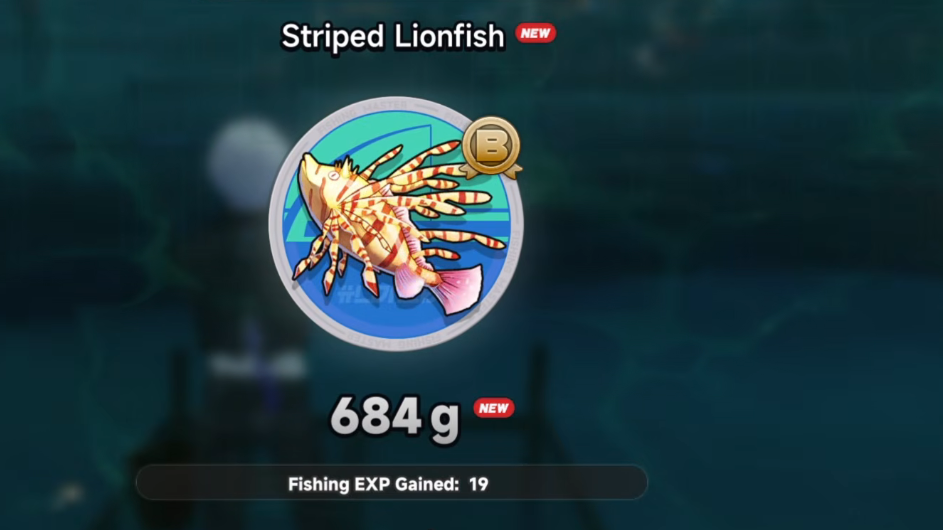
| Nautili Tunnel East | Seawater | Striped Lionfish, Venomous Lionfish, Hellfire Lionfish |
| Cape Square | Seawater | Flame Lionfish, Skeletal Sea Bream, White Dragon King |
The headline rares are mostly map-exclusive: Red Arowana only spawns at Raindrop Court, Kohaku Koi at Caltrop Lake, White Dragon King at Cape Square, and Hellfire Lionfish at Nautili Tunnel East. These sit in the 417–727 Fons sell range, the highest tier currently available.
A practical daily loop
An efficient routine for steady progression looks like this:
- Open the Fish Market, note the in-demand species, and tap Go to Daily Rec. Fishing Spot.
- Buy out the Tackle Shop’s daily Universal Bait stock with Fons.
- Travel to the recommended spot and fish until you have at least two of each in-demand species (the cap for the 300% Scale Point bonus).
- Continue fishing for Fishing EXP — this stage costs no City Stamina.
- Sell strategically, keeping the 1 stamina per 1,000 Fons cost in mind, prioritizing the in-demand stacks first.
That sequence converts a finite resource (City Stamina) into the highest possible payout in both currencies, while letting Fishing Level climb on free time.
Odd catches and collectibles
Not every pull is a fish. Junk like the Old Battery (10 Fons) shows up in the loot pool, and rarer collectibles such as the Fishing Mastery Guide (sells for 800 Fons) and the Golden Scale Coin can drop from fishing spots. The Golden Scale Coin is flavored as a “Fishing Luck” item but functions as a high-value Scale Coin token when sold; treat it as currency, not a buff.
Fishing in Neverness to Everness rewards routine more than reflexes once you understand the split economy. The reel-in itself is a short alignment check, but the real progression sits in the daily Fish Market rotation, the Scale Point loop, and the patience to fish for free while spending stamina only on the sales that matter.