
Assigning a distinctive notification sound in Windows 11 ensures that important alerts stand out, especially as the system’s default tones have shifted to a quieter, softer profile in recent versions. Custom sounds not only help prevent missed notifications but also allow you to tailor your PC’s behavior to your preferences, making everyday interactions more efficient and recognizable.
Change Notification Sound Using Windows Settings
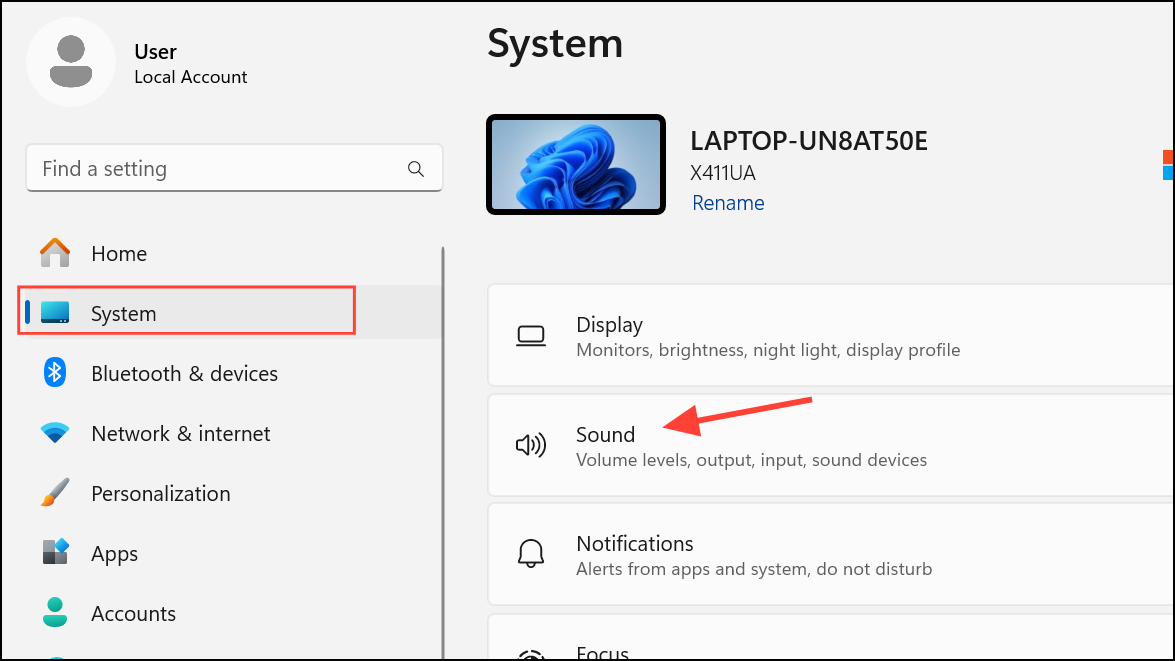
Step 1: Open the Settings app by pressing Win + I. Navigate to System, then select Sound from the sidebar. This section manages all audio-related options for your device.
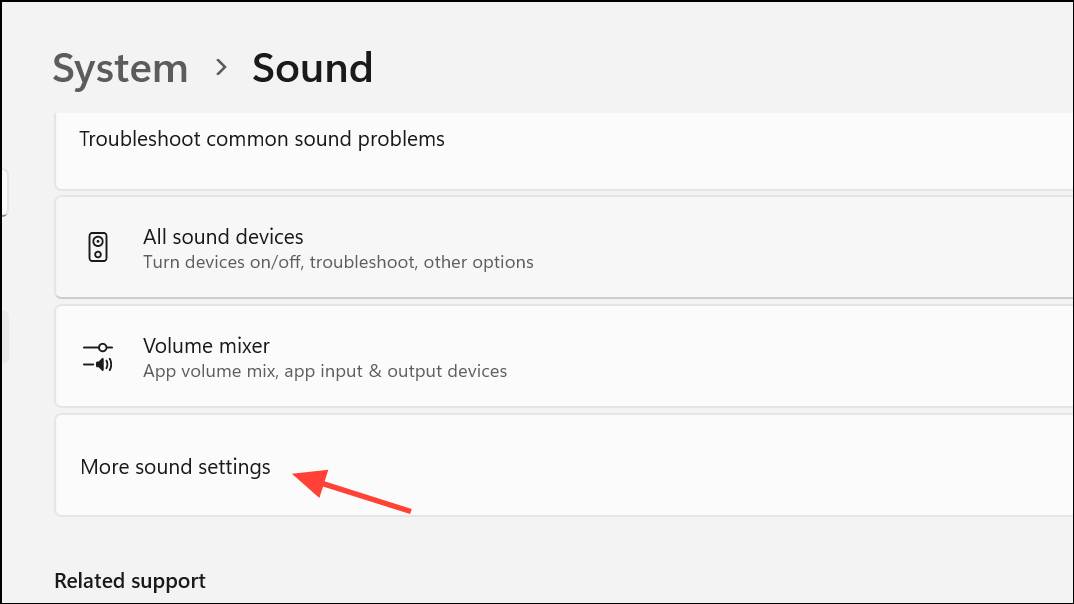
Step 2: Scroll to the bottom of the Sound settings page and click More sound settings under the Advanced section. This action launches the classic Sound control panel, which provides access to event-based sound assignments.
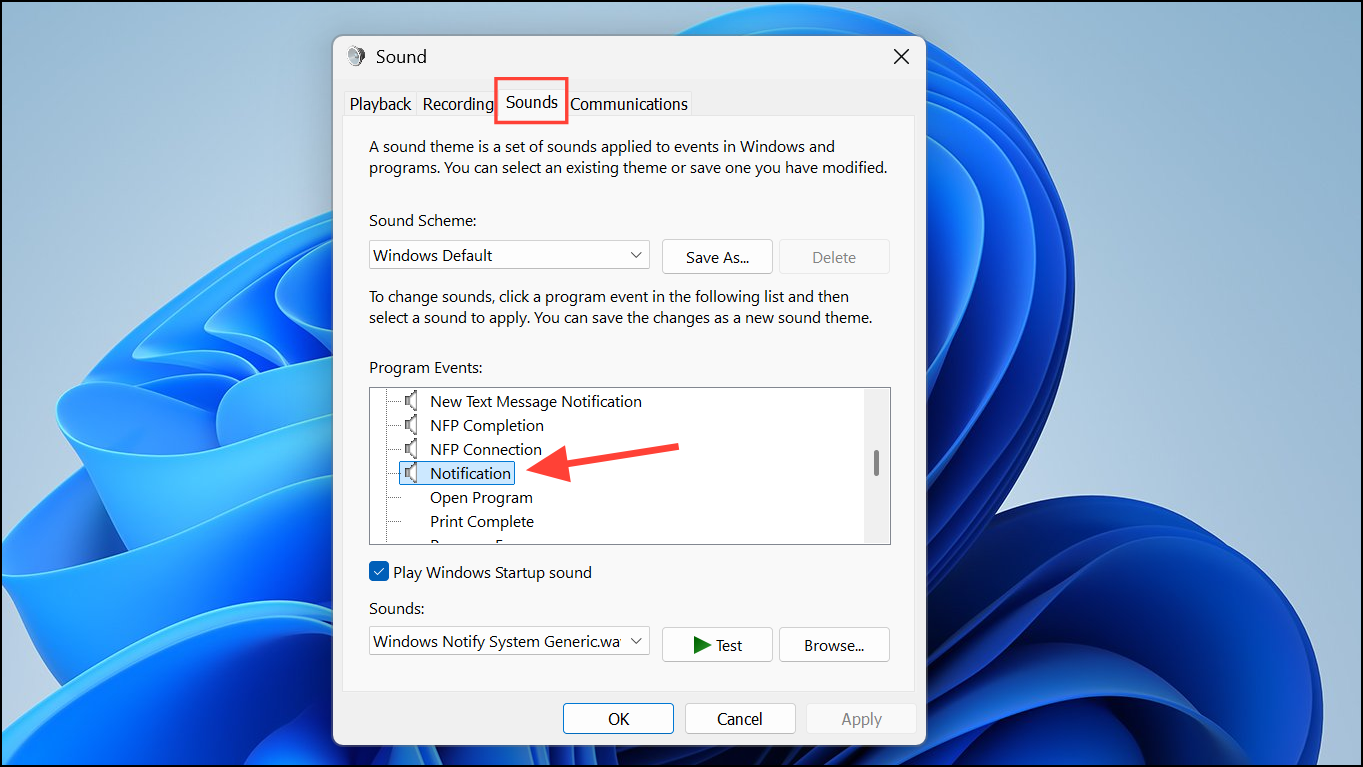
Step 3: In the Sound window, switch to the Sounds tab. Under Program Events, scroll to locate and select Notification. This entry controls the sound played for general notifications across Windows and many apps.

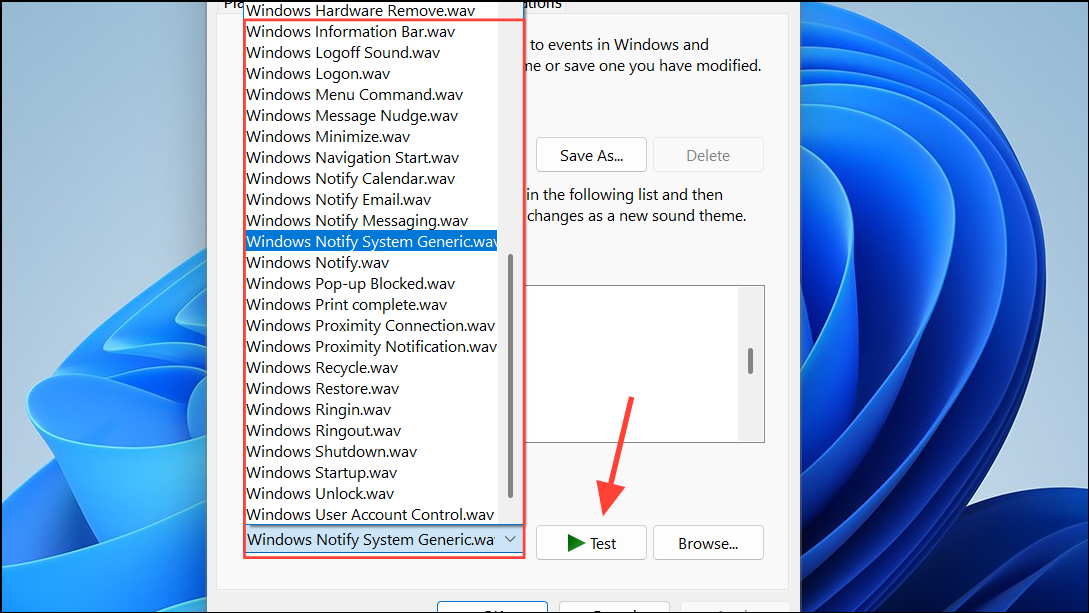
Step 4: Use the dropdown menu at the bottom labeled Sounds to pick from the default .wav files provided by Windows. To preview a sound, select it and click Test. If you want to use your own sound, click Browse… and select a custom .wav file from your computer. Note that only .wav files are supported; if your sound is in a different format (such as .mp3), you’ll need to convert it first.
Step 5: Once you’ve chosen your desired sound, click Apply and then OK. Your new notification sound will now play whenever a notification is triggered.
Assign Custom Notification Sounds via Control Panel
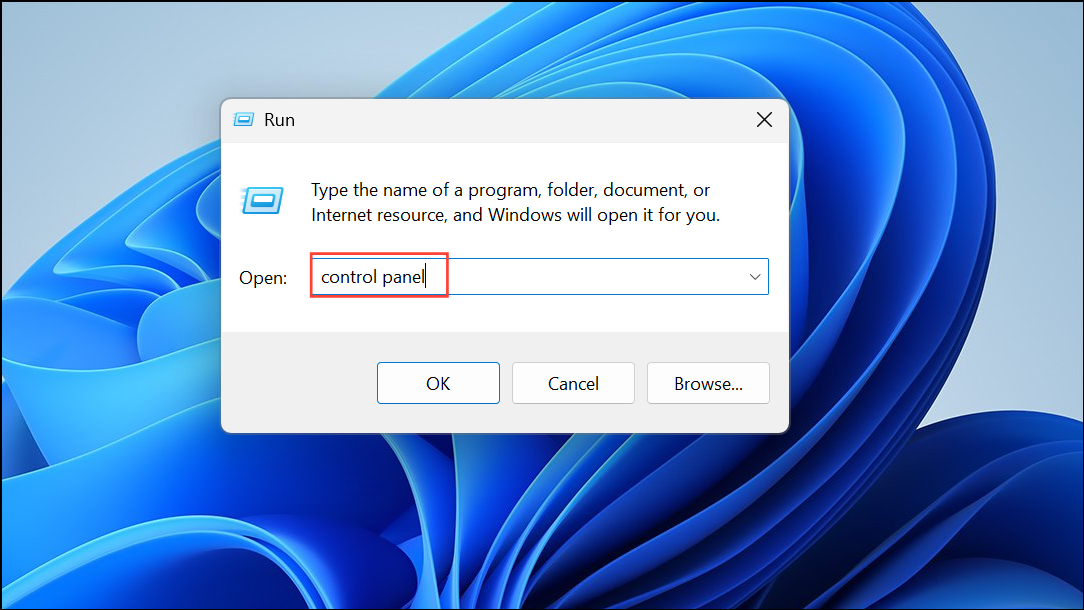
Step 1: Press Win + R to open the Run dialog. Type Control Panel and press Enter to launch the classic Control Panel interface.
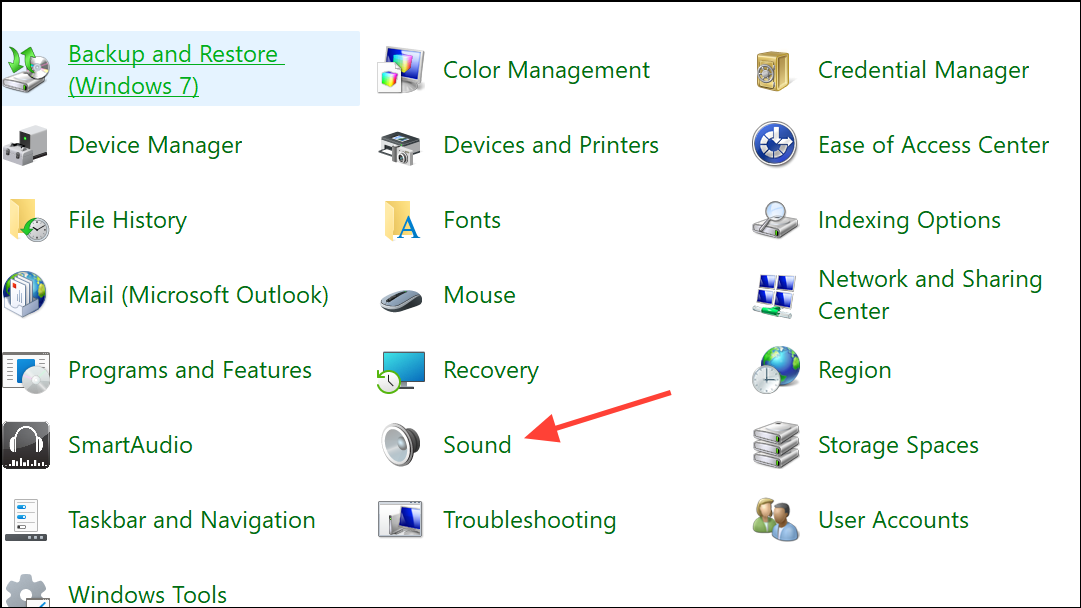
Step 2: Navigate to Hardware and Sound, then select Sound. This brings up the same Sound control panel referenced above, allowing for detailed event sound customization.
Step 3: Under the Sounds tab, find Notification in the Program Events list. Select it, and then use the Sounds dropdown or Browse… button to pick a preferred .wav file as your notification sound. Click Apply and OK to save your changes.
This method is particularly useful if you’re more comfortable with the traditional Windows interface or need to adjust sounds for other system events in the same session.
Set a Custom Notification Sound Using Registry Editor
Advanced users who want direct control over notification sounds can update the Windows Registry, which defines system-level behaviors.
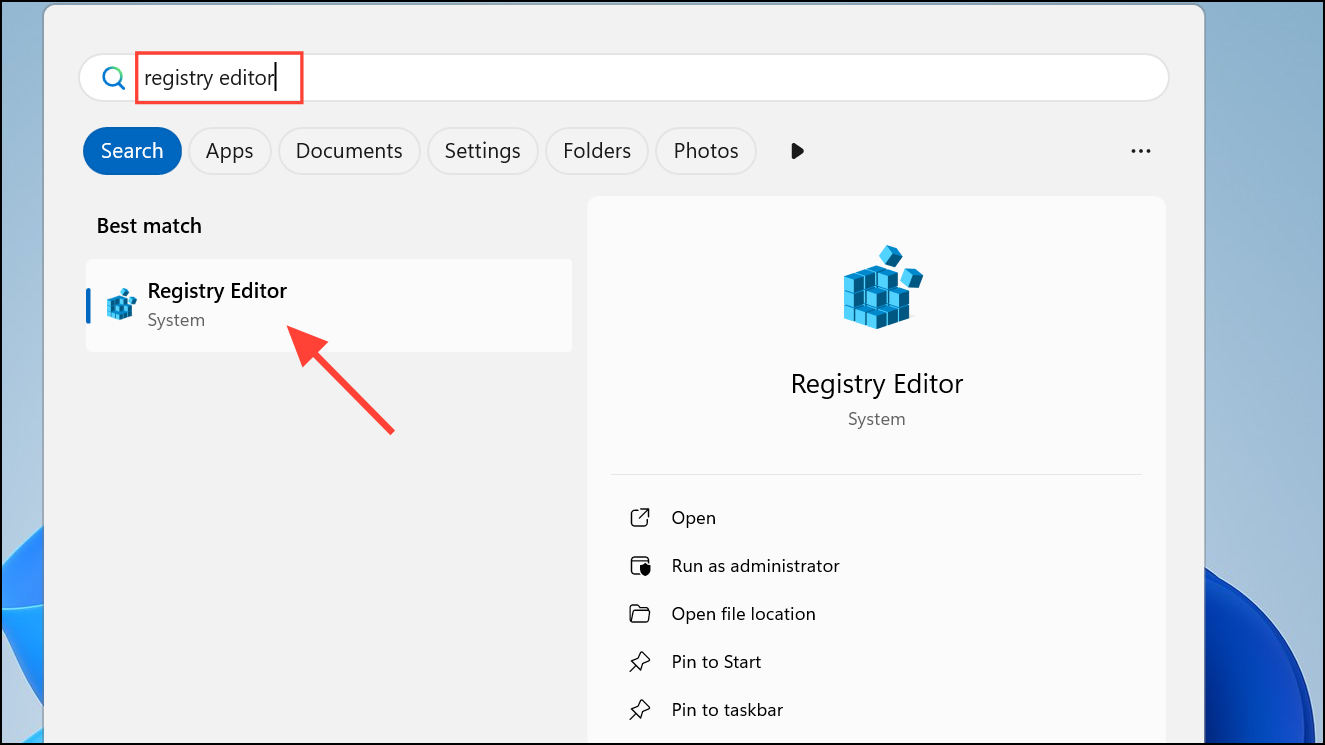
Step 1: Press Win + S to open the search bar. Type Registry Editor and select it from the results. If prompted by User Account Control, click Yes to allow changes.
Step 2: In Registry Editor, navigate to:
Computer\HKEY_CURRENT_USER\AppEvents\Schemes\Apps\.Default\Notification.Default\.Current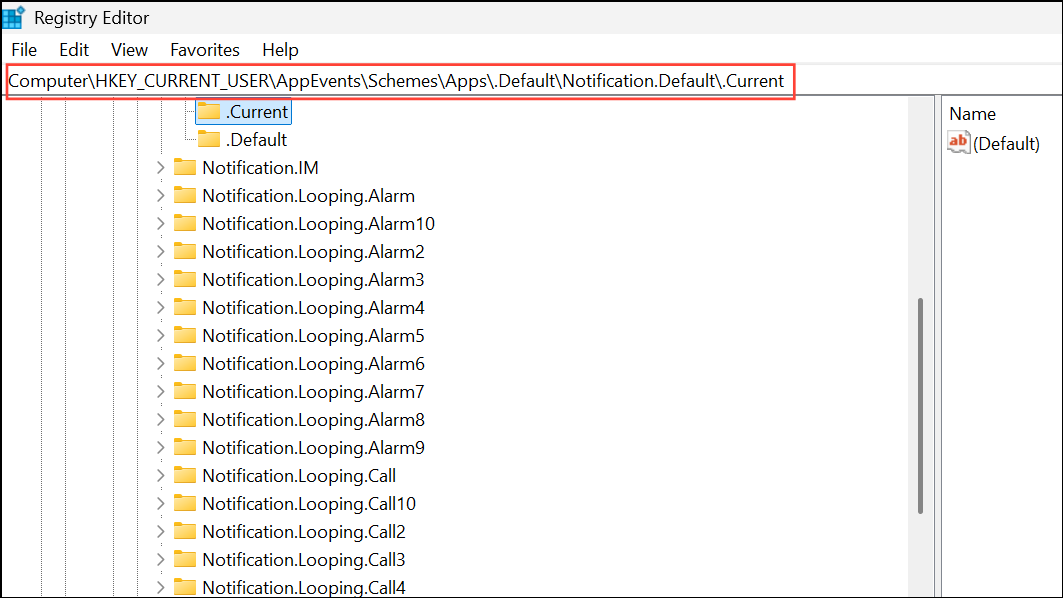
This key determines the current sound assigned to notification events for your user account.
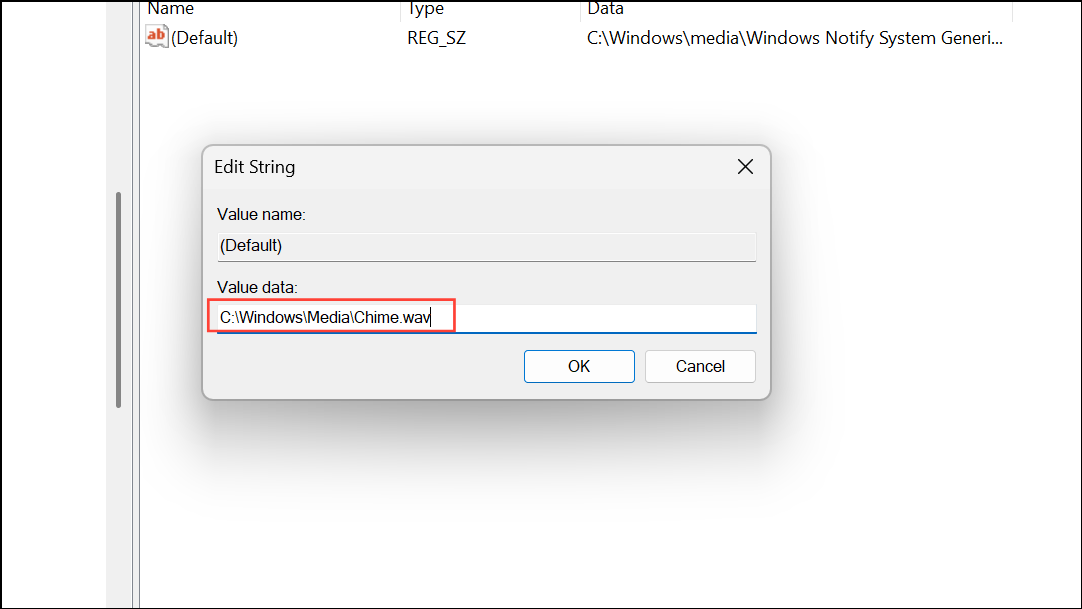
Step 3: Double-click the (Default) value in the right pane. Enter the full path to your custom .wav file (for example, C:\Windows\Media\Chime.wav) and click OK.
Step 4: Close Registry Editor and restart your computer to ensure the new sound is loaded for notifications.
Additional Tips and Troubleshooting
Some users report that certain notification sounds in Windows 11 are quieter than in previous versions. This is due to Microsoft’s design choice to make alerts less intrusive. If your notification sound is too soft, select a louder or more distinct .wav file. For critical events, you might want to assign a more attention-grabbing sound.
If you want to assign custom sounds to specific apps (for example, Microsoft Teams or Mail), check whether the app itself offers in-app sound settings. Not all third-party apps support this, but some, like Teams, allow users to specify custom notification tones directly within their settings.
To ensure you hear system sounds, right-click the volume icon in the system tray, choose Volume mixer, and verify that System Sounds is not muted. If you are using external speakers or a headset, confirm that your device’s hardware volume is set appropriately and that other audio (such as music or videos) plays at normal levels.
For users who want to completely turn off notification sounds, open Settings, go to System > Notifications, expand the Notifications section, and uncheck Allow notifications to play sounds. This silences all notification alerts while leaving visual pop-ups enabled.
Assigning a custom notification sound in Windows 11 makes alerts more noticeable and personal. Experiment with different .wav files to find the one that best matches your needs and environment.