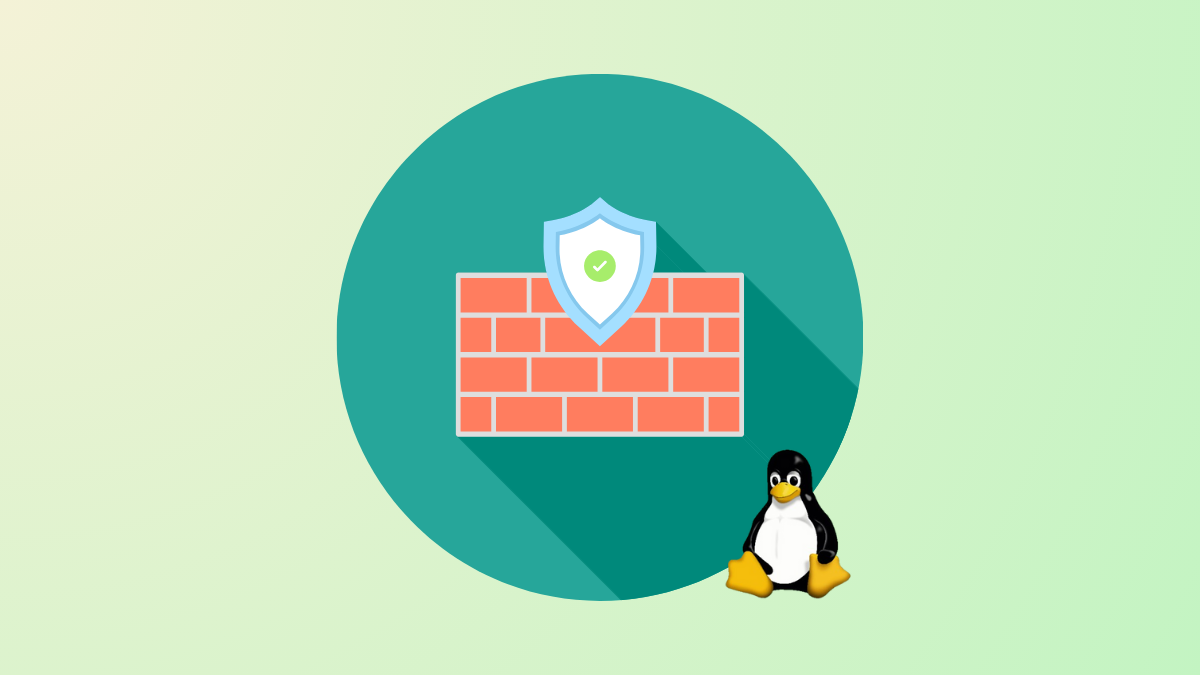
Linux servers and desktops are frequently exposed to public networks, making a properly configured firewall essential for controlling access and reducing security risks. UFW (Uncomplicated Firewall) and Firewalld are two primary tools for managing firewall rules on Linux, each offering different approaches to setup and administration. Selecting the right tool and configuring it effectively ensures only authorized traffic reaches your system, while unnecessary or potentially harmful connections are blocked.
Configuring a Firewall with UFW
UFW is the default firewall management tool for Ubuntu and Debian-based systems. It provides a straightforward command-line interface that simplifies the process of defining firewall rules, making it accessible even for users new to Linux security.
sudo apt update
sudo apt install ufwsudo ufw allow sshOr, if your SSH daemon uses a custom port, replace ssh with the correct port number:
sudo ufw allow 2222sudo ufw default deny incoming
sudo ufw default allow outgoingsudo ufw allow http
sudo ufw allow httpsOr, specify port numbers directly:
sudo ufw allow 80
sudo ufw allow 443sudo ufw enableRespond y if warned about potential disruption to SSH connections (as long as the proper rule is in place).
sudo ufw status verbosesudo ufw allow from 203.0.113.4 to any port 22To allow HTTP traffic only on a specific interface (e.g., eth0):
sudo ufw allow in on eth0 to any port 80sudo ufw status numberedThen remove a rule by its number:
sudo ufw delete 2sudo ufw disable
sudo ufw resetConfiguring a Firewall with Firewalld
Firewalld is the standard firewall manager for Red Hat-based distributions, such as CentOS, Fedora, and RHEL. It introduces the concept of zones, allowing administrators to define different trust levels and rules for various network interfaces or sources. Firewalld uses the firewall-cmd command for all interactions.
sudo systemctl status firewalld
sudo systemctl enable --now firewalldpublic, which rejects most incoming traffic except essential services like SSH and DHCP:sudo firewall-cmd --get-default-zone
sudo firewall-cmd --get-zonessudo firewall-cmd --zone=public --add-interface=ens192 --permanent
sudo firewall-cmd --reloadsudo firewall-cmd --add-service=http --permanent
sudo firewall-cmd --add-service=https --permanent
sudo firewall-cmd --reloadTo open a custom port (e.g., 8080/tcp):
sudo firewall-cmd --add-port=8080/tcp --permanent
sudo firewall-cmd --reload172.16.1.0/24 in the internal zone:sudo firewall-cmd --zone=internal --add-source=172.16.1.0/24 --permanent
sudo firewall-cmd --reloadsudo firewall-cmd --list-allFor a comprehensive overview of all zones:
sudo firewall-cmd --list-all-zonessudo firewall-cmd --zone=public --remove-service=http --permanent
sudo firewall-cmd --reloadChoosing Between UFW and Firewalld
Both UFW and Firewalld serve as user-friendly front-ends to more complex firewall systems (iptables or nftables). UFW is well-suited for straightforward, host-based rules on Ubuntu and Debian systems, with a focus on simplicity and quick setup. Firewalld, by contrast, is designed for scenarios requiring more dynamic or granular control, especially where multiple network interfaces or varying trust levels are involved. It is the standard for Red Hat-based distributions.
For most users, selecting the default firewall tool for their distribution is the most efficient approach. UFW is ideal for single-purpose servers or desktops with simple requirements, while Firewalld is preferred for servers with complex networking needs or multiple zones.
Maintaining a properly configured firewall with UFW or Firewalld significantly reduces unauthorized access and improves system resilience. Regularly review your firewall rules to ensure they align with current operational requirements and security best practices.