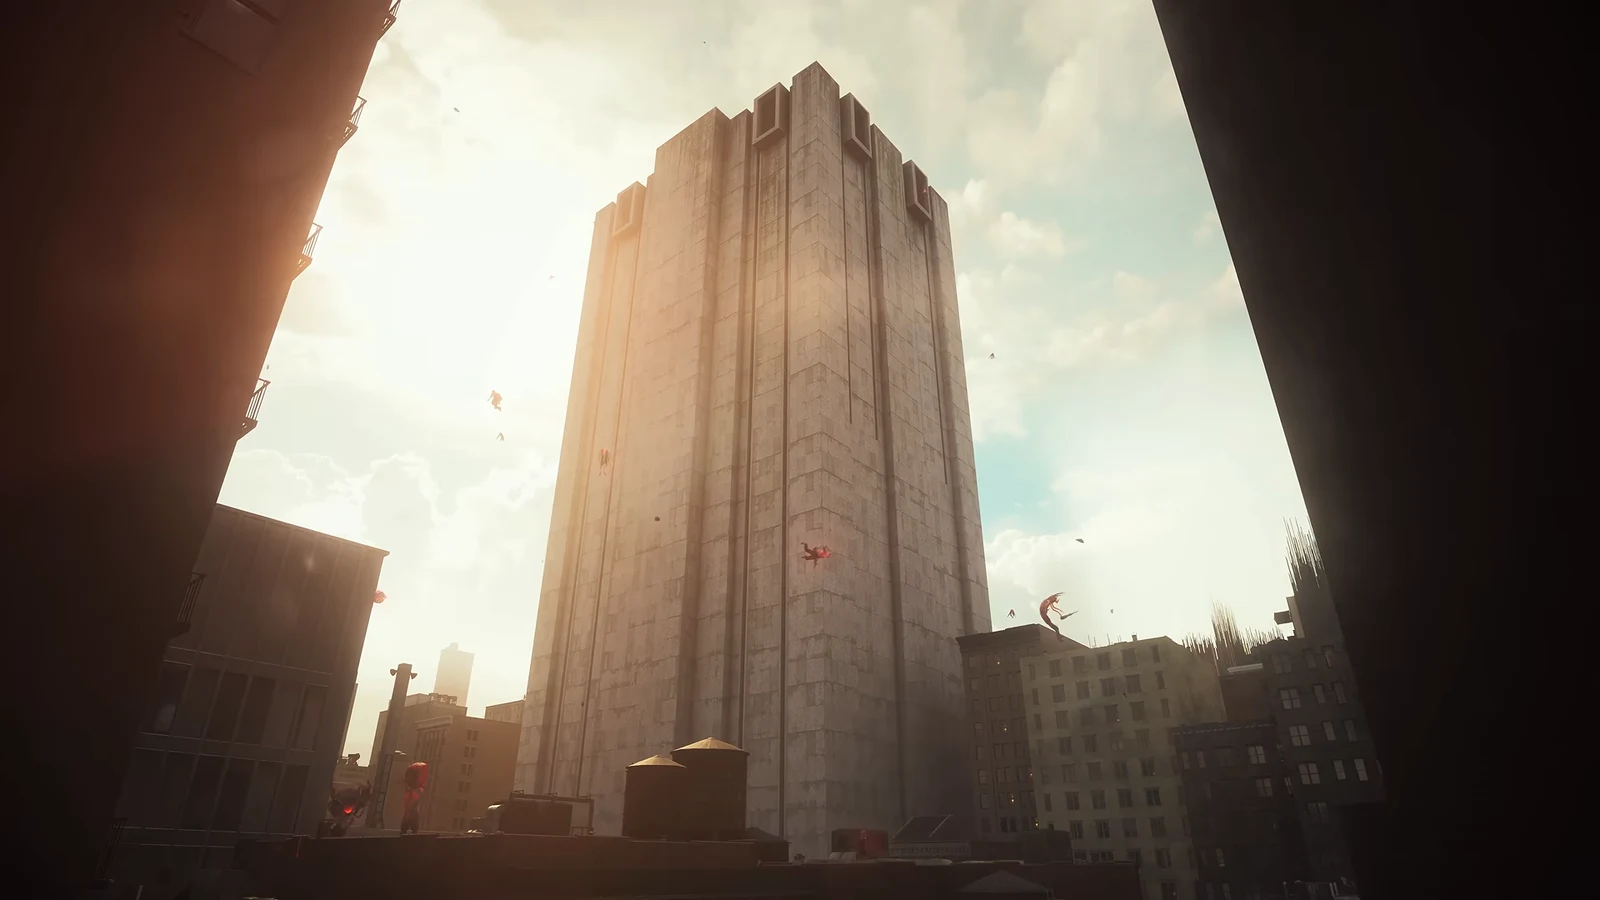
Sever the Hedron Links is the tenth main mission in the Contain the Crisis questline of Control Resonant, and it hands Dylan Faden a clear job: break the two Hedron connections that slammed into the Patterned city hanging above the Oldest House. The catch is that neither link is reachable until you rebuild the floating district around it, so most of the mission is really about opening a path before either boss fight begins.
Quick answer: Complete The Hedron Link first, return to the Unknown through the Oldest House Roof Access, finish Pope’s Research to open fast travel, then destroy the Hedron cores at the Patterned Evac Building and Patterned Field Office islands.
Mission requirements and starting point
The mission starts in Downtown at the Oldest House and only unlocks once you have finished the earlier mission, The Hedron Link. Its quest text sets the stakes plainly: after the first link fell, two more crashed into the Patterned city above the House, and Dylan intends to disrupt the Pattern and cut both before going after the Hedron itself.
Bring the Level 1 Keycard along; you’ll need it for the clearance-level-1 doors on the climb to the Unknown. Make sure it’s with you before taking the elevator.
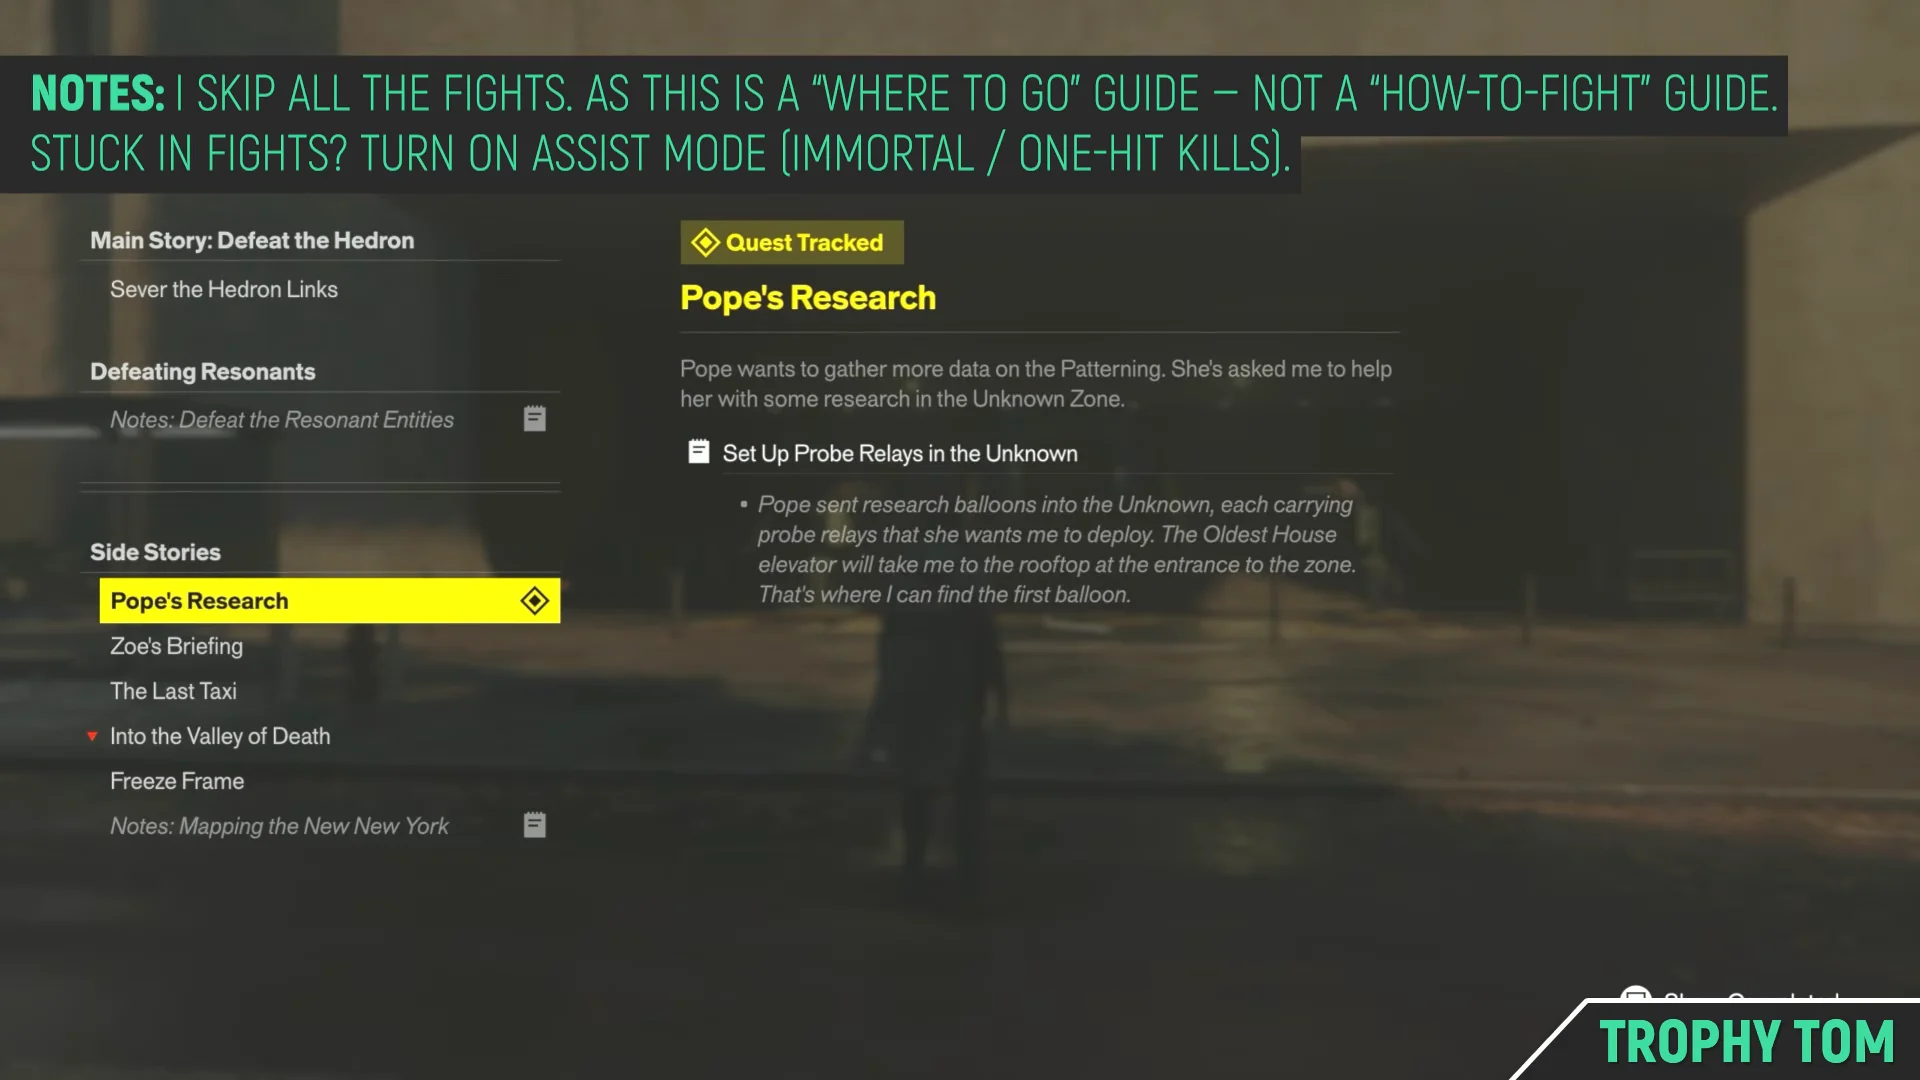
This stretch tests movement rather than fighting. When foes trap you between islands, enable Assist Mode and choose immortality or one-hit kills; that keeps the platforming moving.
How The Hedron Link leads into this mission
The Hedron Link is the starting point for the events ahead. It sends Dylan through Bureau halls and security checkpoints, past Hiss foes that remain in the area, and into a reality torn apart. A tutorial card also covers the Hedron enemies you will face throughout the crisis, so use this encounter to learn how they move.
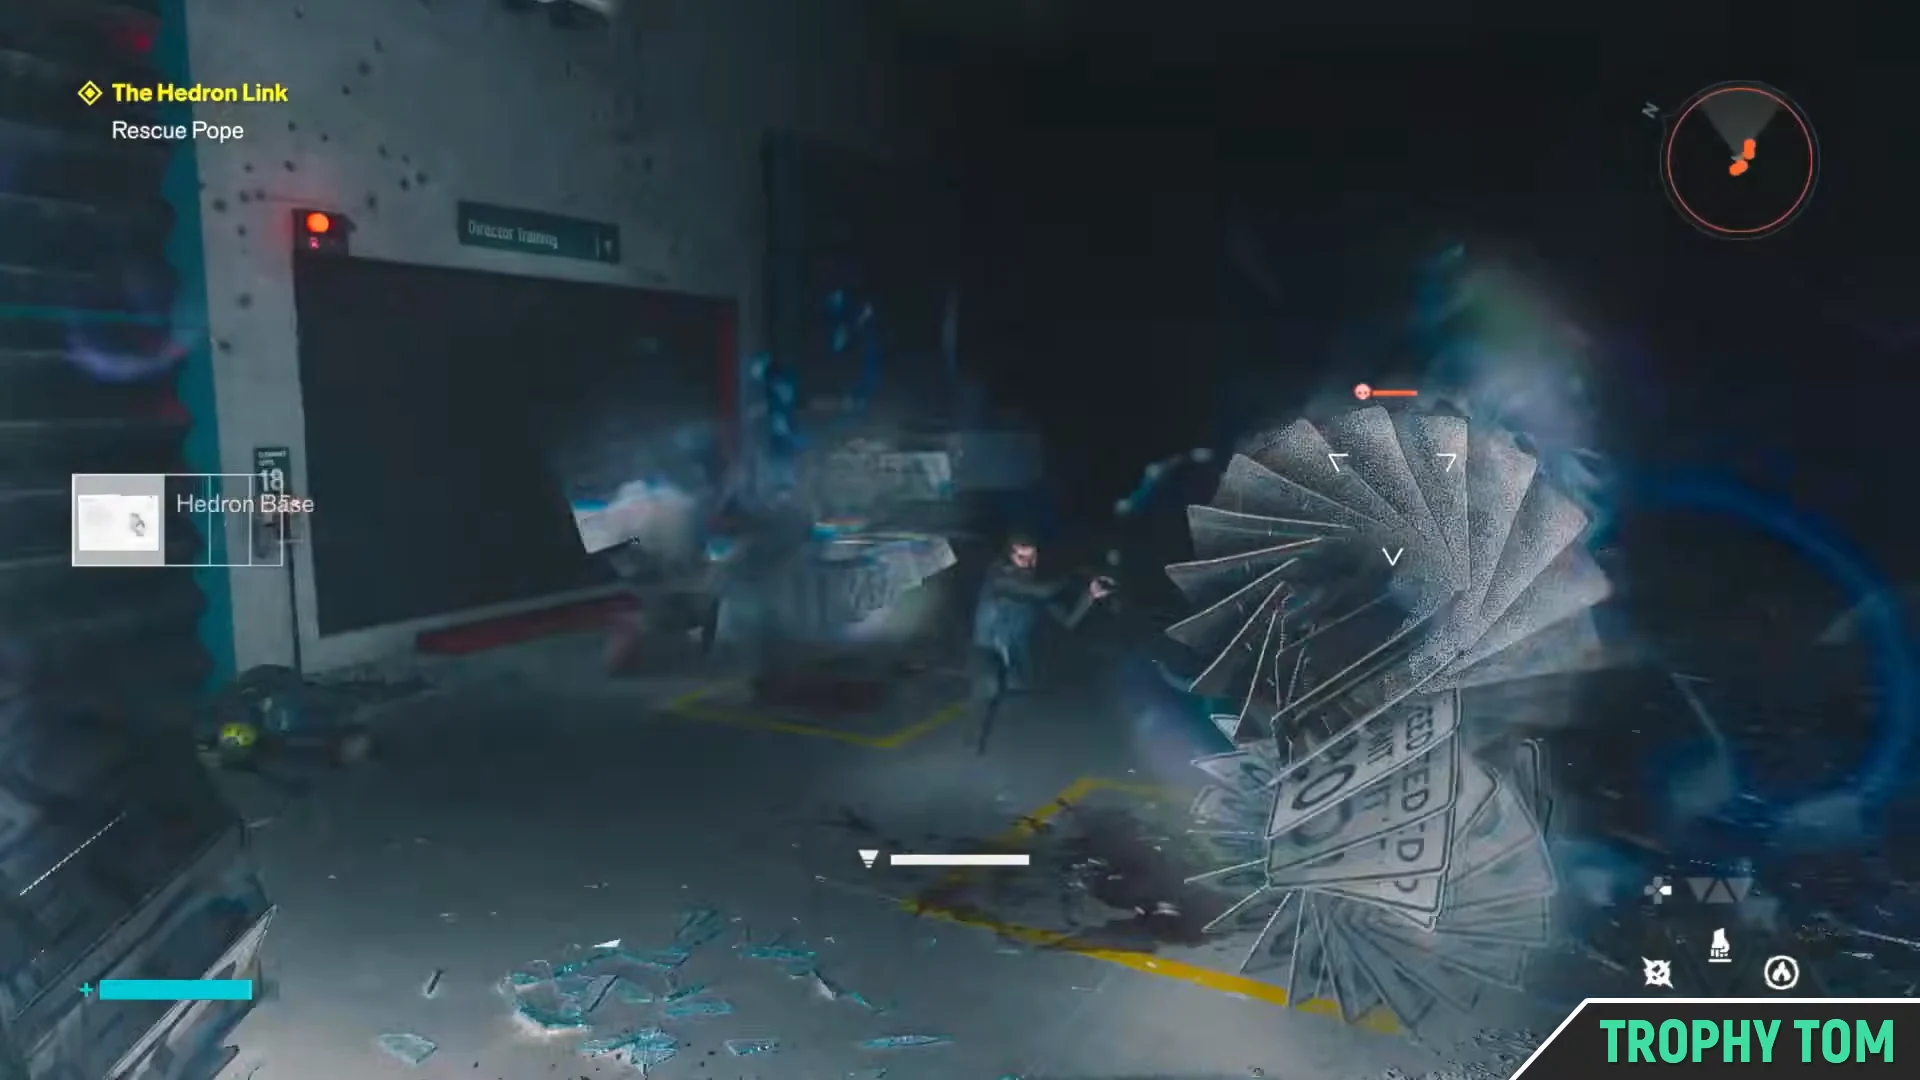
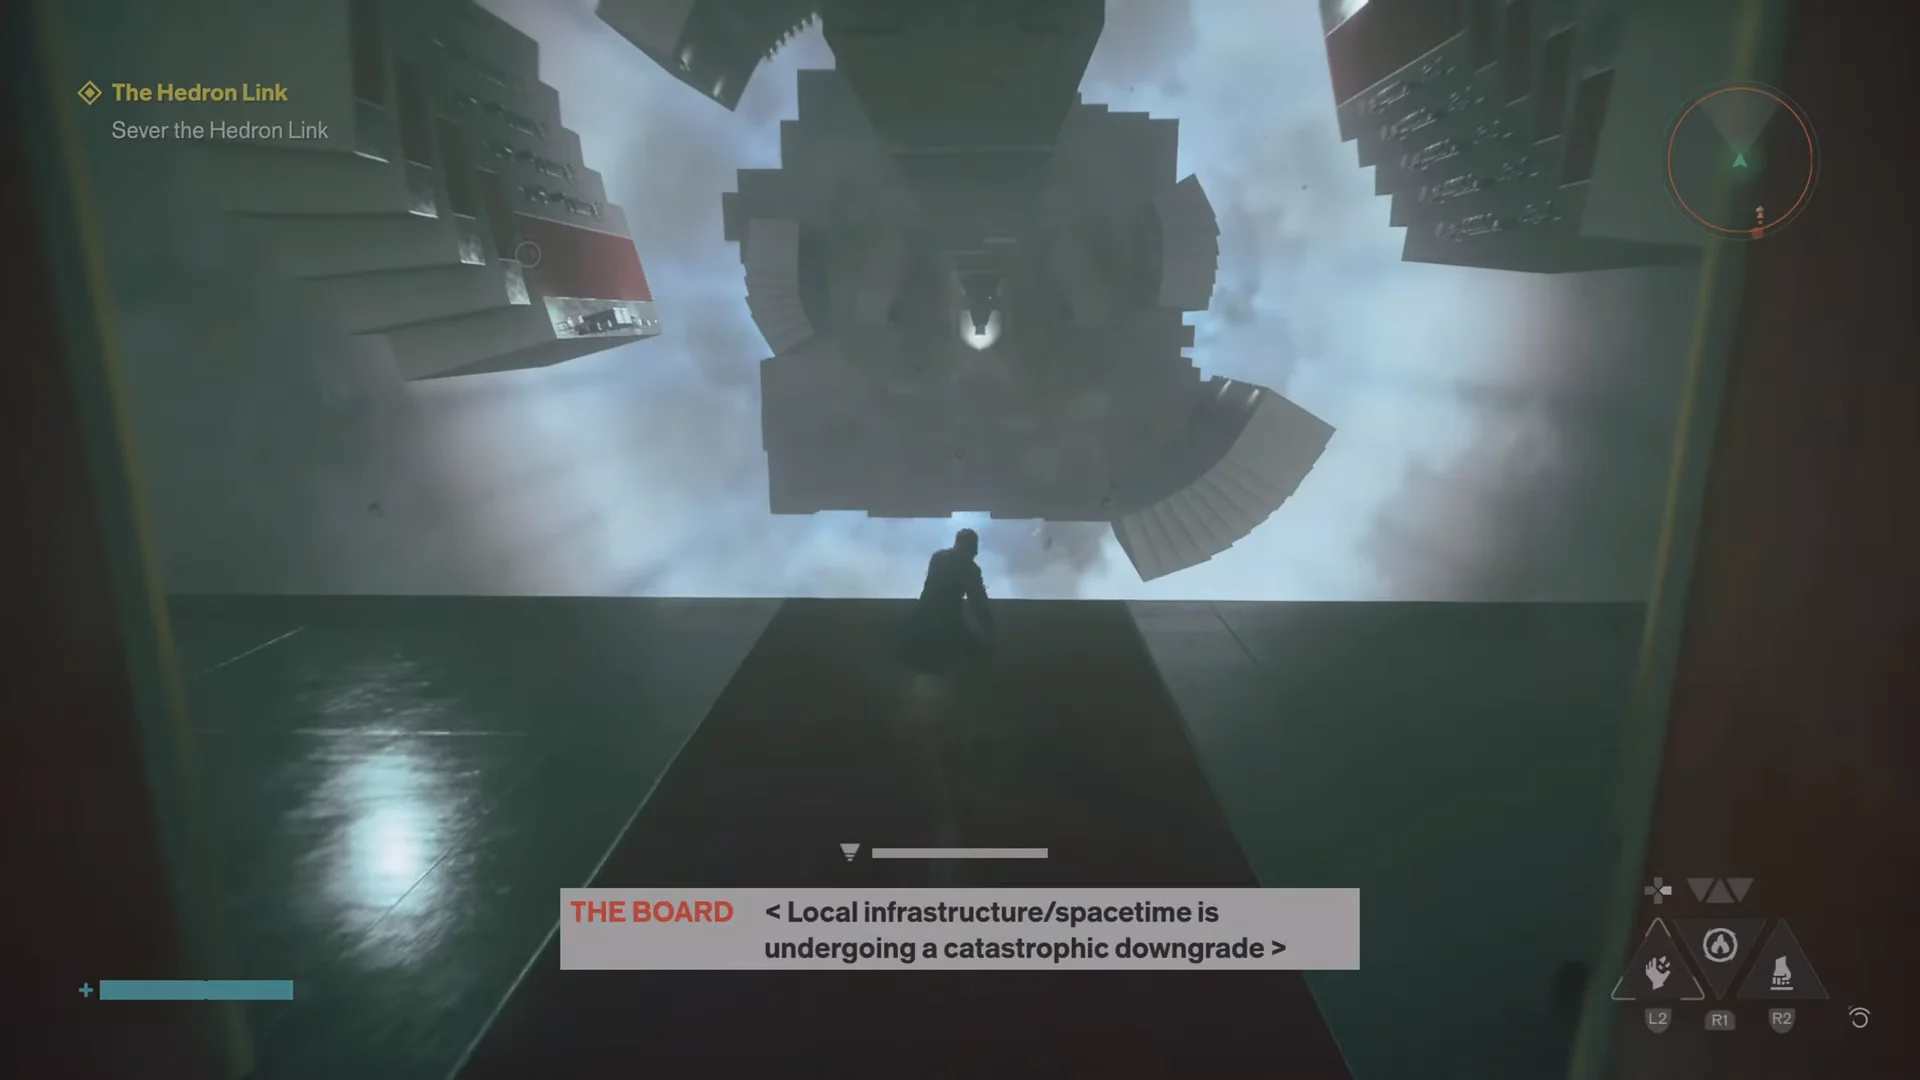
Dylan then drops into a fragmented spatial void, falling between floating architectural blocks while The Board transmits warnings that local spacetime is undergoing a “catastrophic downgrade.” Use levitation and dash to land on the platforms below.
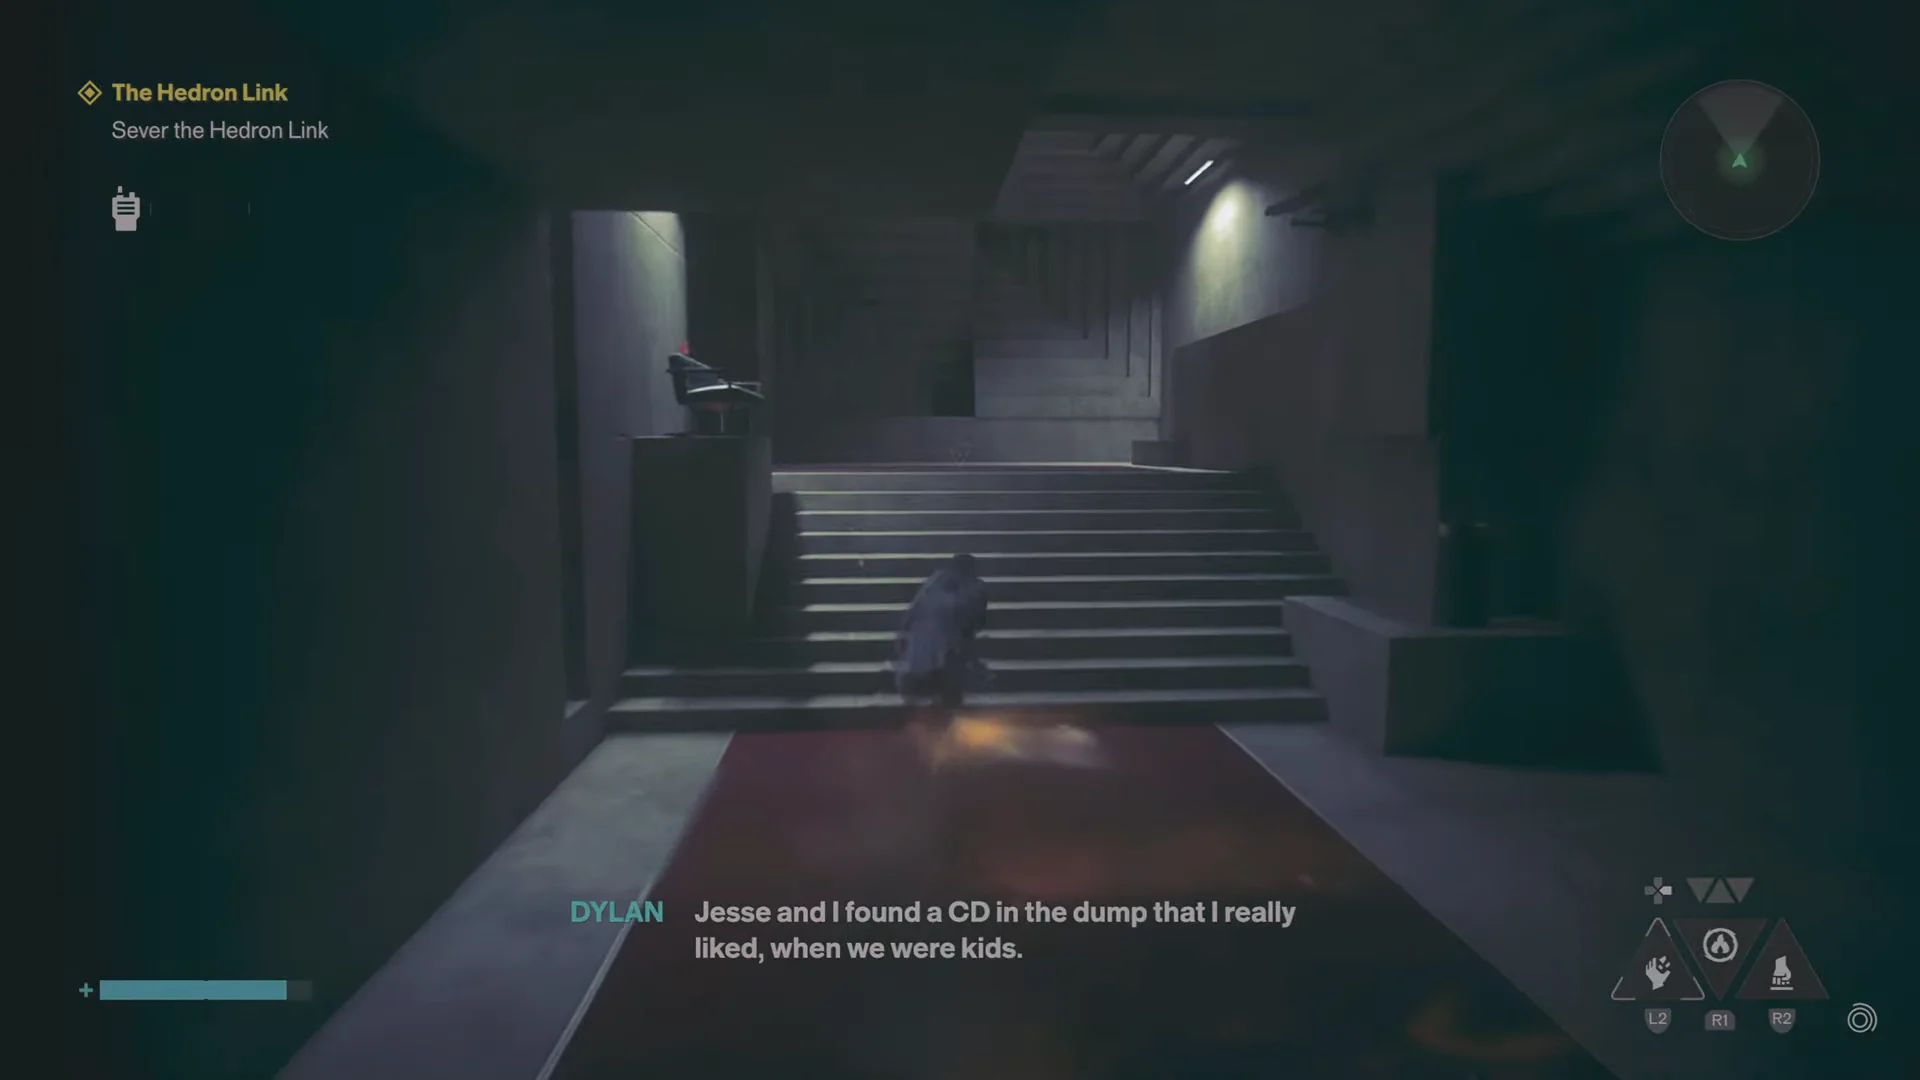
As you move down the red-carpeted corridors, Zoe stays on the radio and a couple of dialogue prompts appear, including a short exchange about music and a CD Dylan and Jesse once found. The choices are flavor and do not affect completion, so pick whichever you like and keep moving.
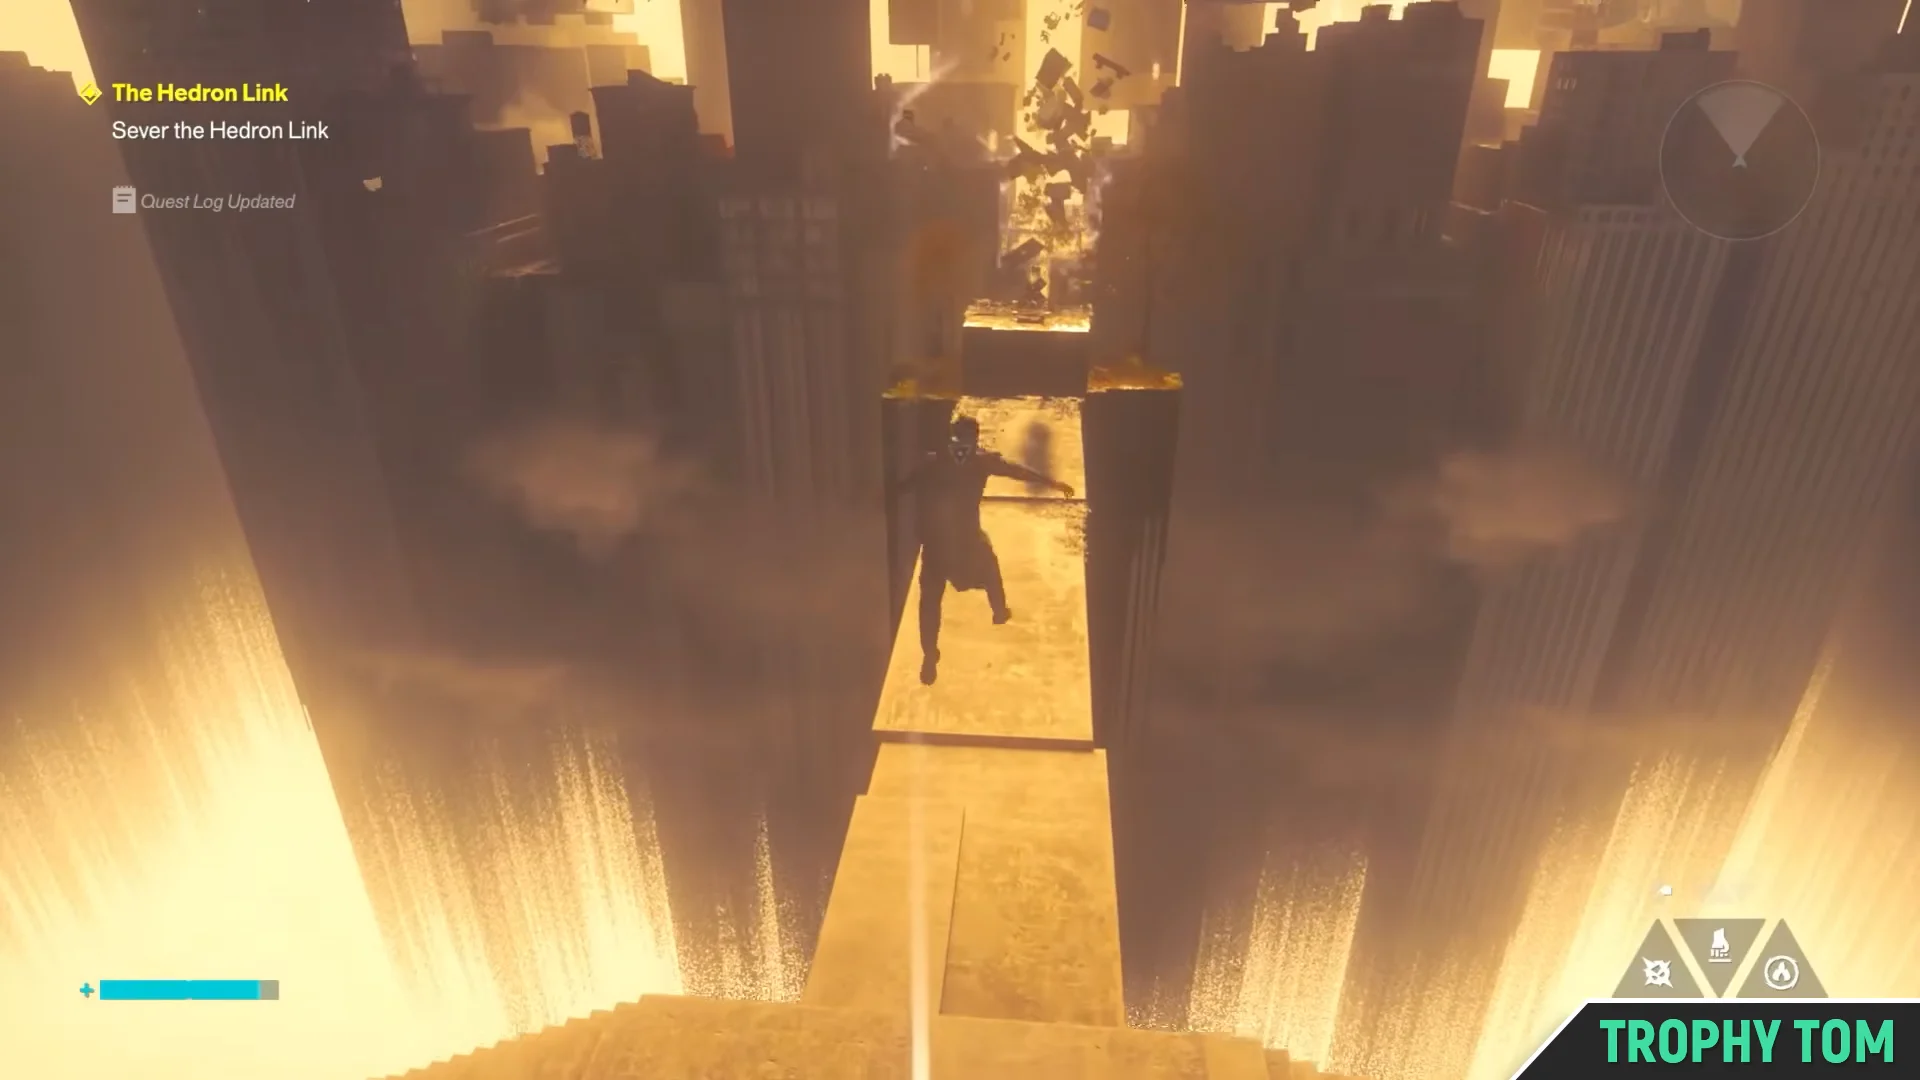
A bright golden doorway drops you onto a platform labeled UNKNOWN, suspended in a foggy canyon of skyscrapers. Pull the dangling light-switch cord at the end of the overlook to shift dimensions, activate the red-trimmed portal in the dark expanse, then follow the floating pillars toward the glowing core past the screaming projection of Jesse.
The core is protected by the boss Hedron Parallel, a floating body surrounded by rotating, spiked petals. Evade its barrage and drain its health bar to sever the first link. Its defeat triggers a psychedelic dimension-shift cutscene and awards +1 Ordered Image, +3 Patterned Thought, +621 Source, and the Hedron Aggregate – Apex; the objective then changes to Report to Pope. Sever the Hedron Links becomes available only after you reach Pope, rescue her, and return to the Oldest House crisis.
Return to the Unknown zone
Finish Pope’s Research first
Pope’s Research is the key prerequisite for this mission. Activating the probe relays reshapes the floating islands, brings the fast-travel network online, and connects separated clusters, making the islands with the two links accessible. The side mission also awards its own trophy, so finish it rather than rushing past it.
Deploy all eight probe relays
There are eight relays to plant, each tied to an air-dropped cargo balloon. Every one works the same way: shoot or cut the balloon to drop its crate, break the crate to expose the probe, carry it to the painted red circle, and set it into the ground. Placement markers appear on the minimap in the top corner and beep as you close in, and they must go down in the correct order before a gravity well forms to carry you onward.
| Relay | Deploy location | How to reach it |
|---|---|---|
| 1/8 | Oldest House Rooftop | Drop from the rooftop entrance platform |
| 2/8 | Tower Island alleys | Gravity well north toward the blue mold |
| 3/8 | Streets below Tower Island | Drop off the building, dash-recover, grab payload |
| 4/8 | Southern residential blocks | From Twisted Rooftops, leap south past the map tower |
| 5/8 | Factory Island perimeter | Gravity well to Factory Island, hit balloon mid-air |
| 6/8 | Neighboring high-rise roof | Gravity well leap from Factory Island |
| 7/8 | Patterned Evac Building | Gravity well to the Evac island, enter the shelter |
| 8/8 | Central street intersection | Launch high, glide down to the central island |
Relay 3 is the fiddly one. Jump off the building into the street below and spam air recovery and dash to land on the suspended platform, then walk the payload through the alleys to its marker. Planting the eighth relay updates the objective to Investigate Point 0.
Open the fast-travel doors and zone map
The Unknown consists of disconnected floating clusters. Activate the fast-travel doors as you come across them, so you can move between clusters without having to cross the void each time:
- Oldest House Rooftop
- Twisted Rooftops
- Tower Island
- Factory Island
- Patterned Evac Building
The full Zone Map stays hidden until you power up three satellite map-kit dish stations around the central tower. Station 1 sits past the red neon HOTEL sign near the Twisted Rooftops, while Stations 2 and 3 are reached by jumping across the elevated rooftops and using inverted-gravity traversal along the building faces near the central tower. With all three live, return to the central antenna tower and synchronize the terminal. A Zone Map Unlocked notification confirms the area map is now readable, which makes the remaining balloons far easier to track.
Reach Point 0
Return to the central map tower and climb its roof to get above the swirling vortex of yellow taxis. Leap across the spiral of floating cabs to land on the center platform. Touching down at Point 0 triggers the side quest’s finale, shows Quest Completed POPE’S RESEARCH, and awards the Budding Analyst trophy. With the islands configured and fast travel live, both Hedron links are now reachable.
Sever both Hedron links
The links are on two separate islands, and either can be tackled first. For each one, use a gravity well to reach the island, interact with the glowing TV link device, drop into the area below, and defeat the boss guarding the core.
Link near the Patterned Evac Building (Hedron Factor)
On the south island, follow the route toward the Evac Building. Find the vantage point where platforms extend to the island holding the link, cross over, and interact with the TV to drop into the arena below.
The boss is Hedron Factor, which sends out one heavy enemy at a time for you to defeat. After each pair, the health bar reaches the blue dot and the fight shifts to weaker enemies, while mines drop onto the ground. Clear the wave and keep moving. When the heavy enemies return, focus on them and repeat the cycle until the bar is empty and the link breaks.
Link near the Patterned Field Office (Hedron Proxy)
Head to the northeast island with the path that leads back toward the Oldest House, then find the point where the platforms climb up to the link island. Jump across and interact with the TV to descend into the fight.
This fight is against Hedron Proxy, a mass of heavy brick enemies launched at you by the main body. Let each enemy charge, evade its attack, then strike to deal damage. During the last few heavy enemies, groups of small enemies also appear on the ground; keep track of them as you finish off the larger foes. Defeating them severs the second link.
Rewards and how to confirm the mission is done
Destroying the second link plays a cutscene showing the Hedron collapse, then the Stop it At the Source trophy pops alongside a Quest Completed SEVER THE HEDRON LINKS banner. That banner is your confirmation that both connections are cut and the stage is over.
The mission pays out the following:
- Resonant Token
- Living Shard
- Ordered Image
- Patterned Thought
- Source
- A Talent Point collected in the Unknown
After the completion banner appears, the story picks back up during the Oldest House crisis and rolls into the next main mission, Rebuild, with the Hedron itself as Dylan’s final target.