
Missing the Hibernate option from the Windows 11 power menu limits your ability to save your session for long-term power-off, especially on laptops where battery life is a concern. Hibernate stores your open documents and programs to disk, allowing you to power down completely and resume work exactly where you left off. By default, Windows 11 often hides this feature, but you can restore it using several reliable methods.
Enable Hibernate via Control Panel
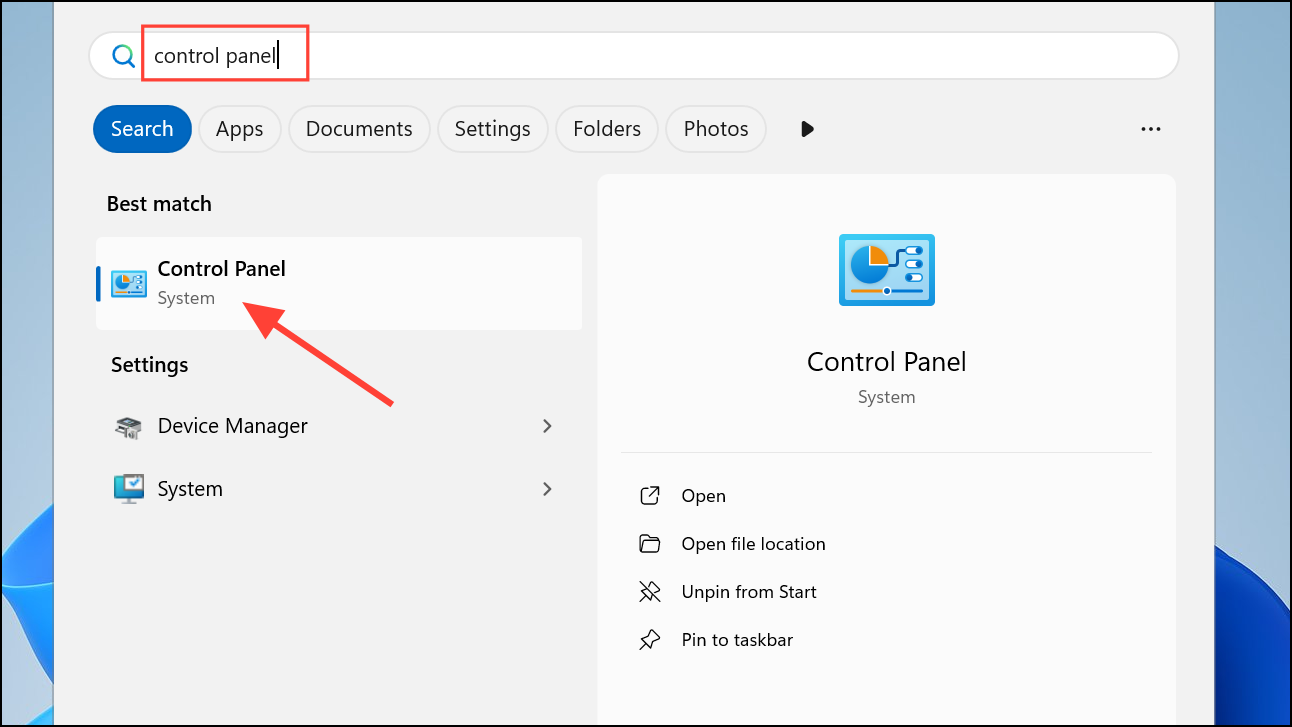
Step 1: Open the Start menu and type Control Panel. Select the Control Panel app from the results. If you prefer, you can also use Win + R and enter control to launch it directly.
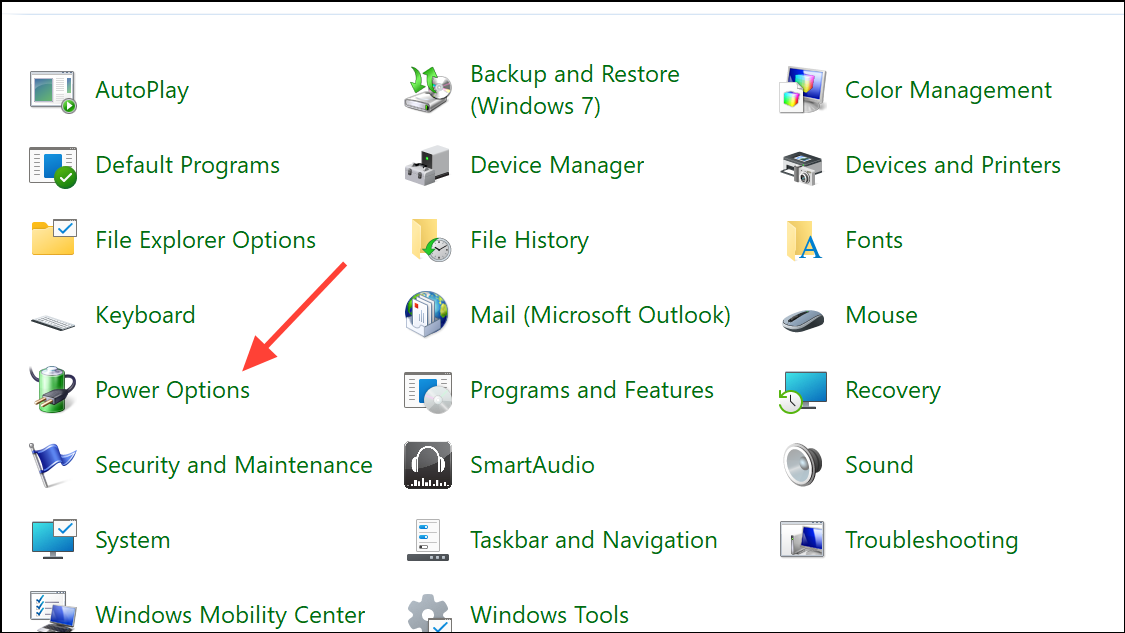
Step 2: In Control Panel, set the “View by” option to “Large icons” or “Small icons” for easier navigation. Click on Power Options.
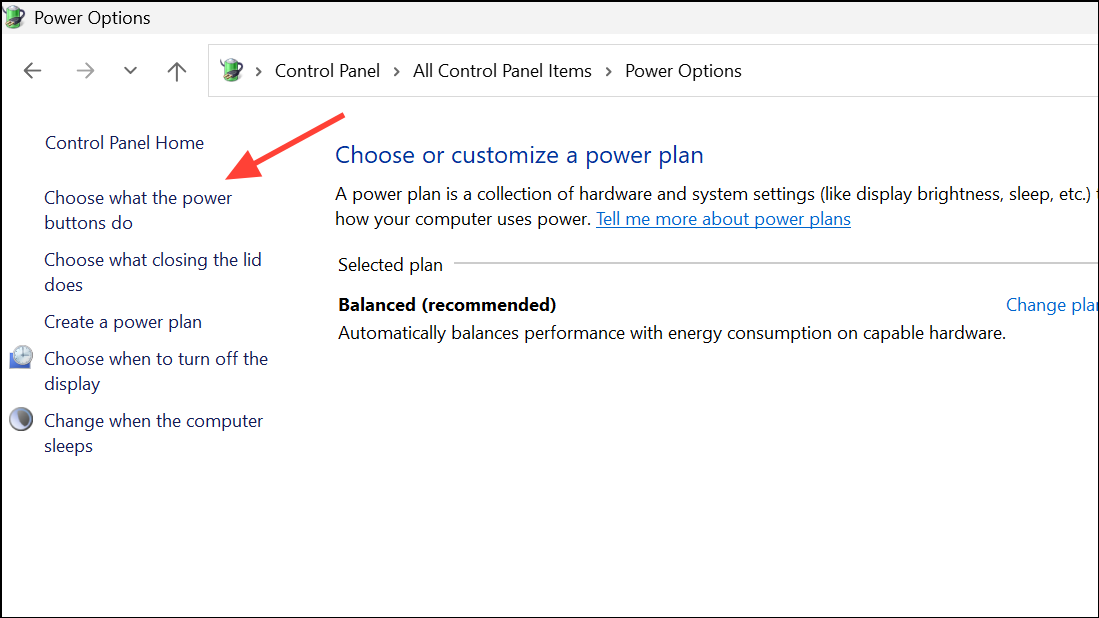
Step 3: On the left sidebar, click Choose what the power buttons do. This opens the System Settings page for power options.
Step 4: At the top, select Change settings that are currently unavailable. This unlocks the shutdown settings below, allowing you to modify them.
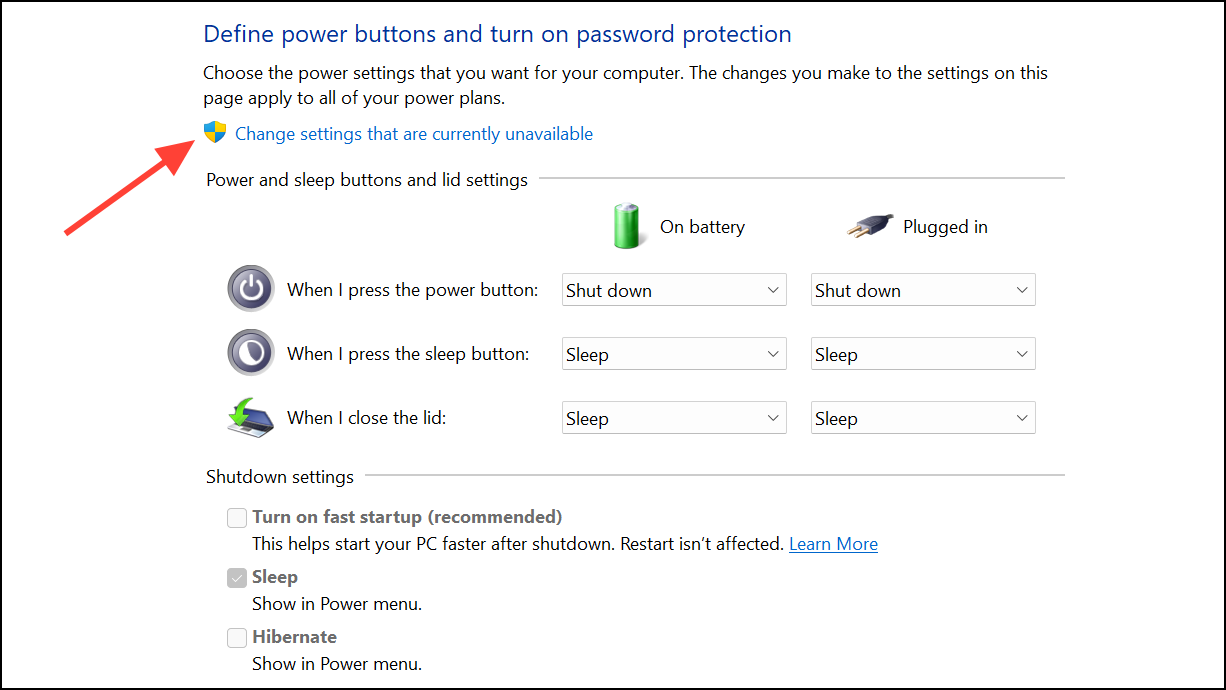
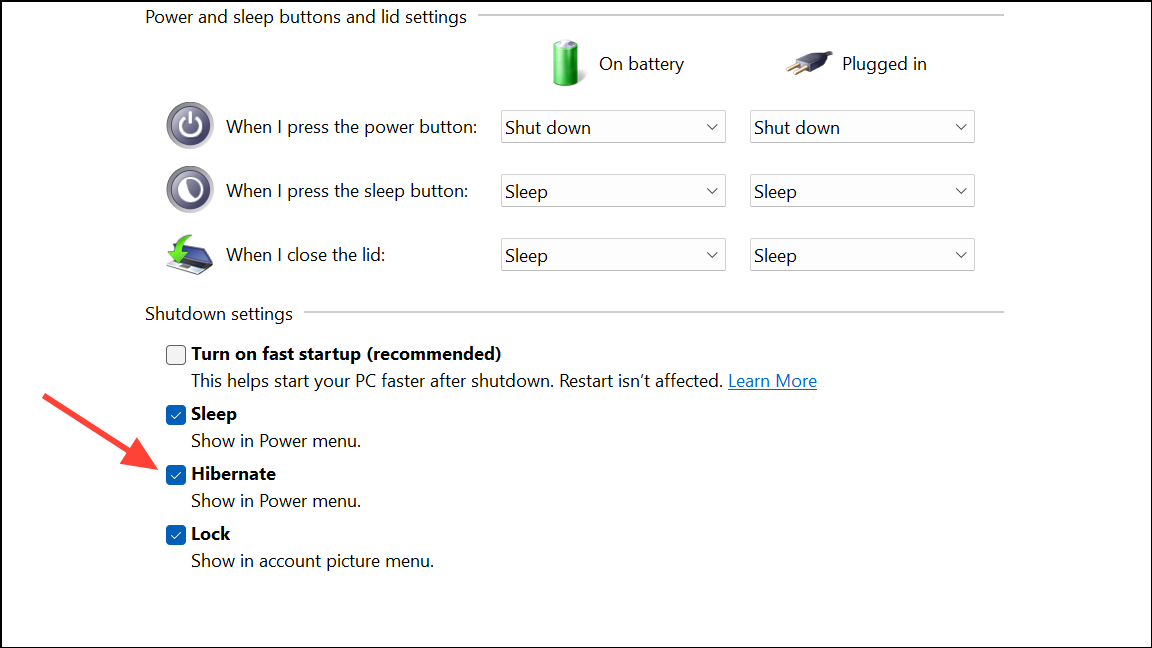
Step 5: Under the “Shutdown settings” section, check the box labeled Hibernate. If you do not see this option, hibernation may be disabled at the system level; see the Command Prompt method below to enable it.
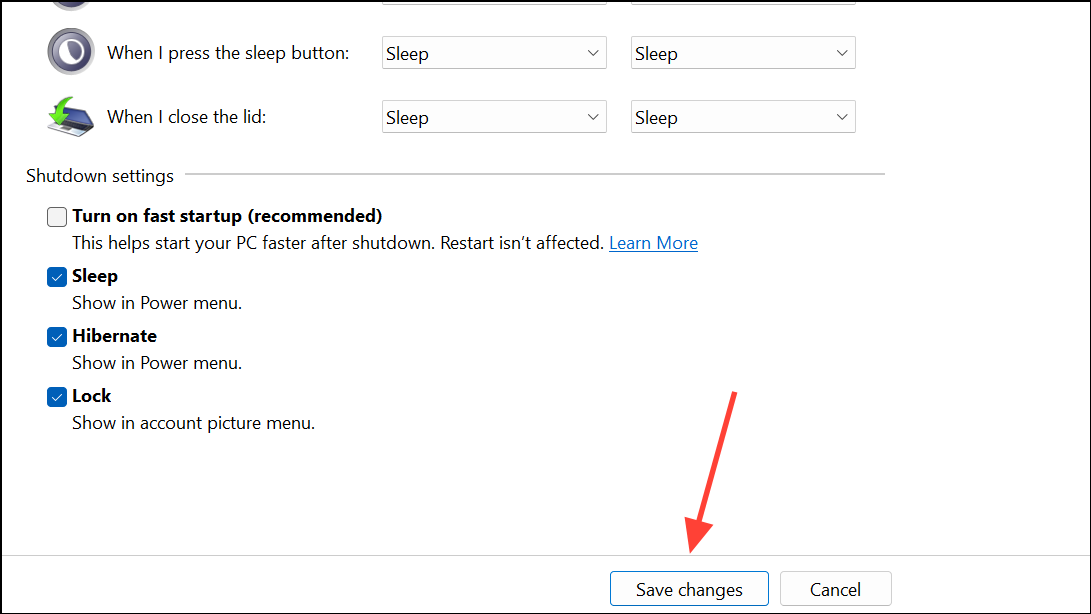
Step 6: Click Save changes. The Hibernate option will now appear in the Start menu, Power User menu (Win + X), and other power menus.
Enable Hibernate Using Command Prompt or PowerShell
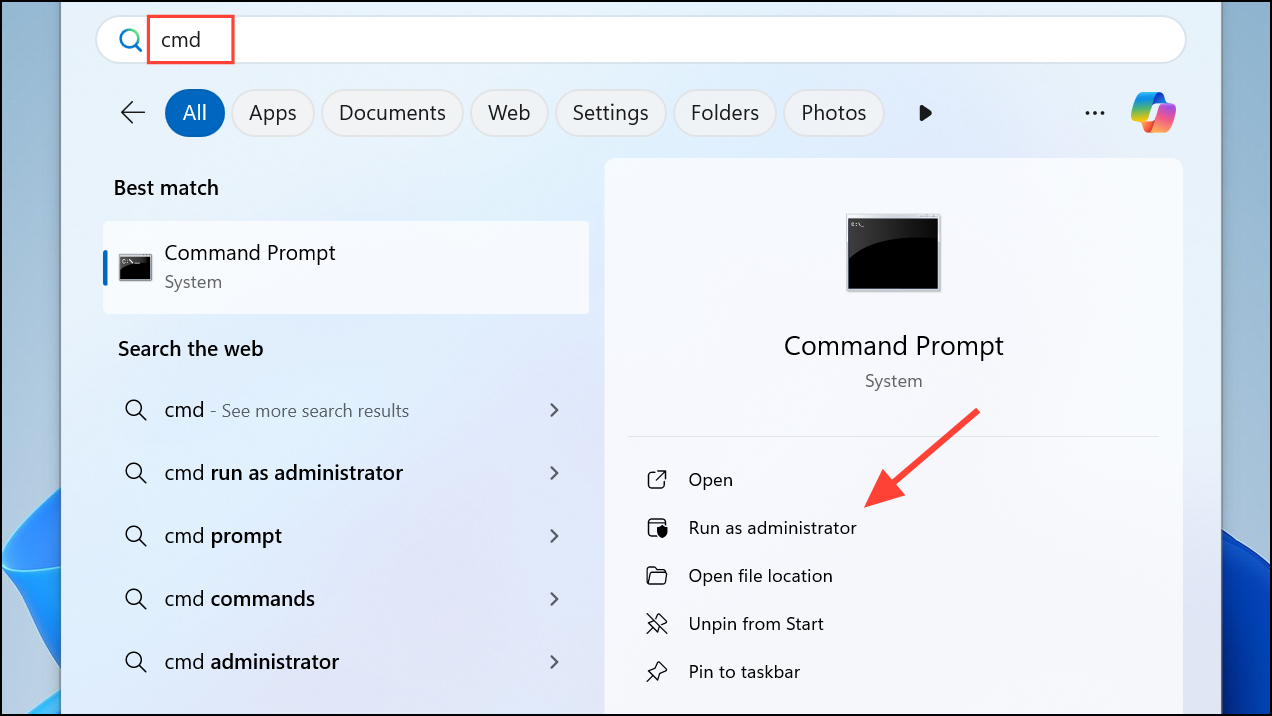
Step 1: Search for Command Prompt or PowerShell in the Start menu. Right-click the result and select Run as administrator to launch with elevated privileges.
Step 2: To check if hibernation is currently available, enter:
powercfg /availablesleepstates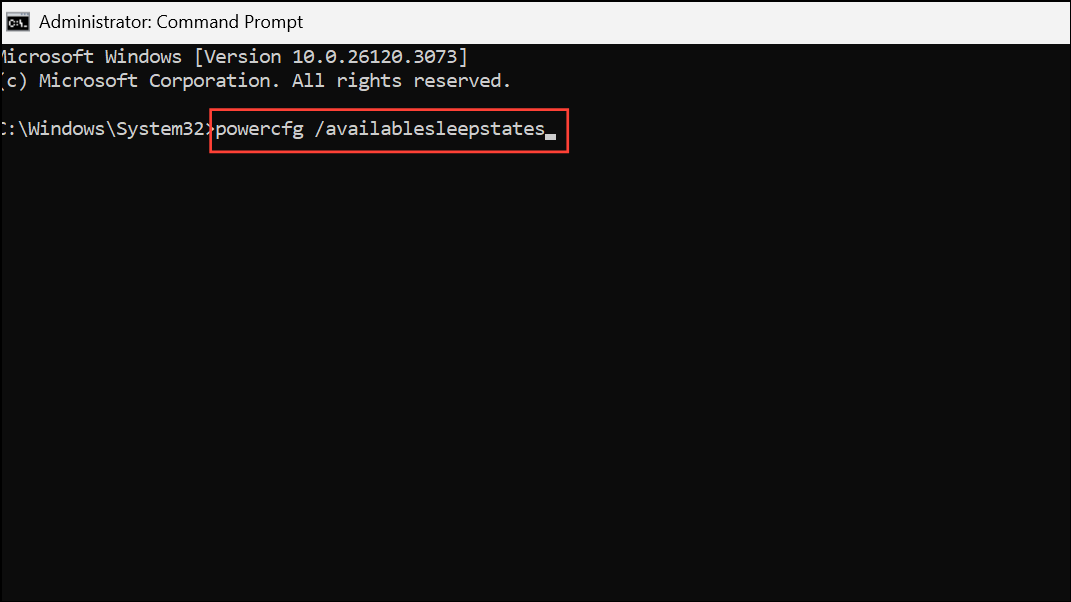
This lists all supported power states. If hibernation is not listed, proceed to the next step to enable it.
Step 3: Enable hibernation by running:
powercfg /hibernate on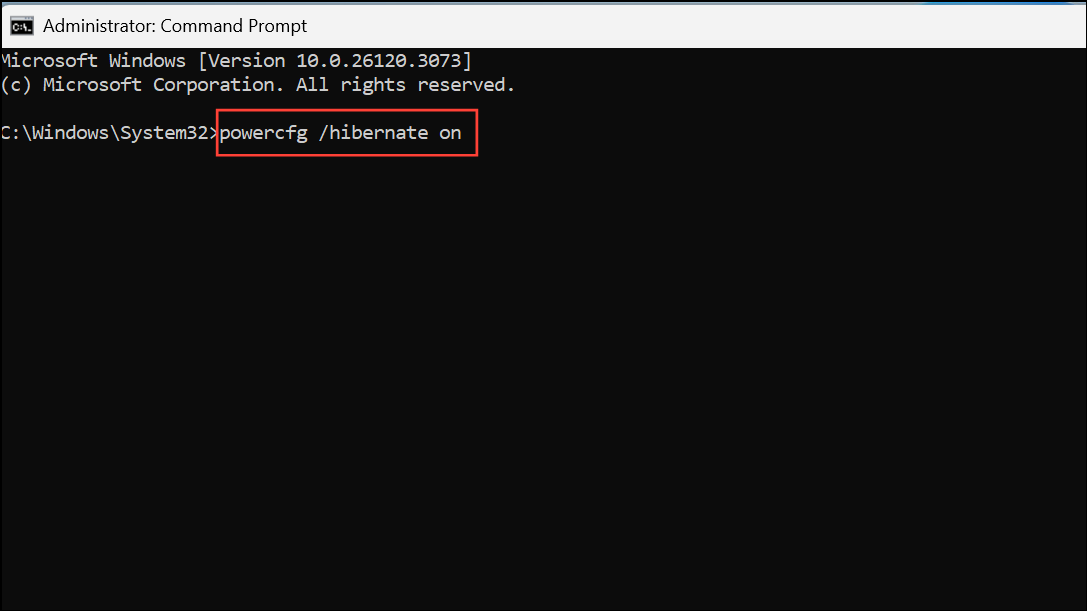
This command creates the necessary hibernation file (hiberfil.sys) and activates the feature. Afterward, revisit the Control Panel method above to add Hibernate to the power menu if it’s still missing.
Step 4: To disable hibernation in the future, use:
powercfg /hibernate off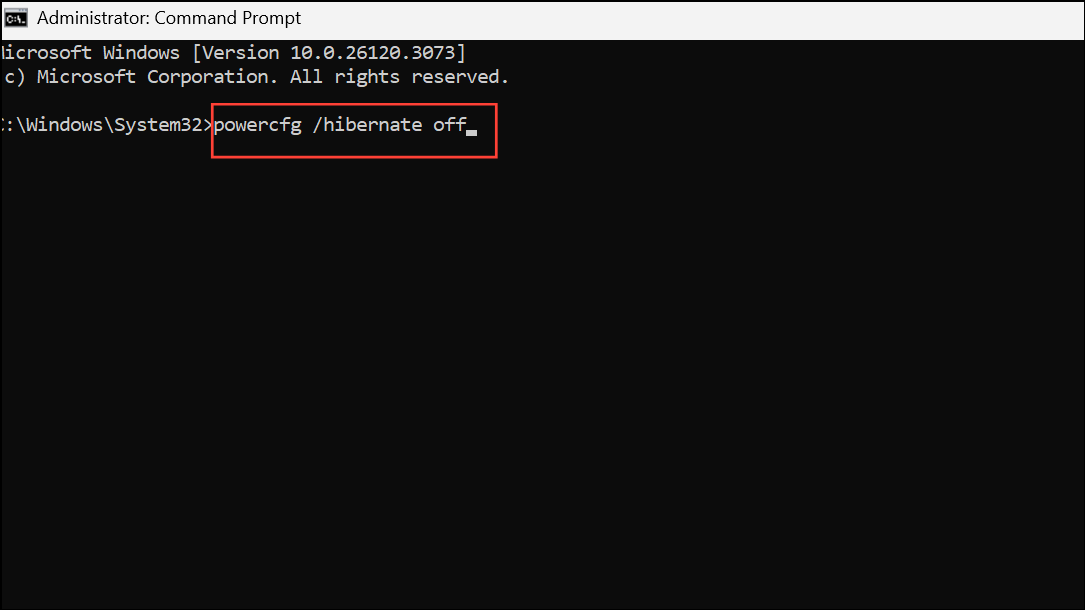
This removes the hibernation file and hides the option from all menus.
Show Hibernate Option via Windows Registry
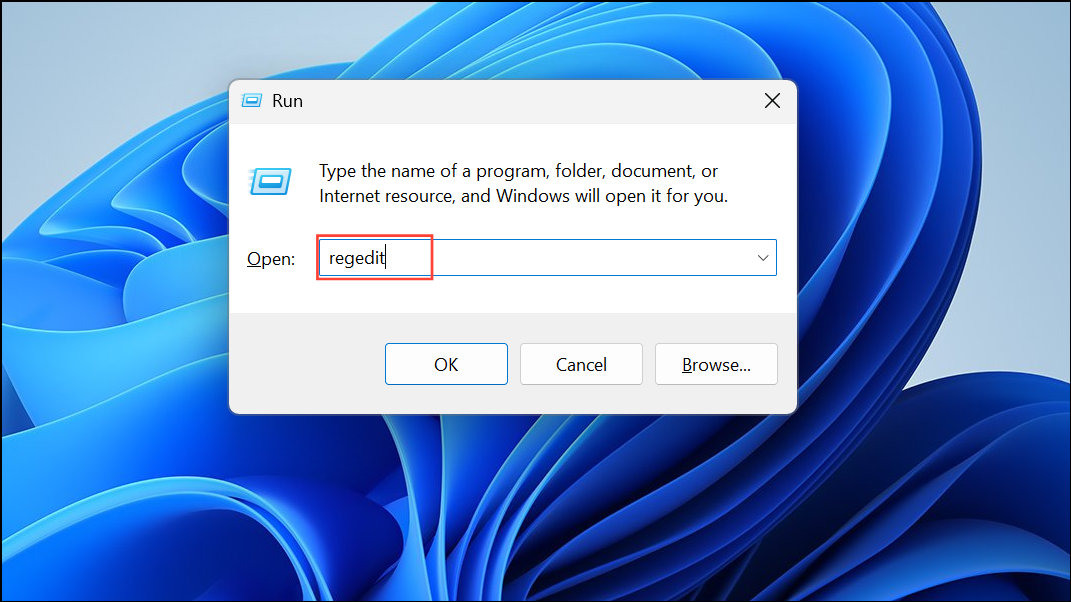
Step 1: Press Win + R, type regedit, and press Enter to open the Registry Editor. Approve any User Account Control prompts.
Step 2: Navigate to:
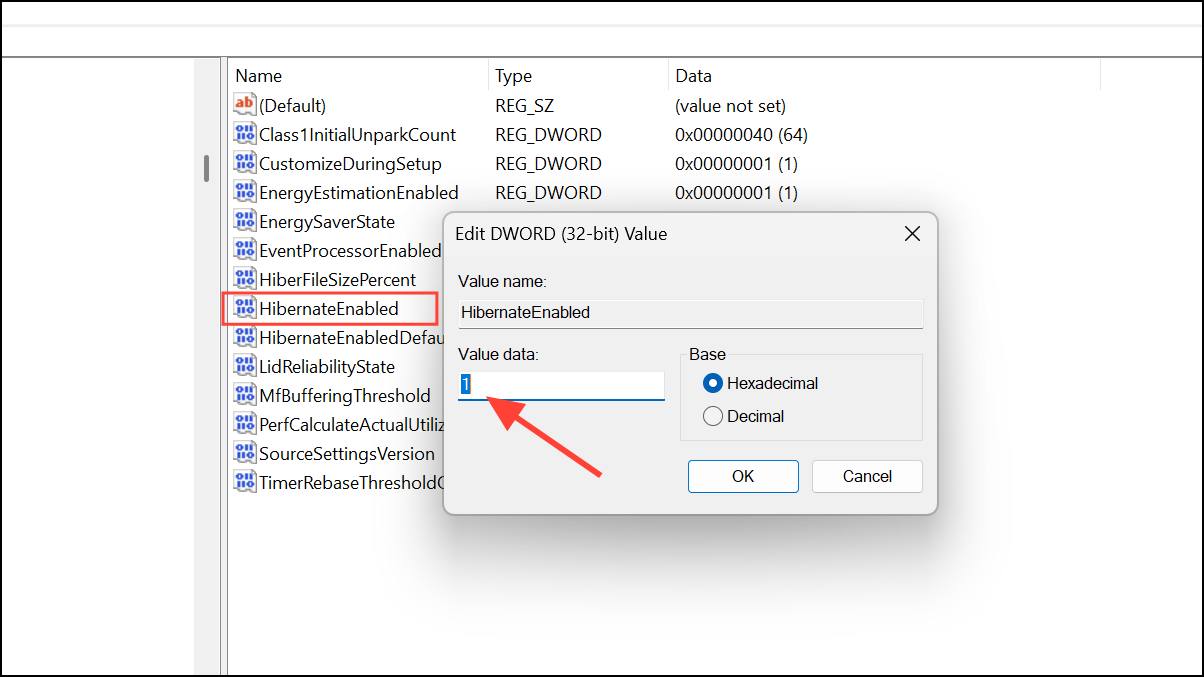
HKEY_LOCAL_MACHINE\SYSTEM\CurrentControlSet\Control\Power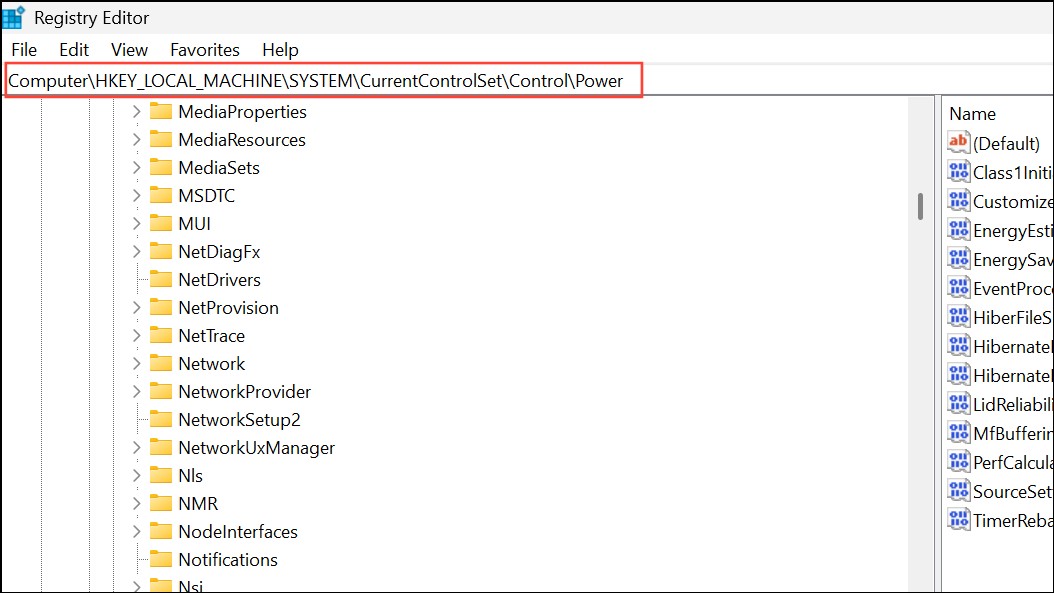
Step 3: Locate the HibernateEnabled DWORD value. Double-click it and set its value to 1 to enable hibernation, or 0 to disable.
Step 4: If you need to specifically control the Hibernate button’s appearance, also navigate to:
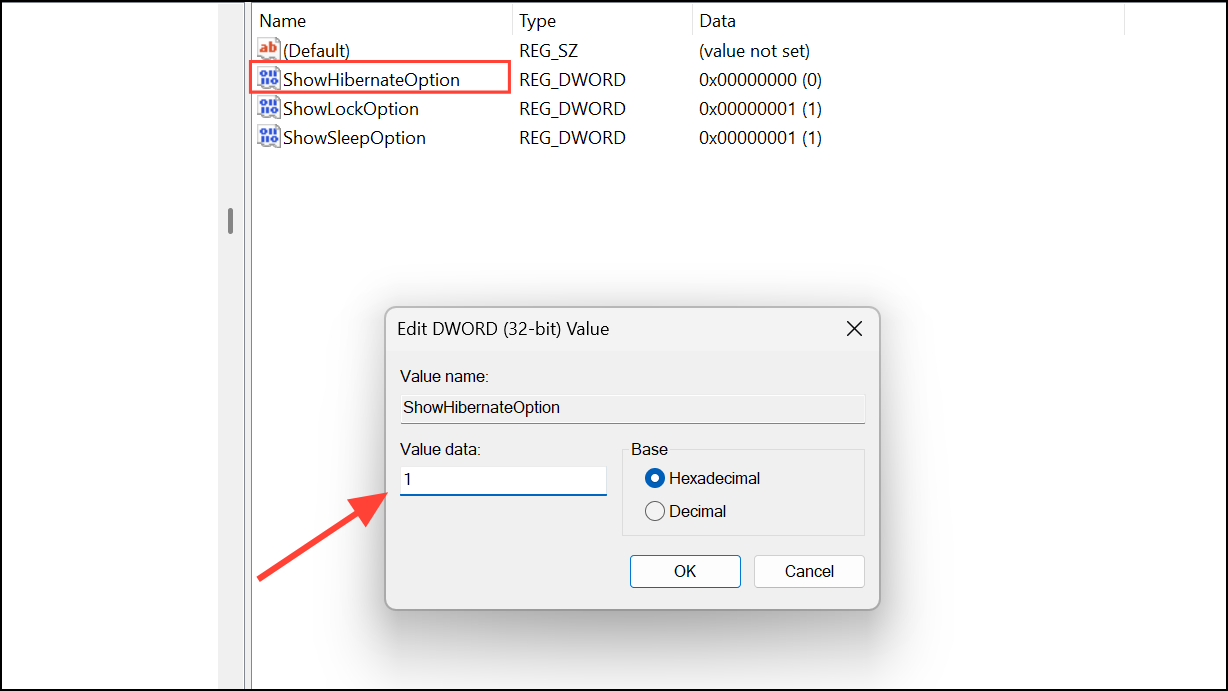
HKEY_LOCAL_MACHINE\SOFTWARE\Microsoft\Windows\CurrentVersion\Explorer\FlyoutMenuSettings
If FlyoutMenuSettings does not exist, right-click Explorer, select New > Key, and name it accordingly.
Step 5: In FlyoutMenuSettings, create a new DWORD (32-bit) Value named ShowHibernateOption. Set its value to 1 to show Hibernate, or 0 to hide it.
Step 6: Restart your PC to apply the changes and verify the Hibernate option appears in the power menu.
Enable Hibernate Using Group Policy
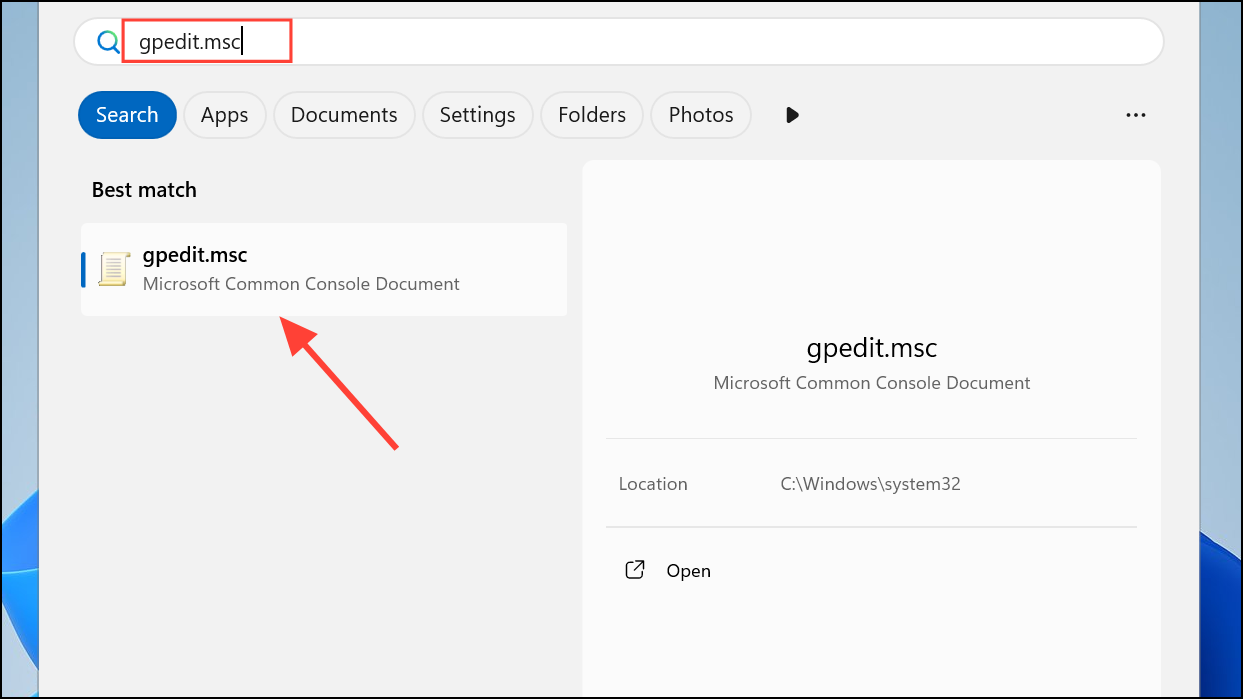
Step 1: Open the Start menu and type gpedit.msc. Click the result to launch the Local Group Policy Editor. Note that this tool is only available in Windows 11 Pro, Enterprise, and Education editions.
Step 2: In the left pane, navigate to:
Computer Configuration > Administrative Templates > Windows Components > File Explorer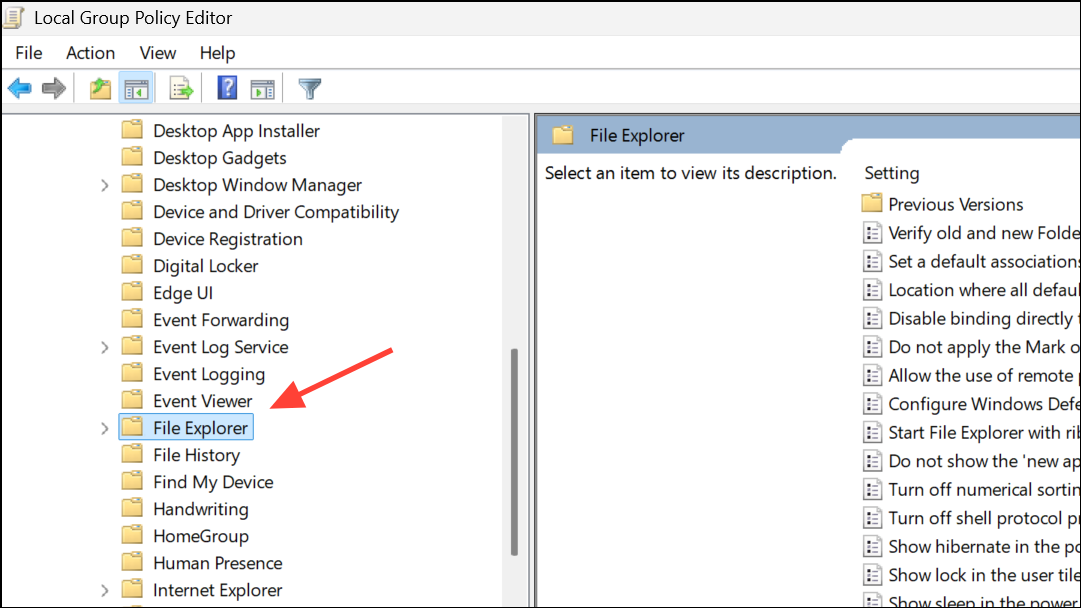
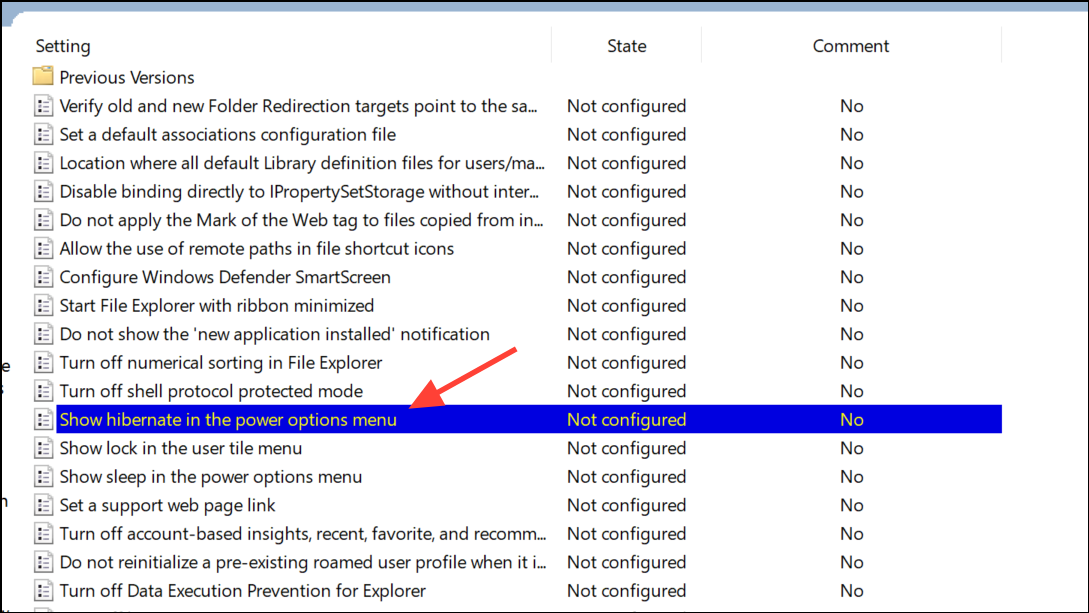
Step 3: On the right, double-click Show hibernate in the power options menu.
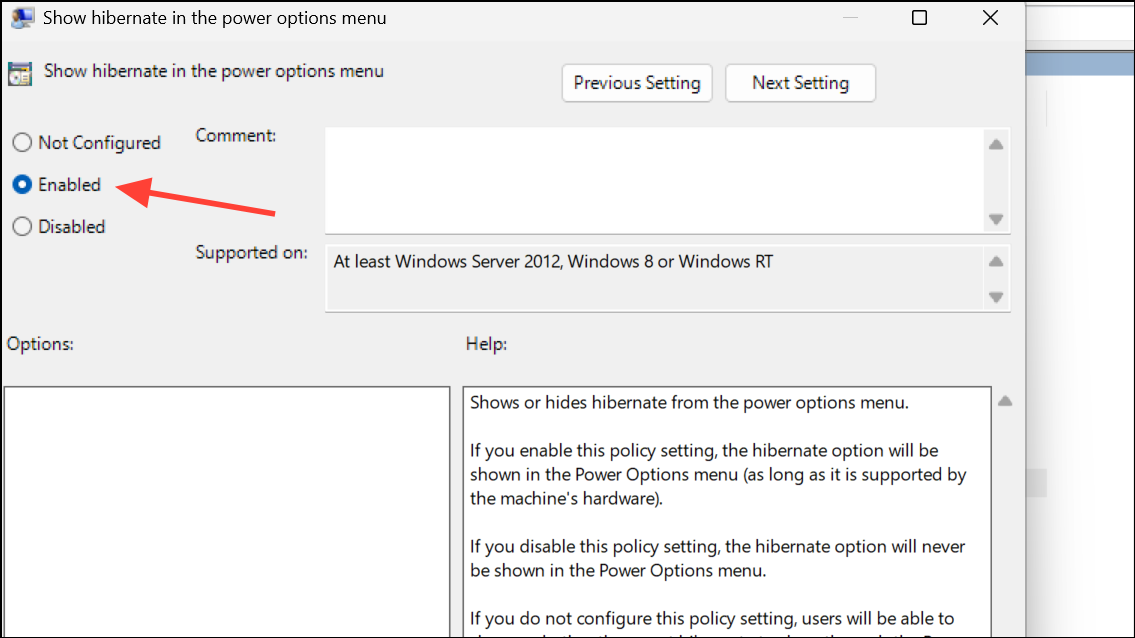
Step 4: Set the policy to Enabled to always display the Hibernate option, or Disabled to hide it. Click OK to save your changes.
Step 5: Close the Group Policy Editor and restart your computer for the policy to take effect. This method overrides user-level choices and is especially useful for managing multiple systems in a business environment.
Enable Hibernate via Intune or Device Management Solutions
For IT administrators managing multiple endpoints, Microsoft Intune provides a scalable way to configure Hibernate settings across devices.
Step 1: Sign in to the Microsoft Endpoint Manager admin center and go to Devices > Windows > Configuration Profiles.
Step 2: Create a new profile for Windows 10 and later, selecting Settings Catalog as the profile type.
Step 3: In the configuration settings, search for “Hibernate” and enable both Allow Hibernate and Show hibernate in the power options menu settings.
Step 4: Assign the policy to the desired device groups and complete the profile creation. Once devices sync with Intune, the Hibernate option will appear in their power menus.
Restoring the Hibernate option in Windows 11 gives you greater control over power management and session persistence, especially for extended downtime. If the option remains unavailable, confirm your device supports hibernation and that no third-party utilities or system policies are blocking the feature.