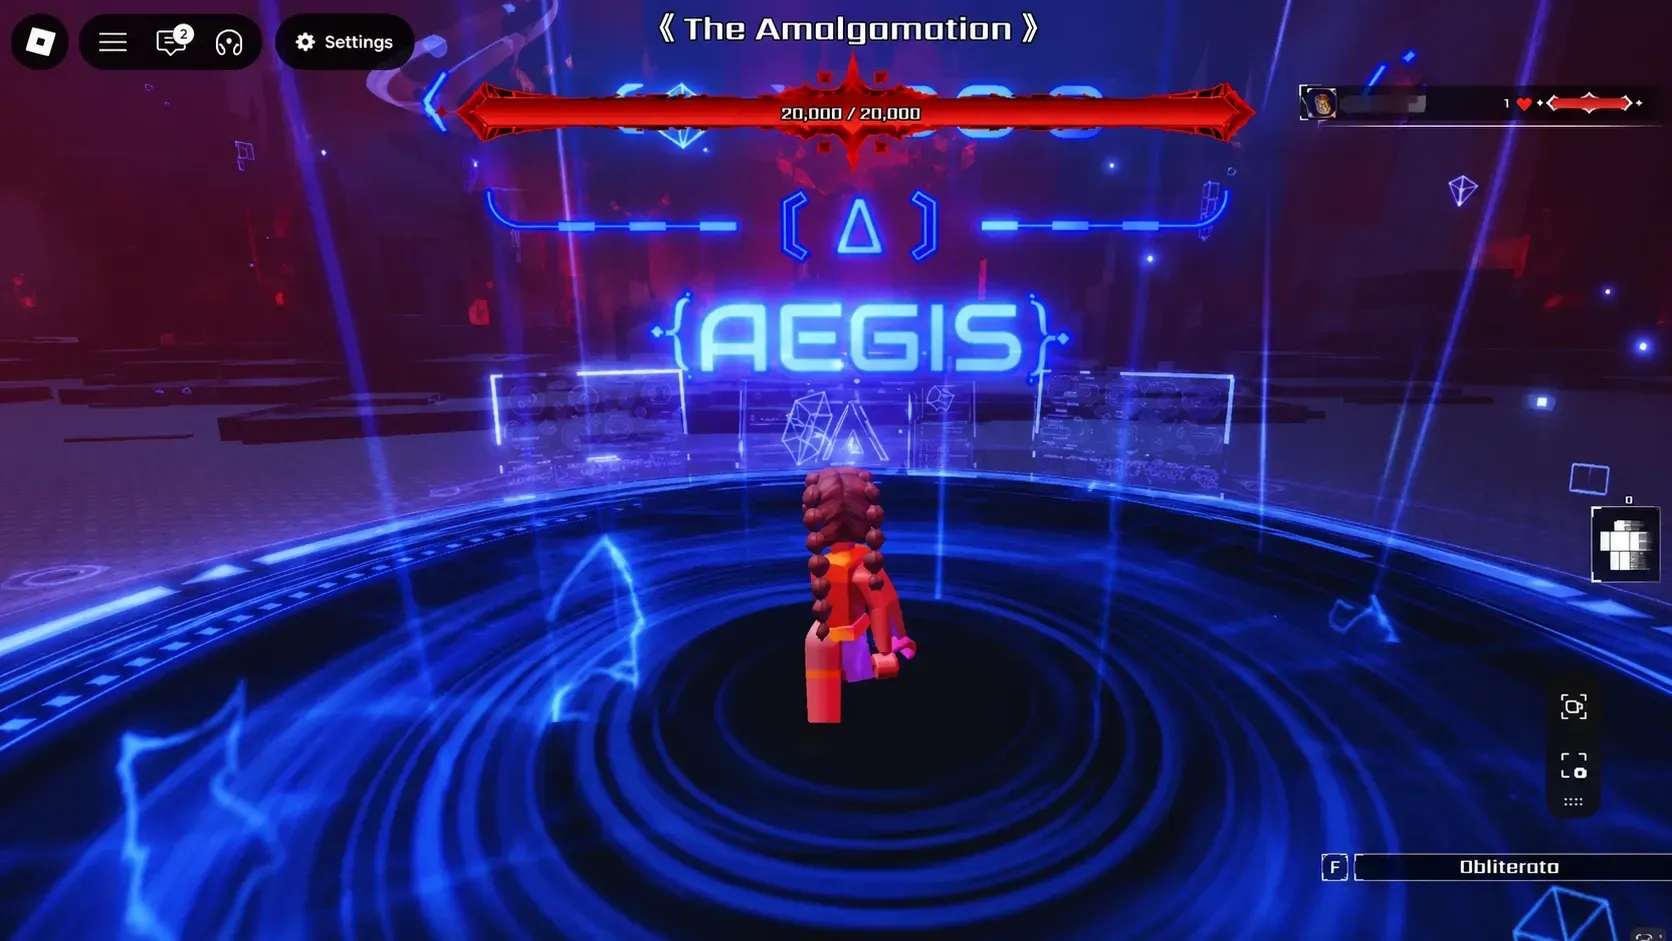
Amalgamation (Hell) is the hardest version of the boss raid in Sol’s RNG, built around a single life and a much tighter margin for error. The boss hits harder, attacks faster, and punishes failed mechanics far more than the standard fight. To clear it, you need a strong aura, clean dodging, and a plan for each phase before you ever press start.
What changes in Amalgamation Hell Mode
Hell Mode reworks the existing raid rather than adding a brand-new boss. The core difference is survivability. You get one life instead of several, and that life only recovers through a self-heal that triggers when you avoid damage. Every other change pushes you toward perfect play.
| Mechanic | Hell Mode behavior |
|---|---|
| Lives | 1 per player |
| Self-heal | Fully heals about every 20 seconds if you avoid damage |
| Boss HP | Roughly 33% more than normal mode |
| Attack frequency | Roughly 30% more often, and most attacks fire about 30% faster |
| Dash cooldown | About 2.5 seconds (slightly longer than Luminosity) |
| Stun minigame | Only one mistake allowed; a second wrong input fails the disarm and leaves you stunned for a long time |
| Extra players | Boss gains a large chunk of extra health per person |
The self-heal is the reason careful dodging matters more than raw damage. If you can string together clean windows without getting hit, you reset your health bar repeatedly through a fight that can run long.
Prep before you enter the raid
The setup you choose decides how hard the fight feels. The boss scales aggressively with party size, and aggro switching between players turns the encounter into chaos. A solo run with the right aura is the most reliable path.
- Go in alone. Extra players make the boss swap targets and inflate its health pool. Solo keeps aggro predictable.
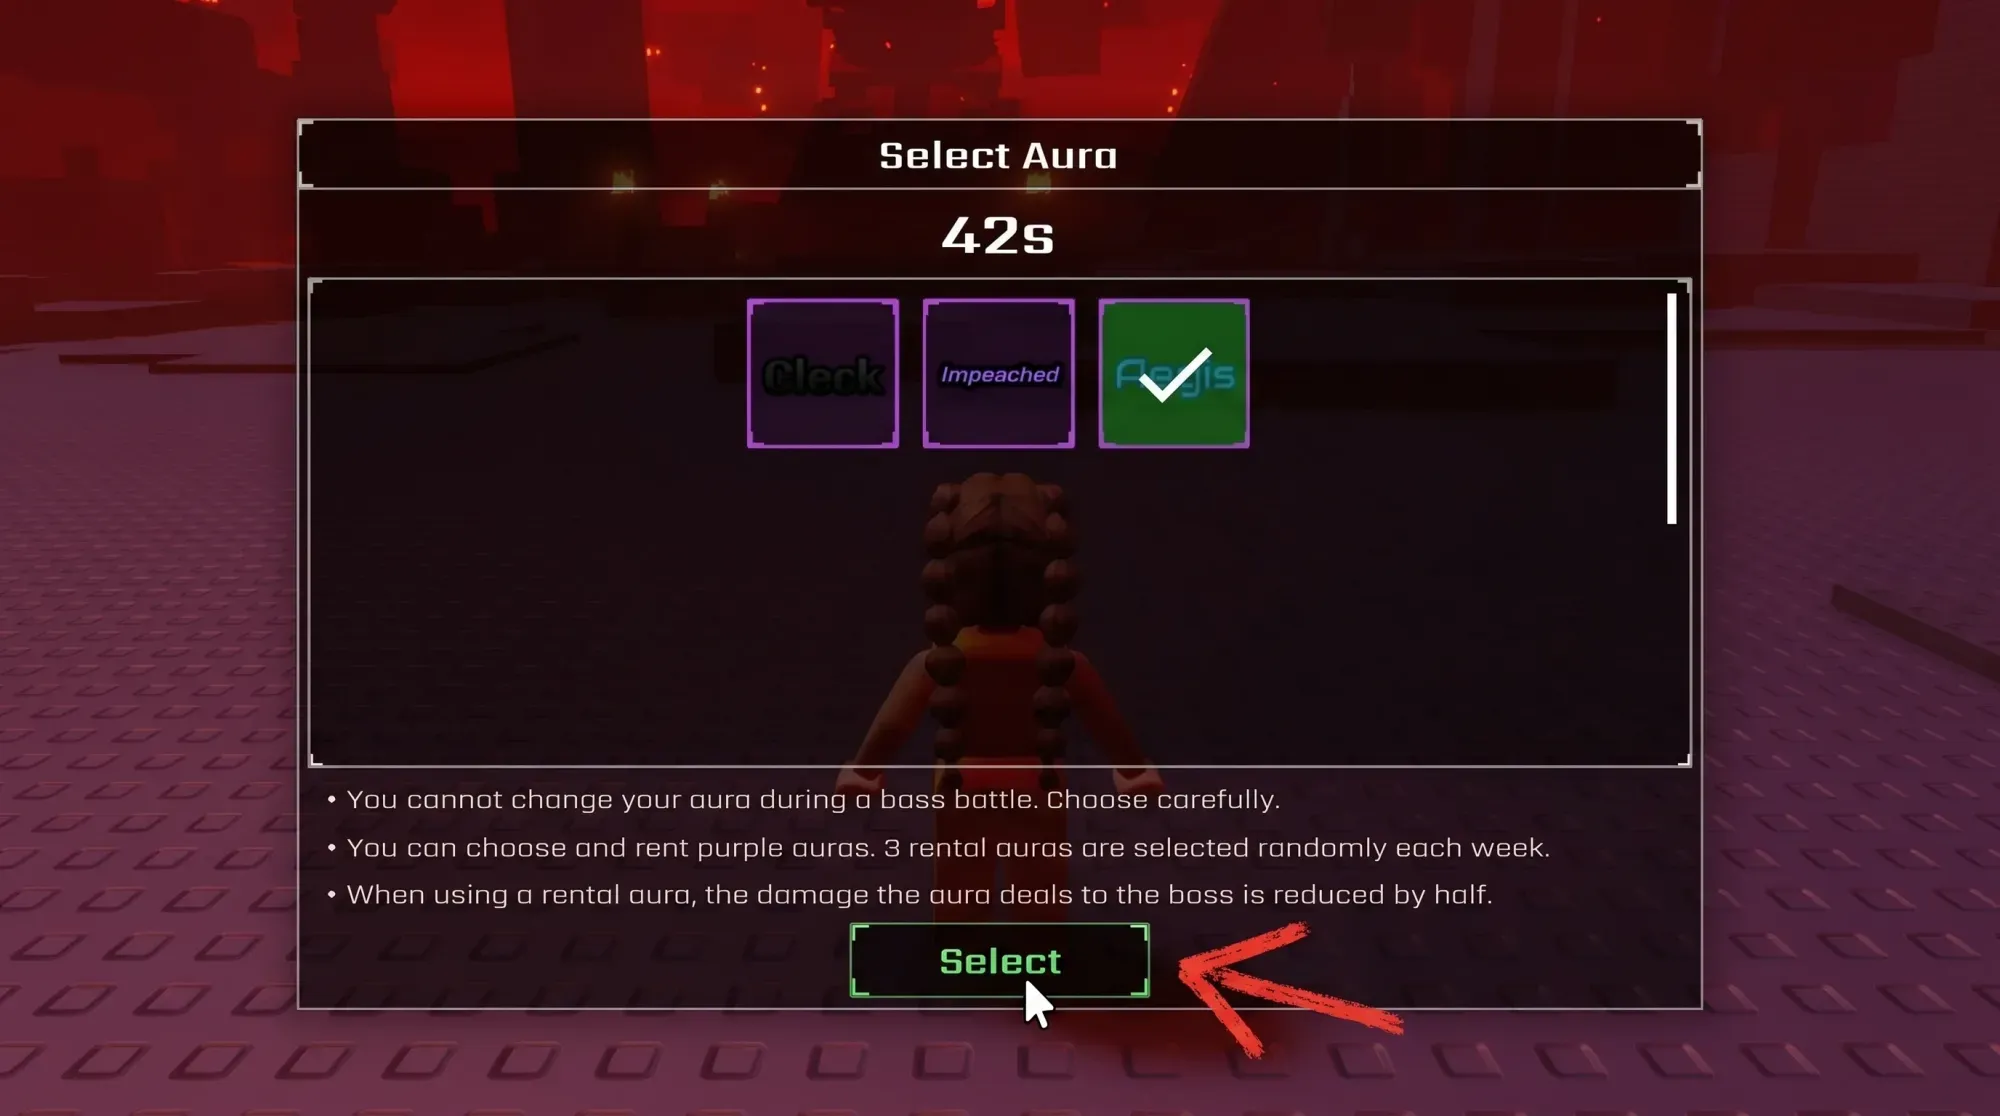
- Use Archangel, your own copy. The non-rental version is one of the best auras for this fight.
- Never use rental auras. They cut your damage in half, and the fight is already long enough at full damage.
- Lower graphics to the minimum and turn off screen shake. Both reduce visual clutter so you can read attacks clearly.
For the first two phases, your main defense is movement. Stay a short to medium distance from the boss and hold the strafe key to circle it. That alone causes a large share of its attacks to miss. Keep your dash in reserve for the trap minigame, which is the move most likely to end a run.
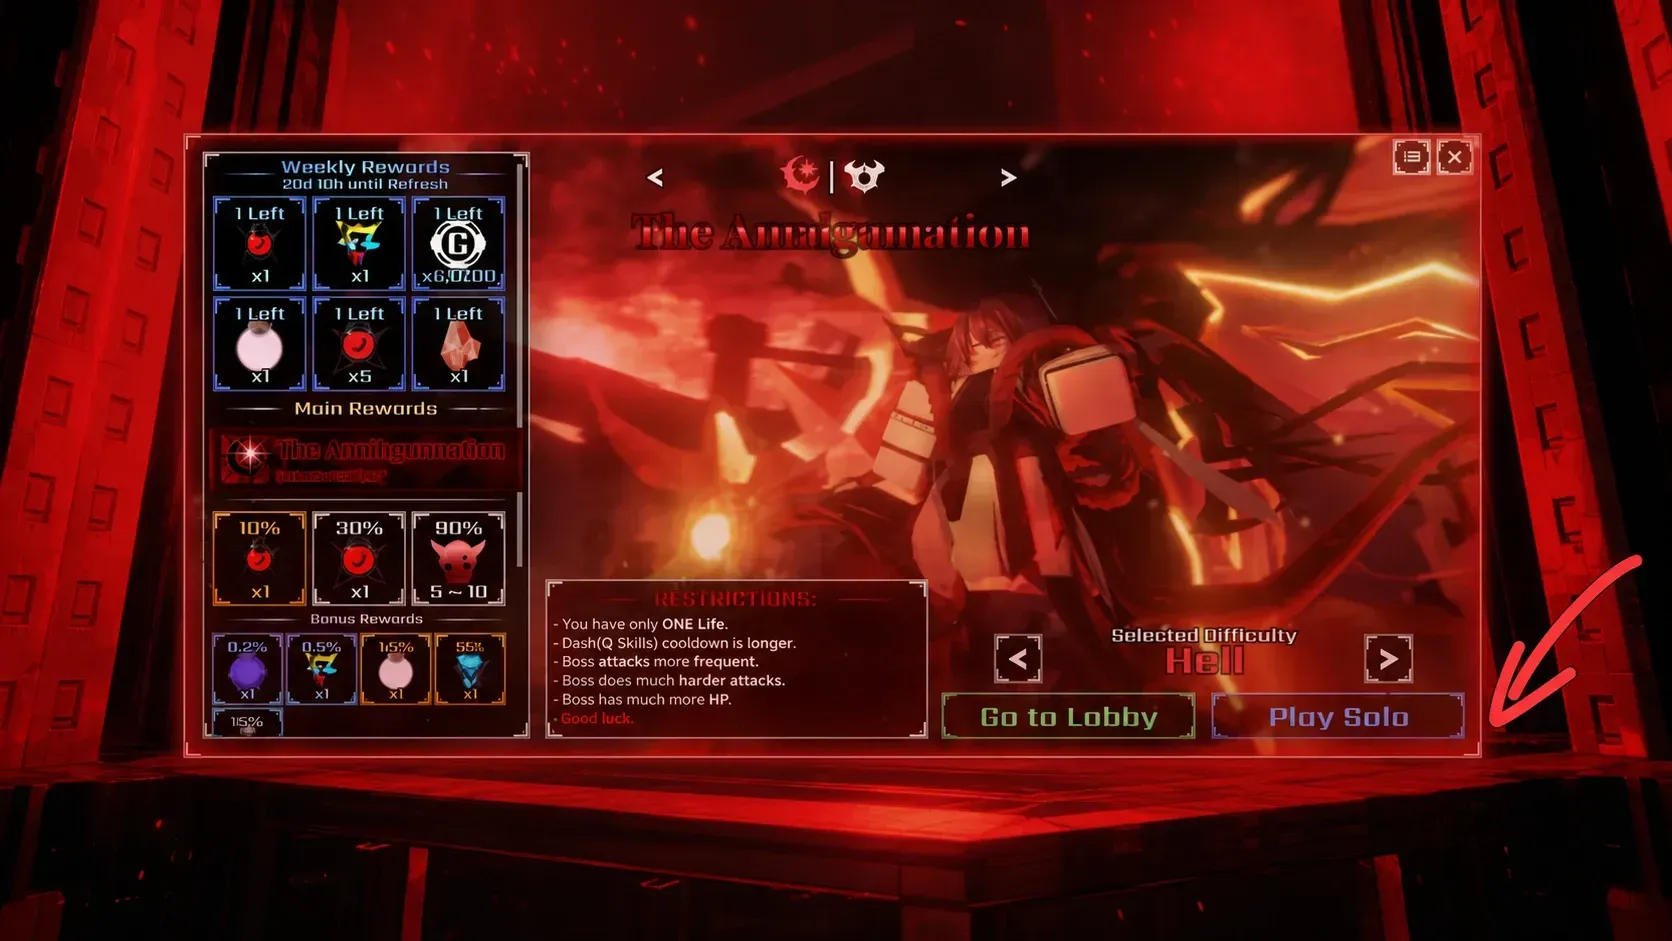
How to start the raid and pick Hell Mode
Open the raid menu inside the raid area to choose your boss and difficulty. The menu lets you browse rewards, select the encounter, and switch difficulty using the arrows in the lower right of the screen. Set it to Hell before you enter.
You can launch the experience directly from the official Sol’s RNG Raid Hell Mode page on Roblox.
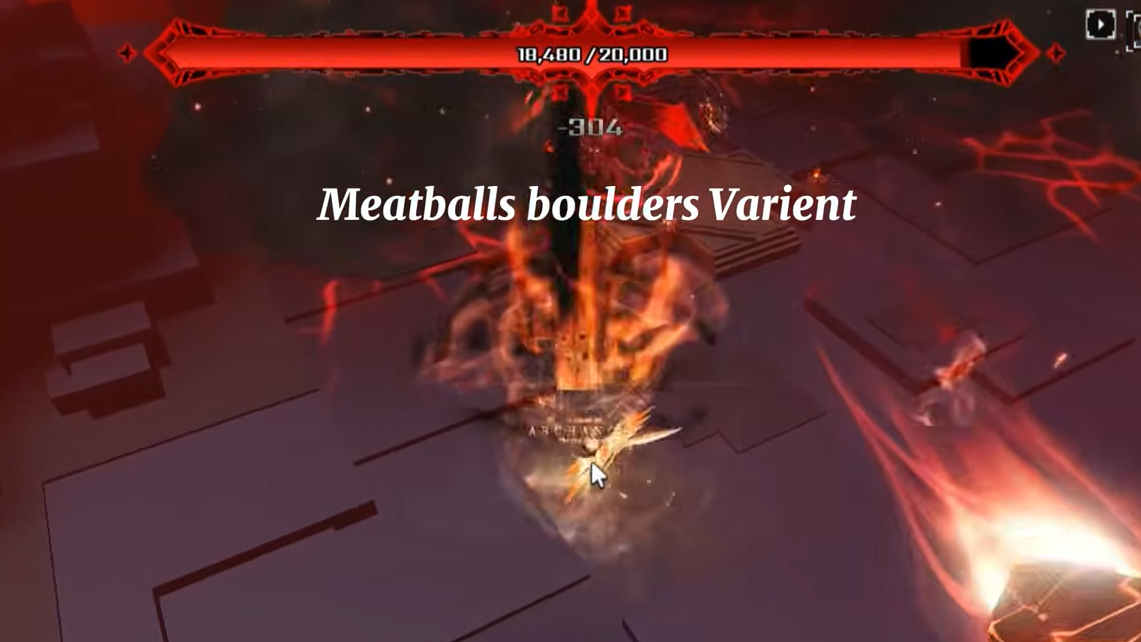
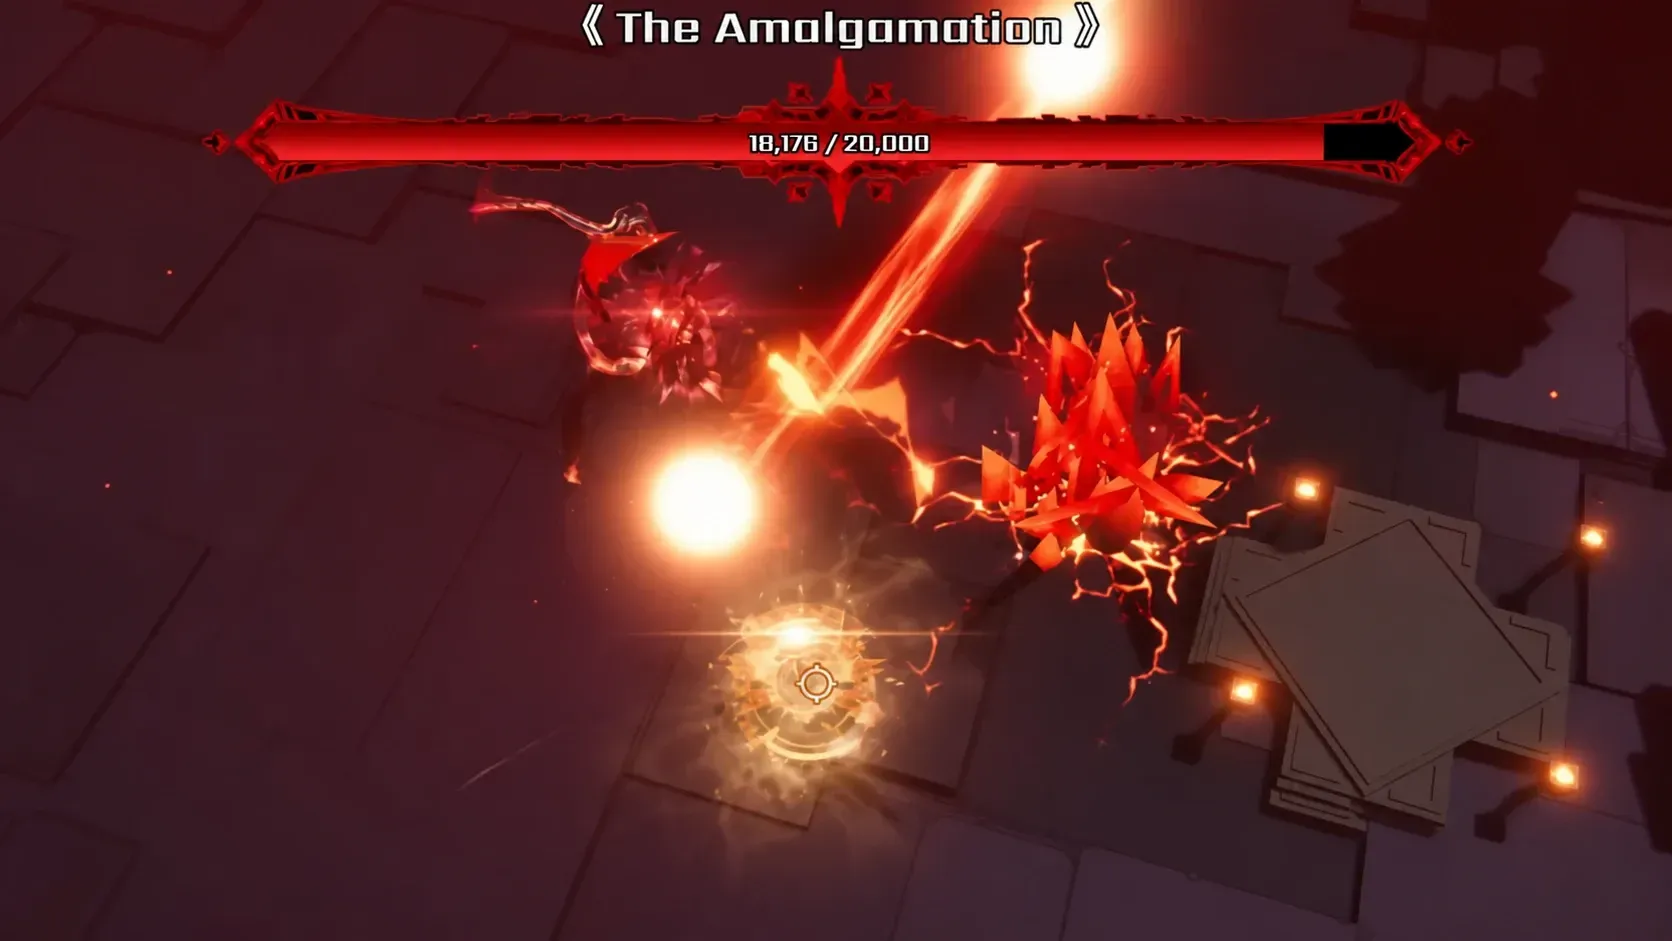
Phase 1: The Awakening
Get close and hold your strafe direction with shiftlock to orbit the boss. Circling consistently causes most of its moveset to miss, and several attacks spawn far from you with plenty of reaction time. The new Tri-dust shots fire three dust projectiles from multiple directions toward your position, and the long beam now slowly rotates to track you.
The trap is the one move you must watch for. It is the most common way a run ends. Jump and dash while still holding your strafe key to clear it, and stay alert because the boss often pairs the trap with the laser to melt you the moment you are caught. Homing meteors in this phase can occasionally pick up sharp tracking, so do not assume they will drift wide.
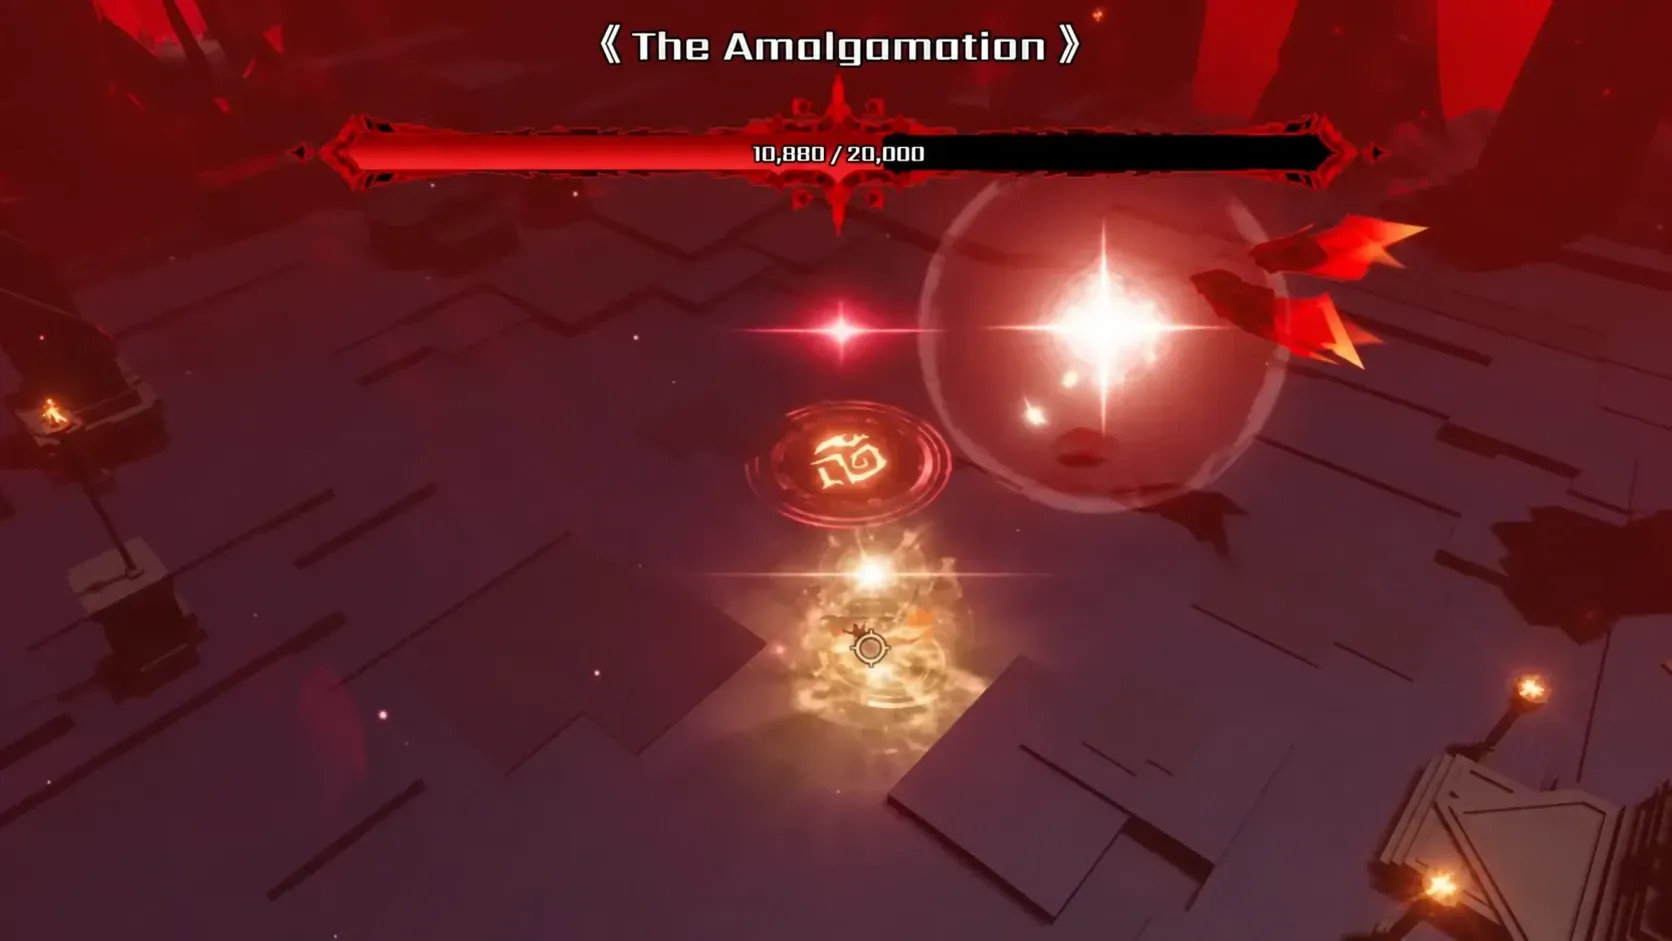
Phase 2: The Maiden of the Blood Moon
Keep playing close and circling. The moveset shifts but stays readable. The two claw attacks from normal mode now chain into a combo, ending with a slam that rotates toward you and releases an Energy Ring on completion. Jump over that ring, since it deals 30 damage.
Watch for the dash, which sometimes has an awkward hitbox. Let it pass roughly halfway to three-quarters through its range, then step to the side a few times. The Crescent slash hits nearby players first, then spawns three warning arcs from small to large that strike in order, so staying close to the boss keeps you inside the safe gap.
For the ground spikes that feel impossible to dodge, remember the boss only uses them after its three-lane attack. Walk backward as the three lanes come out and you avoid them. Treat any slow-moving ring on the ground, including the sword attack, as a jump cue.
Pre Phase 3: The Moonfall
At the transition, the boss recovers to full health and forces a map-wide attack. You have significantly less time to react than in normal mode. Stella may summon a blue shield, but it most likely will not block the red moon’s damage. Run to the red shield to survive.
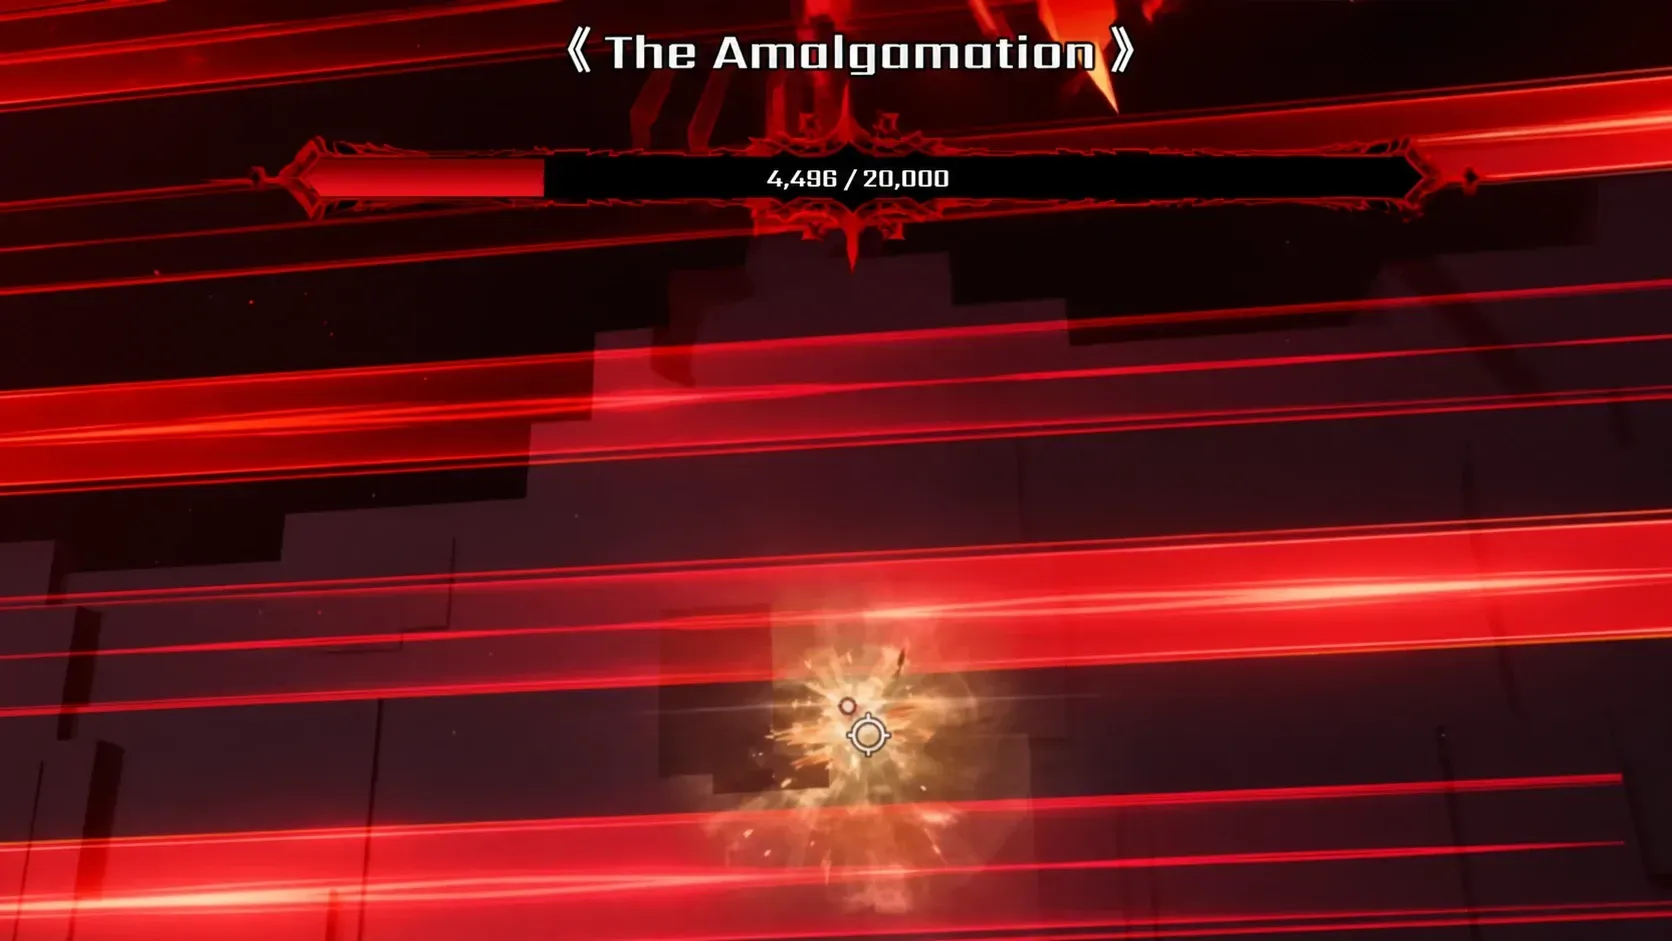
Phase 3: The Calamity
Drop the close-range plan here. Stand in the middle of the arena and only move when you have to, because the screen fills with overlapping effects. The boss becomes more aggressive, teleports more often, and gains several new attacks.
| Attack | What it does | How to handle it |
|---|---|---|
| Growling | Stuns all players for about 5 seconds, deals 0 damage | Wait it out; the boss does not attack during it |
| Beam circle | Beams spawn on an arc based on your position | Run around the beam to stay clear |
| Death wall | Spawns horizontally across the screen in waves of 3 | Read each wave and move through the gaps |
| Meteor Shower | 40 damage per meteor, very little reaction time | Stand still and only dodge meteors about to land on you |
| Laser attack | Hard to read visually | Step slightly away, then circle the center counterclockwise |
| Traps | Slightly more forgiving here, still inconsistent hitboxes | Keep reading inputs and dash to escape |
Minion attacks move just as fast as the boss and are tough to dodge in the clutter. The Chaos beams from normal mode may not appear in this phase, which removes one threat from the rotation. Expect to take the occasional laser hit; individual beams are short-lived and do little on their own.
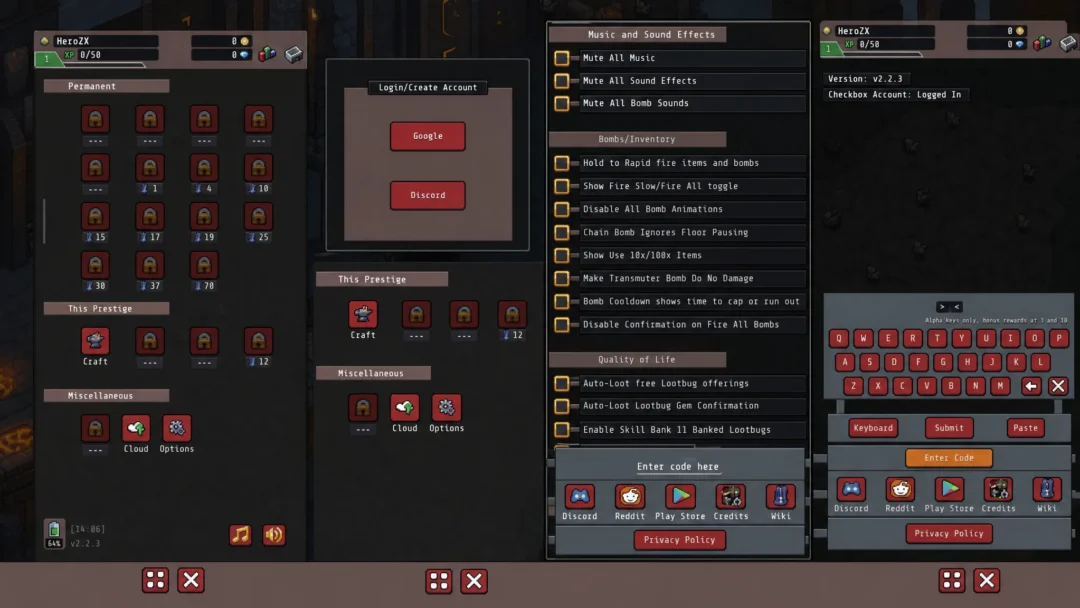
Redeem the AmalgamationHELL code
The Hell update added a redeem code for free rewards. Enter AmalgamationHELL in the in-game code box and confirm. Update codes are usually time-limited, so claim it soon. You will know it worked when the reward appears in your inventory, and the code box reports a successful redemption.
Clearing Amalgamation Hell is a test of pattern recognition more than gear. Bring your own strong aura, keep your dash for the traps, respect the counterattack, and pick the red shield at the Moonfall. Stack those decisions cleanly across all three phases and the one-life rule becomes manageable rather than punishing.