The Spirit Walker is the new Huntress ascendancy in Path of Exile 2’s Return of the Ancients update, and the spear Twister setup has quickly become one of the fastest ways to clear the campaign and roll straight into mapping. The whole build runs on a single combo. You spin up Whirling Slash to build a whirlwind, then fire a volley of Twisters out of it. Add cold conversion and extra projectiles, and the same loop melts both packs and bosses.
Spirit Walker ascendancy nodes and what each one does
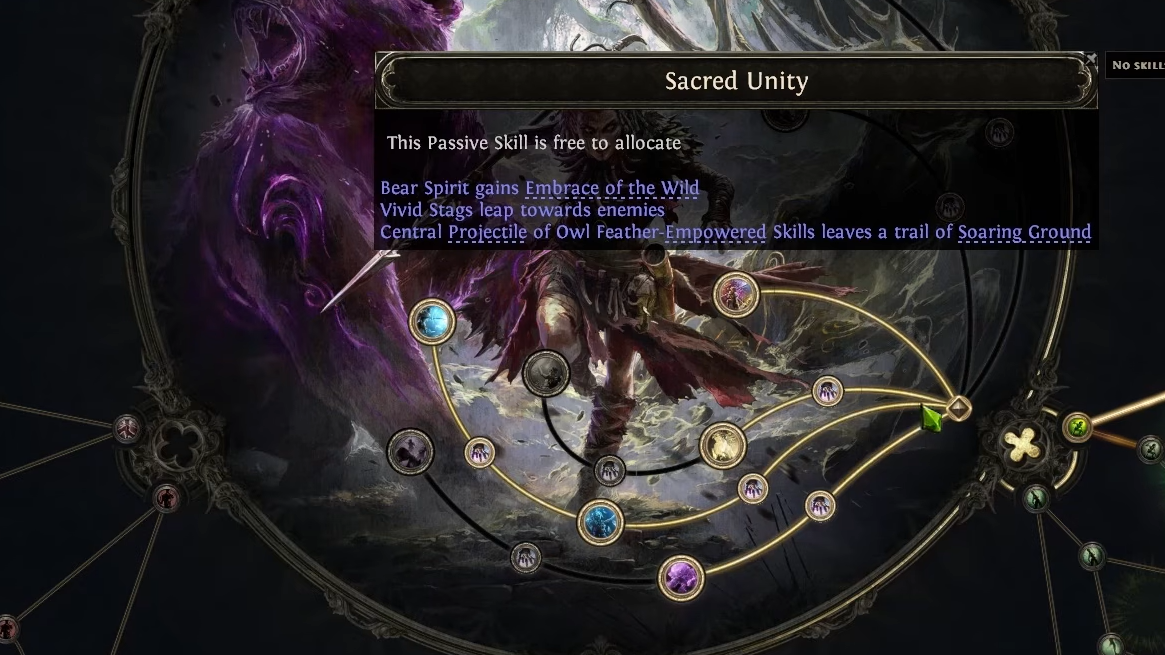
The ascendancy is built around three Azmeri animal spirits. The Stag turns movement into area damage, the Owl turns dodges into extra projectiles, and the Bear gives you a permanent companion that tanks for you. Allocating all three core nodes unlocks Sacred Unity for free, which upgrades every spirit at once.
| Node | Effect |
|---|---|
| Vivid Stampede | Movement builds Vivid Wisps; attacking sends charging stags that leave Shocked Ground. |
| Primal Bounty | Generates Owl Feathers over time; dodging consumes them to add projectiles and speed to your next skill. |
| Wild Protector | Summons a Bear companion that maims, intimidates, and leeches. It does not use your normal companion slot. |
| The Mhacha’s Gift | A single dodge spends all stored Owl Feathers at once for a much larger projectile burst. |
| The Morrigan’s Guidance | Creates larger, harder-hitting stampedes with more Shock magnitude. |
| Sacred Unity | Free node, unlocked once Vivid Stampede, Primal Bounty, and Wild Protector are all allocated. Enhances all three spirits. |
| The Natural Order | Lets you use Tame Beast on Unique Beasts to capture them as companions. |
| The Catha’s Balance | Scales companion damage based on your main-hand weapon. |
How the spirit resources are generated
Two resources drive the spirit mechanics, and both reward constant movement instead of standing still. Wisps come from traveling; Feathers come from time, and both cap at three stacks.
| Resource | Generation | Max stacks | Consumed by |
|---|---|---|---|
| Vivid Wisps | Every 20 meters moved | 3 | Attacking, to trigger a Stag stampede |
| Owl Feathers | Every 4 seconds | 3 | Dodging, to empower your next projectile skill |
Skill gems for the Twister combo
You get both main skills at level 1, so the engine works from the very start. Whirling Slash only exists to charge the whirlwind that empowers Twister, so its own damage barely matters.
| Skill | Role |
|---|---|
| Whirling Slash | Builds the whirlwind. Cast it three times to cap, then release Twister. Leave it at level 1 for low mana cost. |
| Twister | Your primary damage. It must be cast while you are still inside the whirlwind. |
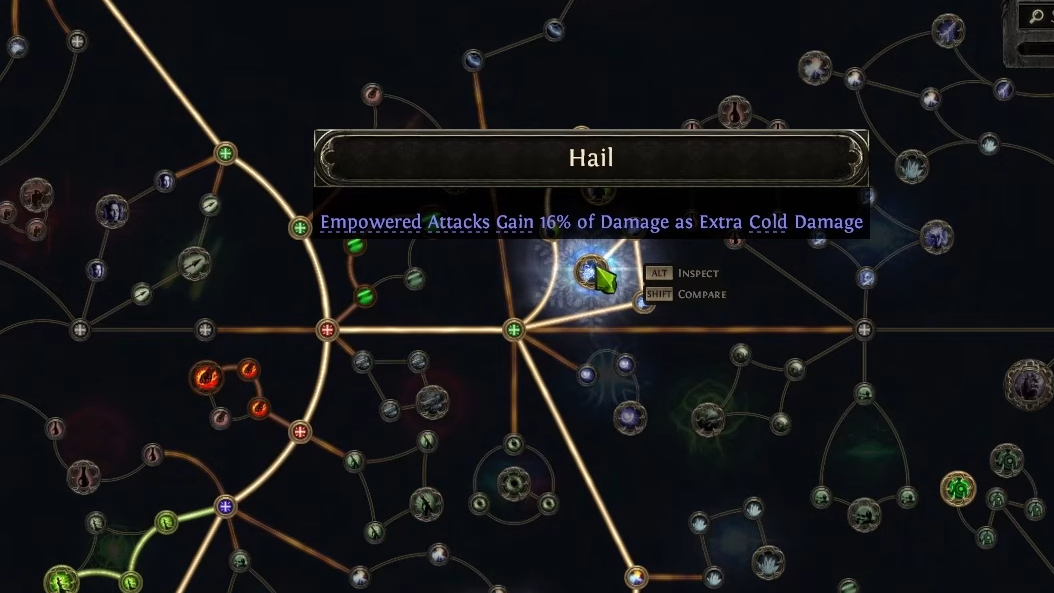
| Ice-Tipped Arrows | Converts Twister damage to cold and creates exploding ice fragments. Use it on cooldown. |
| Barrage | Consumes Frenzy Charges to add projectiles to your Twisters. Heavy single-target boost. |
| War Banner | Single-target damage buff. Drop it before bursting a boss. |
| Freezing Mark | Makes a target more likely to freeze and adds shocked ground with Charged Mark. Use it on tanky rares and bosses. |
| Parry + Fangs of Frost | Act 1 boss tool. Parry a hit, then strike with Fangs of Frost to make chilled ground that feeds Twister. |
| Herald of Ice / Frost Nexus | Spread freezes and chilled ground so packs shatter as they die. |
Frost Nexus is the support that turns Twister freezes into patches of chilled ground. Once you have it in Act 2, you can drop the Parry and Fangs of Frost setup and clear far more smoothly.
Rotation for clearing and bossing
The campaign loop is short. For everything else, you stack buffs before the burst.
For bosses from Act 2 onward, drop War Banner, apply Freezing Mark, then run the same Whirling Slash three times into Twister. Barrage adds a large chunk of single-target damage, especially with Frenzy Charges built up from Combat Frenzy. In Act 1 specifically, Parry into Fangs of Frost creates the chilled ground that gives Twister a big early boost.
Weapon sets and passive tree priorities
This build leans hard on dual weapon specialization. Weapon Set I is tuned for attack speed so you whip up the whirlwind faster and move quickly. Weapon Set II is tuned for raw flat damage, ignoring attack speed since Twister scales off flat damage rather than weapon DPS.
- Put Whirling Slash, Barrage, and War Banner on Weapon Set I. Barrage benefits from the skill speed of Dance with Death, and putting War Banner here saves Spirit.
- Put Ice-Tipped Arrows and your other skills on Weapon Set II. Ice-Tipped Arrows must sit here, or it will not convert Twister damage.
- Dance with Death is a keystone that grants skill speed while your off-hand is empty. Weapon Swap points cannot be placed on keystones, so it has to be allocated on both sets.
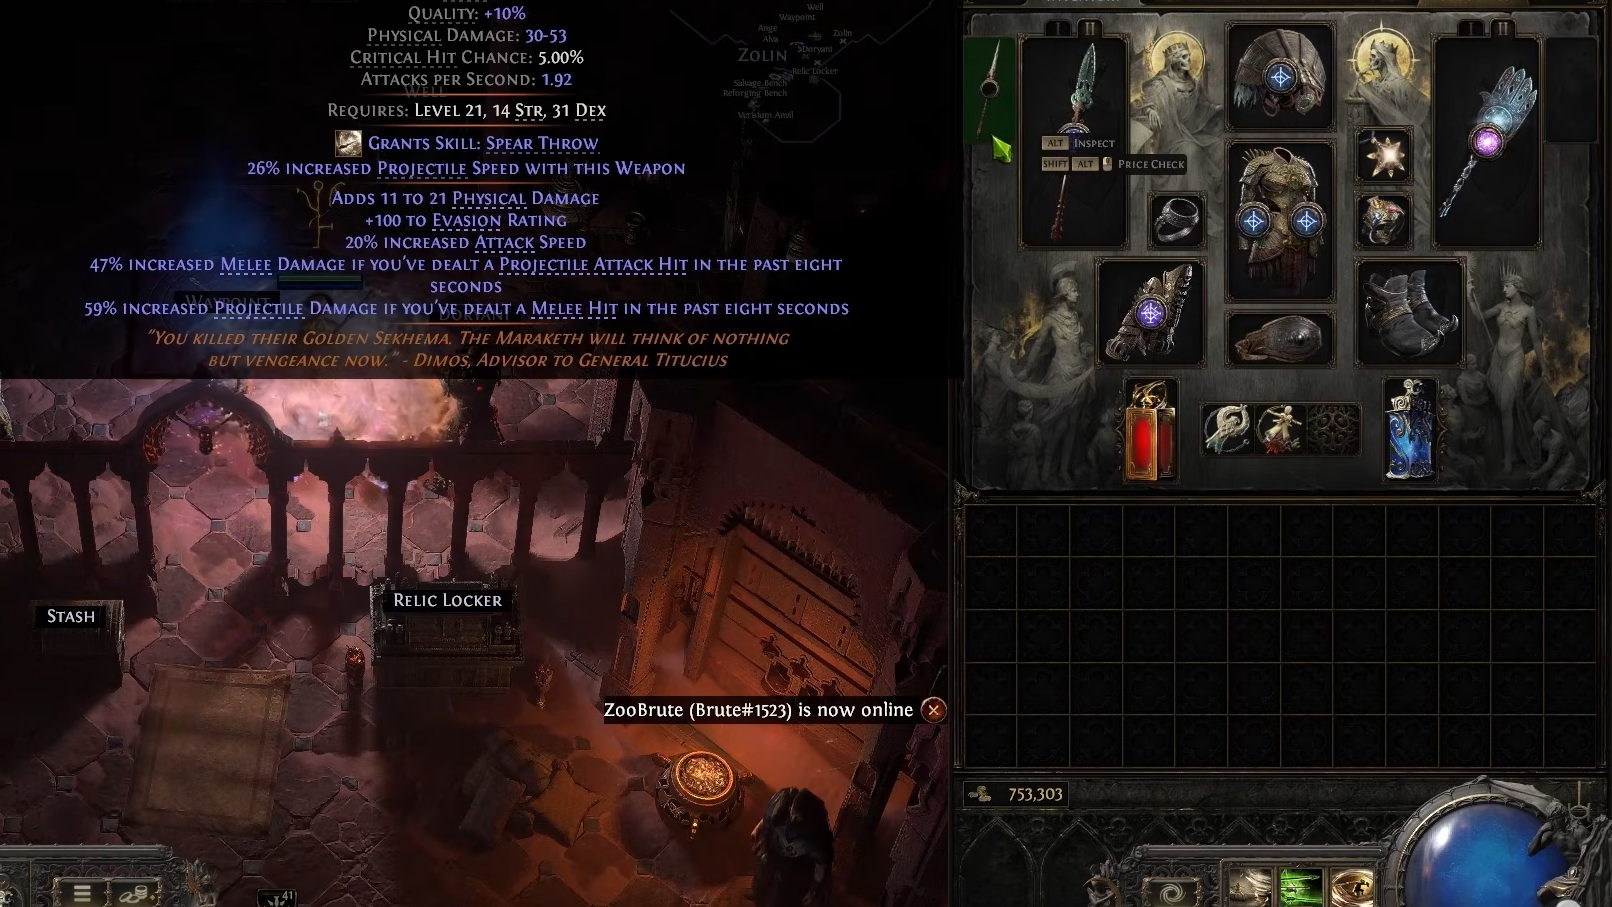
- Run a fast attack-speed spear in Set I and a high flat-damage spear in Set II.
For attributes, take just enough Strength, Intelligence, and Dexterity to meet your gear and gem requirements, then dump the rest into Strength for extra Life. If a new item leaves you short on a stat, you can respec attributes cheaply at the Hooded One or Doryani. Skill Effect Duration is strong for Twister, so take Multitasking through the campaign and move to Lingering Horror when you adopt the crit tree.
Gear and unique items
This is not a gear-check build early on, which is why it works so well as a league starter. Prioritize Life and Resistances on every slot, and lean on Armour or Armour/Evasion bases through the campaign since pure Evasion feels rough before you have Deflection.
| Item | Why it matters |
|---|---|
| Omen Sceptre (Weapon Set II) | Grants Malice for extra Critical Hit Chance. It can drop in level 16+ zones, so equip one as soon as possible. |
| The Black Insignia (helmet) | Gives access to Tailwind for movement speed and Evasion, and is usually cheap. |
| Hyrri’s Ire (body armour) | Endgame upgrade providing large damage, utility, and defence. |
No uniques are required for the build to function. To run a fourth buff with Wind Dancer, you’ll need additional Spirit from your amulet or body armour. When you start hunting upgrade spears or rolling for resistances, the official Path of Exile 2 trade site is where you’ll find them.
Beast taming with The Natural Order
Once you allocate The Natural Order, you can use Tame Beast on Unique Beasts and keep one captured monster active at a time. The Mighty Silverfist is the smoothest choice for mapping thanks to its mobility and high damage. If you want to swap to a different beast later, disenchant the Tame Beast gem at a town vendor to reset it and capture something new.
The combo works because every part feeds Twister. Whirling Slash empowers it, Barrage and Ice-Tipped Arrows add projectiles and cold conversion, and the Bear plus your Evasion and Deflect keep you alive while you set everything up. Stay mobile, keep enemies frozen, and the same rotation that clears a screen will also burn down a boss.