The Habitat Builder in Subnautica 2 starts with only a handful of recipes, and the rest are scattered across wrecks, bunkers, and old colonist outposts within a short swim of your Lifepod. Picking up these blueprints is what unlocks proper rooms, vehicle docking, and the interior pieces that turn a single corridor into a working base.
Default pieces in the Habitat Builder
The Corridor, Hatch, and Window are already loaded into the build menu the moment you craft the Habitat Builder. They sit under Standard Elements and need no scanning or pickup. Everything else listed below has to be found in the world before it appears in the menu.
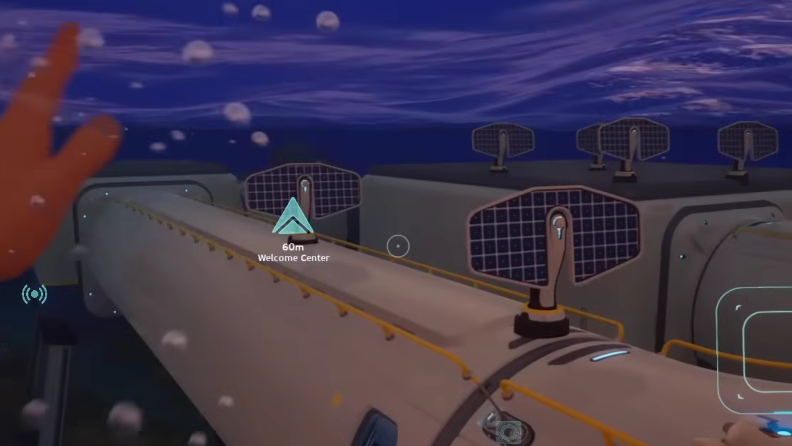
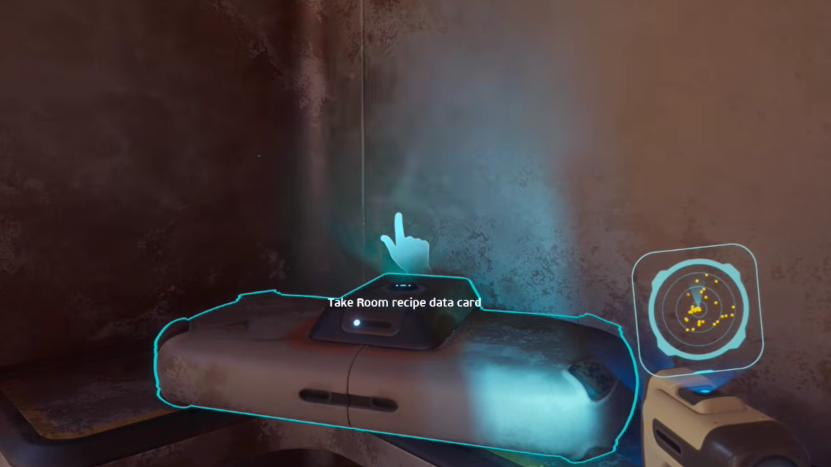
Room blueprint (northeast shipwreck)
The Room is the single most important early pickup because the Fabricator and most interior modules need one to be placed. It is not a default recipe.
Interior Door, Interior Wall, and Interior Arch (BFJ field)
All three interior partition pieces unlock from one shared blueprint card found at an Old Habitat outpost. Travel roughly 15 degrees north from the Lifepod until you reach the BFJ field. Stay close to the seafloor, since Nibbler Mango and a Marrowbreach patrol the area. Look for a platform topped with a Hydroelectric Turbine, then check the tables on the platform. The blueprint card is sitting on one of them.
Ladder blueprint (Old Habitat outpost)
The Ladder is in the same general spot as the interior pieces, inside the Old Habitat outpost itself, rather than out on the platform. Enter the main room with the NoA terminal and check the shelf next to the door. The pickup is labeled in a way that suggests it’s a room blueprint, but it gives you the Ladder recipe.
Nook blueprint (Nahema’s Lab)
The Nook is the windowed alcove that juts out from a wall. It lives in a Colonist Bunker in the thermal zone, so you’ll need the Heat Tolerance adaptation before making this trip.
Half Round Room blueprint (eastern shipwreck)
The Half Round Room is the curved-glass module that replaces a standard wall with a wide window. Head about 500 meters due east of the Lifepod to find a large shipwreck. Move to the upper section and drop through the hole that opens into one of the wreck’s four rooms. From there, exit and take a left into the next room. The blueprint sits next to a container on the floor.
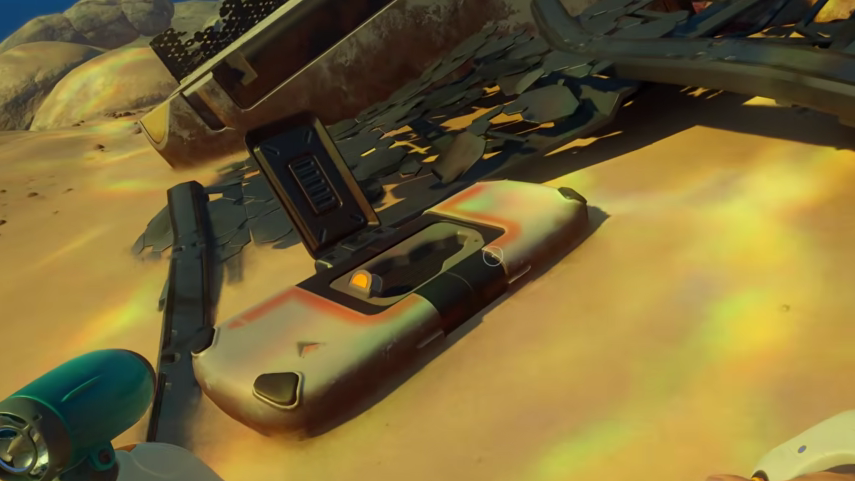
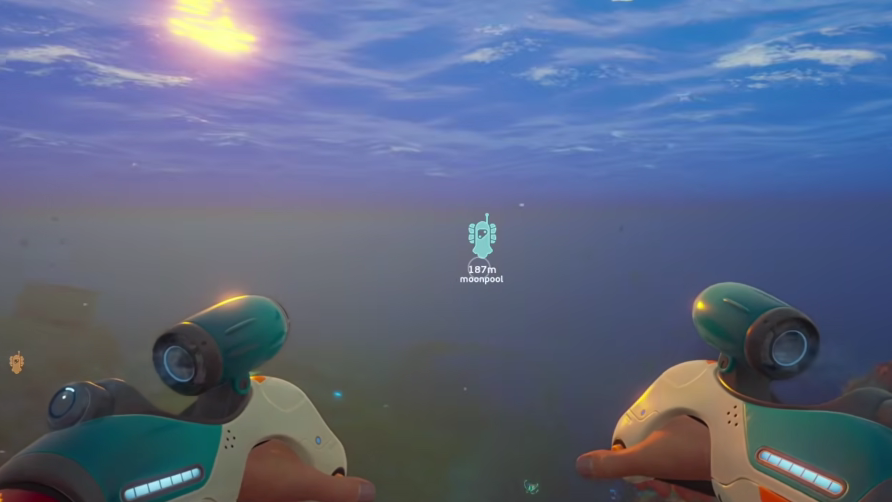
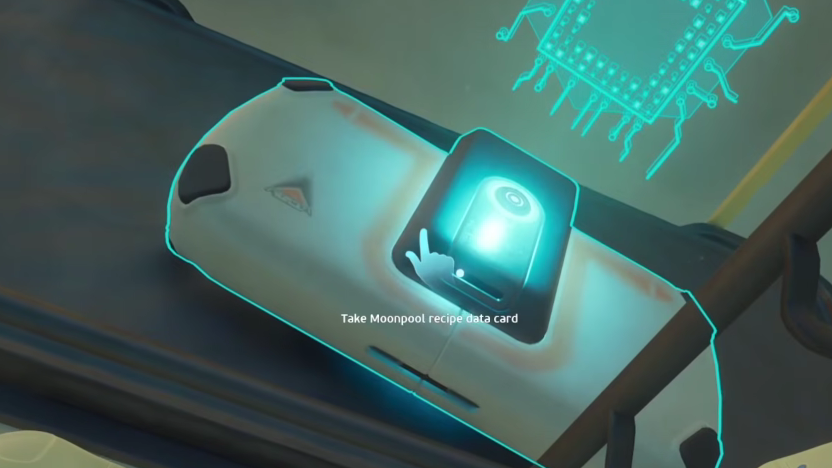
Moonpool blueprint (Cicada Wreck, Canteen)
The Moonpool is the docking bay for the Tadpole and a prerequisite for both the Vehicle Fabricator and Tadpole Dock.
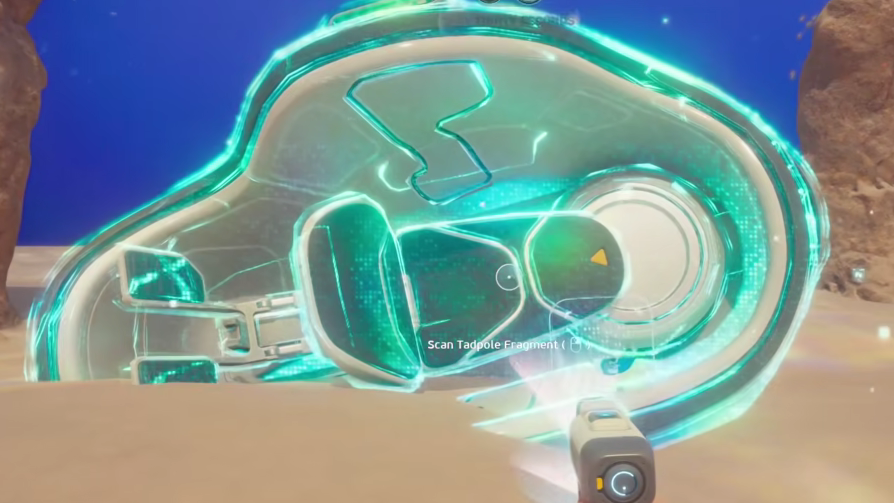
Vehicle Fabricator and Tadpole Dock (scan three Tadpole parts)
These two pieces don’t come from a single pickup. Instead, scanning all three Tadpole parts in the world unlocks both blueprints together. The Tadpole itself becomes craftable from the same scans.
| Part | Location from Lifepod |
|---|---|
| Tadpole part 1 | 120 meters at 195° south, 80 meters deep |
| Tadpole part 2 | 250 meters south, inside a bunker (scan the handle) |
| Tadpole part 3 | Near the base of the Great Jaw |
Both the Vehicle Fabricator and the Tadpole Dock must attach directly to a Moonpool, so leave enough open space around the Moonpool when you place it. Once docked, the Tadpole recharges from your base’s power supply and can dive to 450 meters.
Quick reference: all base piece pickups
| Piece | How to unlock | Location |
|---|---|---|
| Corridor, Hatch, Window | Default recipe | Habitat Builder menu |
| Room | Pickup | Shipwreck, 350m at 60° NE |
| Interior Door / Wall / Arch | Pickup (one card) | Turbine platform, BFJ field, 15° N |
| Ladder | Pickup | Old Habitat outpost, BFJ field |
| Nook | Pickup | Nahema’s Lab, 380m SE, ~100m depth |
| Half Round Room | Pickup | Large shipwreck, 500m E |
| Moonpool | Pickup | Cicada Wreck (Canteen), 230m S, 60m depth |
| Vehicle Fabricator | Scan 3 Tadpole parts | South of Lifepod + Great Jaw |
| Tadpole Dock | Scan 3 Tadpole parts | South of Lifepod + Great Jaw |
Once these blueprints are unlocked, the Habitat Builder has enough range to put together a fully functional base: an enclosed Room for the Fabricator and NoA Terminal, vertical stacking via the Ladder, an exterior view through the Half Round Room or Nook, and a Moonpool wired to the Vehicle Fabricator and Tadpole Dock for deep dives. Refunding and rebuilding stays open from the pause menu if you decide a location isn’t working out.