
Sword x Staff drops you onto the Kanstine Continent with a semi-idle RPG framework that hides a surprising amount of depth behind its grid-based auto-battles. The early hours decide a lot: your class path, which skills you slot, when to pull on which banner, and whether you waste materials on relics you’ll replace in a week. Getting the foundation right means smoother campaign clears, faster idle income, and a real Combat Power curve instead of a stalled one.
Choosing between Sword and Staff
The opening choice splits you into one of two base paths. The Sword path leans into melee damage, physical defense, and forgiving combat windows, which makes it the safer pick if you want to push the campaign without micromanaging skill timing. The Staff path trades durability for ranged burst and elemental synergy, rewarding players who like setting up combos but punishing sloppy positioning with a thinner HP pool.
Neither choice locks you in. The reclassing system at Aqualis lets you swap later without losing your investment, so treat the opening pick as a comfort decision rather than a permanent one.
Class promotions and subclass paths
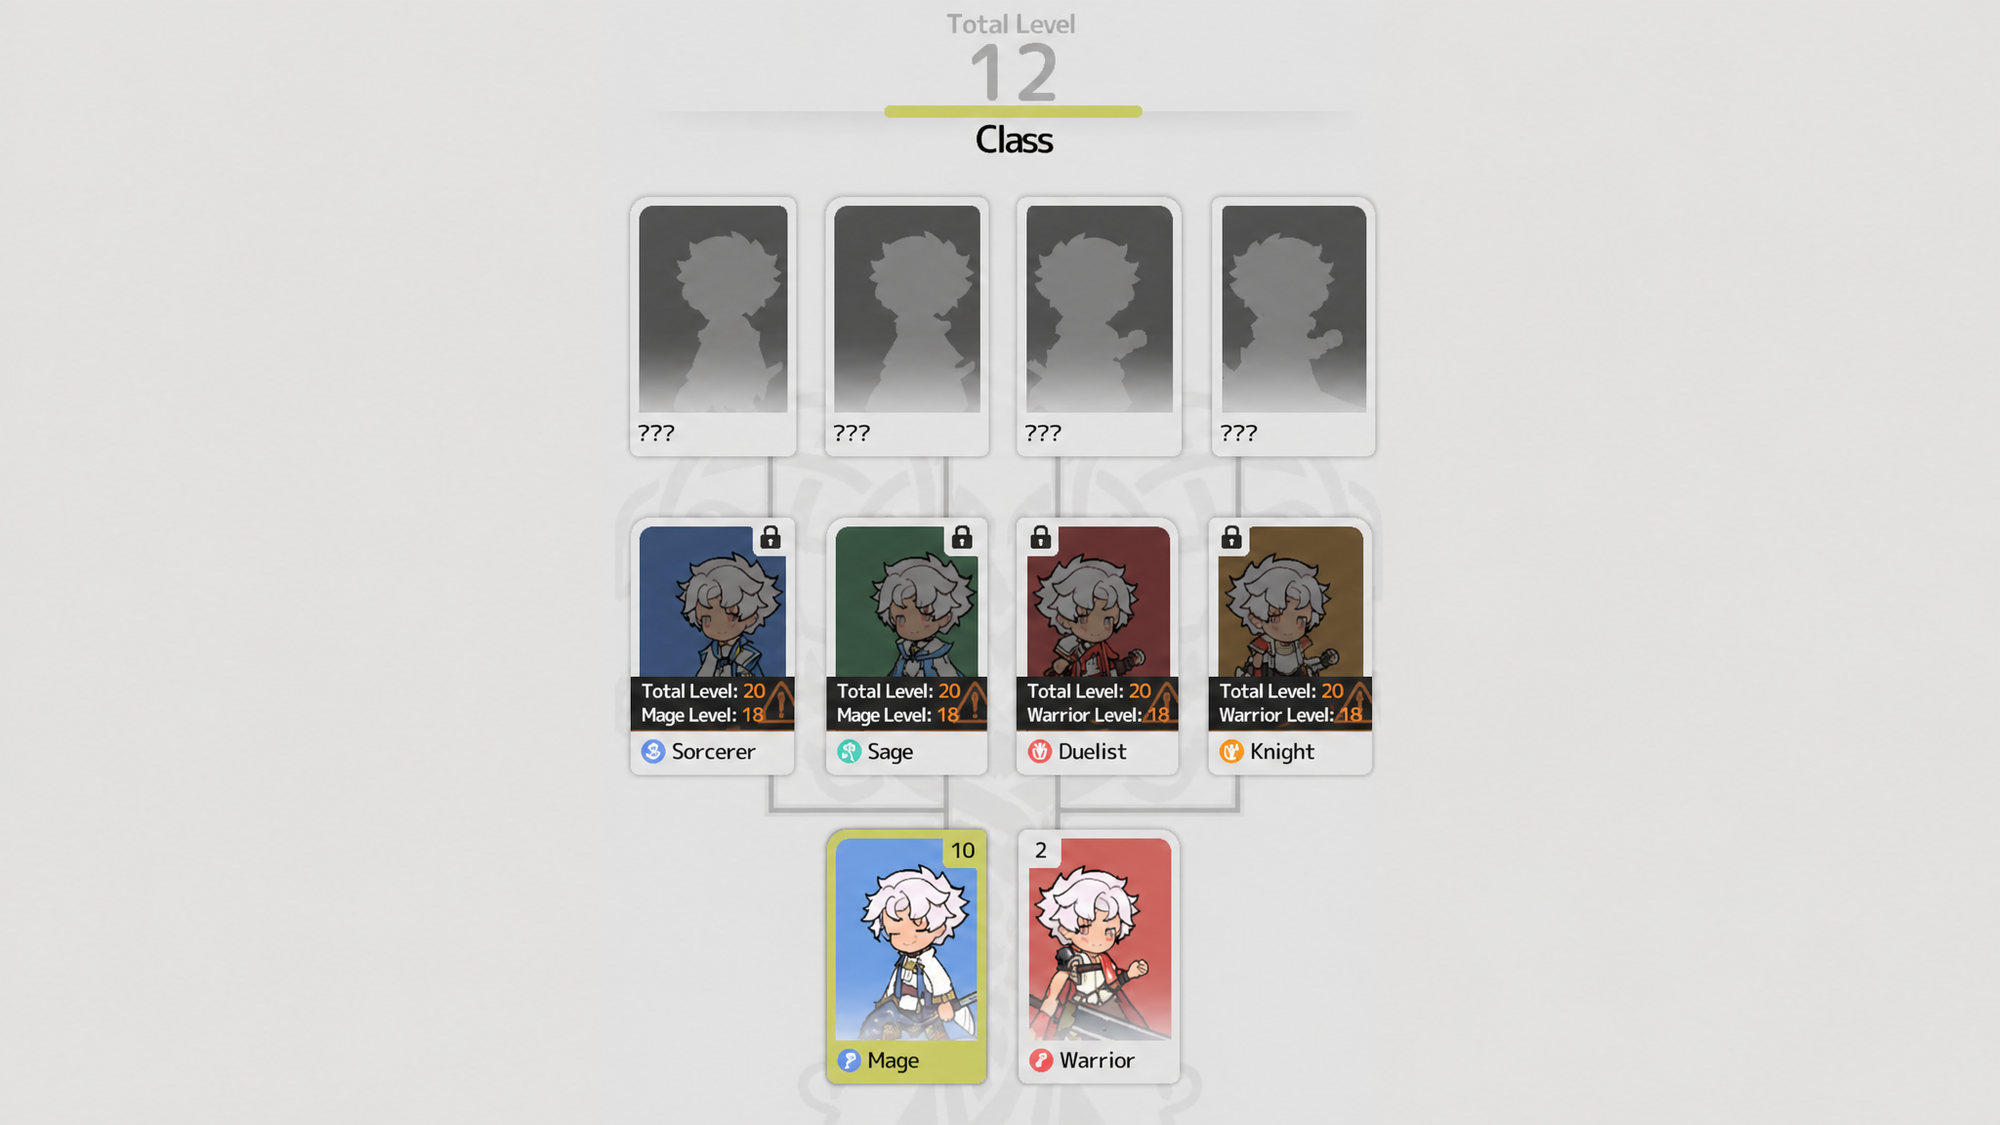
Reaching Guimu Village in the Verdantglade region unlocks the first promotion. From there, each base path branches into two specializations, and each of those promotes again into a final advanced class. The roles diverge sharply, so pick the branch that matches the content you actually want to play.
| Base path | First promotion | Final class | Role |
|---|---|---|---|
| Sword | Duelist | Berserker | Fast melee DPS with combo-driven burst |
| Sword | Knight | Paladin | Frontline tank with crowd control and party support |
| Staff | Sage | Arcanist | Buffs, shields, and magic combo utility |
| Staff | Sorcerer | Archmage | AoE damage and high burst spellcasting |
Duelist and Sorcerer are the cleanest free-to-play picks because their damage scales from base stats and doesn’t require rare gear to function. Knight is the most forgiving option if you keep dying in solo content. Sage rewards heavy investment but underperforms early without it.
How combat actually works
Fights play out on a grid where your character moves, attacks, and casts skills automatically. Winning consistently is less about reflexes and more about hitting the Combat Power threshold each stage expects. That number climbs through gear upgrades, skill levels, relics, Fantomons, and Goddess Statue bonuses, in roughly that order of impact.
Three stats drive the damage math. Critical hits start at 150% damage, but a blocked crit drops to 50%, so stacking crit without accuracy can backfire against tanky enemies. Accuracy lowers enemy block chance and builds a reliable damage floor. Block is the Knight’s main survival tool and the reason tanks scale defensively.
You get up to seven loadout slots, and they’re meant to be specialized:
- Solo campaign: single-target damage to break through stage bosses.
- Daily dungeons: AoE skills for fast wave clears.
- Boss battles: multi-hit abilities that trigger passives often.
- Group content: taunts for Knights, healing for Sages.
Skill upgrades attach to the slot, not the skill itself. Swap a new skill into a leveled slot and it inherits that level instantly. That mechanic alone makes experimenting almost free, so don’t hoard upgrade materials waiting for a perfect skill.
Best early skills by path
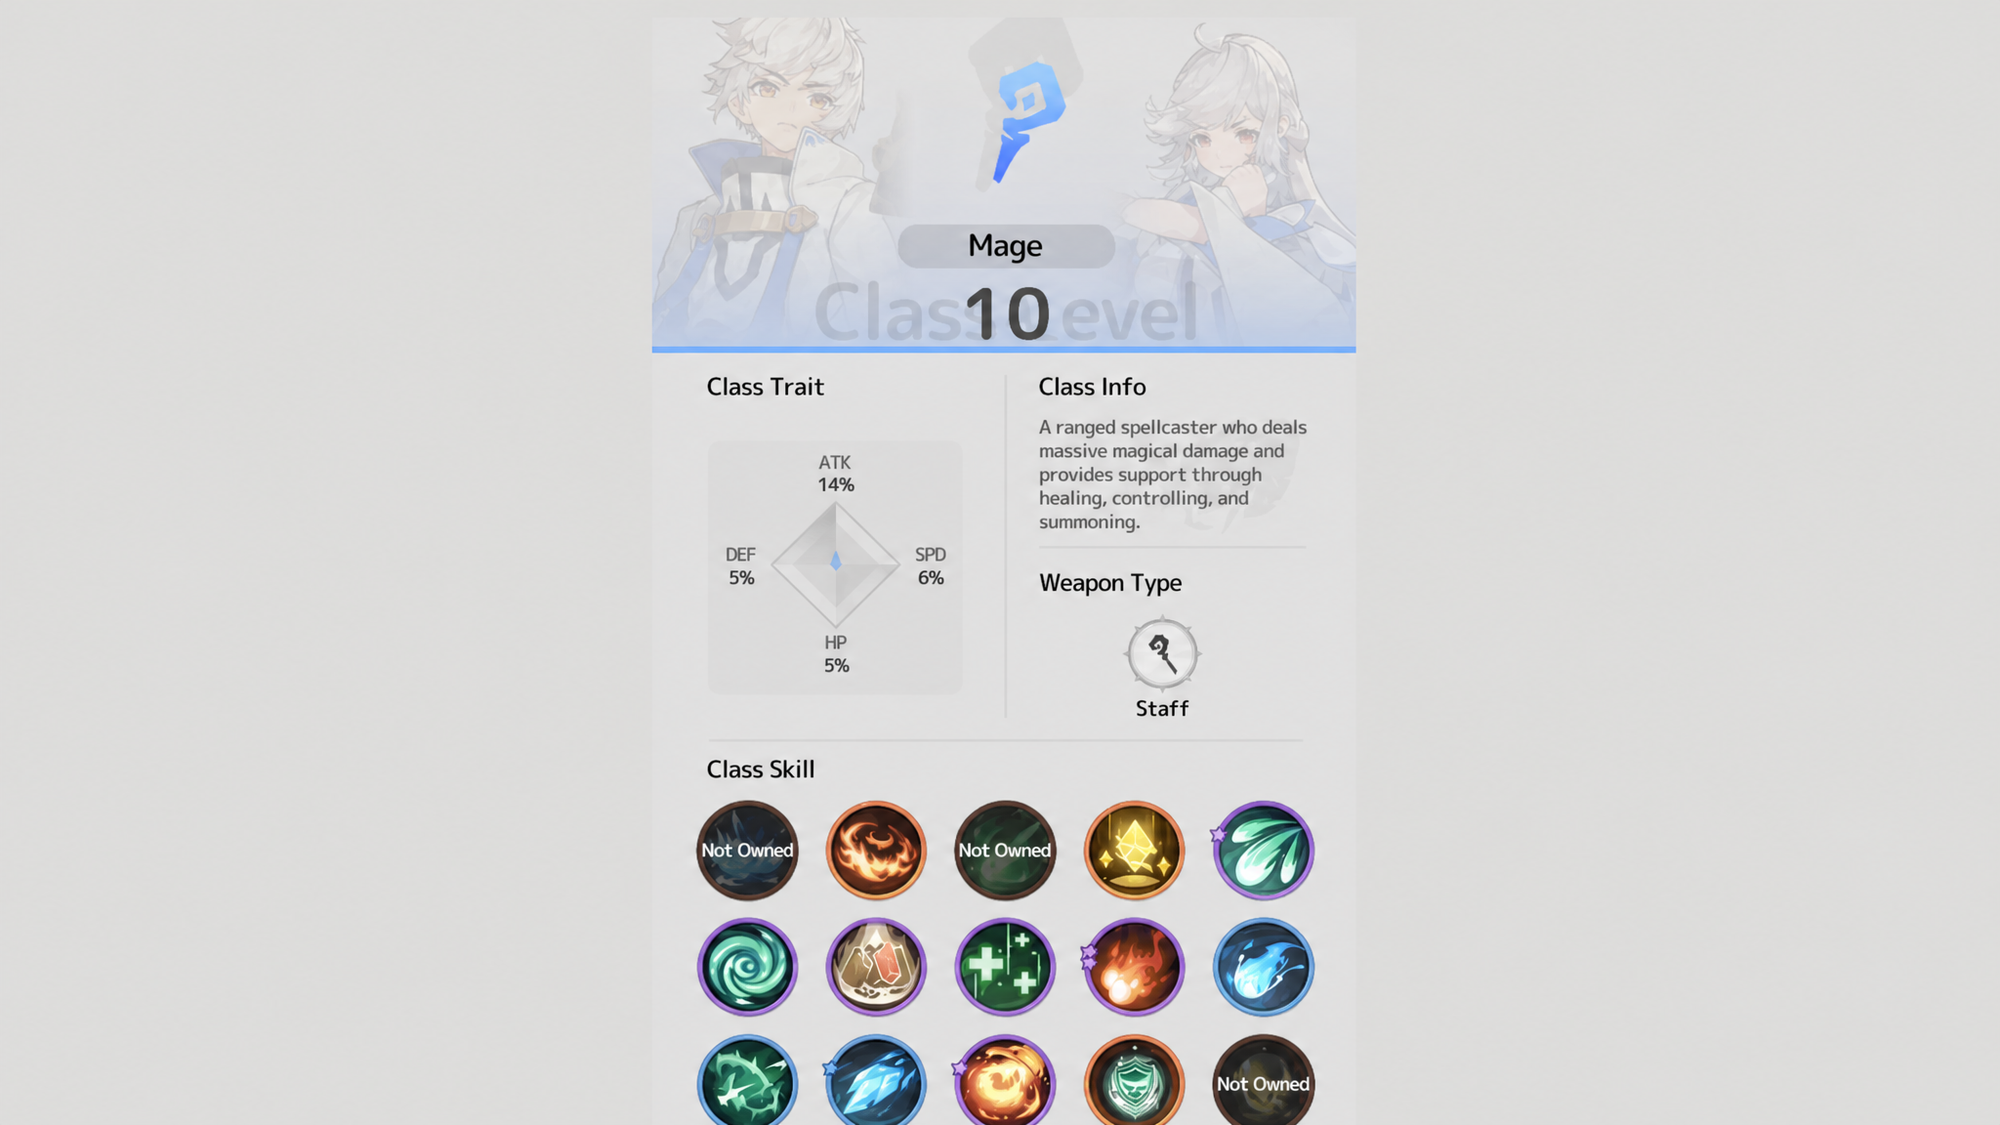
Stage clears come down to whether your loadout can wipe enemy waves before you take meaningful damage. The skills below are the ones that hold value from the early game well into Cinder Ridge.
| Skill | Class | Why it works early |
|---|---|---|
 | Mage | Massive fire AoE around the caster, ideal for wave clears. |
 | Mage | Sustained wind damage across a six-grid radius for AFK farming. |
 | Mage | Stacking damage on repeat hits, strong against bosses and groups. |
 | Mage | Reliable AoE for mid-stage farming with a built-in reposition. |
 | Warrior | Four-hit physical AoE in a one-grid radius with long-term scaling. |
 | Warrior | Prioritizes large targets and launches them airborne for combos. |
Lion Combo is the single hardest-hitting Warrior skill once you can equip it, and Mountain Collapse pairs well for AoE knock-back. On the Mage side, Blazing Fire Ring plus Wind’s Delight is the standard farming loadout because it covers both burst and sustained damage.
Map exploration drives your power curve
Progress in this game is measured in map completion, not character level. New zones unlock better loot, stronger idle income, and the permanent multipliers that actually move your Combat Power. The Auto Crest tool points you to the next objective, which is the fastest way to push without wandering.
Goddess Statues are the single most important pickup in any region. Each one grants permanent boosts to idle resource generation, experience gain, and combat stats, and they stack across the entire game. Activate every statue you find before spending speed-ups or stamina.
Obstacles like thorns, giant rocks, and coral block farming routes and lower idle efficiency. Remove them using items purchased with Kingdom Shop Coins. Stone Tablet Quizzes scattered through zones reward large resource bundles for trivia answers about the world, and they’re worth interacting with on first sight.
Home base systems worth claiming daily
The home base holds the systems that quietly carry your account. Skipping them costs more than missing a daily dungeon.
- Cart: generates idle resources. Raise every resource to level 10 first, then push Wood and Stone for faster progression. Idle rewards cap at 36 hours.
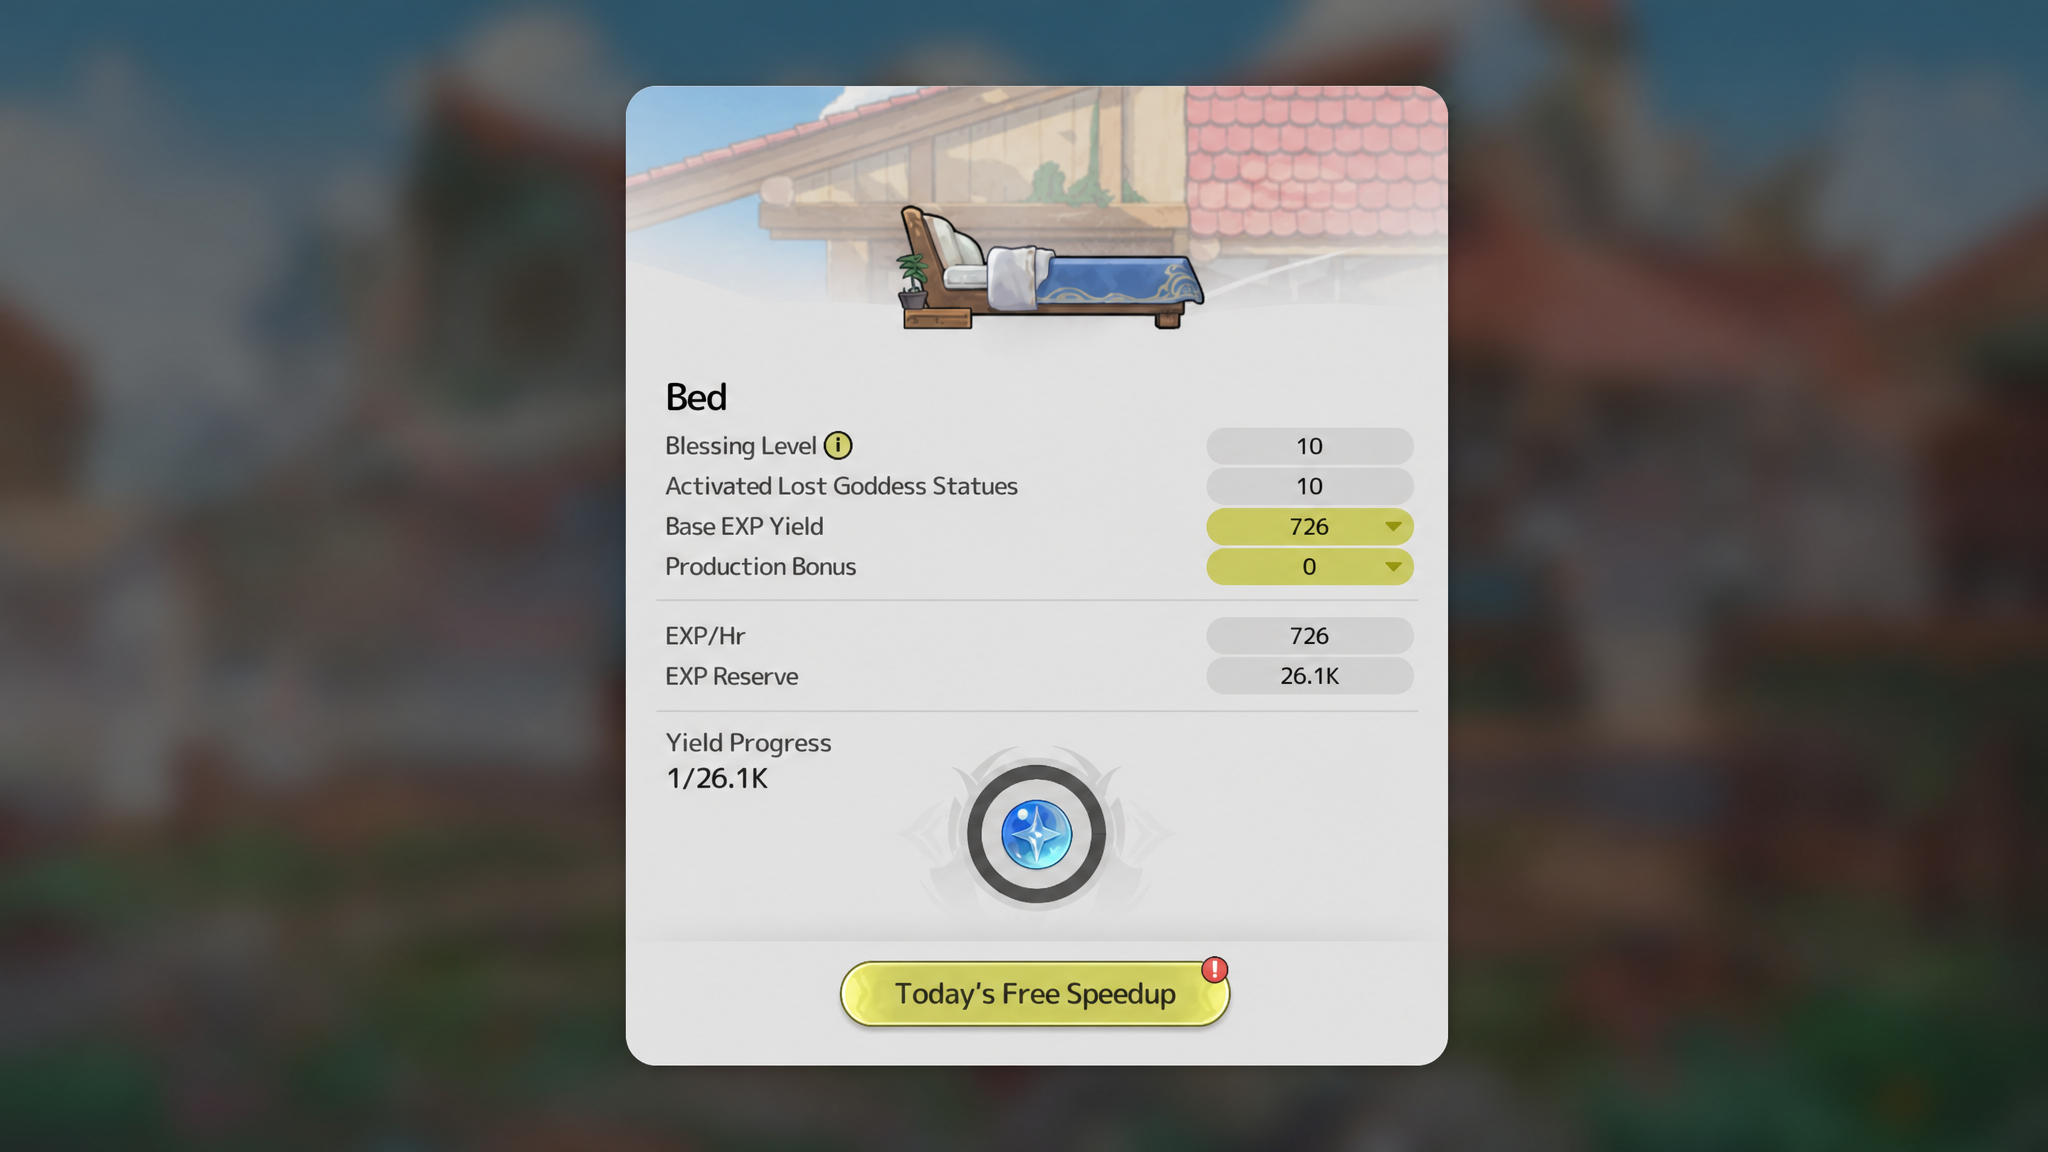
- Bed: one free speed-up daily. Always activate available Goddess Statues before using it so the bonus applies to a bigger pool.
- Vendor Booth: unlocks at character level 20. Prioritize Wood, Stone, and Quest Scrolls in general goods, and check the Vault for discounted Stellaties and Iron Hammers.
- Guild Donation: unlocks at character level 15. Five attempts per day, including one free. Spending 70 Dawnium for two extra attempts is worth it for steady Steel and Kanstein Cells.
Companions and relics
Companions are a passive system that permanently boosts global Attack, Defense, and Critical stats. You unlock them at the Companion Booth and level them by handing out daily gifts. The rewards are slow but compound, and the free daily gifts cost nothing to claim.
Relics range from Blue to Mythic and slot in as equipment that drives major Combat Power spikes. The trap is spreading materials across too many pieces. Focus upgrades on a tight core of four to six Purple or Gold relics so each one actually hits a meaningful breakpoint.
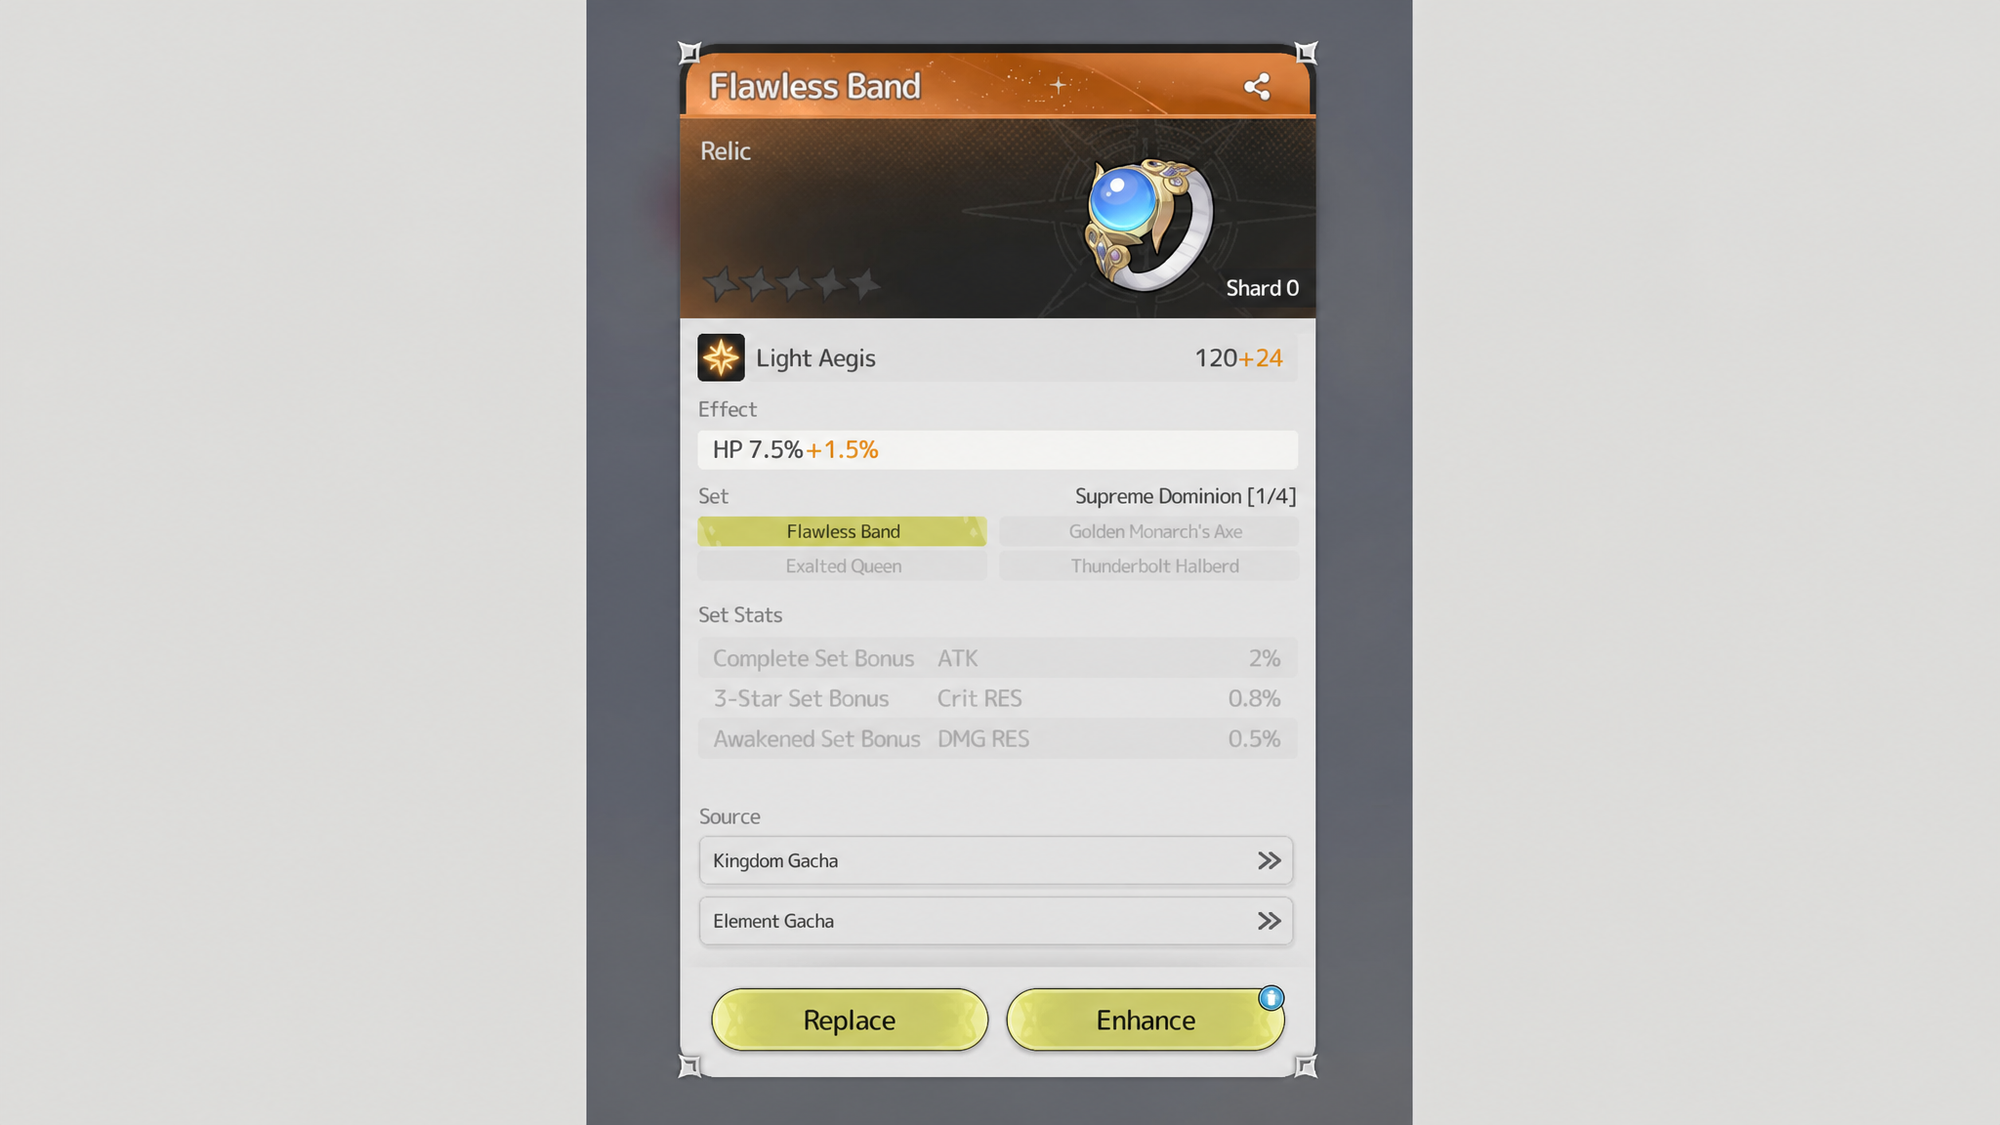
Early relic priorities skew toward flat stat boosts. Everburn Throne provides a direct +58 ATK across any class and any build. Pinnacle Radiance adds Crit DMG that pays off in boss fights. Prime Dynamo scales attack hard once fully stacked, and Doomsday Chronometer raises attack frequency through speed.
The Fantomon system
Fantomons unlock at character level 50 and represent the biggest single power spike in the early game. They don’t fight directly. Instead, they provide passive stat bonuses, trigger skills, and offer defensive support that scales with their level and quality tier (Purple, Epic, Legendary, Miracle).

Three roles cover the meaningful matchups:
- Offensive: Attack, Crit Rate, Crit DMG, and Defense Reduction. Dark Night Emperor is the standout pick for high-DPS classes thanks to a first-turn AoE defense break.
- Guardian: Defense, shields, damage reduction, and healing. Pairs with Knights and high-pressure boss fights where survivability fails first.
- Support: Speed, buffs, crowd control, and recovery. Forest Fairy is the common transitional pick because it works across most lineups.
The single most important Fantomon mechanic is Resonance Level. Raising your Resonance Level lifts the base level of every Fantomon you own at the same time, so you don’t have to grind each one individually. Push Resonance first, then concentrate upgrade materials on one primary Fantomon that matches your class role until it hits level 50 and unlocks its major passives.
Keep every Fantomon you pull even if you can’t use it. Owned Fantomons grant attribute bonuses just by sitting in your roster, which is why splitting investment across many pets wastes more than it helps. Plan one Mythic evolution path at a time.
Gacha rules and where to spend premium currency
Two summoning systems matter. The Skill Gacha rewards abilities and charms with a pity that lets you choose any guaranteed Legendary skill after 200 pulls. The Relic Gacha guarantees a higher-rarity drop every 10 pulls and is where most of your Combat Power spikes will come from later.
The biggest mistake new players make is dumping Luminium and premium Stellatie orbs into the standard blue banner during the Verdantglade maps. That pool is loaded with low-tier skills that become obsolete inside the first week. Hold premium currency and Skill Shard Vouchers for the pink Premium Banner that unlocks in Cinder Ridge, which features a tighter pool of advanced, class-specific skills built for long-term builds.
Daily routine that actually moves the needle
The semi-idle structure means your daily input is small, but skipping it compounds quickly. A clean routine looks like this:
- Claim idle rewards from the Cart before the 36-hour cap.
- Use the free Bed speed-up after activating any new Goddess Statue.
- Push the Auto Crest objective to clear new map zones rather than re-farming old ones.
- Complete daily commissions, especially those marked with a book icon for Companion unlocks.
- Run free daily dungeons and one or two Material Realm attempts at your highest rank.
- Donate to your guild and hit the Guild Boss when it’s available.
Combat Power isn’t a single dial. It’s the sum of class promotions, skill slot levels, relic upgrades, Fantomon resonance, companion bonuses, and statue multipliers all moving at once. The players who stall are the ones who try to optimize one system in isolation. The players who climb are the ones who claim every daily, push the map, and keep their upgrades focused on a small core instead of spreading thin.