
Configuring a Windows 11 PC to operate as a mobile hotspot allows other devices to access the internet or local network through your computer’s connection. This setup is especially useful for sharing Wi-Fi, Ethernet, or cellular data with smartphones, tablets, or other PCs—whether you’re at home, traveling, or working in a field environment without a router.
Standard Method: Enabling Mobile Hotspot in Windows 11 Settings
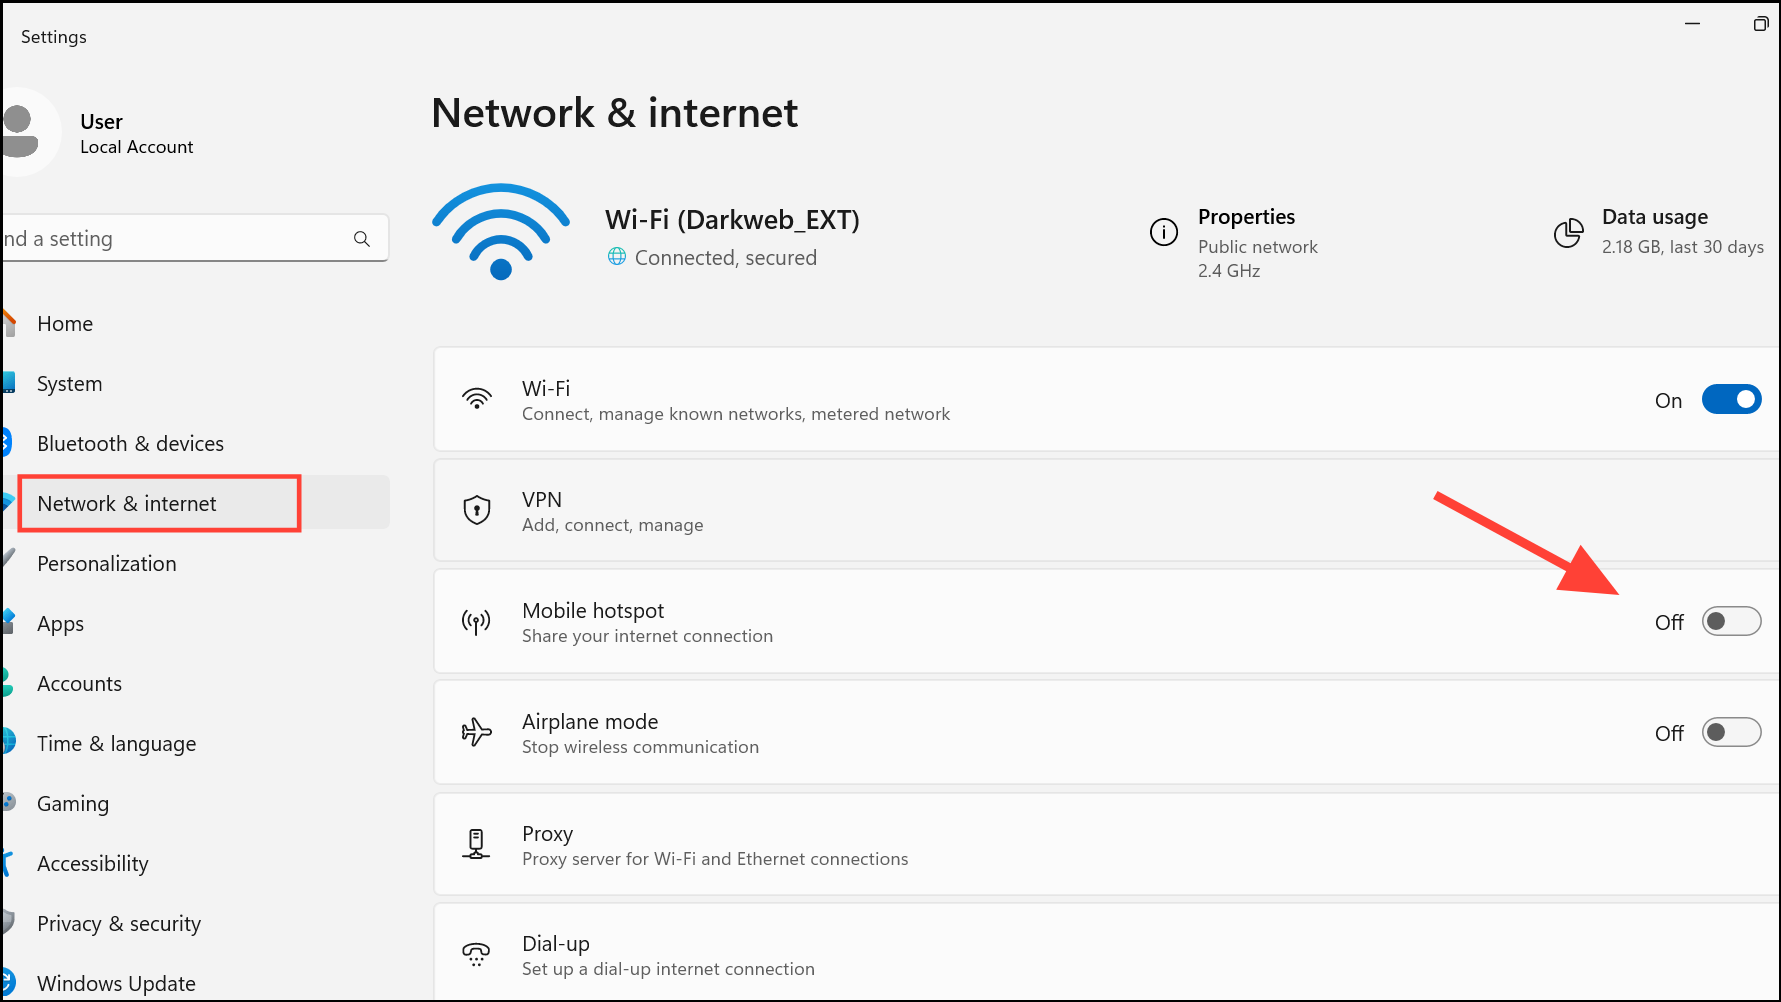
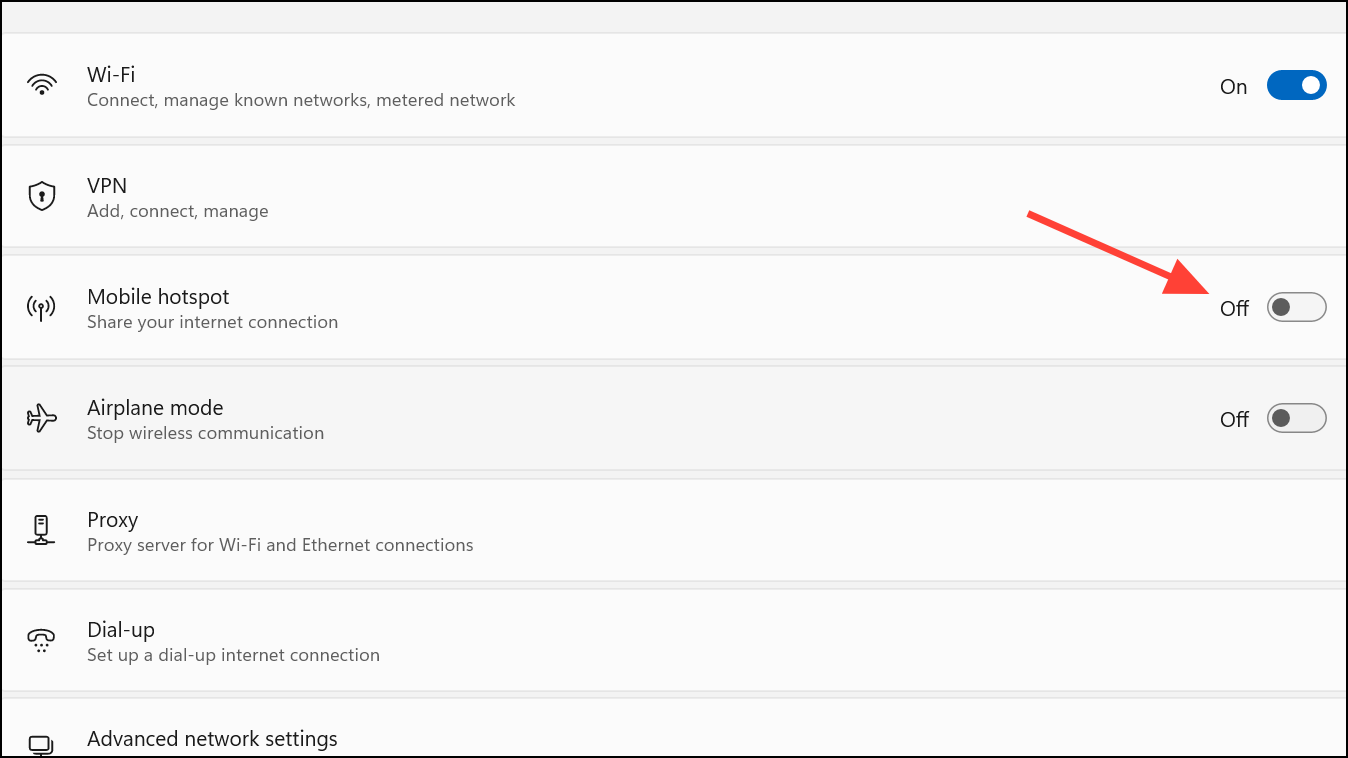
Step 1: Open the Settings app from the Start menu or by pressing Windows + I. In the sidebar, select Network & Internet, then choose Mobile hotspot.
Step 2: In the Mobile hotspot section, set the Share my internet connection from the dropdown to the connection you want to share—typically Wi-Fi, Ethernet, or cellular data. This determines which connection your PC will use as the source for sharing.
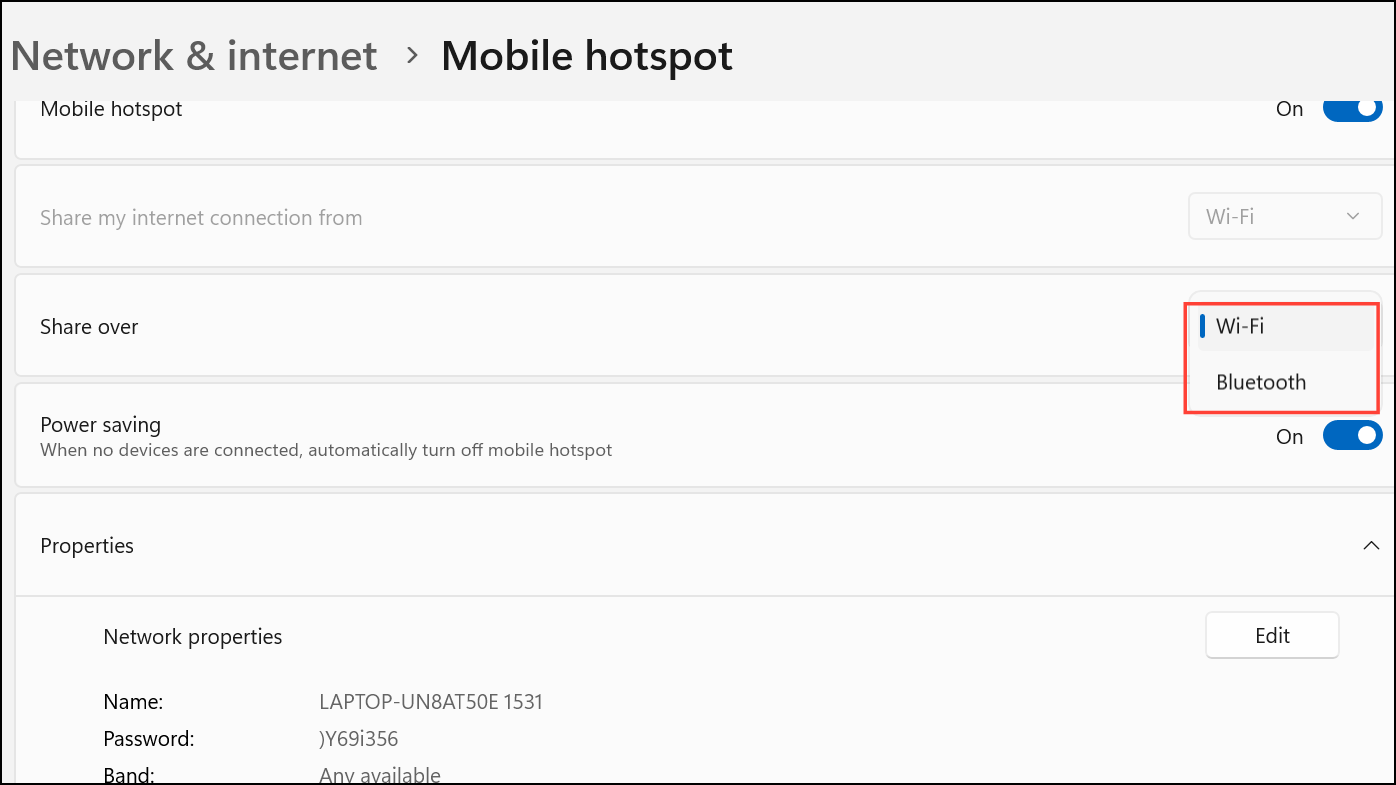
Step 3: Under Share over, select whether to share the connection via Wi-Fi (default and usually fastest) or Bluetooth. Wi-Fi is recommended for most scenarios due to its higher speeds and compatibility.
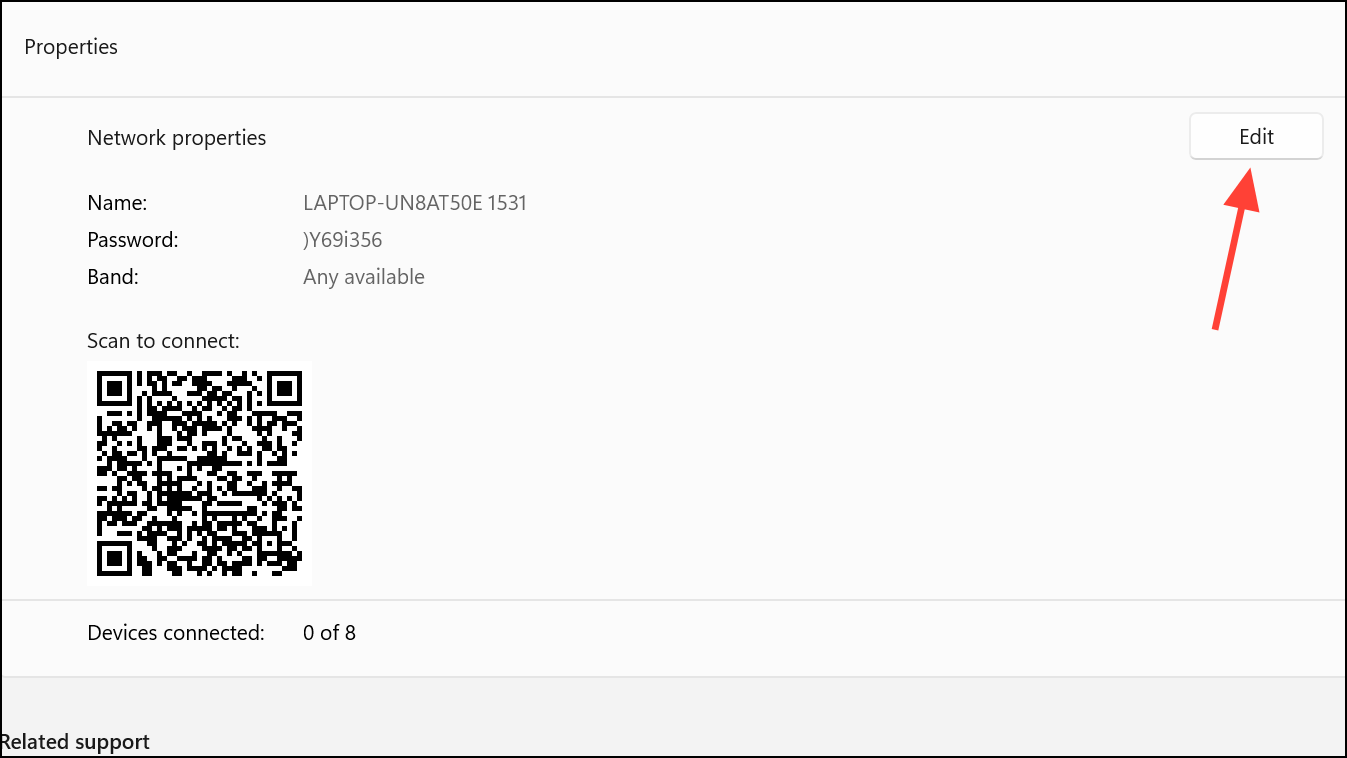
Step 4: Expand the Properties section and click Edit to customize the network name (SSID), password, and select the network band (2.4 GHz or 5 GHz, if supported by your hardware). Setting a strong password helps keep unauthorized users from connecting.
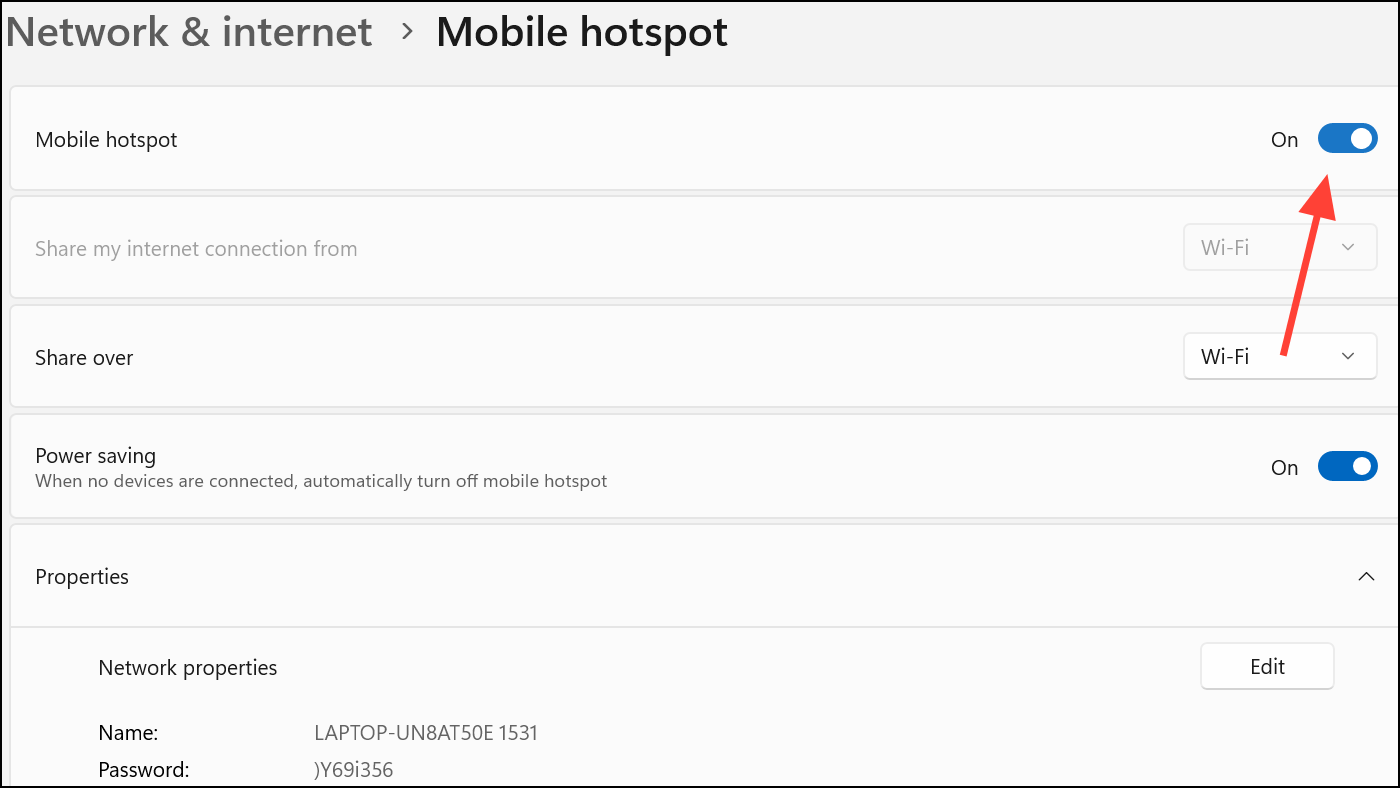
Step 5: Toggle the Mobile hotspot switch to the On position. Your PC will now broadcast a Wi-Fi network with the specified name and password, allowing other devices to connect.
Step 6: On the device you want to connect, open its Wi-Fi settings, locate the hotspot network name, enter the password, and connect. You can also use the QR code provided in Windows 11 to simplify connection for mobile devices.
This method works well if your PC is already connected to the internet and you want to share that connection. It’s also possible to monitor how many devices are connected through the quick settings cluster in the taskbar, where you can quickly toggle the hotspot on or off.
Alternative Method: Creating a Mobile Hotspot Without an Active Internet Connection
Standard Windows 11 settings require an active internet connection to enable the mobile hotspot feature. However, certain scenarios—like remote equipment setups or device-to-device networking—require a hotspot even when no internet is available. This approach involves creating a virtual network interface and using a startup script to initialize the hotspot.
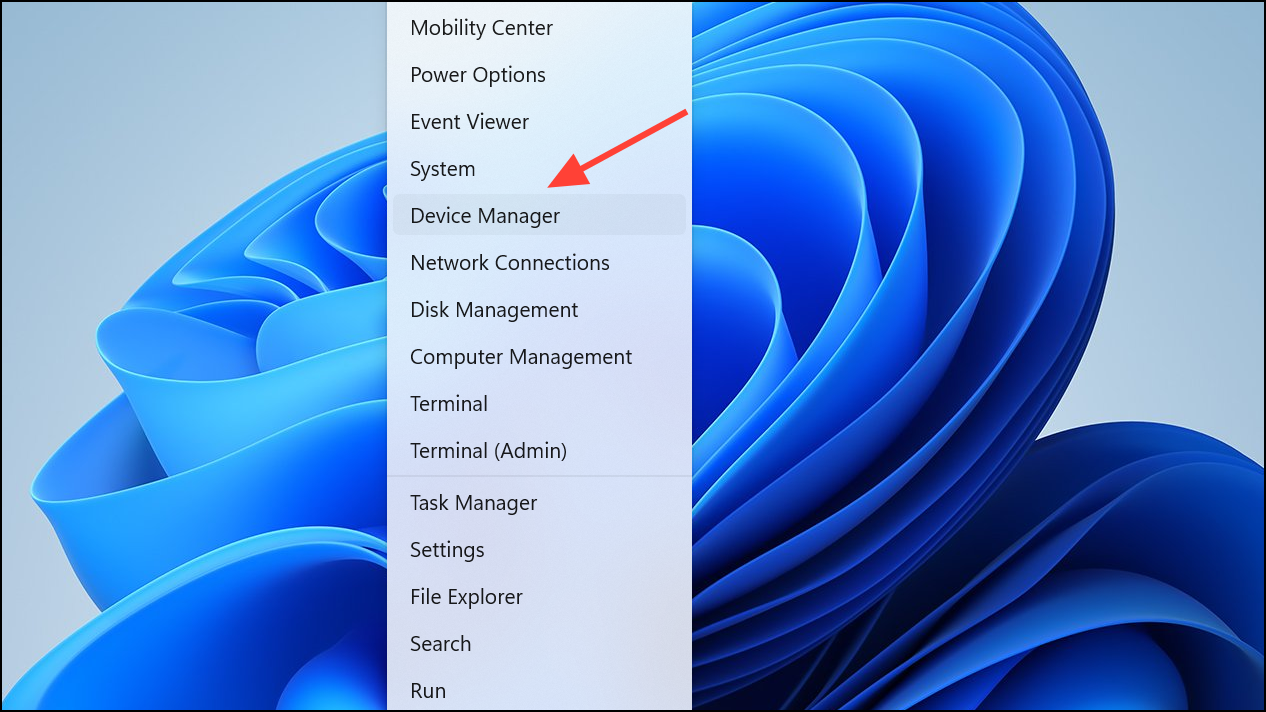
Step 1: Install a loopback network adapter. Open Device Manager by right-clicking the Start menu and selecting it.
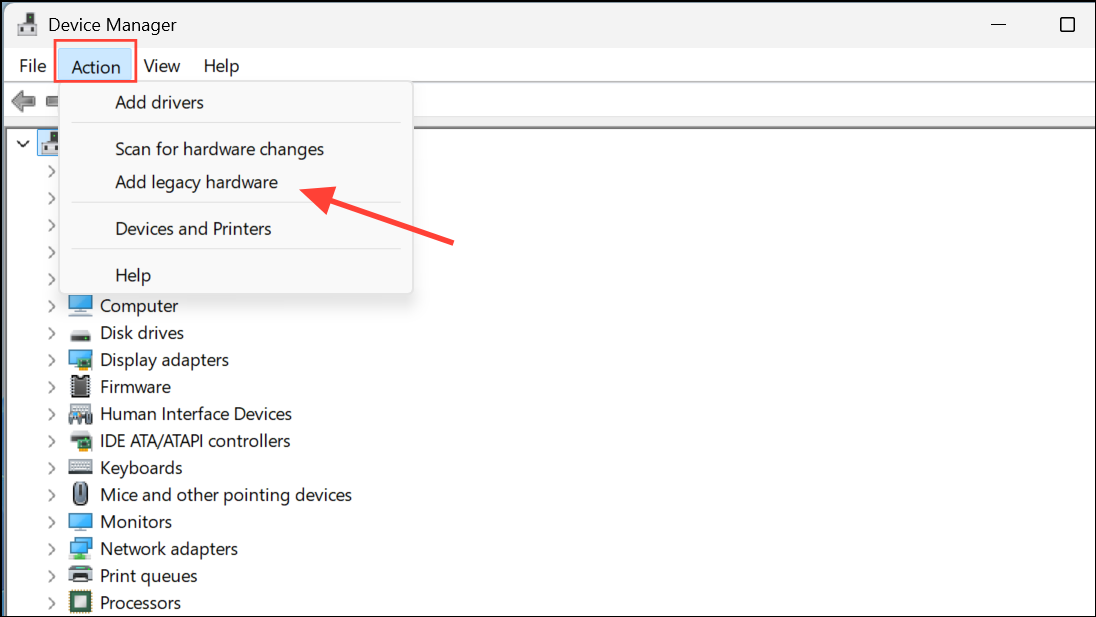
Step 2: At the top of the list, select your computer name. In the Action menu, choose Add legacy hardware.
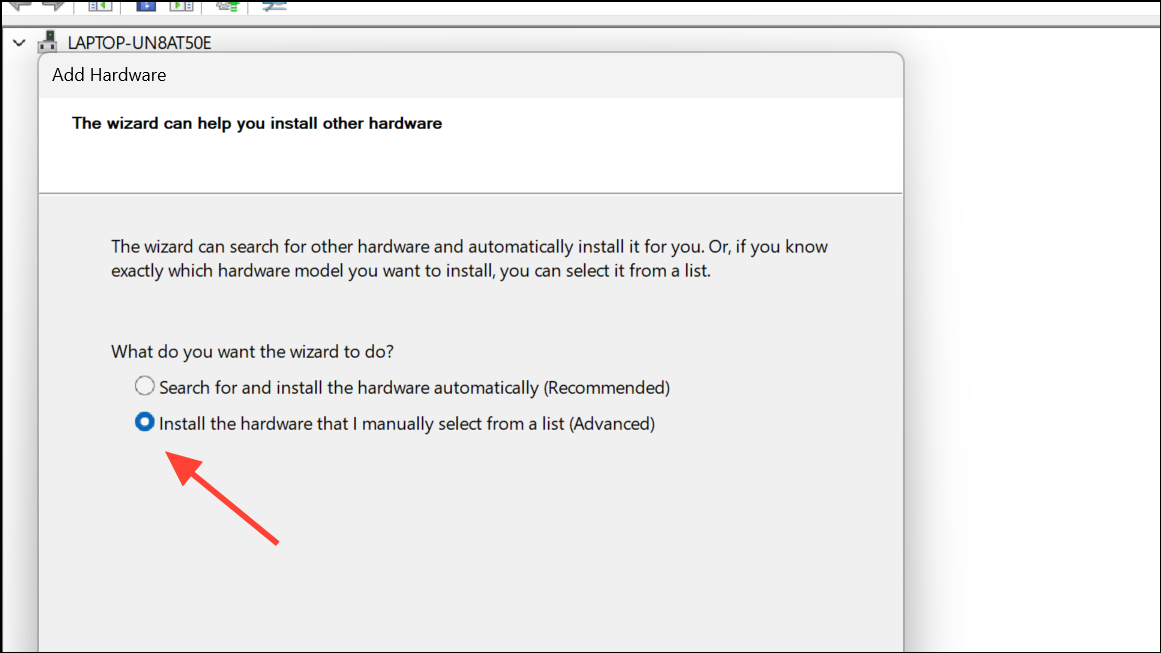
Step 3: Click Next, then select Install the hardware that I manually select from a list.
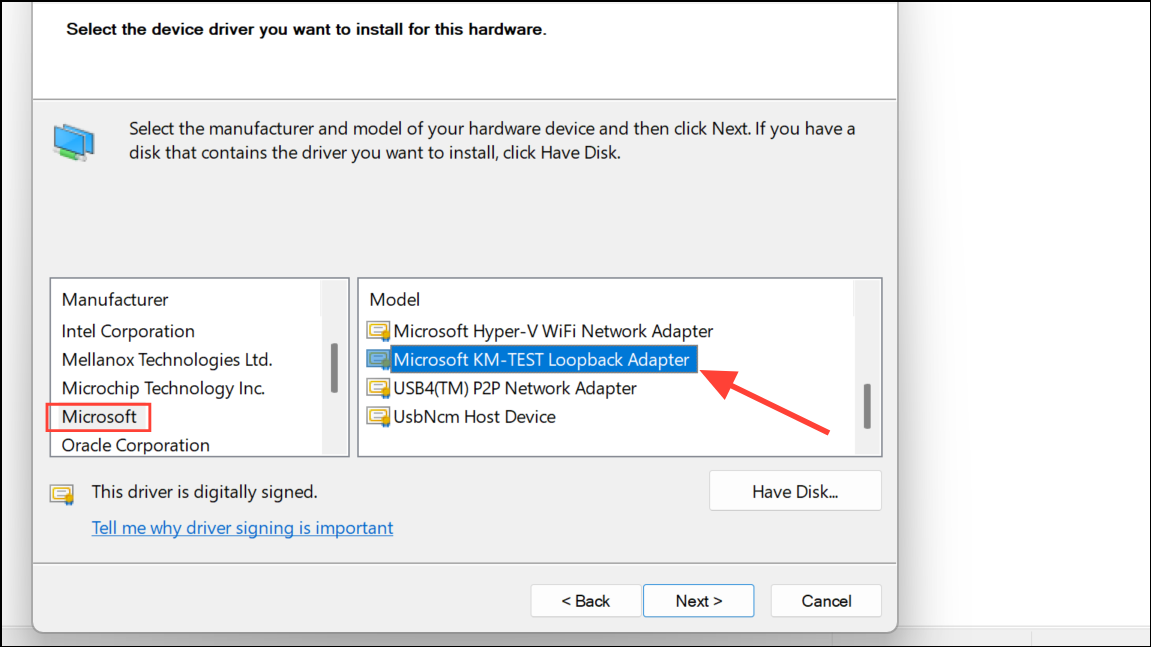
Step 4: Choose Network Adapters, click Next, then under Microsoft on the left, select Microsoft KM-TEST Loopback Adapter on the right. Click Next until the installation completes.
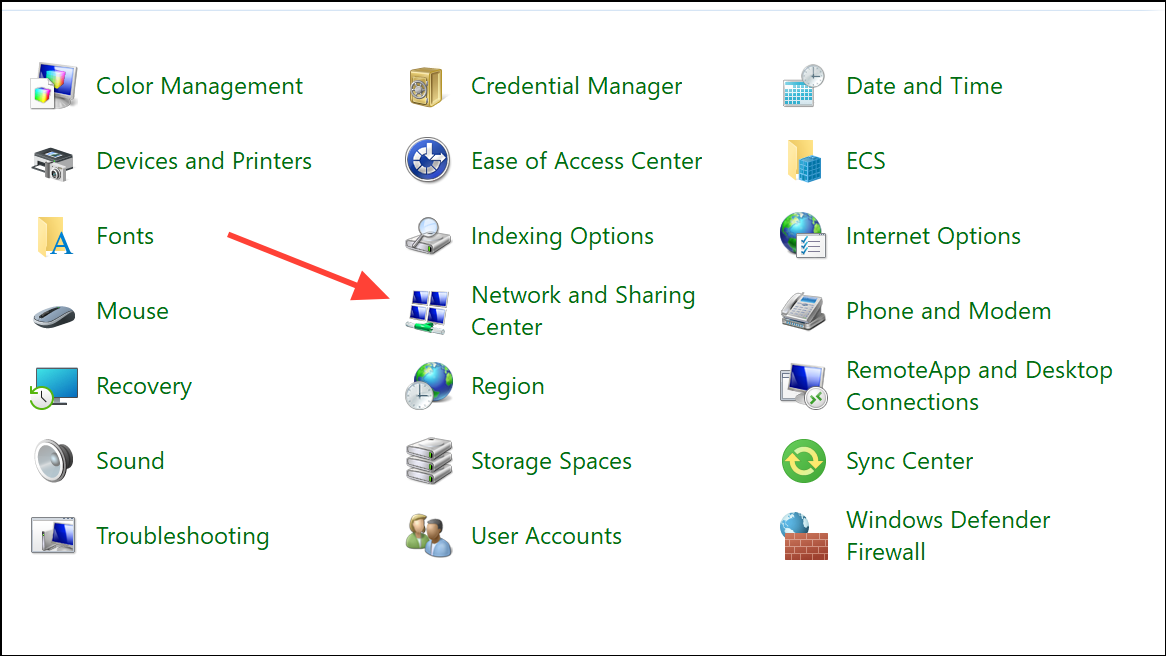
Step 5: Rename the loopback adapter for clarity. Open Control Panel and go to Network and Internet > Network and Sharing Center.
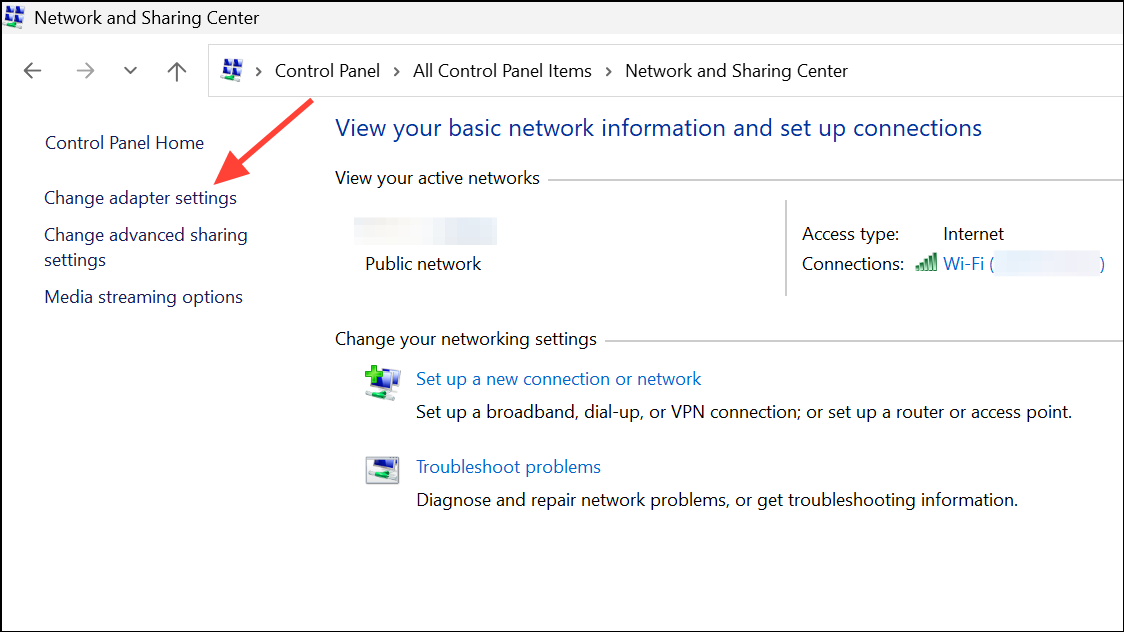
Step 6: Select Change adapter settings on the left.
Step 7: Select the newly created loopback adapter, press F2, and rename it (for example, to Loopback). Restart your PC to ensure the change is recognized by the system.
Step 8: Create a startup script to activate the hotspot at boot. Open the Run dialog with Win + R, type shell:startup, and press Enter to open the Startup folder. Create a new batch file (for example, StartMobileHotspot.bat) with the following content, adjusting the profile name if you used a different name for the loopback adapter:
powershell -ExecutionPolicy Bypass "$profile = [Windows.Networking.Connectivity.NetworkInformation,Windows.Networking.Connectivity,ContentType=WindowsRuntime]::GetConnectionProfiles() | where {$_.profilename -eq 'Loopback'}; $tether = [Windows.Networking.NetworkOperators.NetworkOperatorTetheringManager,Windows.Networking.NetworkOperators,ContentType=WindowsRuntime]::CreateFromConnectionProfile($profile); $tether.StartTetheringAsync()"This script instructs Windows to start the hotspot using the loopback interface, even if no internet connection is present. Automatic login may be required for the script to execute at startup.
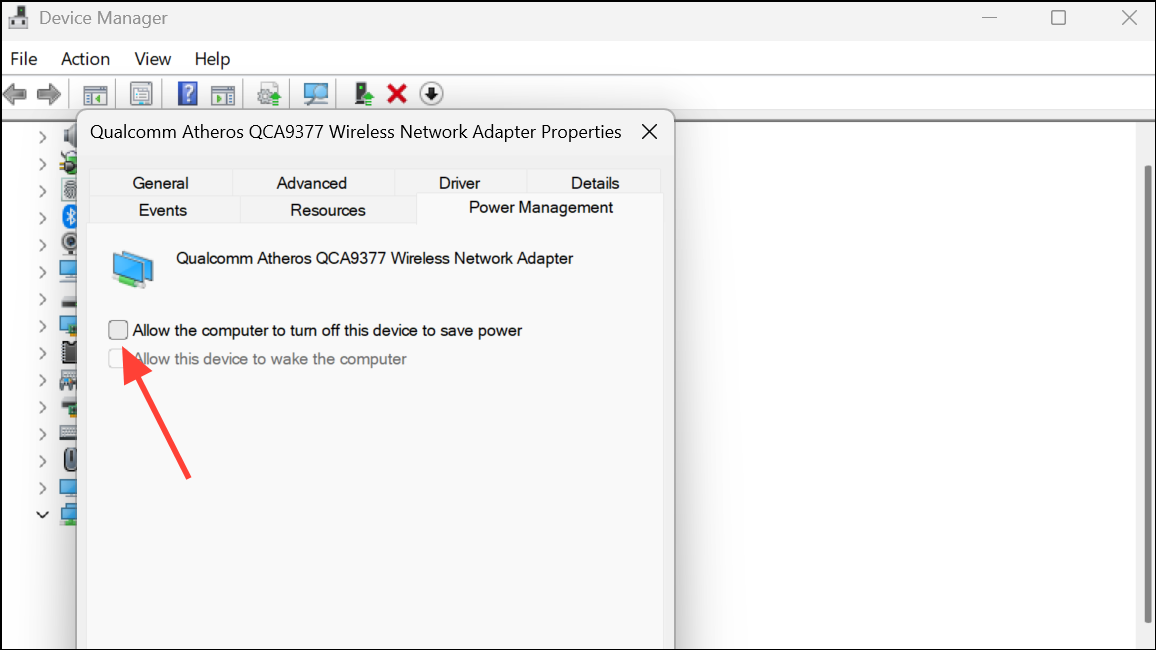
Step 9: Disable power-saving features that could turn off the hotspot when no devices are connected. In Settings > Network & Internet > Mobile Hotspot, locate the power saving toggle and set it to Off. To prevent the wireless adapter from powering down, go to Device Manager, expand Network Adapters, right-click your Wi-Fi adapter, select Properties, and in the Power Management tab, uncheck Allow the computer to turn off this device to save power.
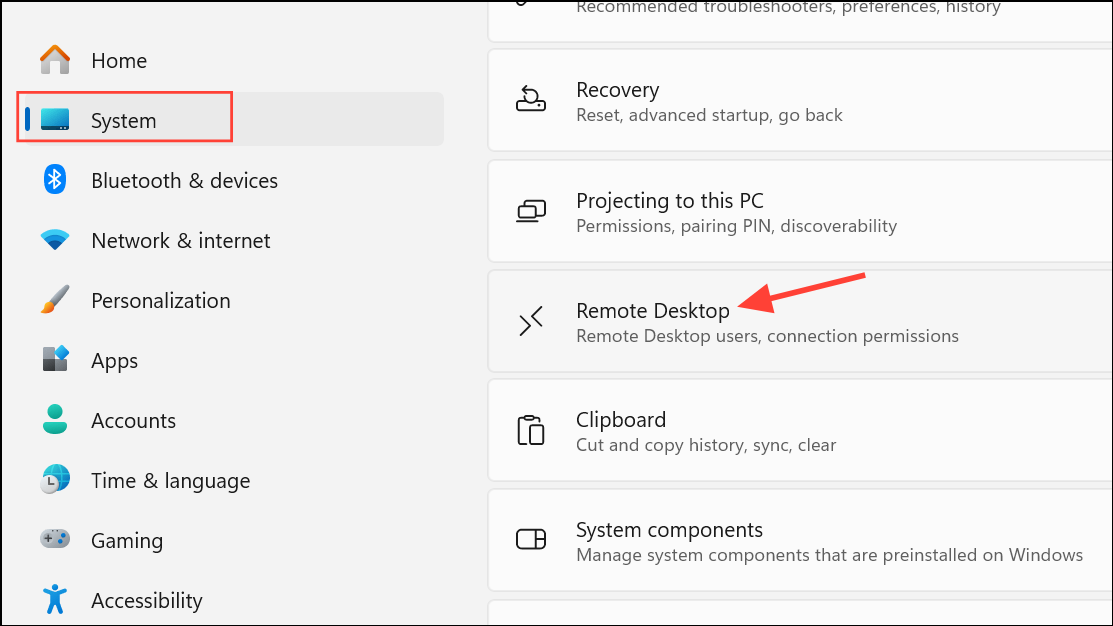
Step 10: Enable remote desktop if you plan to control the PC remotely. In Settings > System > Remote Desktop, toggle the setting to On. This allows you to connect to the PC over the hotspot using another device with Remote Desktop Protocol (RDP).
This method is especially effective for headless setups or environments where a router is unavailable. It also allows for manual or script-based toggling of the hotspot, and can be customized for 2.4 GHz or 5 GHz operation by editing the network properties in the Mobile Hotspot settings.
Registry Method: Enabling Mobile Hotspot When the Option is Missing
Sometimes, the Mobile Hotspot feature may be unavailable or disabled in Windows 11 Settings due to group policy or system configuration. You can enable it through the Windows Registry, but caution is required as incorrect changes can cause system issues.
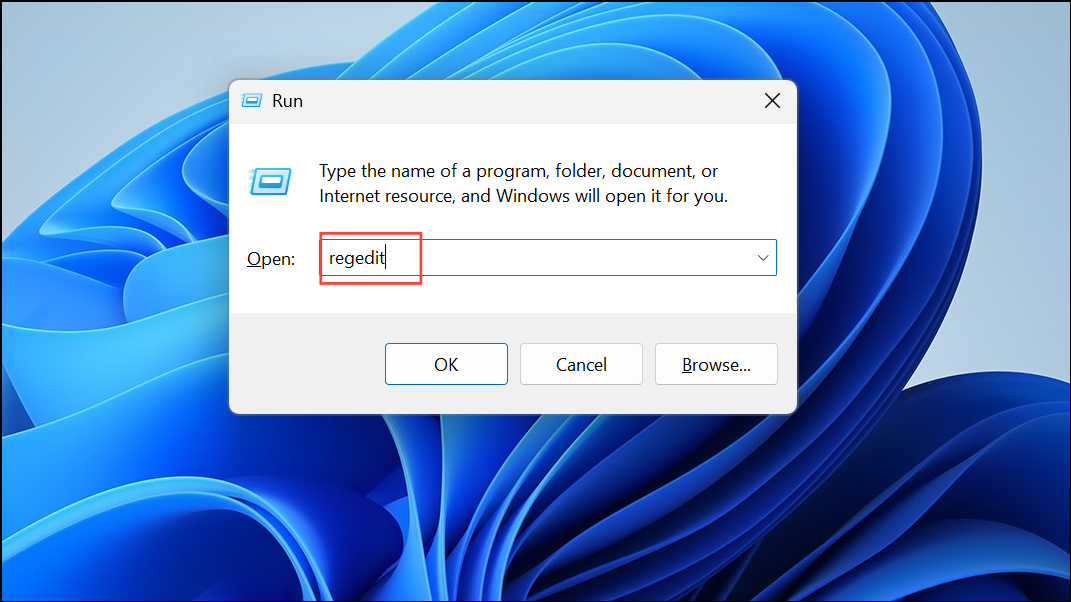
Step 1: Press Windows + R, type regedit, and press Enter to open the Registry Editor. Approve any User Account Control prompt.
Step 2: Navigate to HKEY_LOCAL_MACHINE\SOFTWARE\Microsoft\Windows\CurrentVersion\SharedAccess. If the SharedAccess key does not exist, create it.

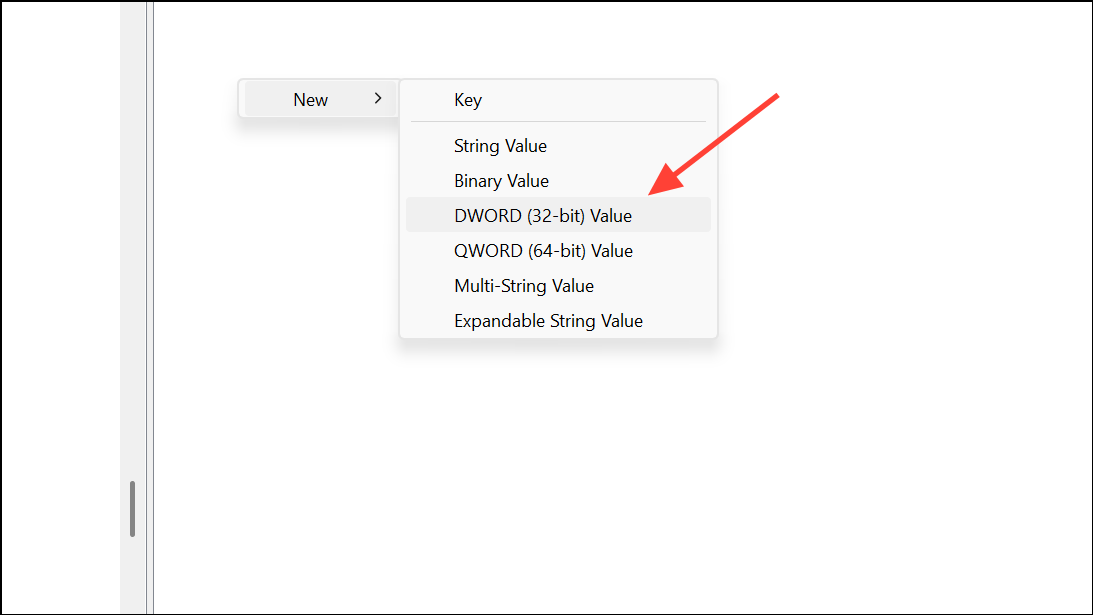
Step 3: In the right pane, locate the Enabled DWORD value. If it’s missing, right-click and select New > DWORD (32-bit) Value, name it Enabled, and set its value to 1.
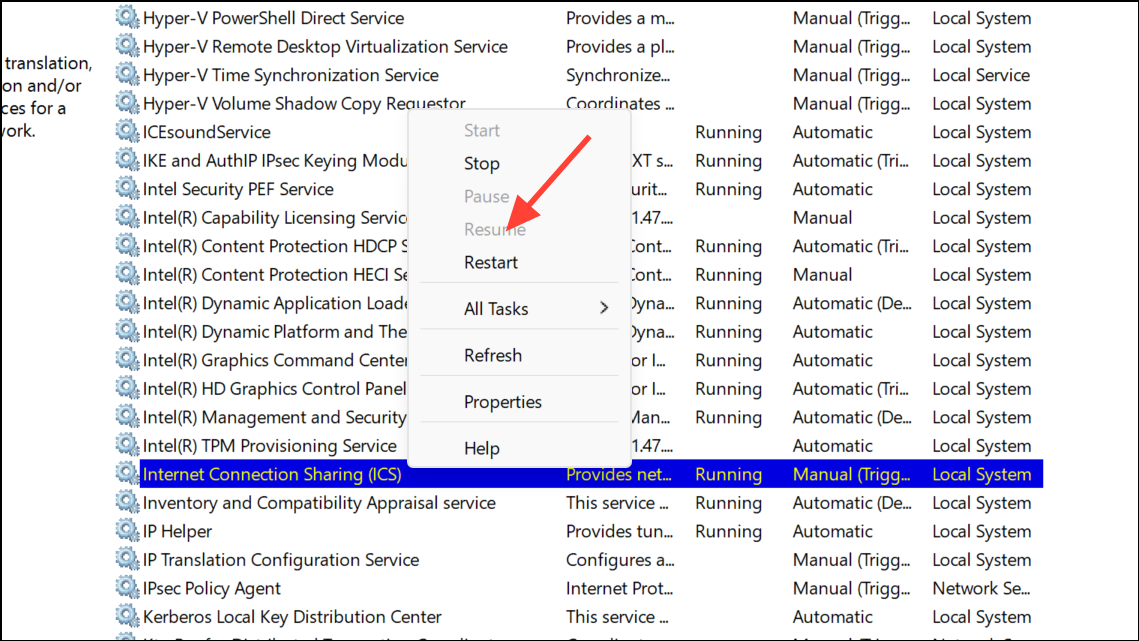
Step 4: Restart the Internet Connection Sharing (ICS) service. Press Windows + R, type services.msc, and press Enter. Locate Internet Connection Sharing (ICS), right-click, and select Restart.
Step 5: Restart your computer to apply the changes. After rebooting, check Settings > Network & Internet > Mobile Hotspot for the toggle option.
If the Mobile Hotspot option is still missing, verify that your network adapter supports hotspot functionality and update your drivers in Device Manager.
Troubleshooting Mobile Hotspot Issues
Mobile hotspot problems often stem from driver incompatibility, missing hardware support, or incorrect configuration. If the hotspot will not start, or devices cannot connect:
- Check if your Wi-Fi adapter supports hosted networking. Run
netsh wlan show driversin Command Prompt and look for Hosted network supported: Yes. If not, consider rolling back to an older driver version that supports this feature. - Ensure Wi-Fi is enabled in both Device Manager and Settings > Network & Internet.
- Update or reinstall network drivers, especially after major Windows updates.
- Reset network adapters if persistent issues occur. This can be done in Settings > Network & Internet > Advanced network settings > Network reset.
- For custom scripts, verify profile names match exactly, including capitalization, and ensure scripts are run with appropriate permissions.
- Double-check power management settings to prevent the wireless adapter or hotspot from turning off automatically.
Some users report that third-party utilities or apps (such as MyPublicWifi or WiFi Hotspot from the Windows Store) can provide a user-friendly interface for managing hotspots, though these may have limitations compared to built-in solutions.
Setting up a mobile hotspot on Windows 11 enables flexible device connectivity for both internet sharing and local networking, with several methods available to suit different technical needs and hardware capabilities.