
Sharing your MacBook’s internet connection lets you connect other devices—like smartphones, tablets, or other computers—to the internet when Wi-Fi networks are unavailable or restricted. This setup can be especially useful in hotels, conference centers, or when only an Ethernet connection is available. The process relies on macOS’s built-in Internet Sharing feature, which allows your MacBook to act as a wireless router.
Using Internet Sharing in macOS
Step 1: Connect your MacBook to the internet using a wired Ethernet connection or another network interface. Internet Sharing requires your MacBook to have an active connection that it can share. If you’re already connected to Wi-Fi, you’ll need a second network adapter (like a USB Ethernet adapter or USB Wi-Fi dongle) to share your connection wirelessly.
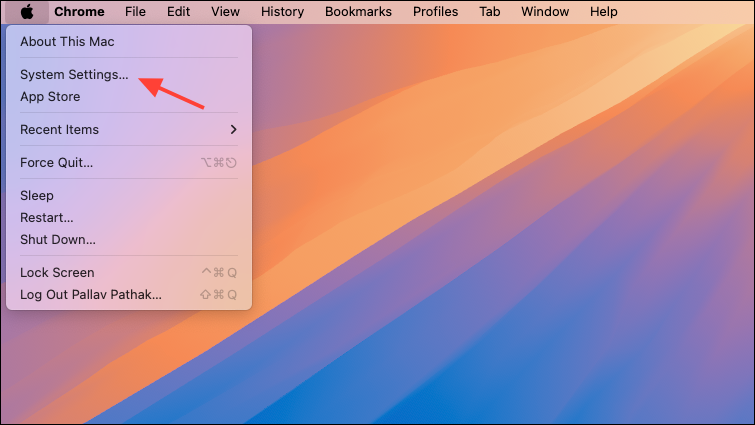
Step 2: Open System Settings (or System Preferences on macOS Monterey and earlier) by clicking the Apple menu and selecting the appropriate option.
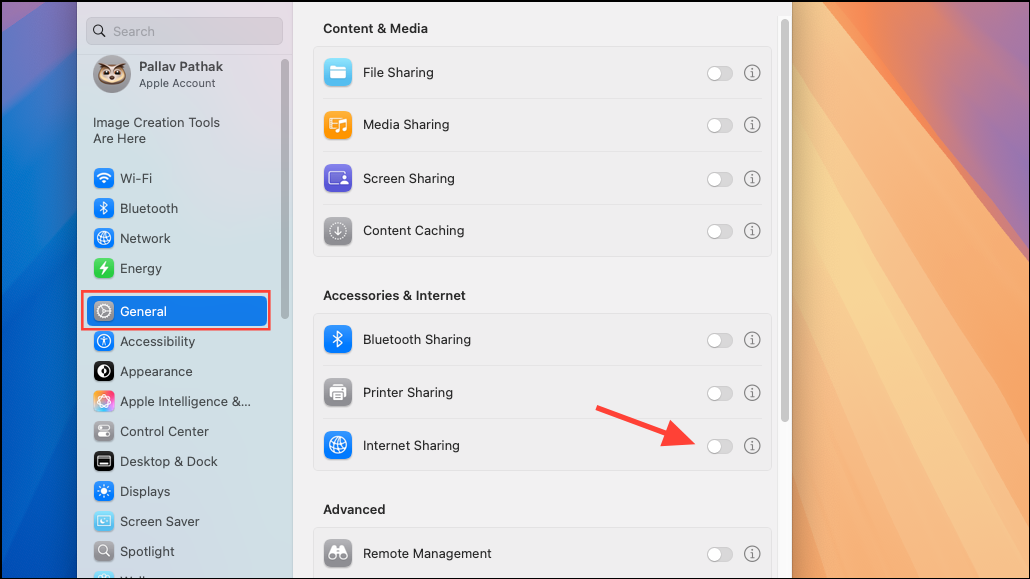
Step 3: Navigate to General > Sharing (or just Sharing in older versions). Locate the Internet Sharing option in the list of services.
Step 4: Select the source of your internet connection from the Share your connection from dropdown menu. For example, choose Ethernet if your MacBook is connected via a wired cable.
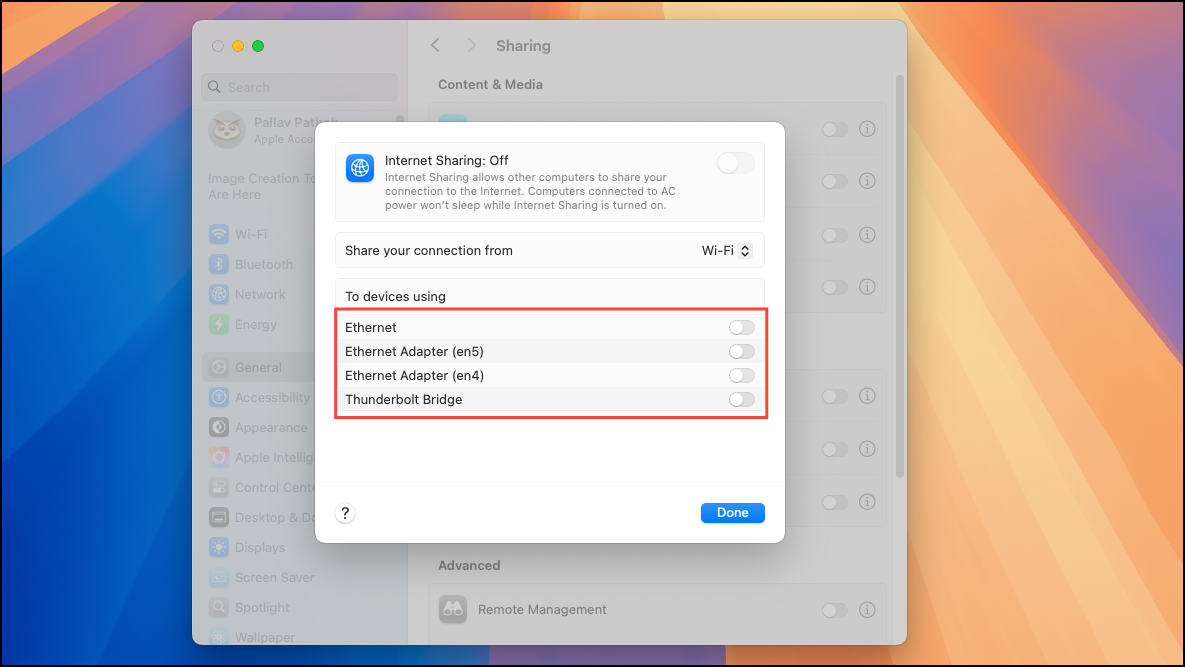
Step 5: In the To computers using section, check Wi-Fi. This tells your MacBook to broadcast the internet connection over Wi-Fi.
Step 6: Click Wi-Fi Options to configure your hotspot’s network name (SSID), security type, and password. Set Security to WPA2 Personal for a secure connection, and choose a strong password to prevent unauthorized access.
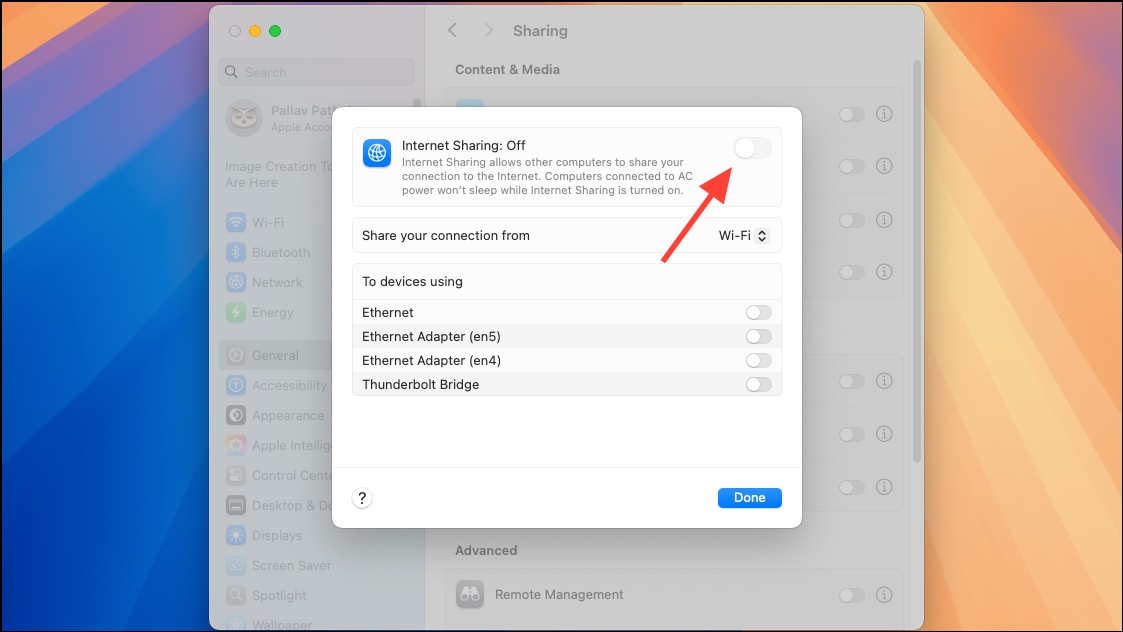
Step 7: Enable Internet Sharing by checking its box. A dialog will prompt you to confirm; click Start. The status indicator will turn green, signaling that your MacBook is now broadcasting a Wi-Fi hotspot.
Step 8: On your other devices, search for the new Wi-Fi network name you set up, enter the password, and connect. These devices will now access the internet through your MacBook’s shared connection.
Using Third-Party Applications
Some users may prefer third-party apps to create a Wi-Fi hotspot, especially if macOS’s built-in Internet Sharing doesn’t fit their needs or if they want a more user-friendly interface. Applications like Connectify or Hostel (where available for macOS) can simplify the process, allow for more customization, or bypass certain system restrictions.
Step 1: Download and install a reputable Wi-Fi hotspot application that supports macOS. Make sure to review the app’s privacy policy and permissions before installation.
Step 2: Launch the application and follow its setup wizard. Most hotspot apps will automatically detect your available internet connections and guide you through setting up a network name, security options, and password.
Step 3: Start the hotspot through the app’s interface. Once active, connect your devices to the new Wi-Fi network as you would with any standard wireless network.
Troubleshooting and Tips
- If Internet Sharing is grayed out or unavailable, check that your MacBook has at least two network interfaces (such as Ethernet and Wi-Fi) active.
- Restart your MacBook if changes do not take effect immediately.
- Use a strong password to secure your hotspot and prevent unauthorized users from joining.
- Remember that sharing your internet connection may reduce speeds for all connected devices, especially if your original connection is slow or metered.
- Disable Internet Sharing when not in use to conserve battery life and maintain network security.
Turning your MacBook into a Wi-Fi hotspot gives you flexible internet sharing options in a range of situations. Just remember to secure your connection and monitor usage to keep your network safe and reliable.