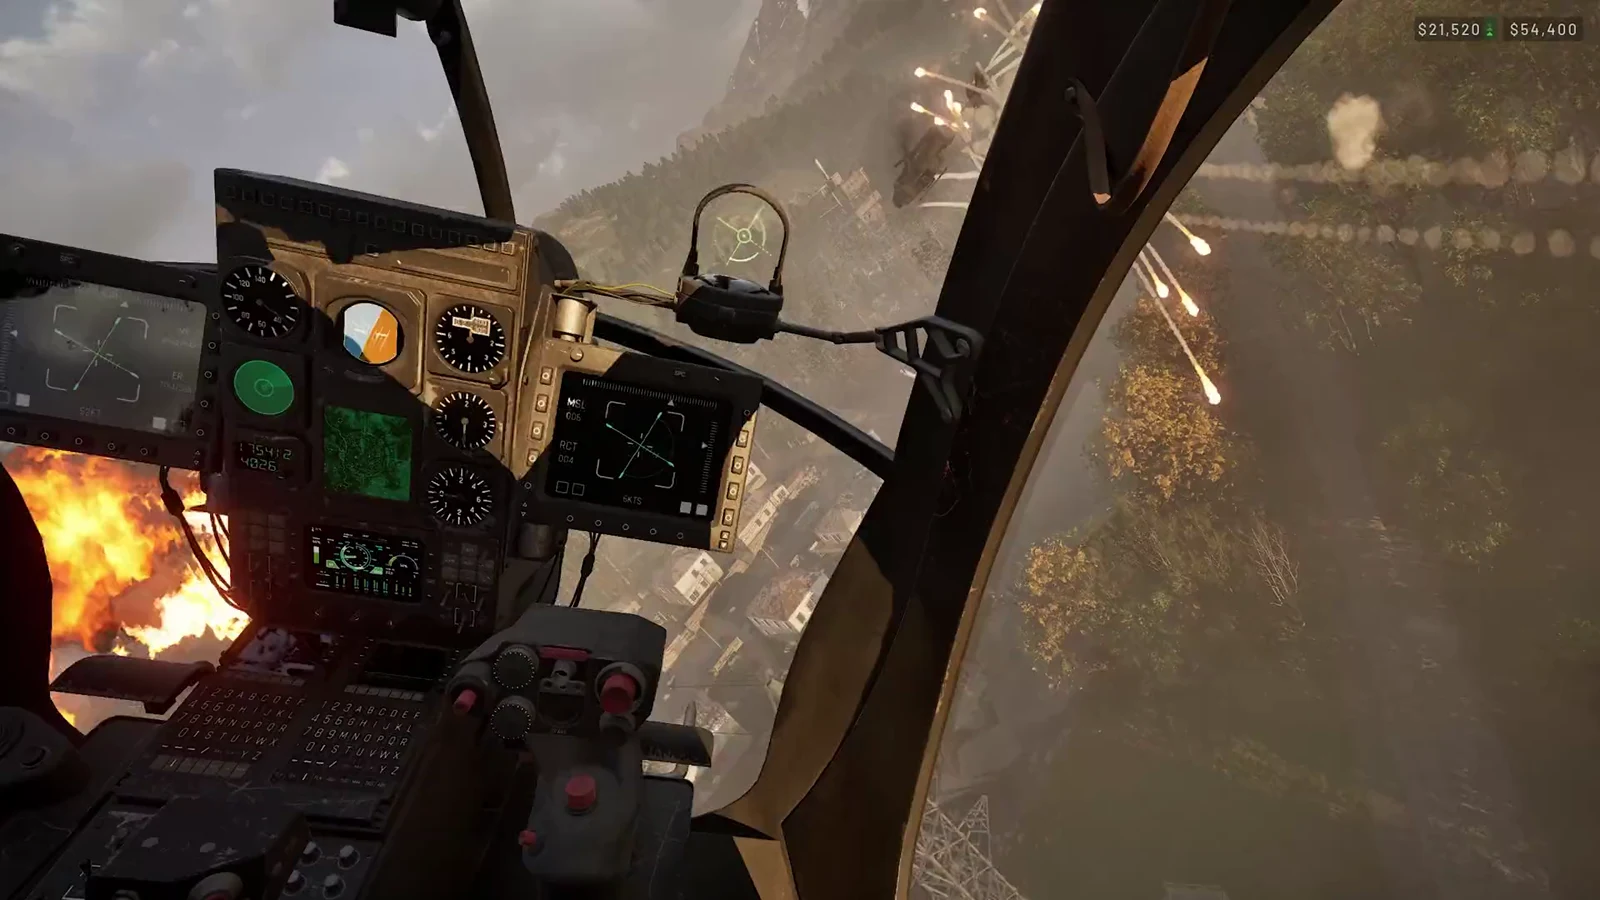
A helicopter that floats into a landing zone at walking pace is a gift to every rocket gunner on the map. The J-hook fixes that. It is a single banked, yawing turn that dumps speed and altitude at the same time, putting the skids on the ground seconds after you were still doing well over 200 km/h.
Quick answer: Fly in fast, lower the collective, then roll and apply full yaw toward the landing zone. Raise the collective mid-turn as airspeed drops, level out, and touch down.
The helicopters you will be landing
Both Little Birds handle identically in the air, so everything below applies to either airframe. They are bought from the vehicle vendor inside your faction’s safe zone and never spawn out in the world, which means a bad landing costs you the purchase price, not just a walk back.
| Vehicle | Price | Top speed | Unlock |
|---|---|---|---|
 AH-6M [Miniguns] AH-6M [Miniguns] | $7,000 | 350 km/h | Pilot level 4, $50,000 fee |
| AH-6R [Rockets] | $12,500 | 350 km/h | Pilot level 20, $250,000 fee |
Each carries 105 litres of fuel and burns 4.4 litres per kilometre, and an enemy who shoots one down earns $800. Top speed matters here because the whole point of the maneuver is arriving with that speed still on the clock.
Set up controls before you try anything fast
Open Settings, go to Controls, then Keybindings, and scroll to the Rotary Vehicle section. Write down what your build actually has mapped, because the in-cockpit prompts are what you should trust over any second-hand list.
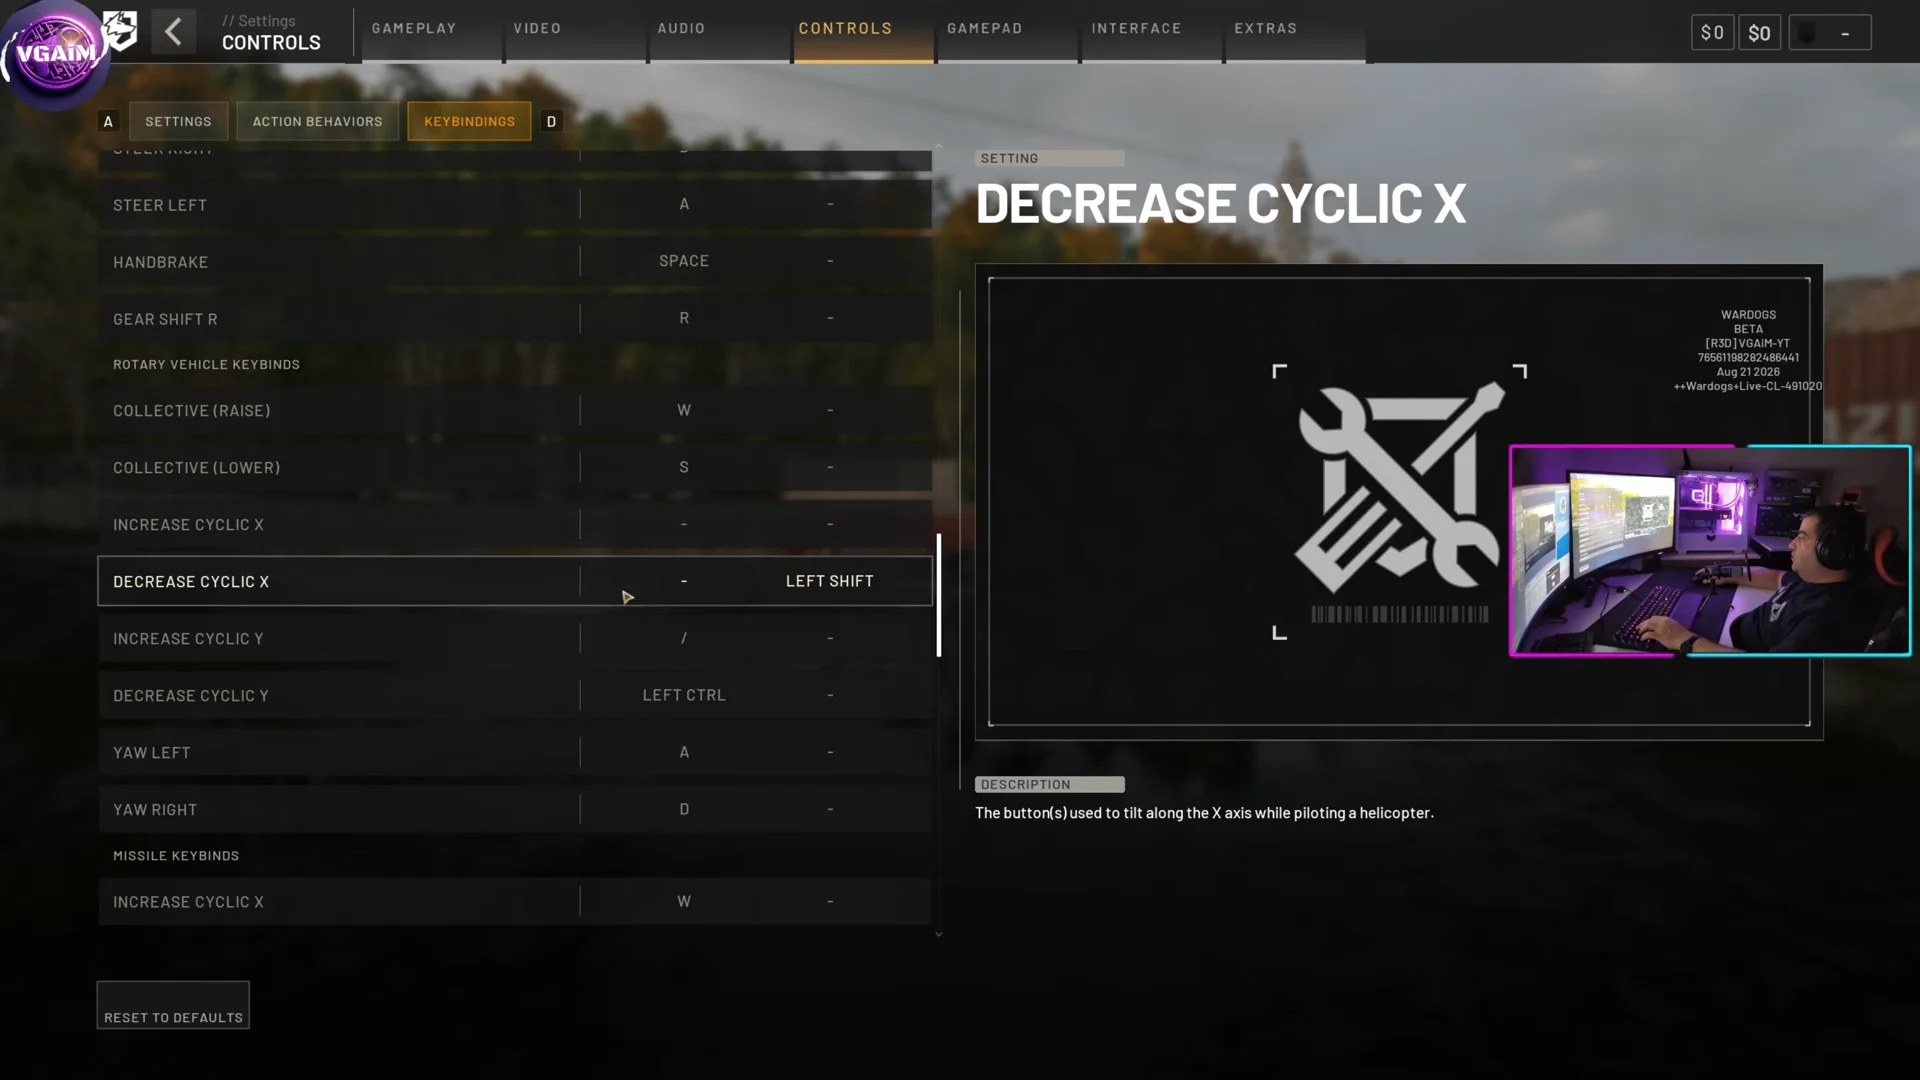
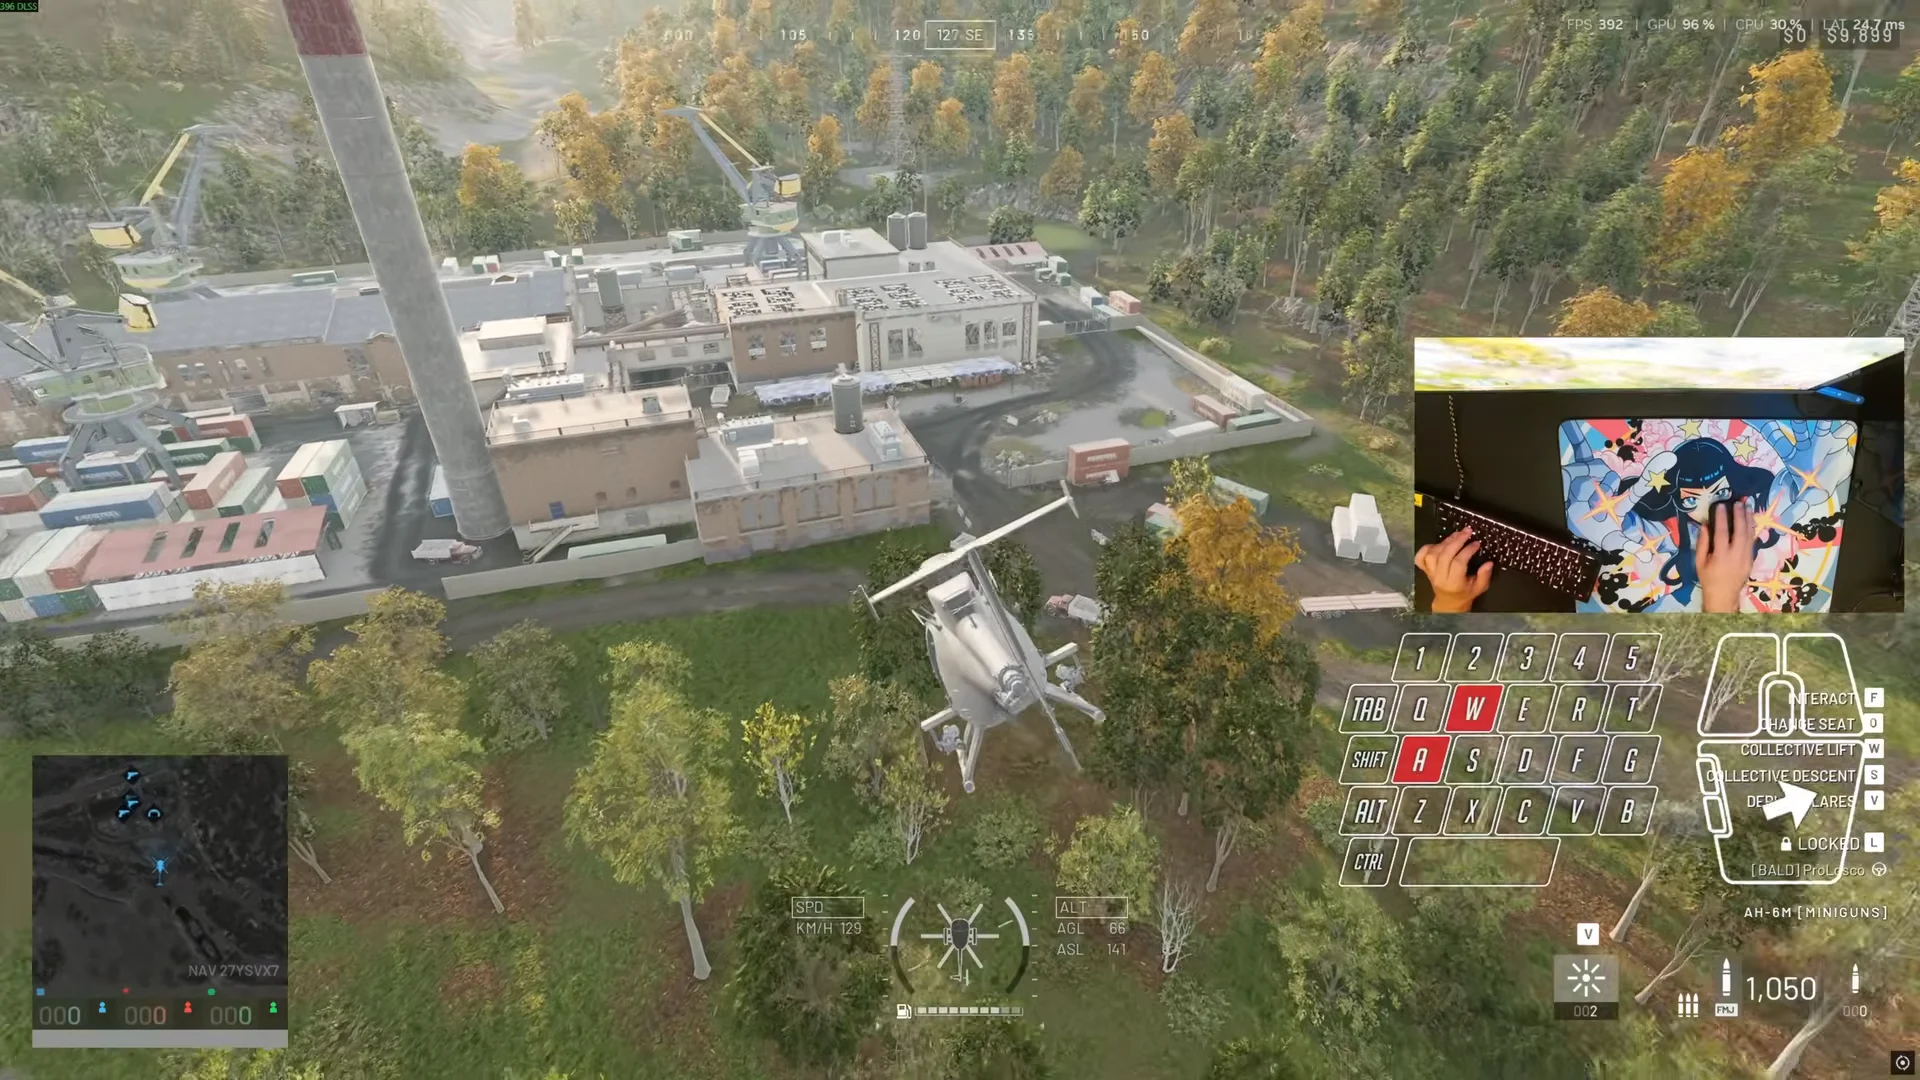
- Collective raises and lowers the aircraft. The cockpit prompts show Left Shift for lift and Left Ctrl for descent.
- Cyclic pitches the nose forward or back and rolls the aircraft left or right.
- Yaw swings the tail, rotating the fuselage without changing where you are travelling.
- Free look on Left Alt lets you scan a landing zone without steering off line.
The bottom-centre HUD shows a vertical collective bar with a neutral midpoint, roll bars either side of the aircraft symbol, pitch arrows, airspeed in km/h, and both above-ground and above-sea-level altitude. During a landing, the collective bar and the AGL reading are the two you actually watch.
Assists and mouse steering
Flight Assists is a master switch covering Stability Assist, Auto-Hover Assist and Envelope Limits, all enabled by default, with Turn Coordination off. Envelope Limits is the one that matters for this maneuver, because it restricts extreme attitudes; switching it off allows the steeper banks a hard J-hook wants, at the cost of a much less forgiving aircraft. Rotary Vehicle Mouse Control is off by default and can be enabled to map mouse swipes to yaw and pitch for fine corrections.
HOTAS input
On a stick and throttle, roll and pitch sit on the stick, yaw goes on the twist axis or rudder pedals, and collective takes the throttle lever. Pedals are the better yaw option if you own them, since a J-hook needs full yaw held through the turn. A HOTAS is not automatically better than keyboard and mouse, and individual device compatibility varies, so test every axis on the firing range before you carry passengers.
Three ways to put a Little Bird on the ground
| Approach | Entry speed | Main risk |
|---|---|---|
| Basic deceleration | Low to moderate | Long exposed hover |
| Skid slide | Moderate, straight ahead | Skids dig in and flip |
| J-hook | Up to 260+ km/h | Dropping out of the bank |
Basic approach
Pull back on the cyclic well before the landing zone and let the aircraft bleed speed into a hover, then settle. It is the easiest to fly and the worst under fire, because pitching up points the cockpit at the sky and hides the ground, and you need a lot of distance to scrub the speed off. Leave it too late and you end up hanging over the objective in plain sight.
Slide landing
On smooth, flat ground you can touch down while still moving and let the skids slide to a stop. The aircraft must be travelling directly forward when the skids make contact.
Touch down with any sideways drift and the skids catch the ground and flip the helicopter.
J-hook
Coming in sideways through a high-angle turn scrubs airspeed and altitude together, so you spend almost no time slow and exposed. The bigger advantage is visibility. The landing site stays in view out the side glass and the cockpit floor window for the whole arc, so you can still see what is waiting for you when you arrive.
How to fly a J-hook landing
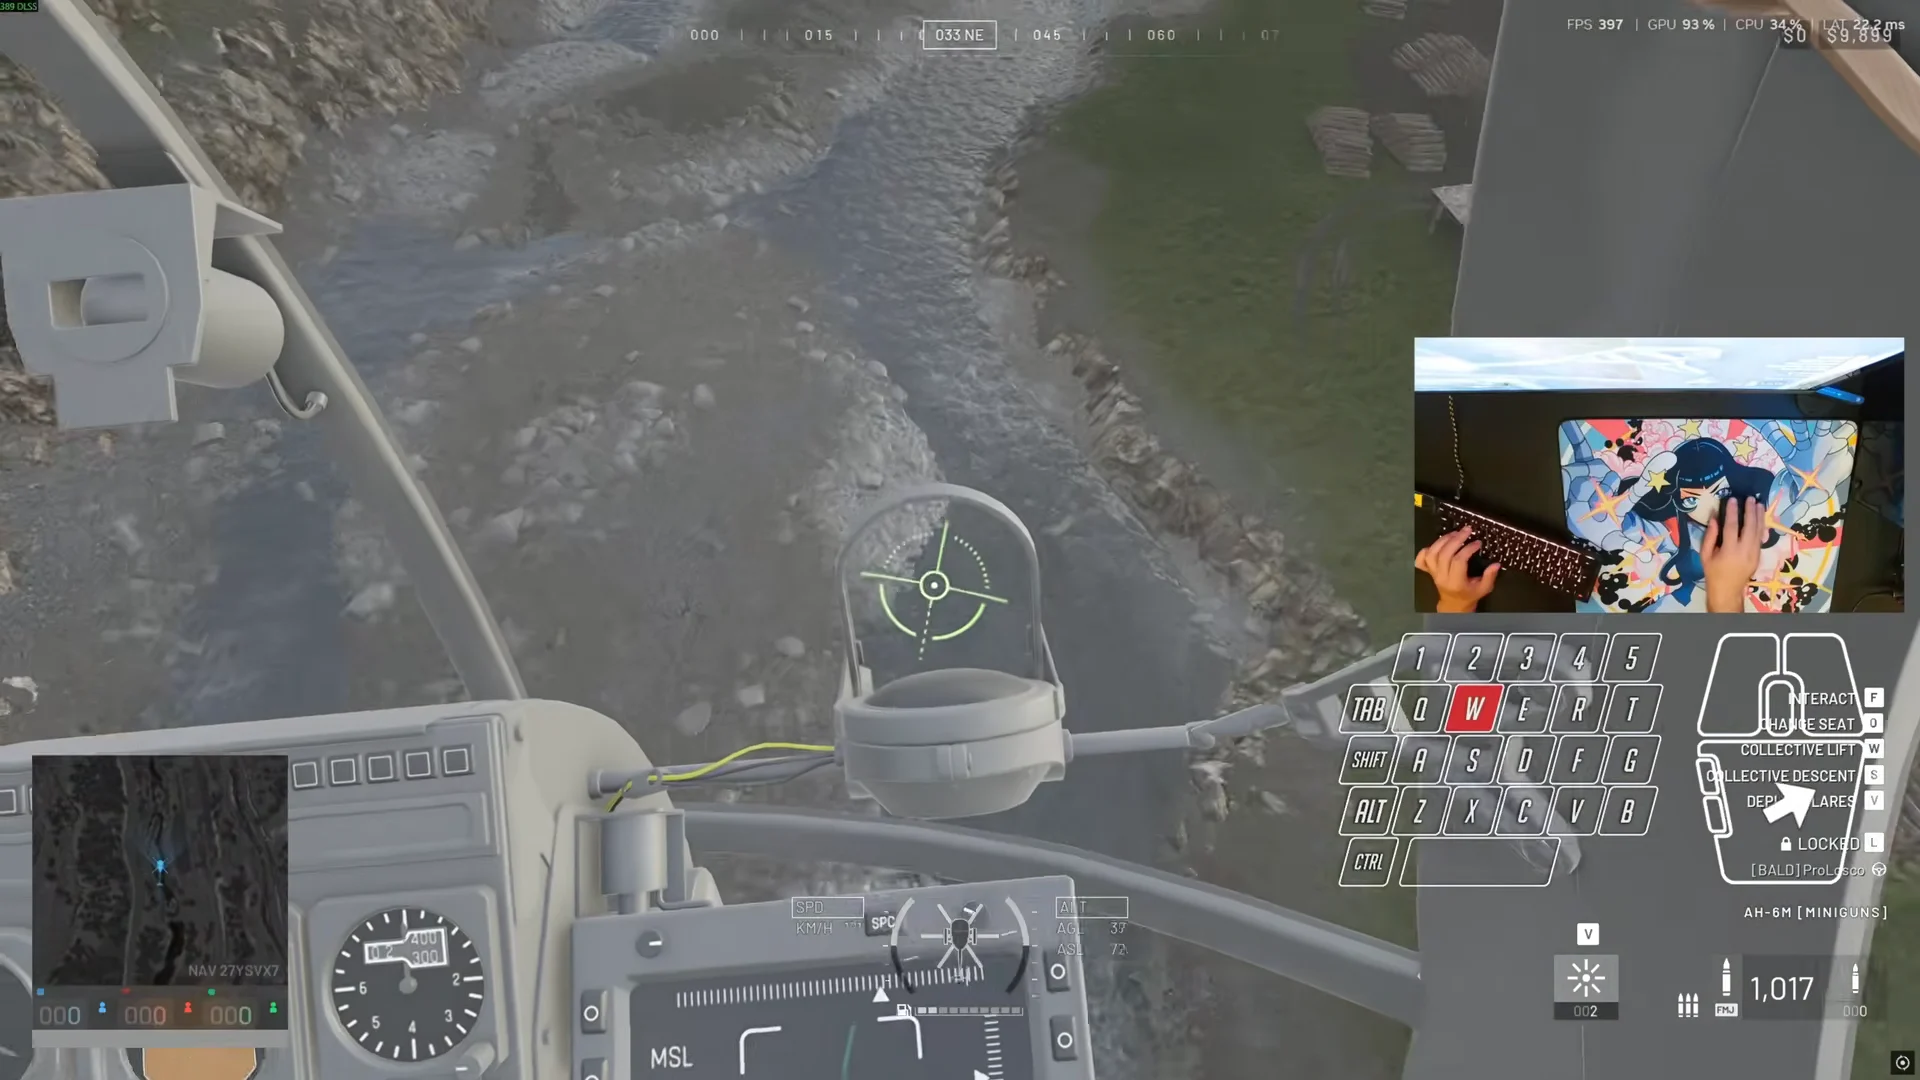
If the zone turns out to be occupied or blocked, you are still fully maneuverable. Raise the collective, roll out of the turn, and go around.
How to tell the landing worked
A clean touchdown puts the skids flat on the surface with no bounce and no hull damage, and the rotors stay spooled so you can lift off again immediately. When passengers get out at an objective, the payout confirms it for you: a TACTICAL DEPLOYMENT popup appears on screen with the cash awarded for the drop. Get it wrong at speed and the aircraft detonates on contact, which is the other, very obvious confirmation.
High-speed entries above 230 km/h
Entering a hook between 230 and 260-plus km/h changes nothing about the inputs and everything about the timing. The collective still comes down first to start the descent, but it has to come back up noticeably earlier and more aggressively through the steepest part of the bank, because there is far more energy to arrest and far less time before the ground arrives. Treat the collective as something you are constantly moving during the turn, not something you set and forget.
Choosing the landing zone and finding it twice
Check the map before you take off and land behind friendly infantry who have already cleared the corners. Industrial yards, warehouse alleys, container stacks and berms give physical cover to your passengers as they get out. Open fields and uncleared ground are where full helicopters die.
During the approach itself, put eyes on the spot at least twice. Once from a distance to set your trajectory, and again partway through the turn to fine-tune the final alignment. Lining the target up on your inside shoulder as you begin the hook is what keeps it visible through the arc.
Drills to practice on the firing range
Do this away from live matches, where a mistake only costs you a walk to the vendor. Work through them in order.
- Hold full yaw and orbit a tall landmark such as a transmission tower, balancing collective and cyclic without trying to land.
- Fly a road or riverbed at low altitude and gradually raise your speed.
- Hook onto a narrow bridge deck, aiming to stop precisely on the roadway.
- Land in a tight compound behind a parked vehicle, which forces a descending rotation into a small footprint.
- Run touch-and-goes on a helipad between buildings to practice aborting and repositioning.
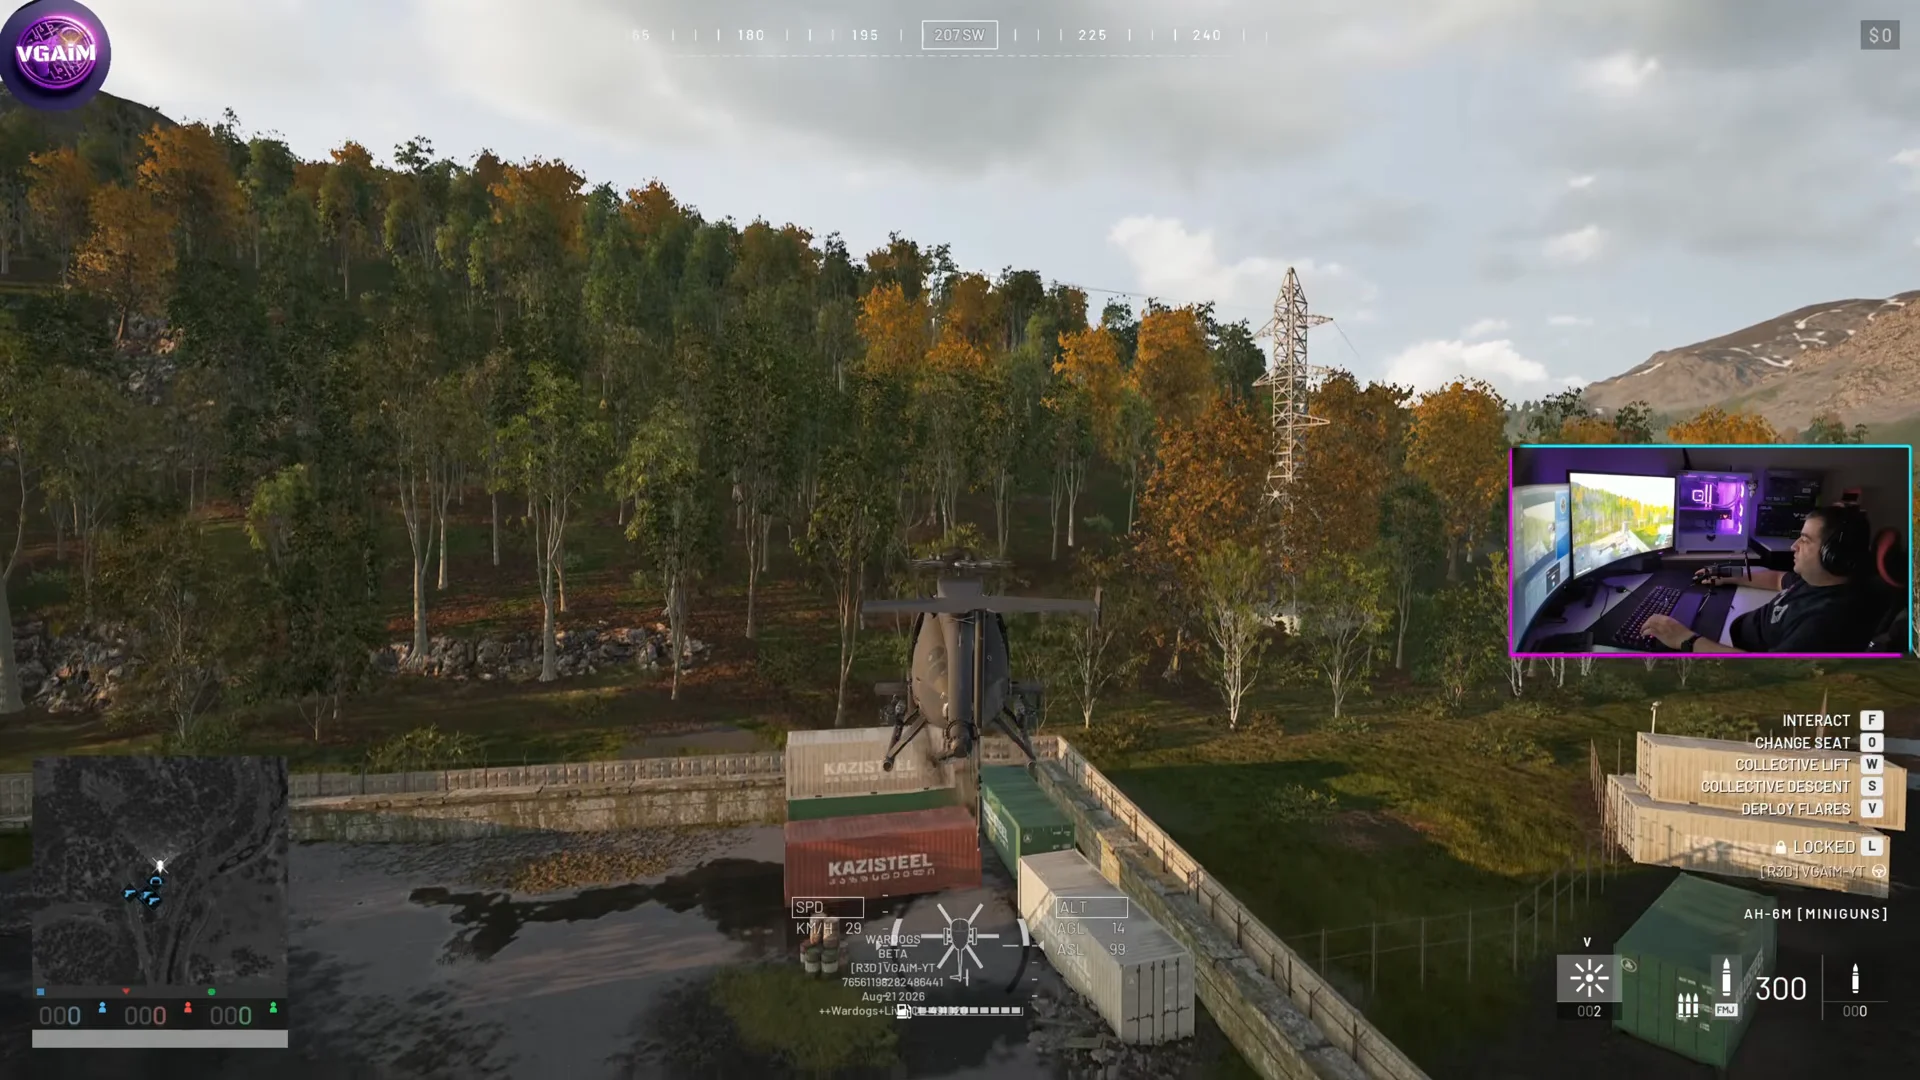
Three rules survive every one of those drills. Pick the spot early, start managing speed early, and abort the moment the aircraft feels unsteady. A go-around costs you ten seconds; a bounced landing at 200 km/h costs the helicopter, the fuel, the ammunition and everyone riding in the back.