Iron in Conan Exiles Enhanced is gathered as Ironstone, the raw ore that you smelt in a Furnace to produce Iron Bars. Bars feed almost every mid-tier crafting recipe, from iron picks and hatchets to weapons, armor, and the Blacksmith Bench itself. Ironstone does not appear in the immediate spawn zone along the river newbie area; you need to cross north or push into the riskier regions before nodes start showing on the rocks.
Quick answer: Cross the river north of the two starter statues in grid H3/G3, head up the canyon pass, and harvest the Ironstone nodes around the plateau and along the bridge cliffs. A full loop yields roughly 400–500 Ironstone in about ten minutes and respawns reliably.
Identifying Ironstone nodes
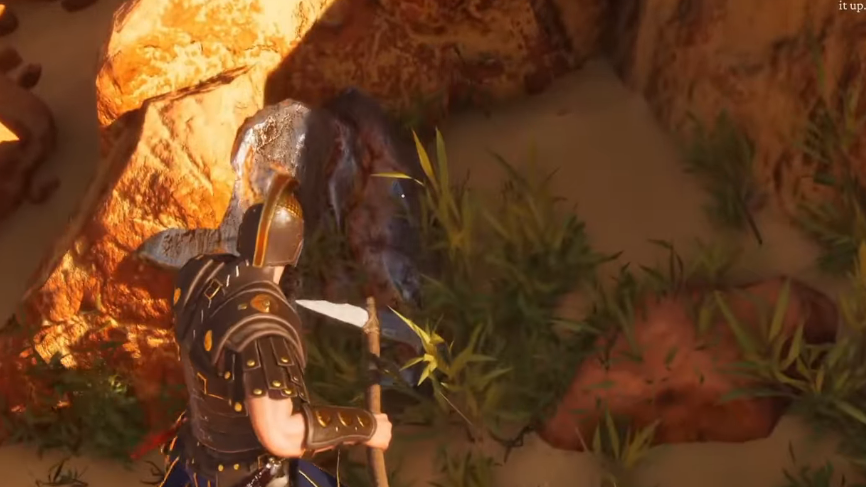
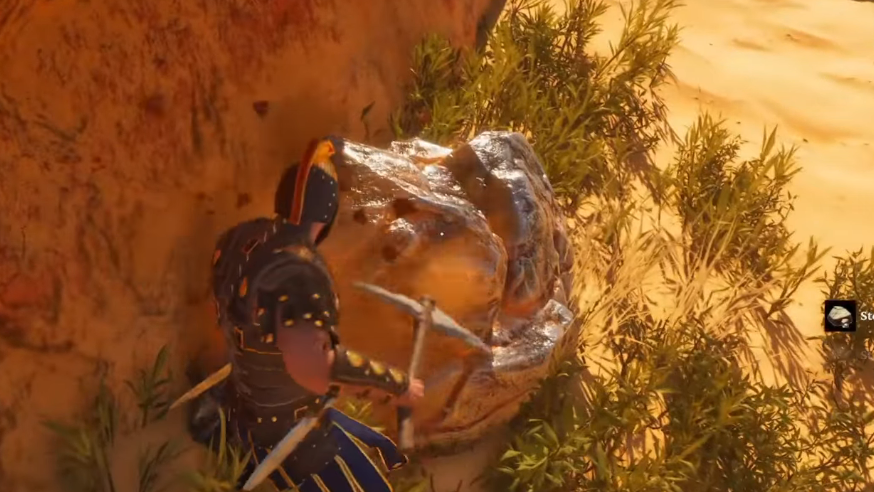
Ironstone deposits look like dark, rust-tinged rock clusters embedded in larger stone formations or jutting out of cliff faces. They are visually distinct from the lighter grey stone nodes that surround the Crossroads. A standard Stone Pickaxe works, but an Iron Pickaxe doubles your yield per swing once you have one, so the first batch of bars should go toward upgrading your pick before anything else.
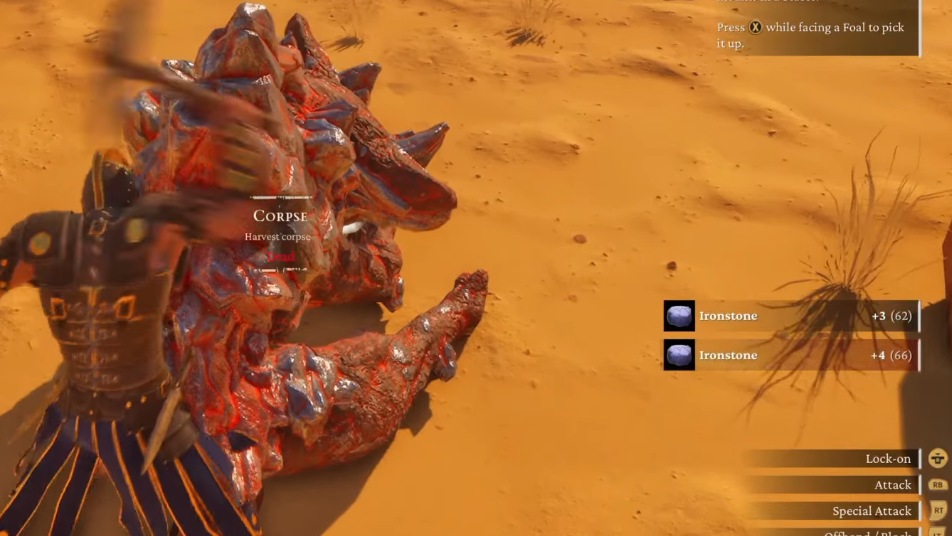
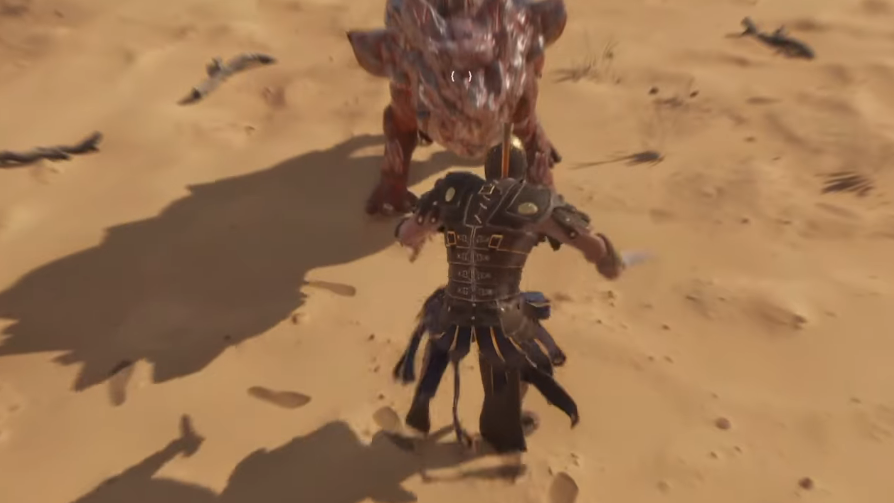
Rocknose enemies also drop Ironstone on death. They are stone-bodied creatures that patrol the same zones where ore is dense, and a blunt weapon kills them faster than a slashing one.
Best early iron farming route (Crossroads circuit)
This is the safest beginner loop and the one most new players use. Start at the two large statues in grid H3, just north of the river that runs along the southern desert.
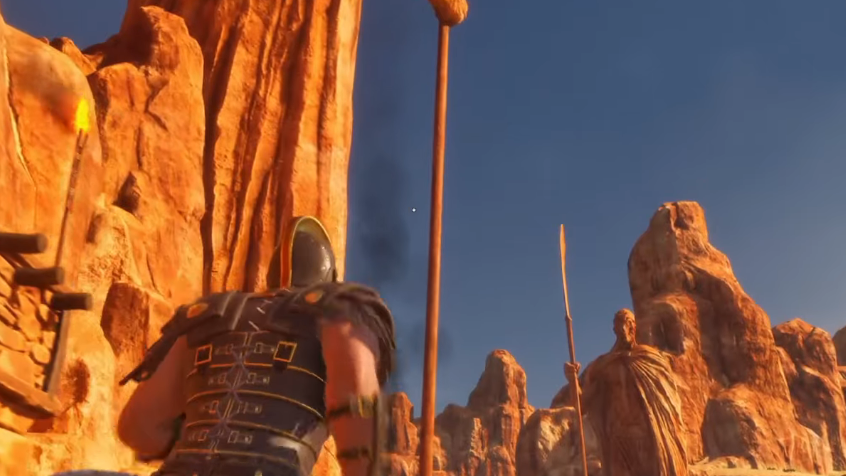
High-yield iron locations across the Exiled Lands
Once you have iron tools and a few levels behind you, the richer deposits open up. Each area trades volume for danger.
| Region | What you get | Main threats |
|---|---|---|
| Northern riverbank (Crossroads) | Scattered nodes, safe beginner loop | Hyenas, crocodiles |
| Canyon pass and plateau north of H3 | Dense cluster, fast respawn | Rocknose, ostriches |
| Flesh Tearer Falls area (EF5 region) | One of the heaviest Ironstone concentrations on the map | Multiple Rocknose, nearby NPC camp |
| East Marshes (jungle) | Large Iron deposits, plus jungle resources | High-level wildlife, hostile NPCs |
| Lava fields northwest of the desert | Numerous Ironstone deposits | Heat damage, imps, demonic enemies |
| Mountain foothills (far northwest) | Multiple deposits, often undisturbed | Cold damage, frost wolves |
The Flesh Tearer Falls area is widely treated as the long-term iron stronghold. The hill and surrounding cliffs hold so many overlapping nodes that one circuit refills a Furnace queue for an entire play session. Plan on fighting six or more Rocknose on the lower level and another seven near the top.

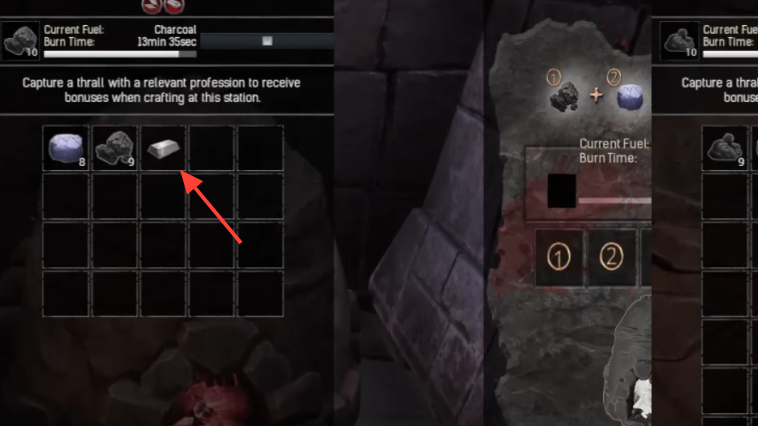
Smelting Ironstone into Iron Bars
Raw Ironstone is not directly usable. You must convert it in a Furnace, which you unlock through the Apprentice Smithing journey step.
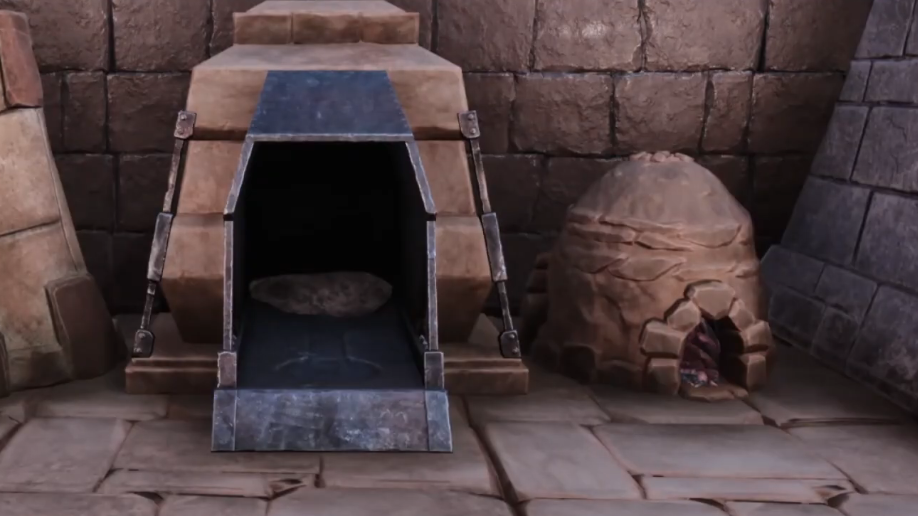
You will know smelting succeeded when Iron Bars appear in the output slot, and the Ironstone count drops in the input slot. If nothing is happening, the Furnace either has no fuel, is not powered on, or the station was placed but never activated through the interaction menu.
Common reasons an iron run fails
- You are still south of the river. The starting desert has stone and coal but no Ironstone nodes.
- Your pickaxe is too weak to finish a node before enemies reach you. Build at least a Stone Pickaxe and bring a bow.
- You engaged Rocknose in melee with a slashing weapon. Use blunt damage or arrows; cutting damage is heavily resisted.
- You are overweight from stone. Drop unnecessary stone before harvesting, because Ironstone stacks are heavy and will slow you to a crawl on the return trip.
Setting up a base near iron
If you plan to grind iron seriously, place your base within the four-square area around G3, H3, G4, and H4. You sit within sprinting distance of the river crossing, the canyon plateau loop, and the road north toward Flesh Tearer Falls. Building too far north pushes you into wildlife that outpaces early gear, while staying in the southern desert forces a long commute to every iron run.
The Ironstone supply in Conan Exiles Enhanced is effectively unlimited once you know the circuits. Start with the safe Crossroads loop, upgrade to iron tools as soon as the first Furnace batch finishes, and graduate to Flesh Tearer Falls or the lava fields when your gear can handle the heat.